Quick & Crispy Air Fryer Pepperoni Roll Recipe
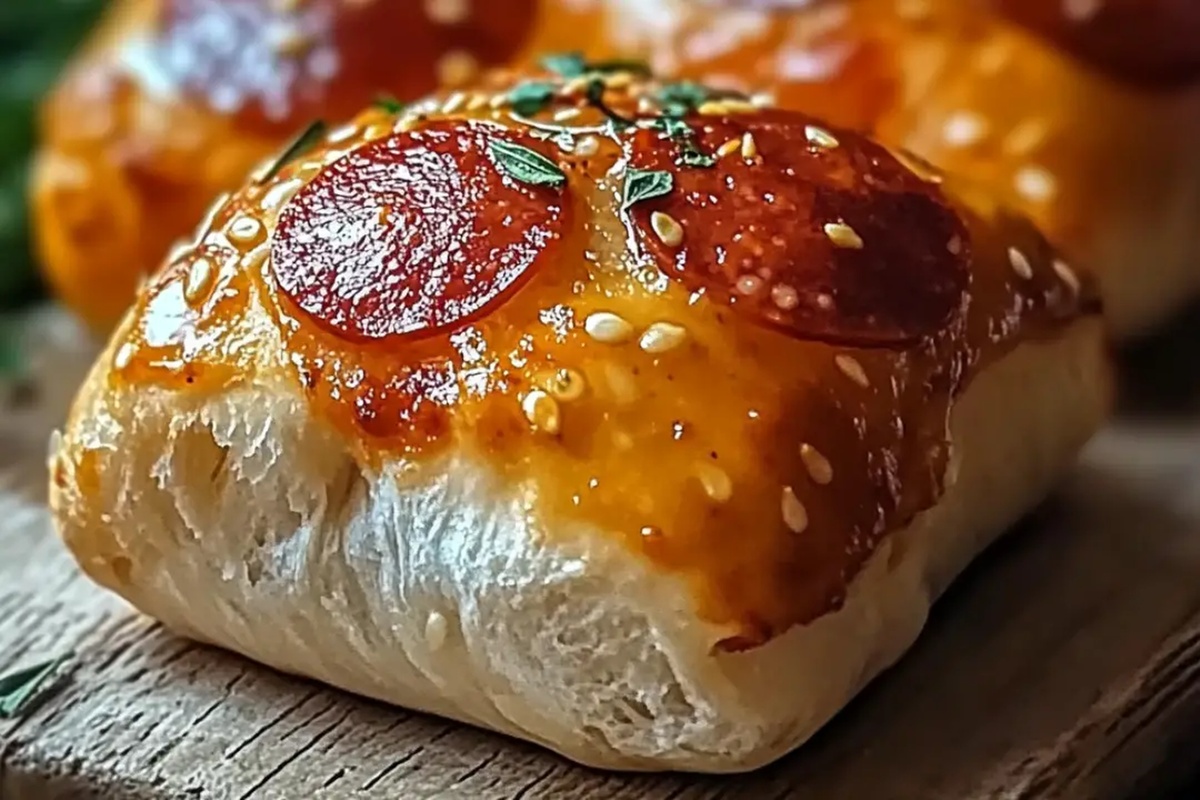
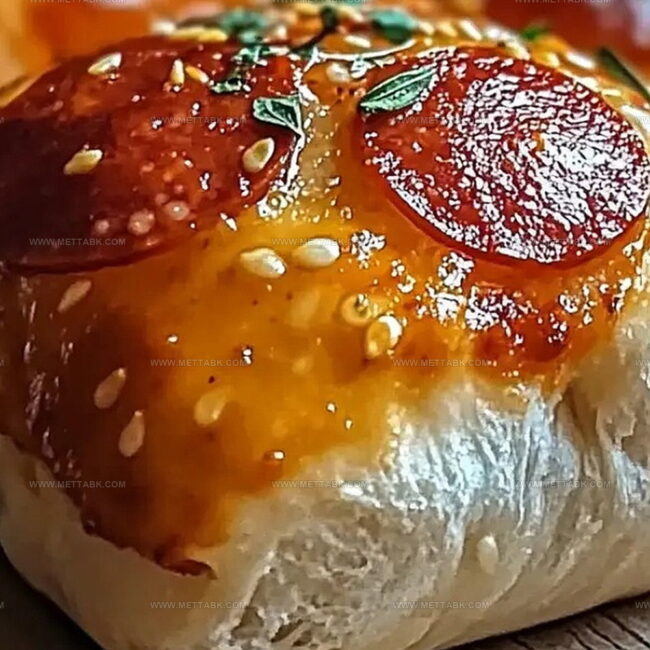
Nestled between soft dough and crispy edges, this air fryer pepperoni roll promises a mouthwatering adventure for snack enthusiasts.
Cheesy goodness melts perfectly within golden-brown layers of comfort.
Pepperoni brings a zesty punch that makes every bite irresistible.
West virginia’s beloved classic gets a modern twist with quick air fryer magic.
Crisp exterior and gooey interior create a sensational contrast you won’t forget.
Minimal ingredients and simple steps mean anyone can master this delightful treat.
Prepare to wow yourself with a simple yet spectacular culinary creation that will become your new favorite.
What Makes Air Fryer Pepperoni Roll So Tasty

Ingredients You’ll Need for Air Fryer Pepperoni Roll
For the Dough:For the Filling:For the Seasoning and Coating:Step-by-Step Air Fryer Pepperoni Roll Instructions
Step 1: Prepare the Dough
Grab your refrigerated pizza dough and spread it out on a clean cutting board. Smooth the dough into a nice rectangle shape.
Take a sharp knife or pizza cutter and slice the dough into nine even rectangular pieces.
Step 2: Build Tasty Rolls
Place pepperoni slices right in the center of each dough rectangle.
Top the pepperoni with:Carefully fold the dough over the filling, pinching the edges to create a tight seal. Fold and press the ends to completely enclose the pepperoni and cheese.
Position each roll with the sealed side facing down.
Step 3: Add Flavor Coating
Melt butter in a microwave-safe bowl.
In another bowl, combine:Use a pastry brush to generously coat each roll with melted butter. Sprinkle the seasoning mixture over the buttered rolls.
Step 4: Air Fry to Perfection
Arrange the rolls in the air fryer basket, making sure they aren’t touching. Cook at 350°F for 8-10 minutes until the rolls turn a beautiful golden brown and become crispy.
Step 5: Serve and Devour
Pull the hot, crispy pepperoni rolls from the air fryer and serve immediately. Watch them disappear in moments!
Tips and Tricks for Crispy Air Fryer Pepperoni Roll
Mix It Up with These Air Fryer Pepperoni Roll Variations
Perfect Sides to Enjoy With Air Fryer Pepperoni Roll
How to Store Air Fryer Pepperoni Roll Properly
FAQs
You’ll need refrigerated pizza dough, pepperoni slices, mozzarella cheese, butter, garlic powder, salt, and Italian seasoning.
Yes, you can prepare the rolls in advance and store them in the refrigerator before air frying. Just brush with butter and season right before cooking.
Absolutely! Kids love these cheesy, crispy rolls and they’re easy to eat as a snack or quick meal.
No special equipment needed – just a cutting board, knife, small bowls for seasoning, and a pastry brush will work perfectly.
Print
Air Fryer Pepperoni Roll That You Will Follow Recipe
- Total Time: 25 minutes
- Yield: 12 1x
Description
Crispy West Virginia pepperoni roll emerges from your air fryer, delivering classic mountain state comfort with golden-brown perfection. Simple ingredients and quick preparation make this snack an irresistible treat you can’t wait to savor.
Ingredients
Meat and Cheese:
- 36 slices pepperoni
- 1 cup shredded mozzarella cheese
Dough and Base:
- 1 (13.8 ounces / 391 grams) tube refrigerated pizza dough
Seasonings and Finishing:
- 2 tablespoons butter, melted
- 1 teaspoon garlic powder
- 1/2 teaspoon salt
- 1/2 teaspoon Italian seasoning
Instructions
- Spread the chilled pizza dough onto a clean work surface, transforming it into a rectangular shape. Slice the dough precisely into nine uniform rectangles using a sharp culinary tool.
- Position 4 pepperoni slices centrally on each dough section. Generously sprinkle mozzarella cheese atop the pepperoni. Carefully fold the dough over the filling, meticulously sealing the edges. Tuck and press the ends to completely encase the pepperoni and cheese. Arrange the rolls with the sealed side facing downward.
- Liquify the butter in a microwave-safe container. Combine garlic powder, salt, and Italian seasoning in a separate vessel. Delicately brush each roll with melted butter, then liberally dust with the aromatic seasoning blend.
- Load the pepperoni rolls into the air fryer basket, ensuring adequate spacing between each piece. Crisp the rolls at 350°F for 8-10 minutes until they transform into a golden, appetizing hue and achieve complete doneness.
- Transfer the hot, crispy rolls onto a serving plate immediately. Savor the melty, flavor-packed pepperoni rolls while they’re fresh and steaming.
Notes
- Ensure the dough is evenly rolled out to create uniform-sized rolls for consistent cooking.
- Seal the edges tightly to prevent cheese and pepperoni from leaking during air frying.
- Experiment with different cheese varieties like provolone or cheddar for unique flavor profiles.
- For a gluten-free version, use gluten-free pizza dough or low-carb alternatives like cauliflower crust.
- Prep Time: 15 minutes
- Cook Time: 10 minutes
- Category: Lunch, Dinner, Snacks, Appetizer
- Method: Air Frying
- Cuisine: American
Nutrition
- Serving Size: 12
- Calories: 224 kcal
- Sugar: 1 g
- Sodium: 456 mg
- Fat: 14 g
- Saturated Fat: 6 g
- Unsaturated Fat: 7 g
- Trans Fat: 0.2 g
- Carbohydrates: 17 g
- Fiber: 1 g
- Protein: 9 g
- Cholesterol: 27 mg
Nate Harper
Founder & Recipe Curator
Expertise
Single-Recipe Development, Farm-to-Table Cooking, Seasonal Menu Planning, Culinary Storytelling, Home Kitchen Innovation
Education
Cascade Culinary Institute – Central Oregon Community College
Certificate in Culinary Arts
Focus: Farm-to-table cuisine, sustainable cooking practices, and seasonal recipe creation.
Nate studied under experienced chefs who emphasized local sourcing, minimal waste, and building recipes from fresh, simple ingredients.
Nate Harper is the founder and creative force behind Make, Take, Bake. Raised in the wild beauty of Oregon’s high desert, Nate grew up surrounded by family gardens, farmers’ markets, and home kitchens that celebrated the seasons.
His early love for simple, honest food evolved into a professional passion when he attended Cascade Culinary Institute, where he sharpened his skills in creating recipes that are sustainable, satisfying, and made for everyday life.
Nate’s goal is to make cooking feel accessible, free of fuss, and full of flavor. He believes a single, thoughtfully built dish can stand alone, and sometimes even steal the show.