Zesty Bacon Jalapeño Popper Cheese Balls Recipe for Party Fun
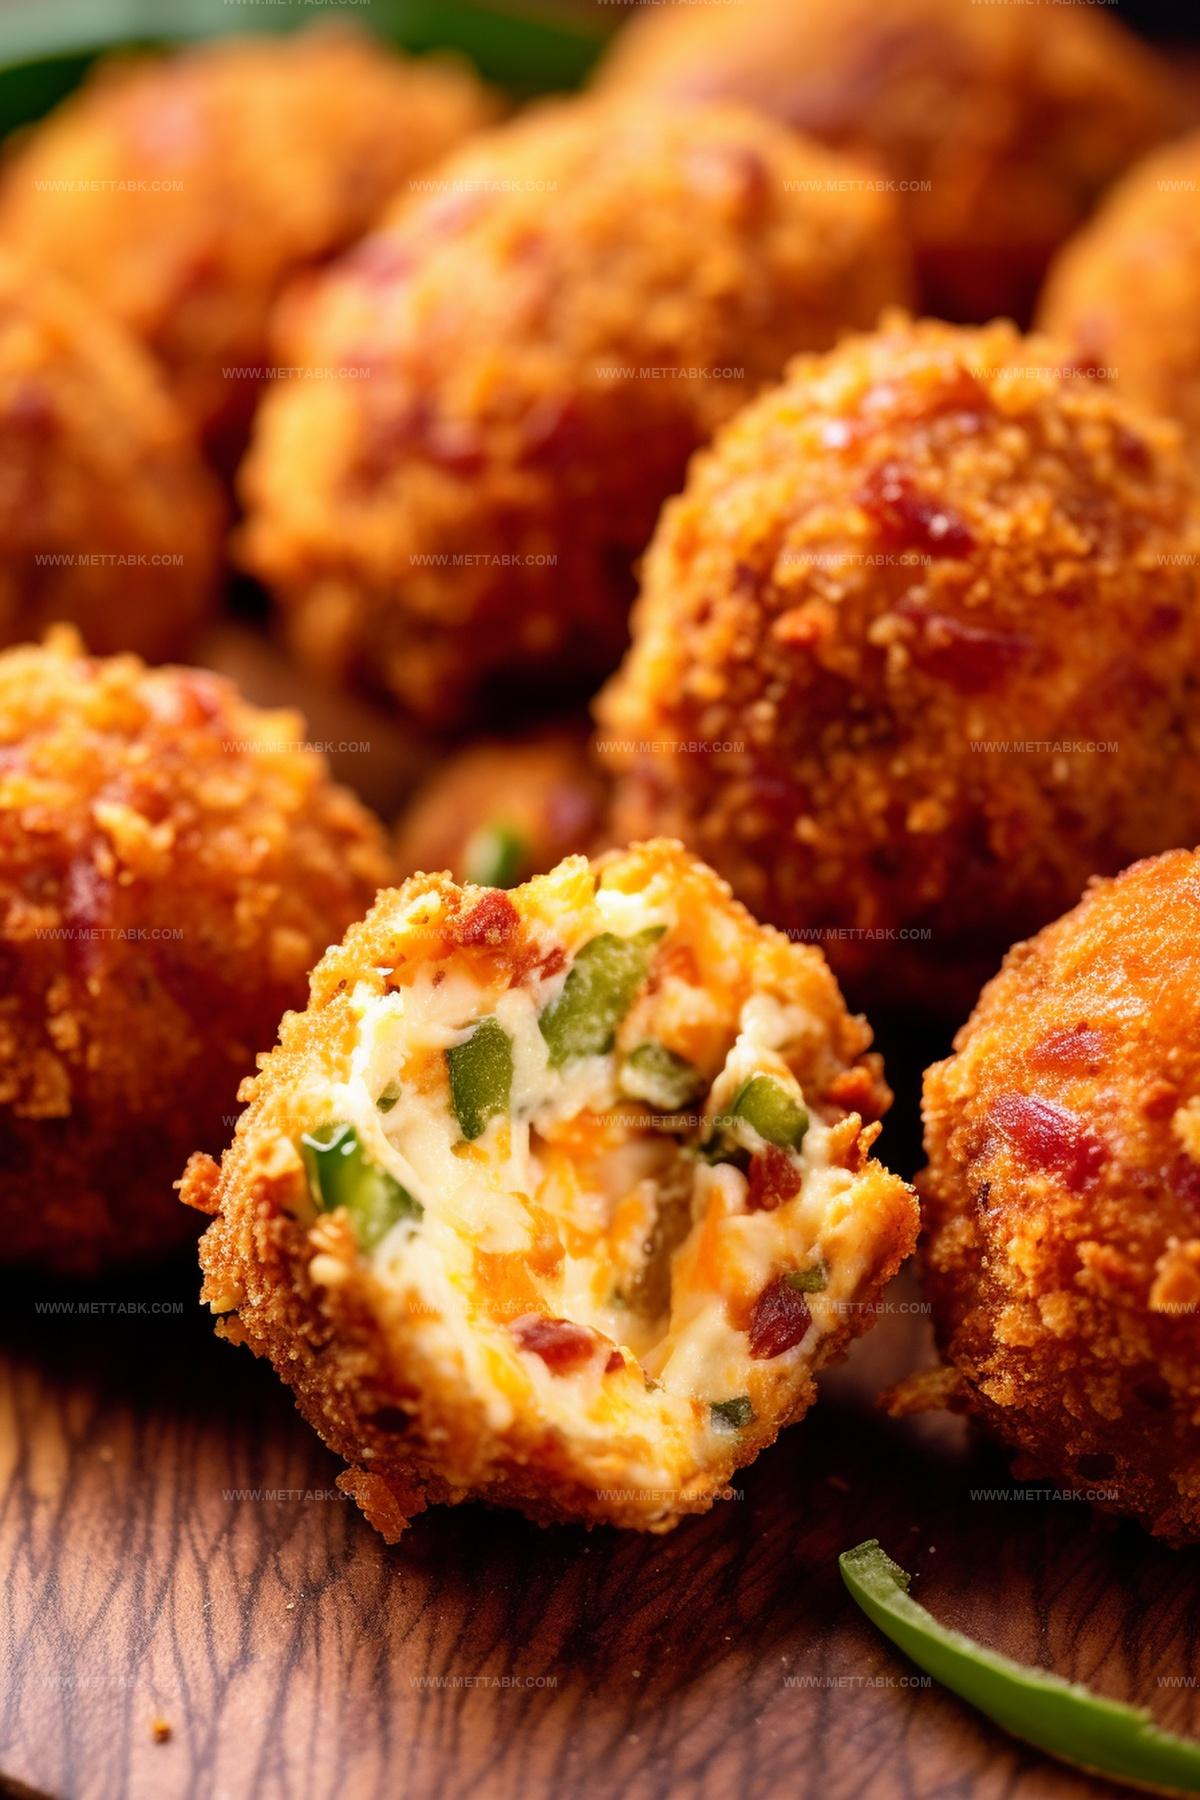
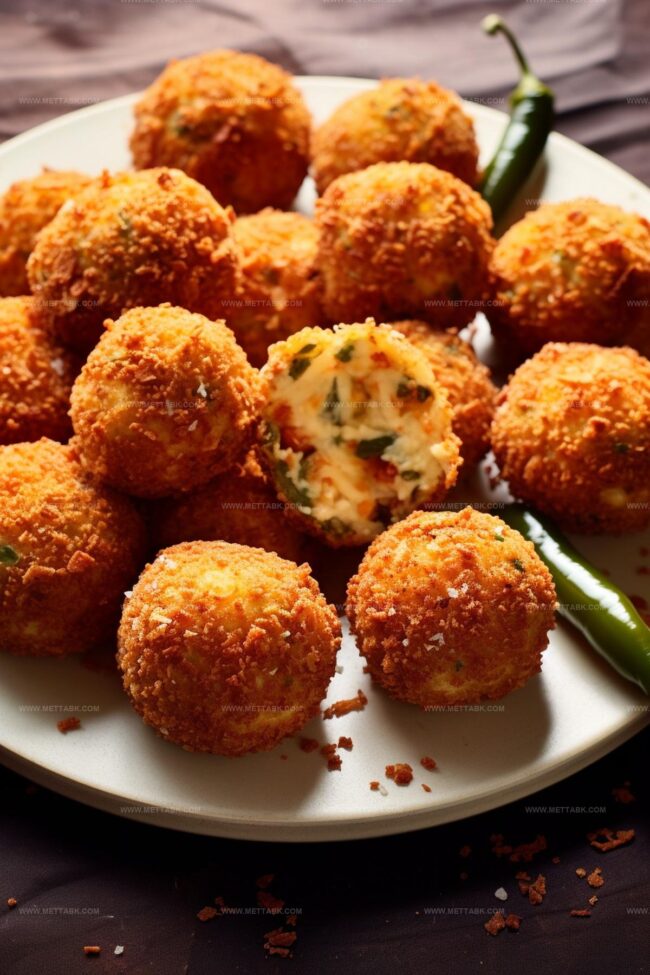
Crispy bacon jalapeño popper cheese balls burst with zesty flavors that dance across your palate like a spicy carnival.
Melted cheese and crunchy bacon create an irresistible combination that sparks instant hunger.
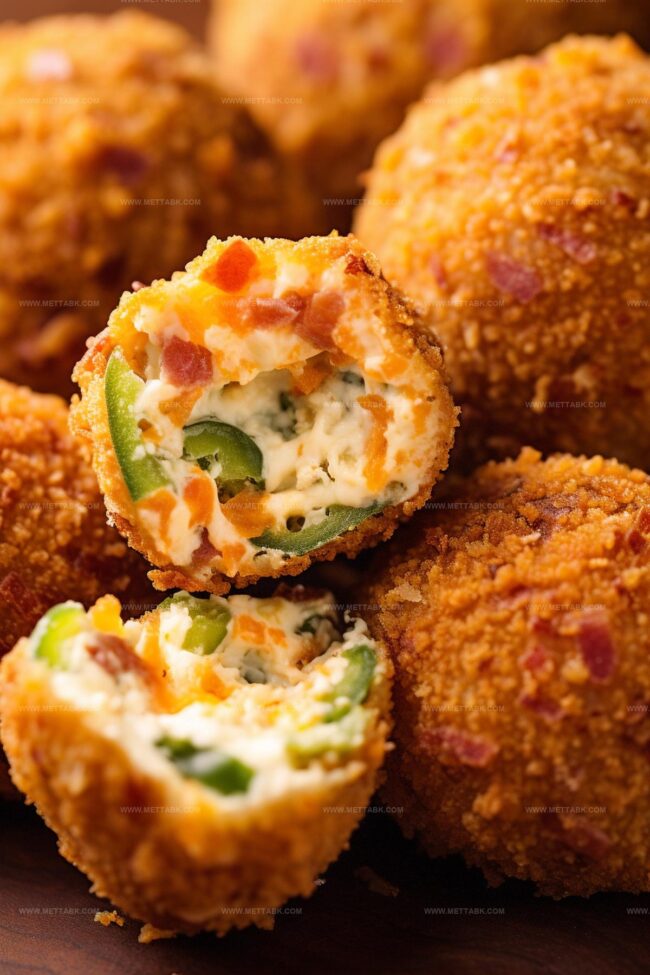
Jalapeños add a kick of heat, making these bite-sized treats perfect for casual gatherings.
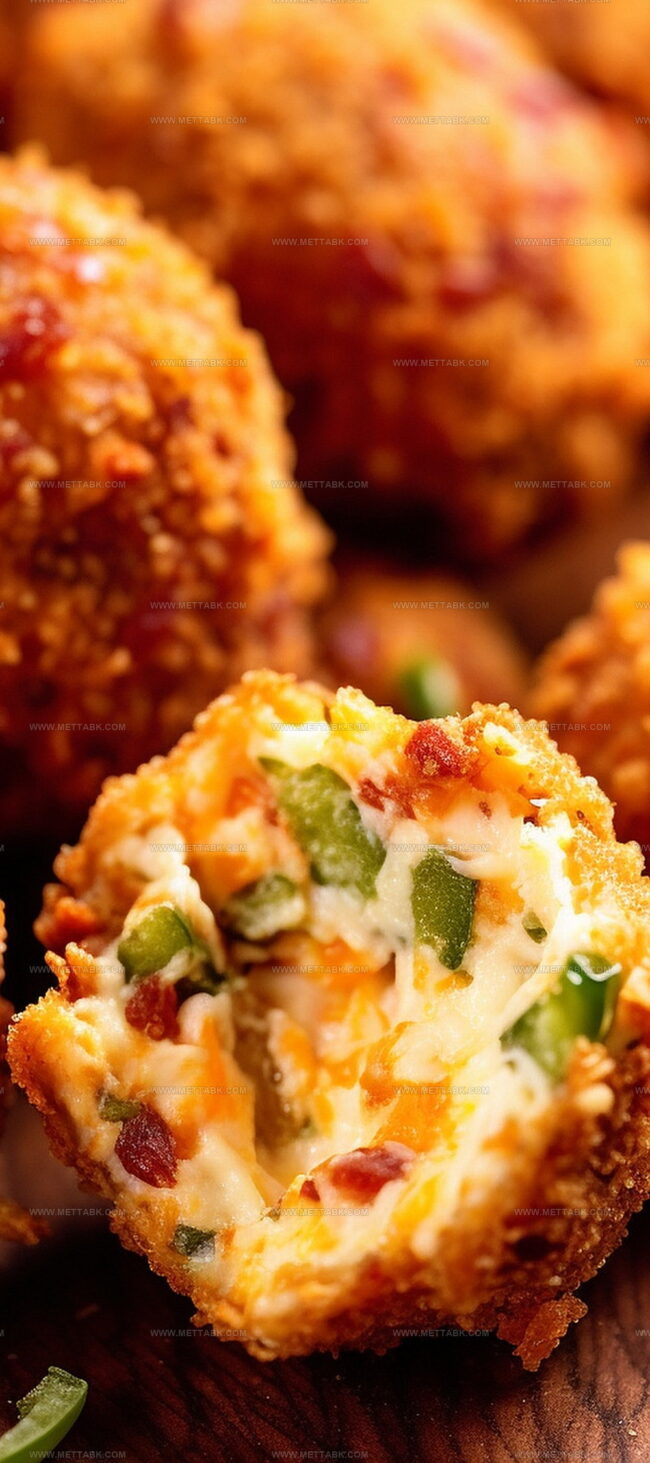
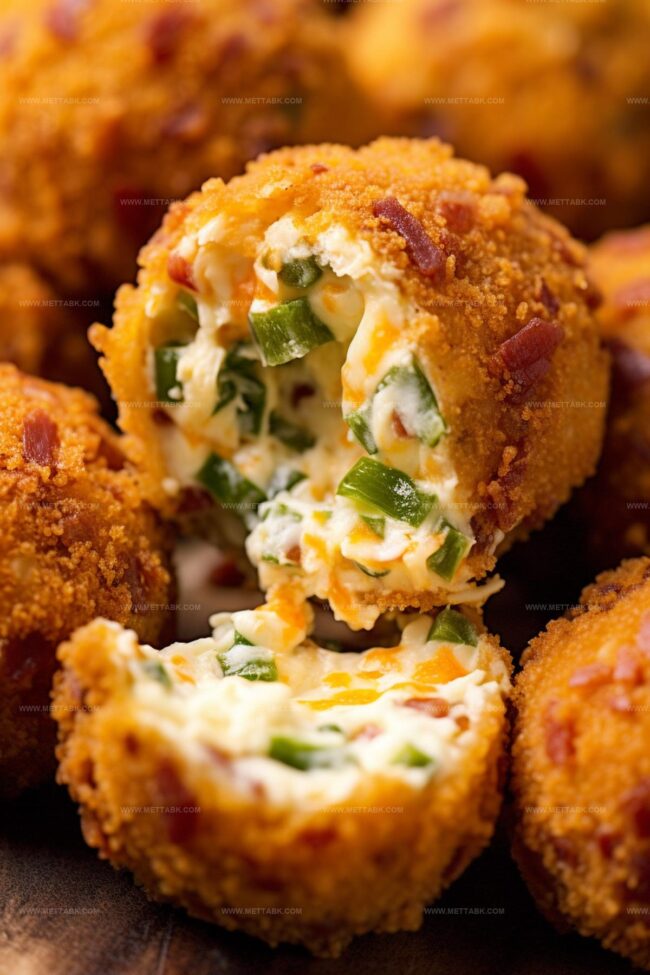
Sharp cheddar and cream cheese blend seamlessly, creating a smooth interior that contrasts beautifully with the crisp exterior.
Creamy textures mingle with salty, smoky notes, promising a delightful snack experience.
Quick to prepare and even faster to devour, these cheese balls will become your new party favorite.
Invite friends, open a cold drink, and watch these little flavor bombs disappear in moments.
Why Bacon Jalapeno Popper Cheese Balls Are Party Favorites

Ingredients for Bacon Jalapeno Popper Cheese Balls
Main Ingredients:
Cheese Base:Flavor Enhancers:Seasoning Ingredients:Instructions for Making Bacon Jalapeno Popper Cheese Balls
Step 1: Whip Up The Cheesy Base
Grab a large mixing bowl and dive into creating the flavor-packed foundation. Combine these ingredients to create a creamy, zesty mixture:Mix everything until the texture becomes light and fluffy, blending all the incredible flavors together.
Step 2: Roll And Coat With Crispy Bacon
Spread the remaining bacon crumbles on a shallow dish, creating an even layer of crunchy goodness. Use a cookie scoop to portion out the cheese mixture, gently forming each scoop into a perfect ball.
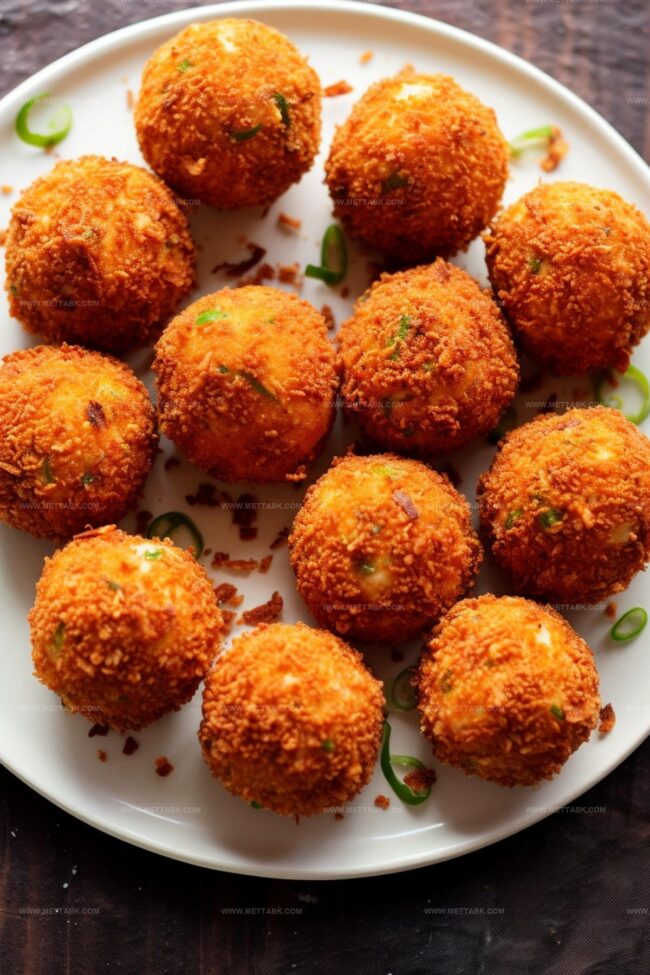
Roll each cheese ball through the bacon crumbles, ensuring every inch gets a delicious crispy coating.
Step 3: Chill And Set The Flavor Bombs
Transfer the freshly coated cheese balls to the refrigerator.
Let them chill and hang out for a bit, allowing the flavors to mingle and the texture to firm up. This cooling time helps the cheese balls hold their shape and intensifies the mouthwatering taste.
Keep them refrigerated until you’re ready to serve these irresistible appetizers.
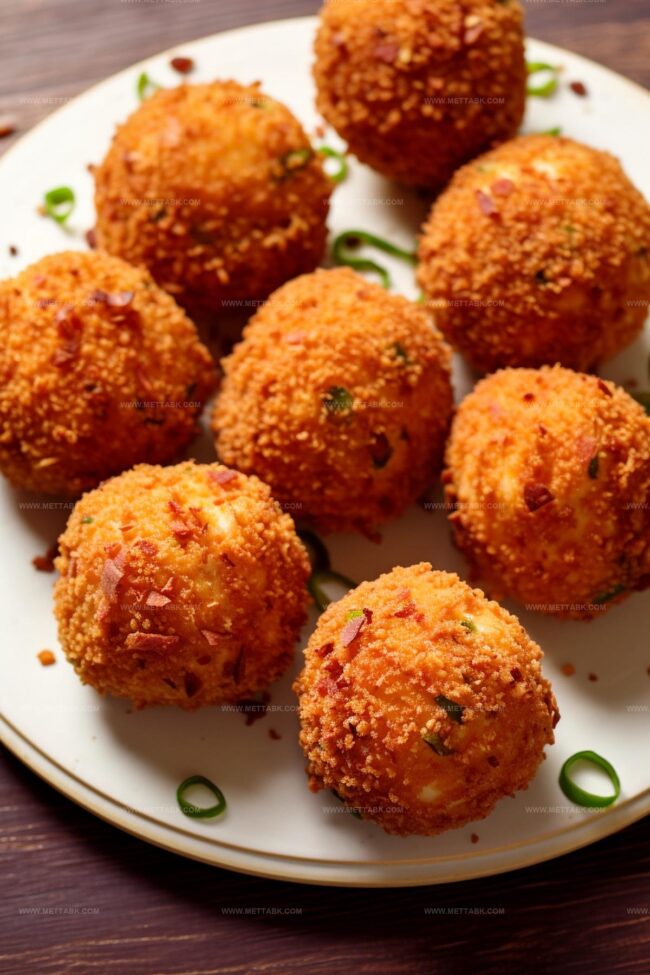
Step 4: Serve And Enjoy
When hunger strikes, pull out these flavor-packed cheese balls.
They’re perfect for game day, parties, or anytime you want a seriously delicious snack. Watch as your guests devour these crispy, creamy, spicy bites of pure deliciousness.
Pro Tips for Perfect Cheese Balls Every Time
Variations to Spice Up Bacon Jalapeno Popper Cheese Balls
Best Pairings for Bacon Jalapeno Popper Cheese Balls
Storage Tips for Bacon Jalapeno Popper Cheese Balls
FAQs

The heat level can be adjusted by removing the seeds and membranes from jalapeños before dicing, which significantly reduces their spiciness.
Yes, you can prepare them 1-2 days in advance and store them in the refrigerator, which actually helps the flavors meld together more intensely.
Sharp cheddar cheese provides the most robust flavor, but you can also use a blend of monterey jack and cheddar for a different taste profile.
Chilling the mixture before forming balls and using cold cream cheese helps maintain their structure, preventing them from becoming too soft or falling apart.
Print
Bacon Jalapeno Popper Cheese Balls Recipe
- Total Time: 15 minutes
- Yield: 8 1x
Description
Savory bacon jalapeño popper cheese balls deliver creamy, spicy comfort with crispy bacon edges. Cheese-loving guests will devour these irresistible appetizers at parties or game nights.
Ingredients
- 450 g (16 oz) cream cheese (at room temperature)
- 475 ml (16 oz) bacon (finely crumbled, additional as needed)
- 240 ml (8 oz) jalapeños (seeds removed and finely diced)
- 120 ml (4 oz) sharp cheddar cheese (finely shredded)
- 120 ml (4 oz) fresh chives (finely minced)
- 1/2 medium red onion (finely minced, optional)
- 15 ml (1 tbsp) mayonnaise
- 5 ml (1 tsp) ground black pepper
- 5 ml (1 tsp) cayenne pepper
Instructions
- In a spacious mixing vessel, blend cream cheese, mayonnaise, sharp cheddar, diced jalapeños, most bacon crumbles, red onion, black pepper, and Cayenne pepper. Whip the ingredients until achieving a smooth, airy texture that will serve as the foundation for the cheese balls.
- Distribute the remaining bacon crumbles evenly across a shallow platter. Using a cookie scoop, form uniform cheese mixture portions into rounded spheres. Methodically roll each ball through the bacon crumbles, ensuring comprehensive exterior coverage.
- Transfer the bacon-encrusted cheese orbs into the refrigerator. Chill for at least 30 minutes before serving to allow flavor melding and structural solidification. Cold temperature will enhance the balls’ structural integrity and taste profile.
Notes
- Choose jalapeños with varying heat levels to customize spiciness, allowing everyone to enjoy the appetizer according to their taste preferences.
- Make the cheese balls ahead of time and store in the refrigerator for up to 48 hours, which helps the flavors develop and makes party prep easier.
- Offer gluten-free alternatives by using turkey bacon or plant-based bacon crumbles for those with dietary restrictions or health concerns.
- Consider using low-fat cream cheese and reduced-sodium bacon to create a lighter version of the recipe without compromising delicious flavor profiles.
- Prep Time: 15 minutes
- Cook Time: 0 minutes
- Category: Appetizer, Snacks
- Method: Mixing
- Cuisine: American
Nutrition
- Serving Size: 8
- Calories: 202 kcal
- Sugar: 0.5 g
- Sodium: 410 mg
- Fat: 17 g
- Saturated Fat: 7 g
- Unsaturated Fat: 9 g
- Trans Fat: 0.2 g
- Carbohydrates: 3 g
- Fiber: 1 g
- Protein: 8 g
- Cholesterol: 50 mg
Clara Bennett
Contributing Recipe Developer & Food Writer
Expertise
Baking and Pastry Development, Gluten-Free and Allergy-Friendly Recipe Creation, Culinary Storytelling and Food Journalism, Recipe Testing and Standardization, Southern Comfort Foods and Modern Twists
Education
Sullivan University – National Center for Hospitality Studies
Associate Degree in Culinary Arts
Focus: Baking and Pastry Arts, Recipe Testing, and Culinary Journalism.
Clara specialized in crafting desserts that blend classic Southern comfort with modern techniques, while developing strong writing skills to tell the story behind every dish.
Lane Community College (Certificate Program)
Certificate in Food Writing and Photography
Focus: Culinary storytelling, recipe formatting, food styling, and visual presentation.
Clara’s love of baking started young, powered by homemade pies, biscuits, and stories passed around the family table.
After earning her degree at Sullivan University and a food writing certificate at Lane Community College, she turned her passion into a craft: sharing recipes that are simple, soulful, and always full of heart.
She’s big on bold flavors, flexible ideas, and creating sweets that fit any table (yes, even if you’re gluten-free). When she’s not baking, you’ll find her wandering farmers’ markets, styling food for the next photo shoot, or working on her ever-growing recipe journal.