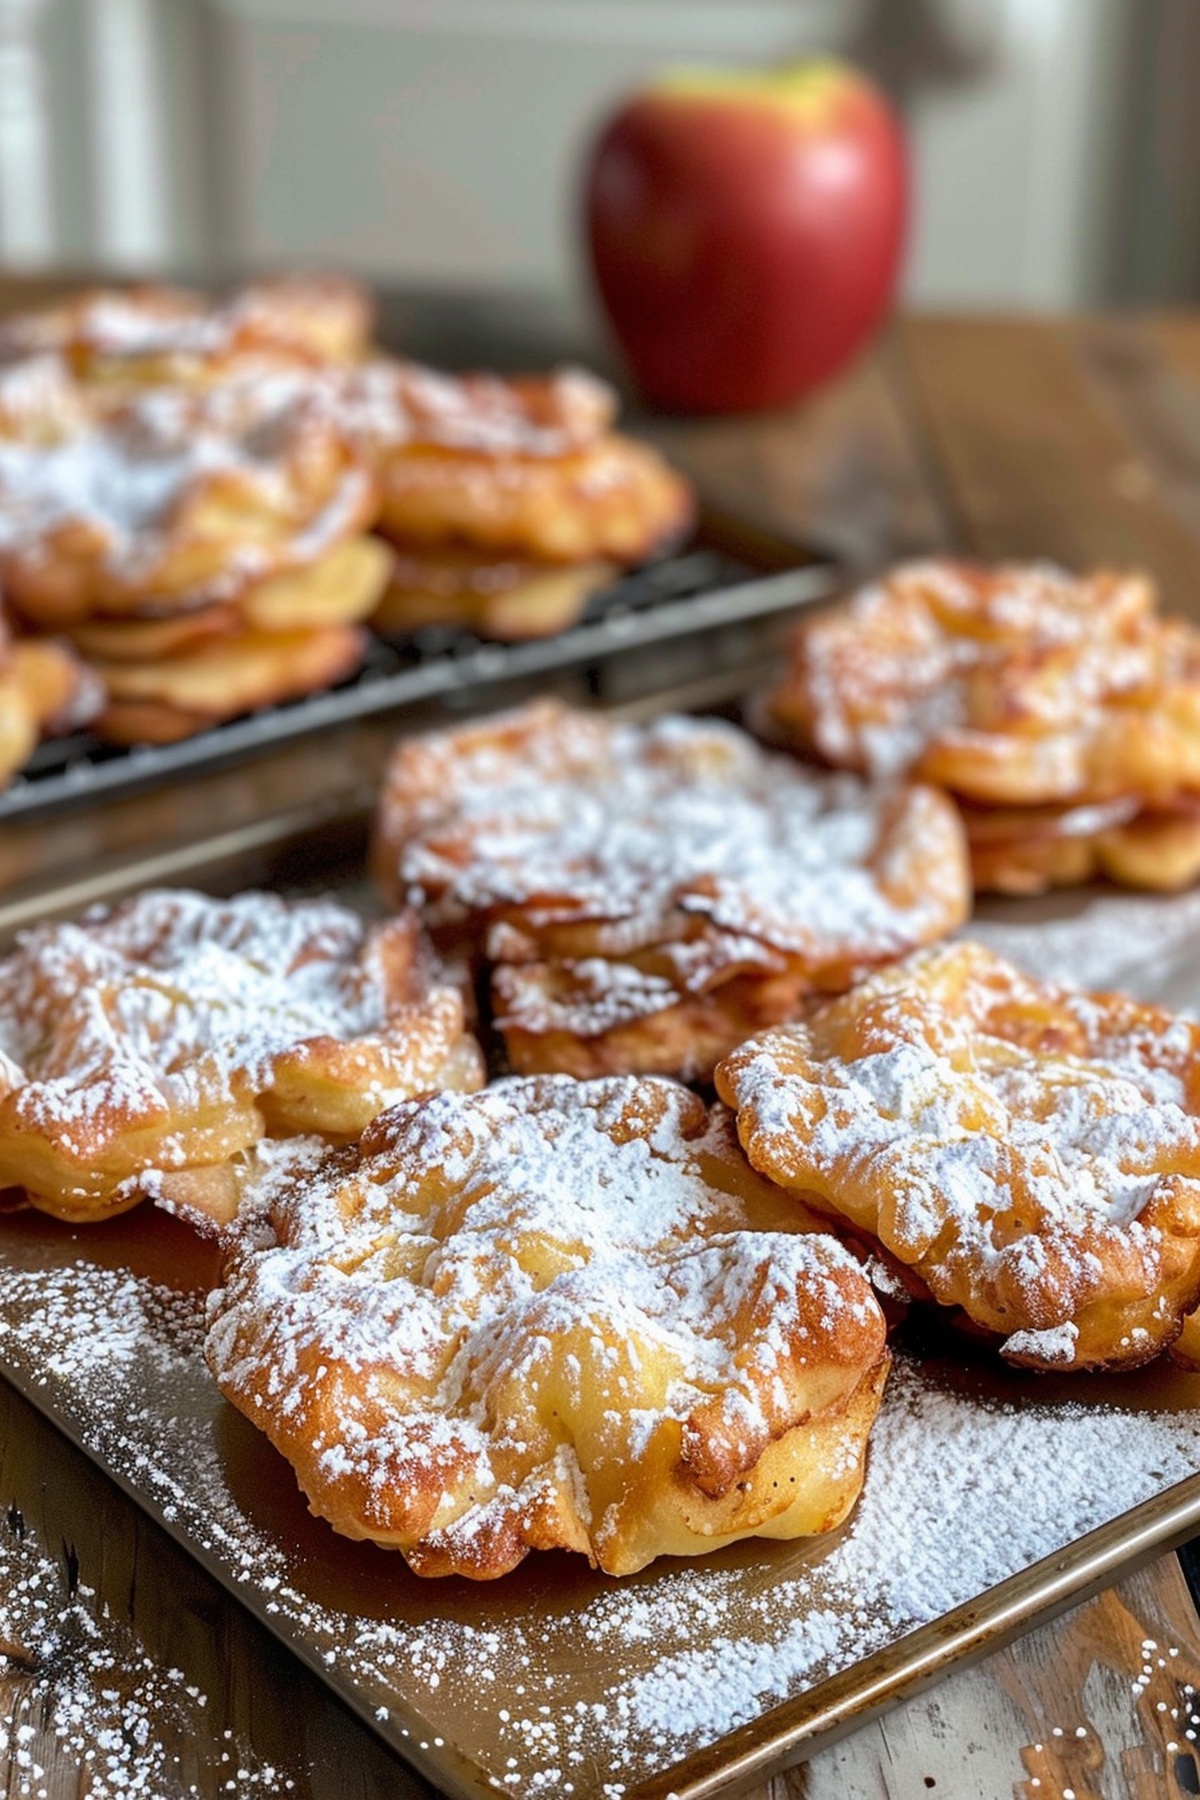
Easy Baked Apple Fritters Recipe: Golden Sweet Treats at Home
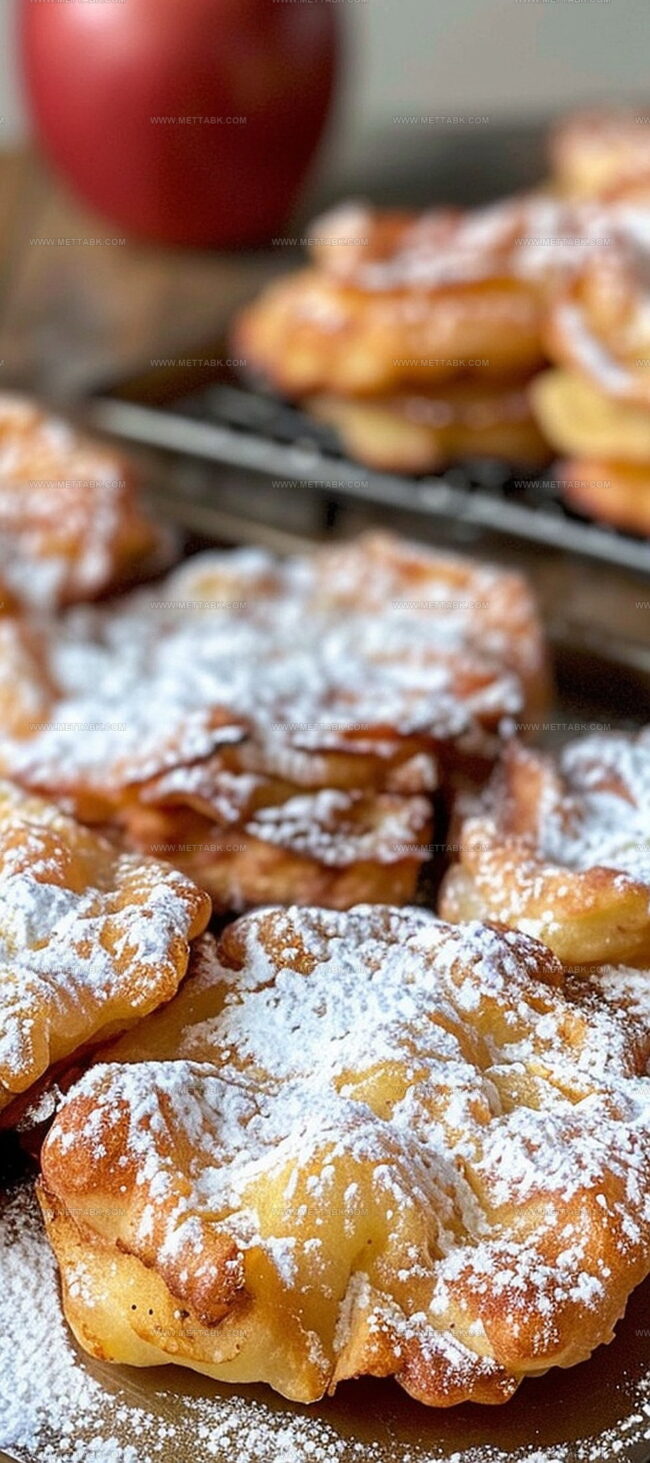
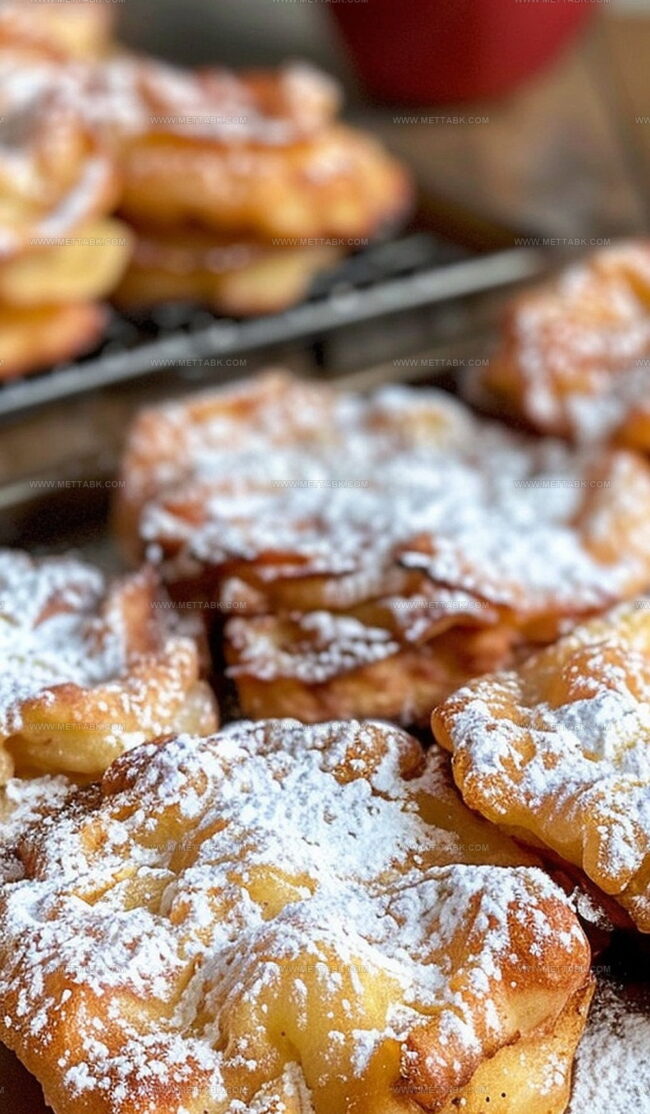
Crispy, golden baked apple fritters dance with irresistible charm on dessert plates everywhere.
Sweet fruit chunks nestle perfectly within delicate pastry folds.
Warm spices like cinnamon and nutmeg create a nostalgic aroma that fills kitchens.
Homemade treats offer pure comfort without complicated techniques or professional skills.
Simple ingredients combine quickly for a delightful experience that feels like a warm hug.
Delicate yet satisfying, these fritters promise to delight anyone seeking a quick, delectable sweet bite.
You won’t believe how easily magic happens with just a few basic pantry staples.
Baked Apple Fritters You’ll Adore

Ingredients for Baked Apple Fritters
Dry Ingredients:Wet Ingredients:Fruit and Topping:Step-by-Step Baked Apple Fritters Guide
Step 1: Warm Up the Oven
Crank your oven to a toasty 400 degrees Fahrenheit. Grab a baking sheet and line it with a silicone mat that can handle the heat.
Step 2: Mix Dry Goodies
Grab a big mixing bowl and sift together:Chop up cold butter into tiny cubes and work it into the dry mix until it looks like sandy crumbs.
Step 3: Combine Wet Ingredients
In a smaller bowl, whisk together milk, egg, and vanilla extract until smooth and happy.
Step 4: Create Fritter Dough
Pour the wet mixture into the dry ingredients. Stir gently – don’t go crazy mixing!
Softly fold in chopped apples.
Step 5: Shape the Fritters
Use a 1/4 cup measure to drop dollops of dough onto the prepared baking sheet.
Want smaller fritters? Use a heaping tablespoon instead.
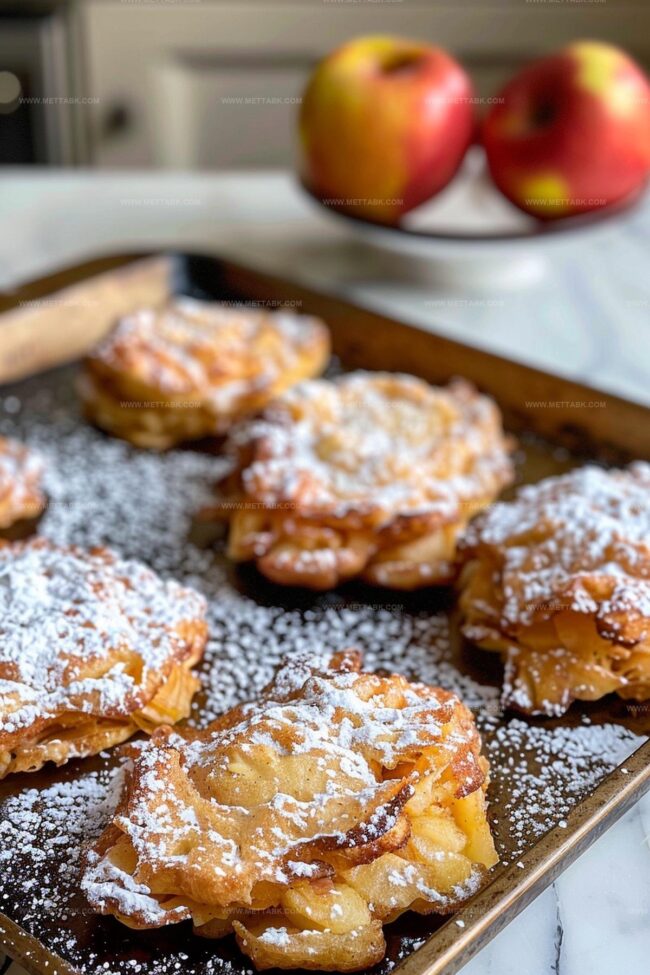
Step 6: Bake to Golden Perfection
Slide the baking sheet into the oven. Bake for 11-13 minutes until the bottoms turn golden and centers look set.
Smaller fritters might need just 8 minutes.
Step 7: Broil for Extra Wow
Crank up the oven to broil after initial baking.
Step 8: Whip Up Glaze Magic
Whisk together:until silky smooth.
Step 9: First Glaze Splash
Brush a light layer of glaze over each fritter.
Pop them under the broiler for 2-4 minutes until tops look golden and glaze bubbles.
Step 10: Final Glaze Finish
Pull fritters out and place on a wire rack.
While still warm, add a second glaze coating.
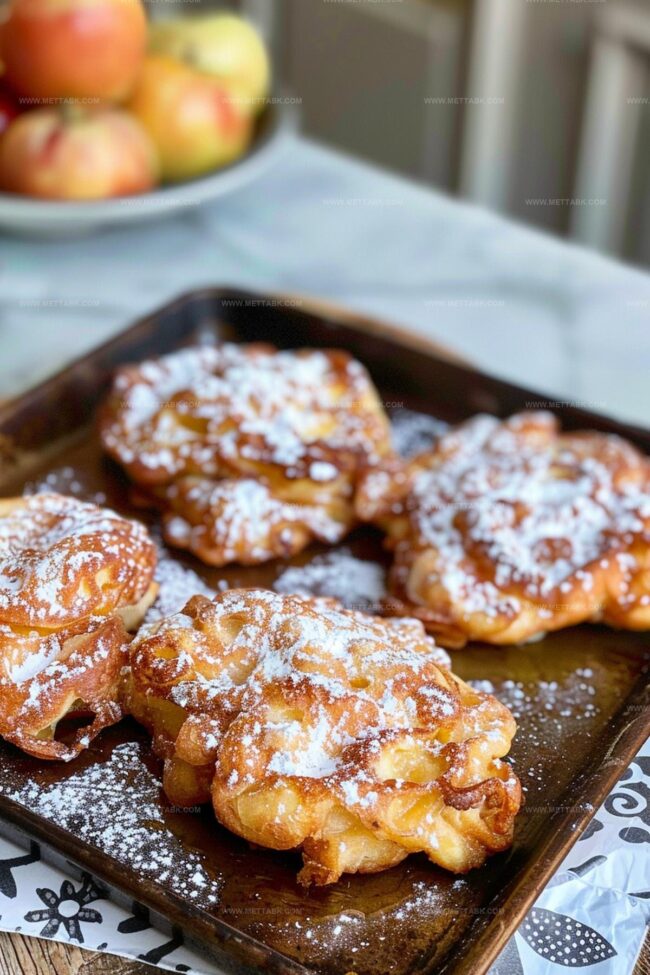
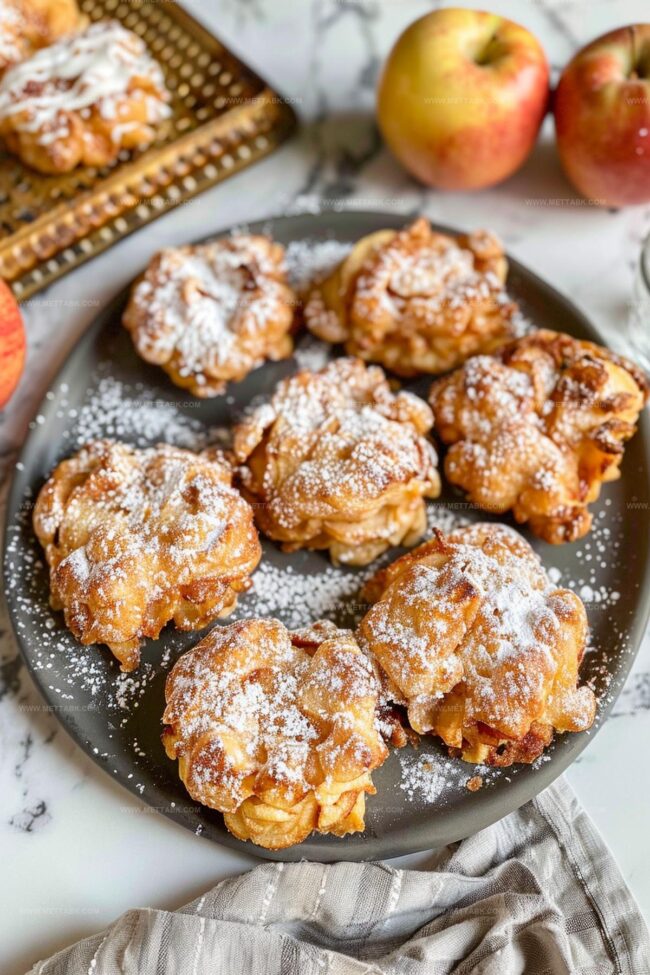
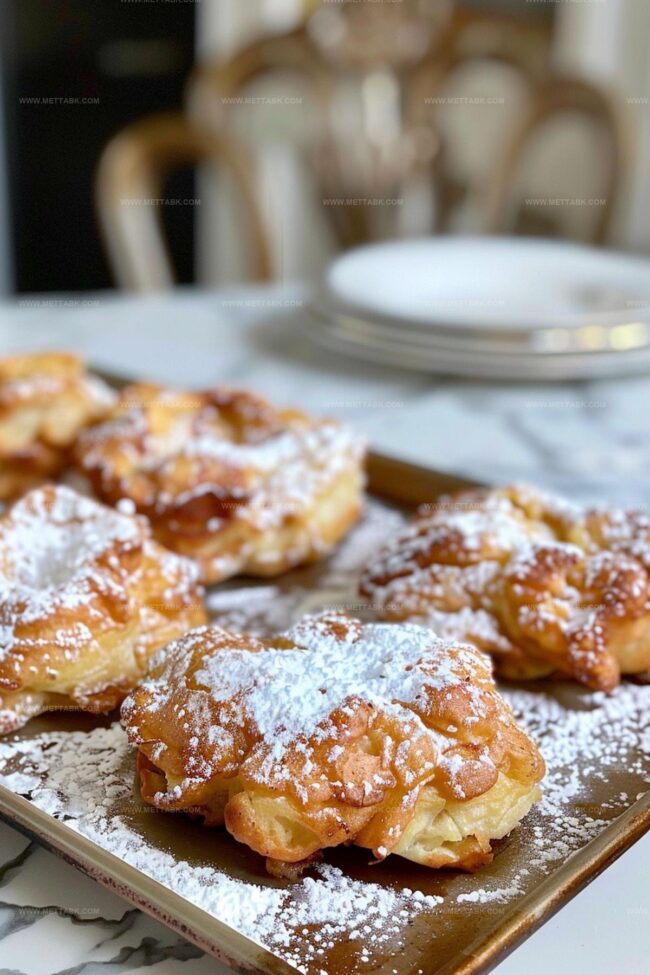
Step 11: Serve with Joy
Let the glaze set for a few minutes.
Serve warm for maximum deliciousness.
Step 12: Keeping the Goodness
These fritters are best eaten the same day.
If you must store them, keep in an airtight container at room temperature for up to 24 hours.
Tips to Perfect Baked Apple Fritters
Variations to Refresh Baked Apple Fritters
Perfect Pairings with Baked Apple Fritters
Storing Baked Apple Fritters Properly
FAQs
The apples are raw and chopped, added directly into the batter before baking. This helps maintain their fresh texture and natural sweetness during the baking process.
Yes, you can use various apple varieties like Granny Smith, Honeycrisp, or Fuji. Choose apples that are firm and slightly tart to provide the best texture and flavor balance in the fritters.
Broiling helps create a caramelized, golden-brown top on the fritters and allows the glaze to bubble and set, giving them a professional bakery-style finish with enhanced flavor and appearance.
Print
Baked Apple Fritters Recipe
- Total Time: 35 minutes
- Yield: 8 1x
Description
Golden, crispy french apple fritters bring homemade comfort straight from your kitchen. Warm spices and sweet apples create a delightful dessert you’ll savor with pure enjoyment.
Ingredients
- 1 large egg
- 1 cup finely chopped apples
- 6 tbsps butter (cold and cubed)
- 1/2 cup milk (preferably with high fat content)
- 3/4 cup all-purpose flour
- 3/4 cup white whole wheat flour
- 1/2 cup brown sugar
- 2 tsps baking powder
- 1 tsp cinnamon
- 1 tsp vanilla extract
- 1/2 tsp nutmeg
- 1/4 tsp allspice
- 1/4 tsp salt
- 1 cup confectioners’ sugar
- 2 tbsps milk (with a high percentage of fat for best results)
- 1 tsp vanilla extract
Instructions
- Preheat the oven to 400°F and line a baking sheet with a silicone mat, ensuring it can withstand broiler temperatures.
- Combine all dry ingredients in a large mixing bowl, sifting together flour, brown sugar, baking powder, spices, and salt.
- Cut cold butter into the dry mixture using a pastry blender until it resembles coarse crumbs.
- In a separate bowl, whisk milk, egg, and vanilla extract until well blended.
- Pour liquid ingredients into the dry mixture, stirring gently to create a cohesive dough. Fold chopped apples into the batter carefully to distribute evenly.
- Drop dough onto the prepared baking sheet using a 1/4 cup measure or heaping tablespoon, spacing fritters slightly apart.
- Bake for 11-13 minutes until bottoms turn golden and centers become firm. Smaller fritters may require 8-10 minutes of baking time.
- Remove from oven and switch oven to broil setting.
- Quickly whisk confectioners’ sugar, milk, and vanilla to create a smooth glaze.
- Brush fritters with a thin layer of glaze, then place under the broiler for 2-4 minutes until tops caramelize and glaze bubbles.
- Transfer fritters to a wire rack and apply a second glaze layer while still warm.
- Allow glaze to set for 5-10 minutes before serving. For best taste, consume on the day of baking and store in an airtight container if needed.
Notes
- Keep butter extra cold for flakier, more tender fritters by chilling it in the freezer for 10-15 minutes before cubing.
- Choose firm, tart baking apples like Granny Smith or Honeycrisp to maintain structure and provide balanced sweetness during baking.
- Swap all-purpose and whole wheat flour with a gluten-free blend, adding 1/2 teaspoon xanthan gum to improve texture and binding.
- Replace milk with unsweetened almond or oat milk, and use coconut oil instead of butter for a lighter, plant-based version of the fritters.
- Prep Time: 20 minutes
- Cook Time: 15 minutes
- Category: Breakfast, Snacks, Desserts
- Method: Baking
- Cuisine: American
Nutrition
- Serving Size: 8
- Calories: 188 kcal
- Sugar: 14 g
- Sodium: 115 mg
- Fat: 7 g
- Saturated Fat: 4 g
- Unsaturated Fat: 3 g
- Trans Fat: 0.1 g
- Carbohydrates: 29 g
- Fiber: 2 g
- Protein: 3 g
- Cholesterol: 37 mg
Clara Bennett
Contributing Recipe Developer & Food Writer
Expertise
Baking and Pastry Development, Gluten-Free and Allergy-Friendly Recipe Creation, Culinary Storytelling and Food Journalism, Recipe Testing and Standardization, Southern Comfort Foods and Modern Twists
Education
Sullivan University – National Center for Hospitality Studies
Associate Degree in Culinary Arts
Focus: Baking and Pastry Arts, Recipe Testing, and Culinary Journalism.
Clara specialized in crafting desserts that blend classic Southern comfort with modern techniques, while developing strong writing skills to tell the story behind every dish.
Lane Community College (Certificate Program)
Certificate in Food Writing and Photography
Focus: Culinary storytelling, recipe formatting, food styling, and visual presentation.
Clara’s love of baking started young, powered by homemade pies, biscuits, and stories passed around the family table.
After earning her degree at Sullivan University and a food writing certificate at Lane Community College, she turned her passion into a craft: sharing recipes that are simple, soulful, and always full of heart.
She’s big on bold flavors, flexible ideas, and creating sweets that fit any table (yes, even if you’re gluten-free). When she’s not baking, you’ll find her wandering farmers’ markets, styling food for the next photo shoot, or working on her ever-growing recipe journal.