
The Best Baked Broccoli Cheese Balls Recipe: Crispy Comfort Joy
Crispy baked broccoli cheese balls spark joy in every kitchen adventure.
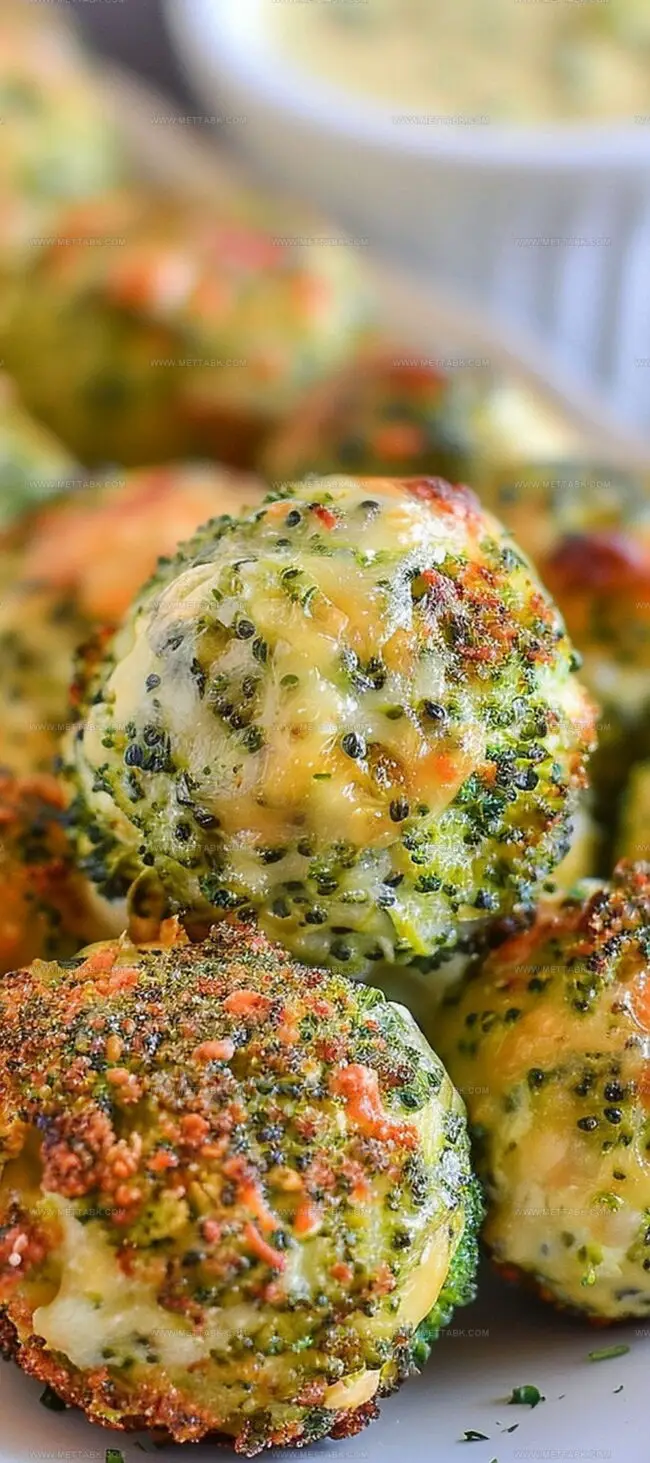
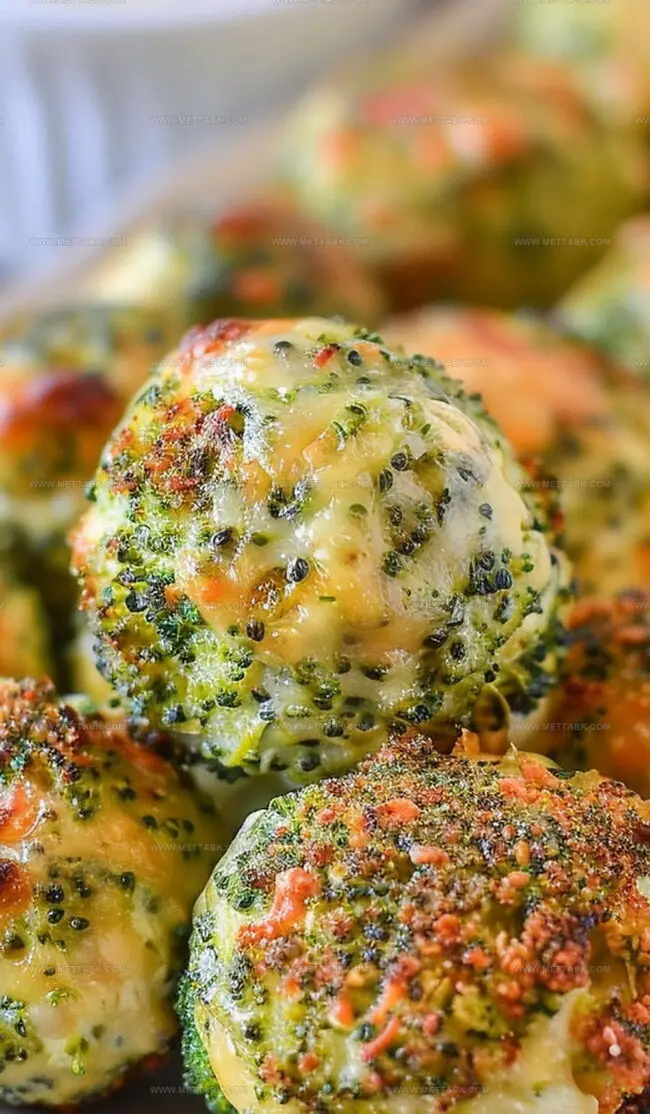
Cheese and green florets combine into delightful bite-sized morsels that surprise and delight.
Crunchy exteriors hide soft, melty centers packed with incredible flavor.
Simple ingredients dance together, creating magic on your plate.
Smart home cooks appreciate how quickly these little gems come together.
Nutritious and playful, they work perfectly as game day snacks or elegant appetizers.
Baked Broccoli Cheese Balls That Delight

Ingredients for Baked Broccoli Cheese Balls
Core Ingredients:Aromatics and Seasonings:Preparation Essentials:How to Bake Baked Broccoli Cheese Balls

Step 1: Boil and Prep Broccoli
Grab your fresh broccoli florets and drop them into a pot of boiling water. Let them swim and soften for about 5-7 minutes until they’re tender but still bright green.
Quickly drain the broccoli and dump it into a large mixing bowl, letting it cool down for a few moments.
Step 2: Mix Flavor-Packed Ingredients
Time to create magic!
Toss these ingredients into the bowl:Sprinkle in some salt and pepper to wake up those flavors. Mix everything together until it looks like a delicious, cohesive blend that wants to become a bite-sized treat.
Step 3: Shape Delightful Cheese Balls
Roll up your sleeves and get ready for some fun! Grab a tablespoon and scoop out a heaping portion of the mixture.
Gently roll it between your palms, forming perfect little balls. Keep going until you’ve used up all the mixture.
Step 4: Bake to Golden Perfection
Grab a wire rack and place it over a baking tray. Arrange your broccoli cheese balls with some breathing room between them.
Slide them into a preheated oven at 300°F. Bake for 20-25 minutes, watching them turn into crispy, golden nuggets of deliciousness.
Step 5: Serve and Enjoy
Pull those gorgeous bites out of the oven and serve them immediately. They’re best when they’re hot, crispy, and begging to be devoured.
Perfect as a snack, appetizer, or side dish that’ll make everyone at the table smile.
Tips to Perfect Baked Broccoli Cheese Balls

Variations on Baked Broccoli Cheese Balls
Pairing Suggestions for Baked Broccoli Cheese Balls
Storing Baked Broccoli Cheese Balls
FAQs
Yes, they’re nutritious! Packed with protein from eggs and cheese, fiber from broccoli, and lower in calories compared to deep-fried snacks. They provide essential vitamins and minerals while being a tasty way to enjoy vegetables.
Absolutely! Simply substitute Panko breadcrumbs with gluten-free breadcrumbs or almond flour. The recipe remains similar, maintaining the same delicious flavor and texture.
Cheddar and parmesan are excellent choices. They melt well, provide sharp flavor, and help bind the ingredients together. Experiment with your favorite cheese combinations for unique taste profiles.
Print
Baked Broccoli Cheese Balls Recipe
- Total Time: 40 minutes
- Yield: 4 1x
Description
Savory broccoli cheese balls blend crispy textures with cheesy goodness from classic American comfort cuisine. Crisp exterior and melty interior make these appetizers perfect for game day or casual gatherings you’ll want to share with friends.
Ingredients
- 3/4 cup grated cheese (variety of choice)
- 1 cup panko breadcrumbs
- 2 cups broccoli florets
- 2 medium eggs (beaten)
- 1 small onion (finely chopped)
- 1 tsp minced garlic
- Salt and freshly ground black pepper to taste
Instructions
- Trim and chop broccoli into small, uniform florets to ensure even cooking and consistent texture in the final dish.
- Immerse broccoli in boiling water for 5-6 minutes until tender but still vibrant green, then quickly drain and pat dry to remove excess moisture.
- In a spacious mixing bowl, combine cooled broccoli with grated cheese, breadcrumbs, finely diced onion, minced garlic, and whisked eggs, seasoning with salt and pepper.
- Thoroughly blend ingredients, ensuring even distribution of flavors and creating a cohesive mixture that holds together easily.
- Using moistened hands, carefully craft compact spheres approximately 1.5 inches in diameter, compressing mixture firmly to prevent crumbling.
- Position cheese balls on a lightly greased baking sheet, maintaining slight separation to promote uniform heat circulation.
- Preheat oven to 375°F and bake for 18-22 minutes, rotating tray midway to achieve consistent golden-brown exterior and crispy texture.
- Allow broccoli cheese balls to rest for 2-3 minutes after removing from oven, which helps them stabilize and maintain structural integrity.
- Serve immediately as a warm appetizer, accompanied by optional dipping sauce like ranch or marinara for enhanced flavor profile.
Notes
- Ensure broccoli is thoroughly drained to prevent soggy cheese balls, squeezing out excess moisture with a clean kitchen towel for maximum crispiness.
- Experiment with different cheese varieties like sharp cheddar, gouda, or parmesan to create unique flavor profiles and add depth to the dish.
- For gluten-free options, substitute Panko breadcrumbs with almond flour or gluten-free breadcrumbs to maintain the crispy texture.
- Make these cheese balls vegetarian-friendly by using plant-based cheese alternatives and ensuring all ingredients align with vegetarian dietary requirements.
- Prep Time: 20 minutes
- Cook Time: 20 minutes
- Category: Appetizer, Snacks
- Method: Baking
- Cuisine: American
Nutrition
- Serving Size: 4
- Calories: 190 kcal
- Sugar: 2 g
- Sodium: 320 mg
- Fat: 10 g
- Saturated Fat: 5 g
- Unsaturated Fat: 4 g
- Trans Fat: 0.1 g
- Carbohydrates: 16 g
- Fiber: 3 g
- Protein: 11 g
- Cholesterol: 90 mg
Clara Bennett
Contributing Recipe Developer & Food Writer
Expertise
Baking and Pastry Development, Gluten-Free and Allergy-Friendly Recipe Creation, Culinary Storytelling and Food Journalism, Recipe Testing and Standardization, Southern Comfort Foods and Modern Twists
Education
Sullivan University – National Center for Hospitality Studies
Associate Degree in Culinary Arts
Focus: Baking and Pastry Arts, Recipe Testing, and Culinary Journalism.
Clara specialized in crafting desserts that blend classic Southern comfort with modern techniques, while developing strong writing skills to tell the story behind every dish.
Lane Community College (Certificate Program)
Certificate in Food Writing and Photography
Focus: Culinary storytelling, recipe formatting, food styling, and visual presentation.
Clara’s love of baking started young, powered by homemade pies, biscuits, and stories passed around the family table.
After earning her degree at Sullivan University and a food writing certificate at Lane Community College, she turned her passion into a craft: sharing recipes that are simple, soulful, and always full of heart.
She’s big on bold flavors, flexible ideas, and creating sweets that fit any table (yes, even if you’re gluten-free). When she’s not baking, you’ll find her wandering farmers’ markets, styling food for the next photo shoot, or working on her ever-growing recipe journal.