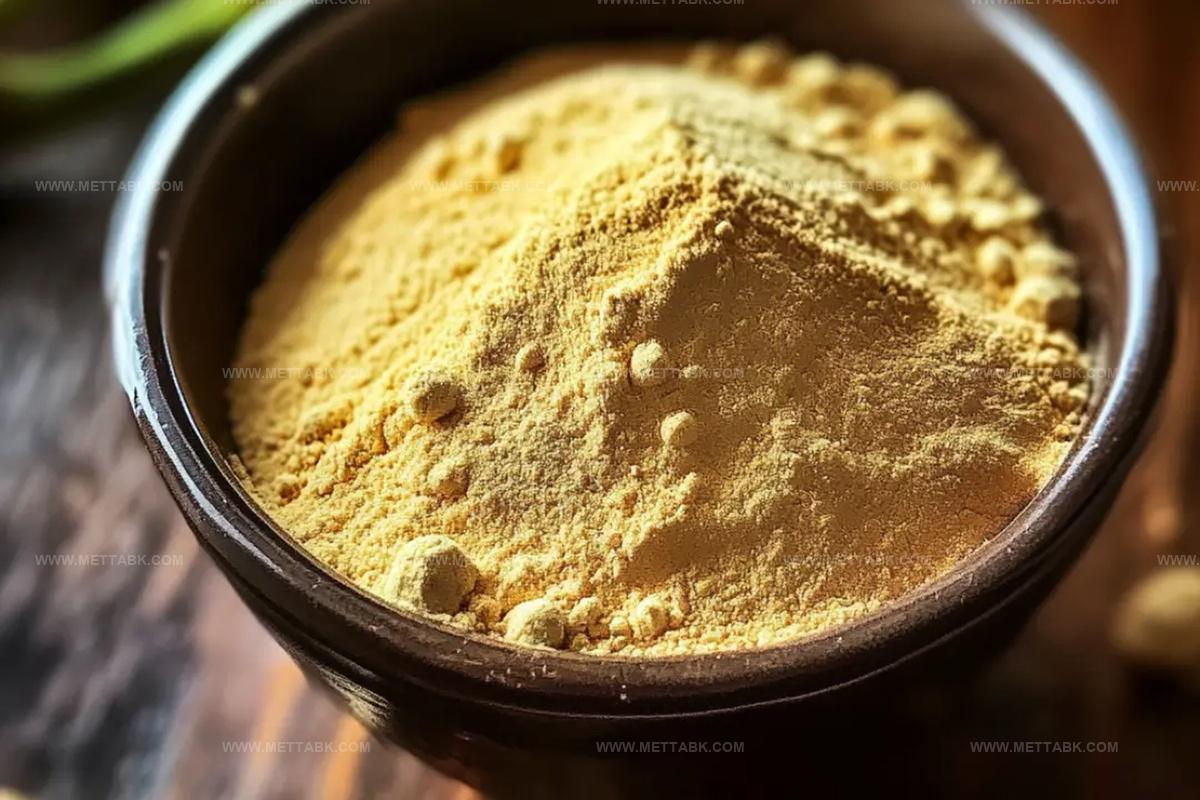
Magical Banana Powder Recipe: Transform Your Baking Game
Sweet banana powder can transform ordinary recipes into extraordinary culinary experiences.
Crafting this magical ingredient brings joy to any kitchen adventure.
Powdered bananas offer incredible versatility for bakers and health enthusiasts alike.
Homemade techniques provide a simple method for preserving ripe fruit before spoilage occurs.
Blending tropical flavors with innovative preservation strategies makes this process both practical and delightful.
Nutritional benefits combine with remarkable convenience when you create your own banana powder.
Let’s unlock a delicious world of possibilities with this incredible ingredient.
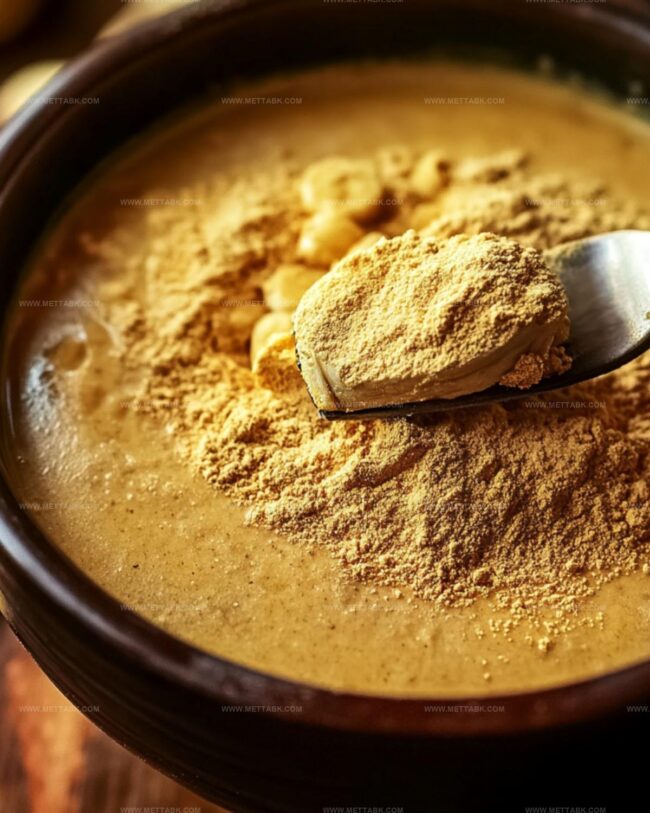
Banana Powder That Boosts Your Smoothies and Baking
Ingredients in Banana Powder Mix
For the Base:For the Tools and Surfaces:For Preparation and Processing:How to Use Banana Powder in Recipes
Step 1: Warm Up the Oven
Set your oven to its lowest temperature setting, ideally around 150°F (65°C). Lower temperatures help preserve nutrients and prevent burning during the drying process.
Step 2: Prepare Banana Slices
Select ripe bananas with brown spots for maximum sweetness. Carefully peel each banana and use a sharp knife to cut them into thin, consistent slices.
Aim for uniform thickness to ensure even drying.
Step 3: Arrange on Baking Surface
Cover a baking sheet with parchment paper to prevent sticking.
Spread banana slices in a single layer without overlapping. Ensure each slice has breathing room for proper dehydration.
Step 4: Slow Dry the Bananas
Place the baking sheet in the preheated oven. Allow bananas to dry slowly for 6-12 hours, depending on slice thickness and oven performance.
Rotate the tray occasionally for consistent drying.
Step 5: Check Banana Crispness
Bananas are ready when they become completely dry and brittle.
They should snap easily when bent and have a crisp, paper-like texture without any moisture.
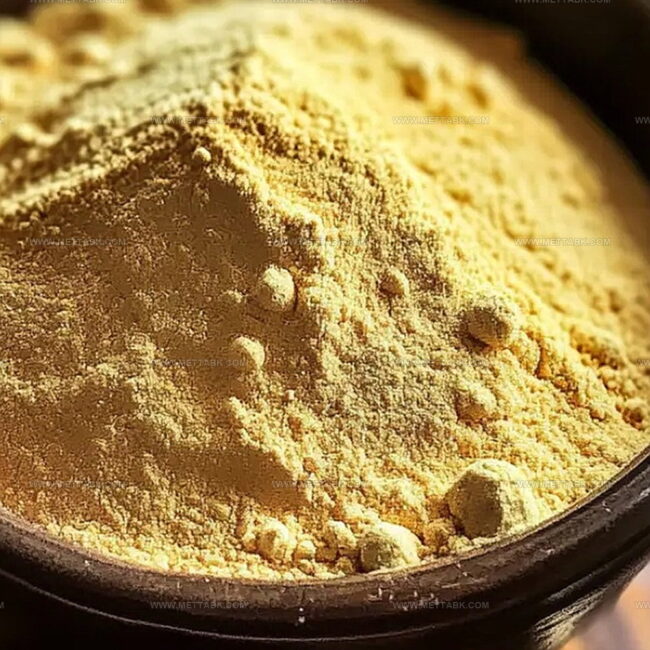
Step 6: Transform into Fine Powder
Transfer dried banana slices to a high-powered blender or food processor.
Pulse and blend until you achieve a smooth, fine powder with no large chunks.
Step 7: Preserve Your Powder
Transfer banana powder to a clean, sealed glass container.
Store in a dark, cool pantry away from direct sunlight and moisture to maintain freshness.
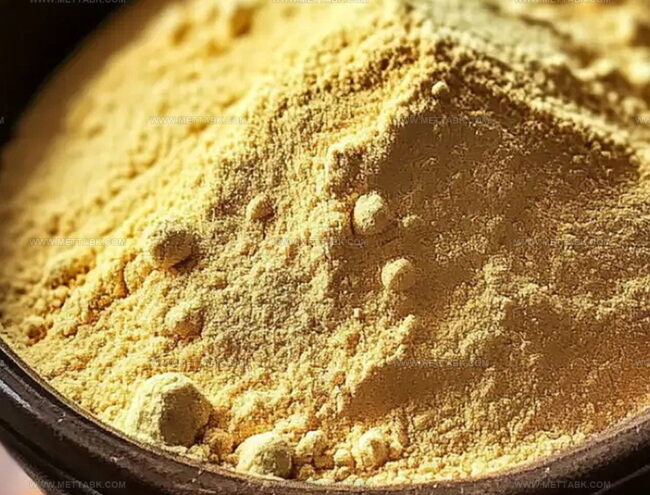
Tips to Get the Best Out of Banana Powder
Variations on Banana Powder Recipes
Pairings That Work with Banana Powder
Best Ways to Store Banana Powder
Transfer banana powder to an airtight glass jar or sealed container, keeping it away from moisture and direct sunlight. Properly stored, it can last up to 6 months in the refrigerator.
Place powder in a dark, cool pantry shelf inside a tight-sealing container, protecting it from humidity and heat. Check for any clumping or changes in texture monthly.
Pack banana powder in a freezer-safe container or vacuum-sealed bag, removing excess air. Freeze for extended shelf life up to 12 months, maintaining maximum flavor and nutritional value.
Add a small food-grade silica gel packet inside the storage container to absorb any potential moisture and prevent clumping or spoilage.
FAQs
Choose bananas that are very ripe with brown spots, as they have more natural sweetness and will create a more flavorful powder.
Yes, a food dehydrator works perfectly and can often be more energy-efficient for making banana powder.
When stored properly in an airtight container, banana powder can last up to 6 months in a cool, dry place without losing its flavor or nutritional value.
You can add banana powder to smoothies, baking recipes, oatmeal, yogurt, and as a natural sweetener in various dishes for extra banana flavor and nutrition.
Print
Banana Powder Recipe
- Total Time: 8 hours 15 minutes
- Yield: 1 1x
Description
Banana powder elevates kitchen creativity with its versatile magic. Homemade and simple, this ingredient unlocks delightful culinary possibilities you’ll savor in smoothies, baking, and snack preparations.
Ingredients
Main Ingredients:
- 2 cups ripe bananas (approximately 4–5 medium bananas)
Drying Ingredients:
- 1 baking sheet
- Parchment paper
Equipment:
- Food processor or blender
- Dehydrator or oven
- Airtight storage container
Instructions
- Prepare a baking sheet by lining it with parchment paper and set your oven to its lowest temperature setting, ideally 150F (65C).
- Select ripe bananas and carefully slice them into thin, consistent pieces to ensure uniform drying.
- Arrange the banana slices in a single, non-overlapping layer across the prepared baking sheet, maximizing air circulation.
- Place the baking sheet in the preheated oven and allow the bananas to dry completely, which typically requires 8-12 hours of slow dehydration.
- Monitor the banana slices periodically, checking their texture and ensuring they transform into crisp, brittle pieces without burning.
- Remove the baking sheet from the oven once the banana slices have achieved a completely dry and crunchy consistency.
- Allow the dehydrated banana slices to cool to room temperature, which helps them become even more crisp.
- Transfer the cooled banana slices into a high-powered blender or food processor and pulse until a fine, uniform powder develops.
- Sift the banana powder if desired to remove any larger fragments and create an extra smooth texture.
- Transfer the banana powder into an airtight container, storing it in a cool, dark location to maintain its quality and prevent moisture absorption.
Notes
- Use extremely ripe, spotty bananas for maximum sweetness and deeper flavor profile.
- Slice bananas uniformly to ensure consistent drying and prevent uneven powder texture.
- Use a silicone baking mat instead of parchment paper for more even heat distribution and easier removal.
- Grind powder immediately after cooling to capture maximum nutritional benefits and prevent moisture absorption.
- Prep Time: 15 minutes
- Cook Time: 8 hours (or 12 hours)
- Category: Snacks, Breakfast, Desserts
- Method: Baking
- Cuisine: Indian
Nutrition
- Serving Size: 1
- Calories: 89 kcal
- Sugar: 12 g
- Sodium: 1 mg
- Fat: 0.3 g
- Saturated Fat: 0.1 g
- Unsaturated Fat: 0.2 g
- Trans Fat: 0 g
- Carbohydrates: 23 g
- Fiber: 2.6 g
- Protein: 1.1 g
- Cholesterol: 0 mg
Nate Harper
Founder & Recipe Curator
Expertise
Single-Recipe Development, Farm-to-Table Cooking, Seasonal Menu Planning, Culinary Storytelling, Home Kitchen Innovation
Education
Cascade Culinary Institute – Central Oregon Community College
Certificate in Culinary Arts
Focus: Farm-to-table cuisine, sustainable cooking practices, and seasonal recipe creation.
Nate studied under experienced chefs who emphasized local sourcing, minimal waste, and building recipes from fresh, simple ingredients.
Nate Harper is the founder and creative force behind Make, Take, Bake. Raised in the wild beauty of Oregon’s high desert, Nate grew up surrounded by family gardens, farmers’ markets, and home kitchens that celebrated the seasons.
His early love for simple, honest food evolved into a professional passion when he attended Cascade Culinary Institute, where he sharpened his skills in creating recipes that are sustainable, satisfying, and made for everyday life.
Nate’s goal is to make cooking feel accessible, free of fuss, and full of flavor. He believes a single, thoughtfully built dish can stand alone, and sometimes even steal the show.