
Berry Tartlets Recipe: Sweet Little Gems for Your Sweet Tooth
Sweet and delicate berry tartlets dance with vibrant colors on your dessert plate, promising a delightful culinary adventure.
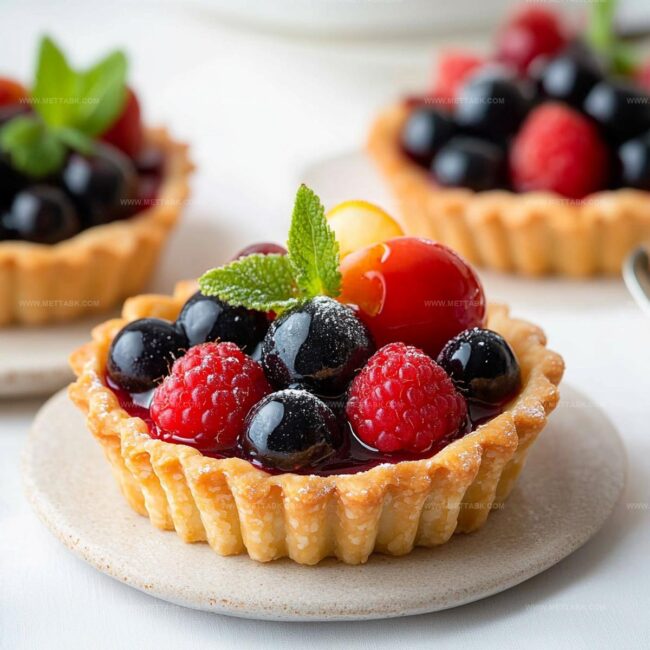
Crisp pastry shells cradle a luscious cream filling that whispers of summer afternoons.
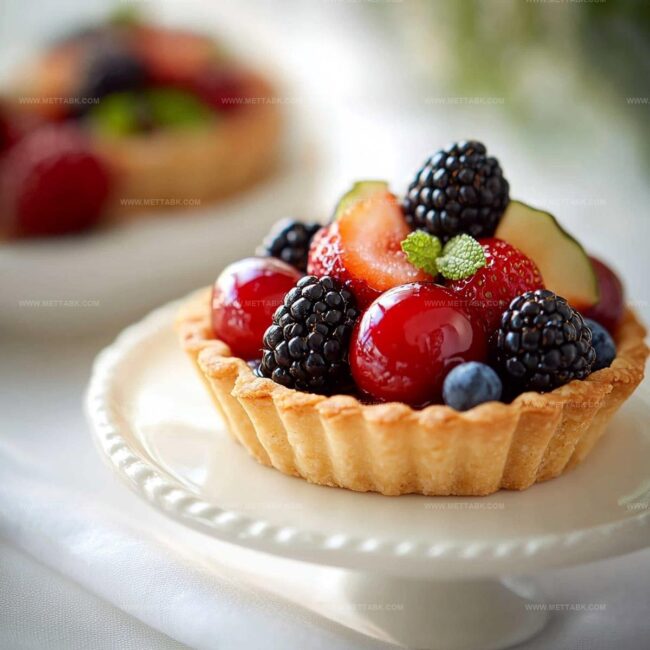
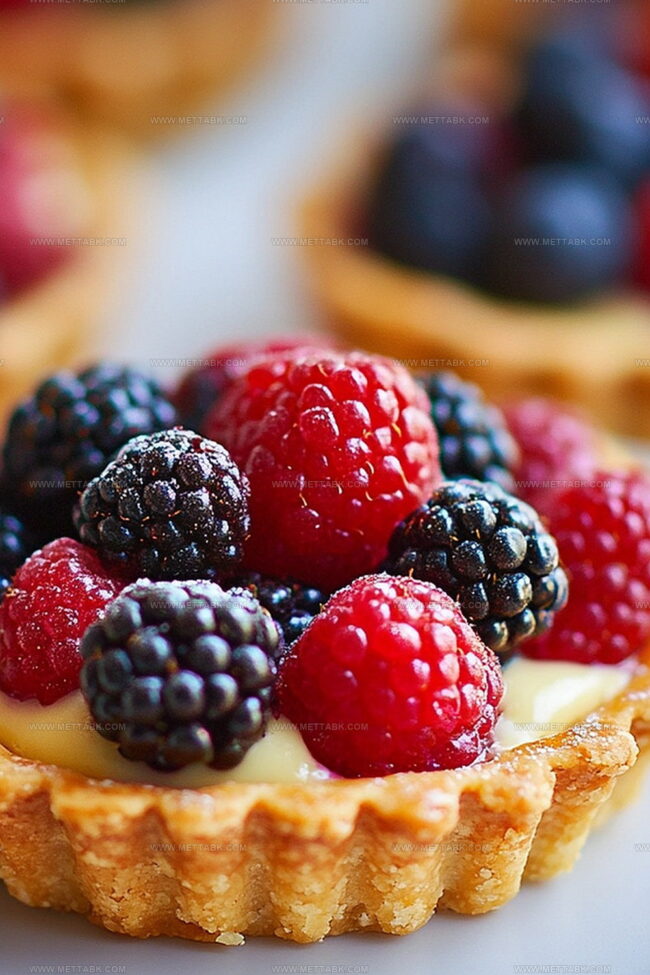
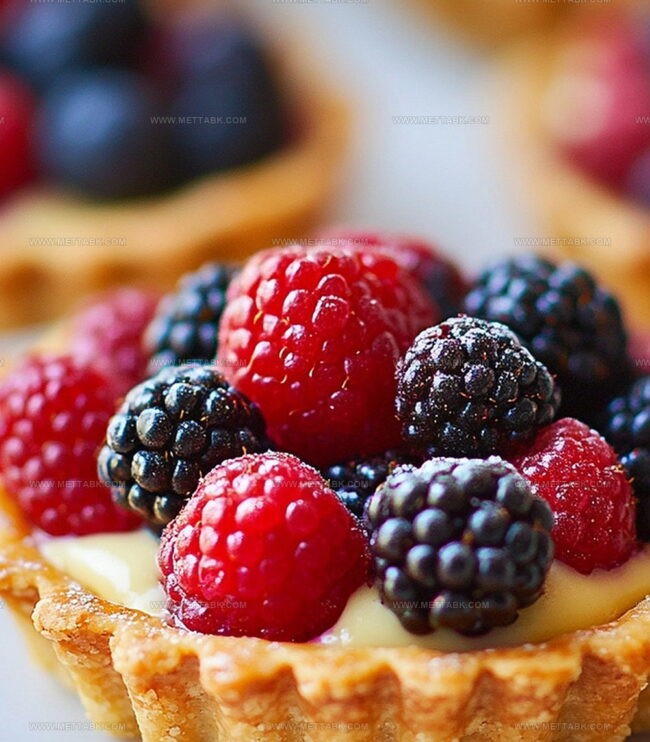
Ripe berries nestle perfectly across the surface, creating a stunning visual masterpiece.
Delicate flavors merge in each bite, balancing creamy smoothness with bright fruity notes.
Sophisticated yet approachable, these tartlets welcome both novice and experienced bakers to create something magical.
Simple ingredients transform into an elegant dessert that will impress anyone who tastes them.
Ready to craft a dessert that looks like it belongs in a professional bakery window?
Berry Tartlets That Make Every Bite Special
Ingredients for Sweet and Tangy Berry Tartlets
Pastry Base:Cream Filling:Fresh Topping:How to Bake Berry Tartlets with Flaky Crust
Step 1: Prepare Buttery Pastry Dough
In a mixing bowl, combine flour and sugar. Using a pastry cutter or cold fingers, work the chilled butter into the dry ingredients until the mixture resembles coarse breadcrumbs.
The goal is to create a crumbly texture that will result in a flaky, tender crust.
Step 2: Chill the Dough
Wrap the pastry dough tightly in plastic wrap and refrigerate for half an hour.
This crucial resting period allows the gluten to relax and prevents the pastry from shrinking during baking.
Step 3: Shape the Tartlet Shells
Heat the oven to 375°F.
On a lightly floured surface, roll out the chilled dough to a thin, even thickness. Use a round cookie cutter or glass to cut perfect circles that will become your tartlet shells.
Step 4: Bake the Pastry Shells
Gently press the dough circles into a muffin tin, creating delicate little cups. Bake in the preheated oven until the edges turn a beautiful golden brown, typically 15-20 minutes.
Remove and let cool completely on a wire rack.
Step 5: Whip Up Dreamy Cream
In a chilled mixing bowl, whip the heavy cream with powdered sugar and a splash of vanilla.
Beat until soft, billowy peaks form, creating a light and airy filling that will complement the crisp pastry shells.
Step 6: Assemble and Garnish
Carefully fill each cooled pastry shell with the whipped cream.
Top generously with a colorful medley of fresh berries:Arrange the berries artfully to create an irresistible dessert that’s as beautiful as it is delicious.
Tips for Perfect Berry Tartlets Every Time
Creative Variations on Berry Tartlets to Try
Pairings That Enhance Berry Tartlets Enjoyment
How to Keep Berry Tartlets Fresh and Delicious
FAQs
Yes, you can use frozen berries, but make sure to thaw and drain them completely to prevent excess moisture in the tartlets.
Bake the shells until they are golden brown and let them cool completely before adding the whipped cream to maintain their crisp texture.
You can use small tart pans or even line a baking sheet with parchment paper and create free-form tartlet shapes.
Absolutely! You can prepare the dough up to 2 days in advance and store it wrapped in plastic in the refrigerator until ready to use.
Print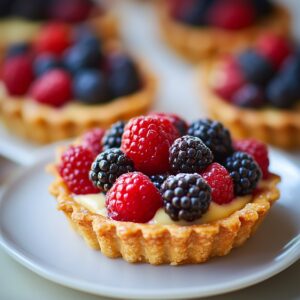
Berry Tartlets Recipe
- Total Time: 1 hour 5 minutes
- Yield: 4 1x
Description
Delightful berry tartlets reveal a symphony of French pastry artistry with buttery crusts and luscious seasonal berries. Light cream fills complement fresh fruit, offering sweet sophistication perfect for elegant summer gatherings.
Ingredients
- 1 cup mixed fresh berries (strawberries, blueberries, raspberries)
- 1 cup heavy cream (236 ml)
- 1 12 cups all-purpose flour (180 g)
- 1/2 cup unsalted cold butter (113 g)
- 1/4 cup granulated sugar (50 g)
- 2 tbsps powdered sugar (15 g)
- 1 tsp vanilla extract
Instructions
- Combine flour and sugar in a mixing bowl, then incorporate cold butter using a pastry cutter until the mixture resembles coarse crumbs.
- Wrap the dough in plastic film and refrigerate for half an hour to minimize potential shrinkage during baking.
- Heat the oven to 375°F and roll the chilled dough to approximately 1/8-inch thickness, cutting precise circular shapes.
- Gently mold the dough circles into muffin tin cavities, ensuring even coverage and smooth edges.
- Bake the tartlet shells for 15-20 minutes until they develop a rich golden-brown color, then transfer to a cooling rack.
- Whip heavy cream with powdered sugar and vanilla extract, beating until soft, billowy peaks emerge.
- Once tartlet shells have completely cooled, delicately pipe or spoon the whipped cream into each shell.
- Artfully arrange an assortment of fresh berries atop the cream-filled tartlets, creating an elegant and colorful presentation.
Notes
- Chill dough thoroughly to ensure a flaky, tender pastry crust that won’t shrink during baking.
- Use cold butter and work quickly to maintain small butter chunks, creating a light, crisp texture in the tartlet shells.
- Swap wheat flour with gluten-free alternatives like almond or coconut flour for those with gluten sensitivities.
- Mix different berry varieties like raspberries, blueberries, and blackberries for a vibrant, colorful presentation that adds depth of flavor.
- Prep Time: 45 minutes
- Cook Time: 20 minutes
- Category: Desserts, Snacks
- Method: Baking
- Cuisine: French
Nutrition
- Serving Size: 4
- Calories: 280 kcal
- Sugar: 14 g
- Sodium: 2 mg
- Fat: 18 g
- Saturated Fat: 11 g
- Unsaturated Fat: 6 g
- Trans Fat: 0.5 g
- Carbohydrates: 27 g
- Fiber: 2 g
- Protein: 3 g
- Cholesterol: 50 mg
Clara Bennett
Contributing Recipe Developer & Food Writer
Expertise
Baking and Pastry Development, Gluten-Free and Allergy-Friendly Recipe Creation, Culinary Storytelling and Food Journalism, Recipe Testing and Standardization, Southern Comfort Foods and Modern Twists
Education
Sullivan University – National Center for Hospitality Studies
Associate Degree in Culinary Arts
Focus: Baking and Pastry Arts, Recipe Testing, and Culinary Journalism.
Clara specialized in crafting desserts that blend classic Southern comfort with modern techniques, while developing strong writing skills to tell the story behind every dish.
Lane Community College (Certificate Program)
Certificate in Food Writing and Photography
Focus: Culinary storytelling, recipe formatting, food styling, and visual presentation.
Clara’s love of baking started young, powered by homemade pies, biscuits, and stories passed around the family table.
After earning her degree at Sullivan University and a food writing certificate at Lane Community College, she turned her passion into a craft: sharing recipes that are simple, soulful, and always full of heart.
She’s big on bold flavors, flexible ideas, and creating sweets that fit any table (yes, even if you’re gluten-free). When she’s not baking, you’ll find her wandering farmers’ markets, styling food for the next photo shoot, or working on her ever-growing recipe journal.