The Most Fun Bread In A Bag Recipe for Bakers of All Ages
Crafting homemade bread in a bag brings unexpected joy to kitchen adventures.
Mixing ingredients becomes a delightful process with minimal cleanup and maximum flavor.
Simple pantry staples transform into soft, warm comfort that fills your home with incredible aromas.
No complicated techniques or specialized equipment stand between you and delicious freshly baked goodness.
Kneading happens right inside the sealed plastic bag, making this method perfect for baking novices and seasoned cooks alike.
Measuring and combining ingredients takes just minutes, promising a satisfying culinary experience.
Gather your enthusiasm and let’s create something deliciously memorable that will have everyone asking for seconds.
Bread in a Bag: The Easiest Homemade Bread Ever
Ingredients to Bake Bread in a Bag
For the Dry Ingredients:For the Wet Ingredients:For the Leavening Agent:Step-by-Step Bread in a Bag Instructions
Step 1: Kick-Start the Yeast Magic
Grab a large zip-top bag and toss in flour, sugar, yeast, and warm water. Seal the bag and let it chill for 10 minutes.
Watch the yeast come alive and start bubbling with excitement.
Step 2: Knead and Mix Like a Pro
Pour in another round of flour, drizzle some olive oil, and sprinkle salt into the bag.
Seal it tight and start massaging the dough. Squish and squeeze for 5-7 minutes until the mixture transforms into a silky-smooth wonder.
Step 3: Shape Your Bread Dream
Add the final batch of flour to the bag. Gently coax the dough into a beautiful loaf shape.
You might need to remove some extra flour as the dough comes together perfectly.
Step 4: Let the Dough Rise and Shine
Allow the dough to rest and expand inside the bag for 30 minutes.
Watch it magically double in size, getting ready for its oven adventure.
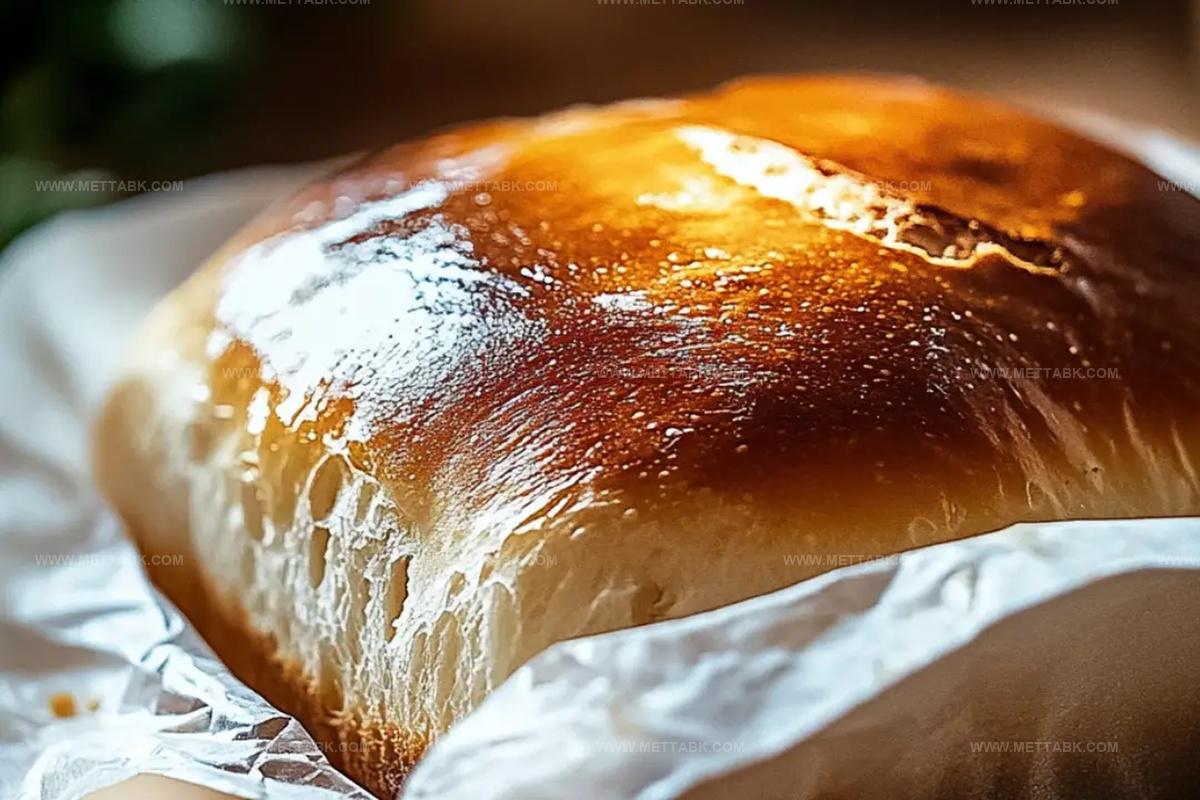
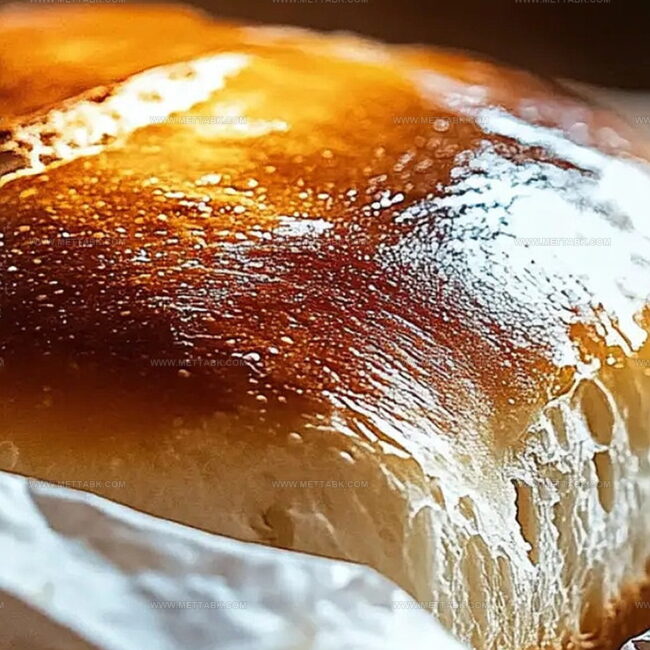
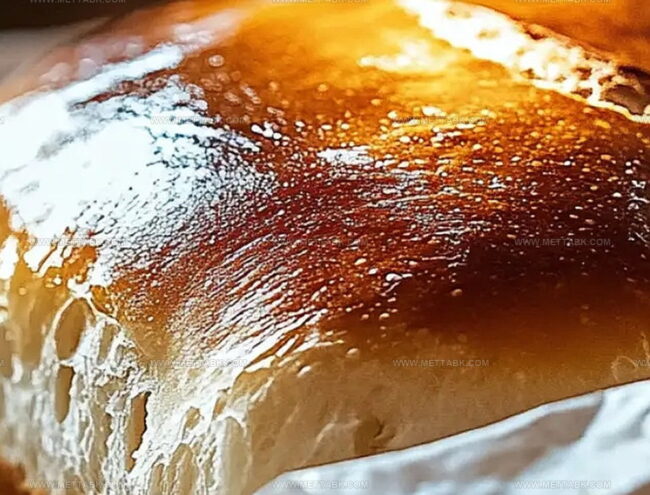
Step 5: Bake to Golden Perfection
Fire up the oven to 375°F (190°C).
Transfer the puffy dough to a greased loaf pan. Bake for 25-30 minutes until it turns a gorgeous golden brown color.
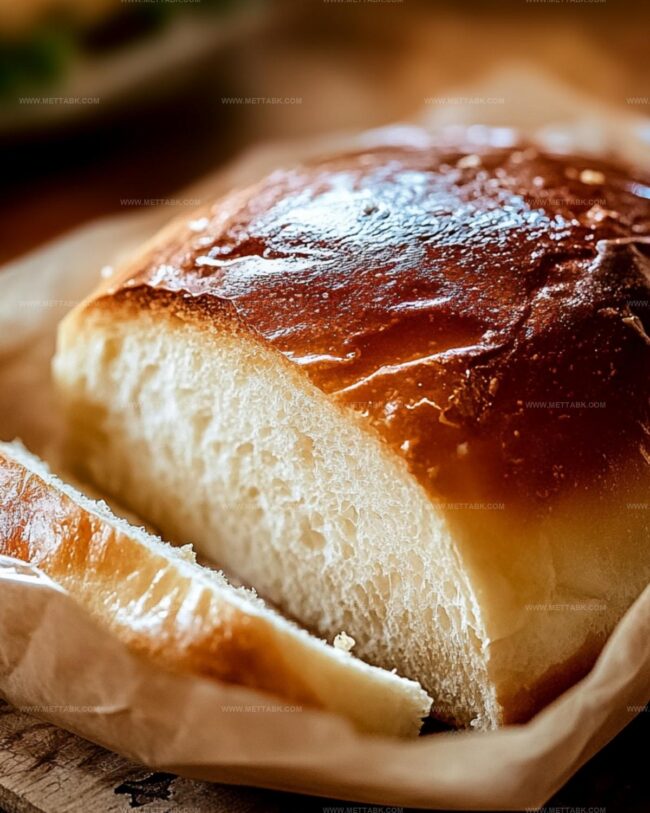
Step 6: Slice and Savor
Let the bread cool down for a few moments. Slice into the warm, fragrant loaf and enjoy the fruits of your delicious labor!
Tips to Bake Perfect Bread in a Bag
Fun Variations on Bread in a Bag
Pairings That Go Well with Bread in a Bag
How to Keep Bread in a Bag Fresh
Place cooled bread in an airtight container or sealed plastic bag, keeping it fresh for 3-4 days. Wrap tightly to prevent moisture loss and maintain softness.
Slice bread before freezing, then wrap each slice or whole loaf in plastic wrap and aluminum foil. Freeze up to 3 months for maximum flavor preservation.
Store at room temperature in a bread box or sealed container for 2-3 days, keeping away from direct sunlight and heat sources.
Warm slices in a toaster or oven at 350F for 3-5 minutes. Spritz with water before heating to restore moisture and create a crispy crust.
FAQs
Using a zip-top bag eliminates the need for messy countertops and complicated kneading techniques. It makes bread making simple, fun, and clean, perfect for beginners or kids learning to bake.
Yes, you can experiment with whole wheat flour, bread flour, or a mix. Just ensure the flour has similar protein content to maintain the bread’s texture and rise.
Yeast should become foamy and bubbly within 10 minutes of mixing with warm water. If it doesn’t activate, your yeast might be old or the water temperature was incorrect. Use water around 110°F (43°C) for best results.
Print
Bread In A Bag Recipe
- Total Time: 1 hour 15 minutes
- Yield: 8 1x
Description
Comfort meets convenience in this bread in a bag recipe, a simple method that delivers homemade goodness with minimal fuss. Mixing, kneading, and baking become effortless, inviting you to enjoy fresh, warm bread without complex kitchen techniques.
Ingredients
Primary Ingredients:
- 3 cups (710 ml) all-purpose flour
- 1 packet rapid-rise yeast
- 1 cup (240 ml) warm water
Seasoning Ingredients:
- 3 teaspoons (15 ml) sugar
- 1 1/2 teaspoons (7.5 ml) salt
Binding Ingredients:
- 3 tablespoons (45 ml) olive oil
Instructions
- Awaken the yeast by mixing flour, sugar, yeast, and warm water inside a large zip-top bag. Seal and let the mixture rest for 10 minutes, allowing fermentation to begin.
- Introduce olive oil, salt, and an additional flour portion into the bag. Massage and knead the contents thoroughly for 5-7 minutes until a cohesive, elastic texture develops.
- Incorporate the final flour quantity, manipulating the dough within the bag to form a compact loaf shape. Remove excess flour as the mixture consolidates.
- Allow the dough to undergo fermentation inside the sealed bag for 30 minutes, watching it expand and nearly double in volume.
- Heat the oven to 375F (190C). Carefully transfer the risen dough from the bag into a prepared loaf pan, ensuring smooth placement.
- Bake the bread for 25-30 minutes, monitoring until the surface achieves a rich, golden-brown complexion indicating complete cooking.
- Remove from the oven and permit the bread to cool slightly, enabling internal structure to stabilize before slicing and serving.
Notes
- Use warm water between 110-115°F to perfectly activate the yeast without killing it.
- Ensure the bag is sealed tightly when kneading to prevent any messy spills in your kitchen.
- Work on a flat surface while kneading to distribute ingredients evenly and develop gluten structure effectively.
- Replace wheat flour with a blend of gluten-free flour mix and add xanthan gum for better texture and binding.
- Prep Time: 45 minutes
- Cook Time: 30 minutes
- Category: Breakfast, Lunch, Dinner, Snacks
- Method: Baking
- Cuisine: American
Nutrition
- Serving Size: 8
- Calories: 175kcal
- Sugar: 2g
- Sodium: 143mg
- Fat: 5g
- Saturated Fat: 0.7g
- Unsaturated Fat: 4g
- Trans Fat: 0g
- Carbohydrates: 30g
- Fiber: 1g
- Protein: 5g
- Cholesterol: 0mg
Nate Harper
Founder & Recipe Curator
Expertise
Single-Recipe Development, Farm-to-Table Cooking, Seasonal Menu Planning, Culinary Storytelling, Home Kitchen Innovation
Education
Cascade Culinary Institute – Central Oregon Community College
Certificate in Culinary Arts
Focus: Farm-to-table cuisine, sustainable cooking practices, and seasonal recipe creation.
Nate studied under experienced chefs who emphasized local sourcing, minimal waste, and building recipes from fresh, simple ingredients.
Nate Harper is the founder and creative force behind Make, Take, Bake. Raised in the wild beauty of Oregon’s high desert, Nate grew up surrounded by family gardens, farmers’ markets, and home kitchens that celebrated the seasons.
His early love for simple, honest food evolved into a professional passion when he attended Cascade Culinary Institute, where he sharpened his skills in creating recipes that are sustainable, satisfying, and made for everyday life.
Nate’s goal is to make cooking feel accessible, free of fuss, and full of flavor. He believes a single, thoughtfully built dish can stand alone, and sometimes even steal the show.