
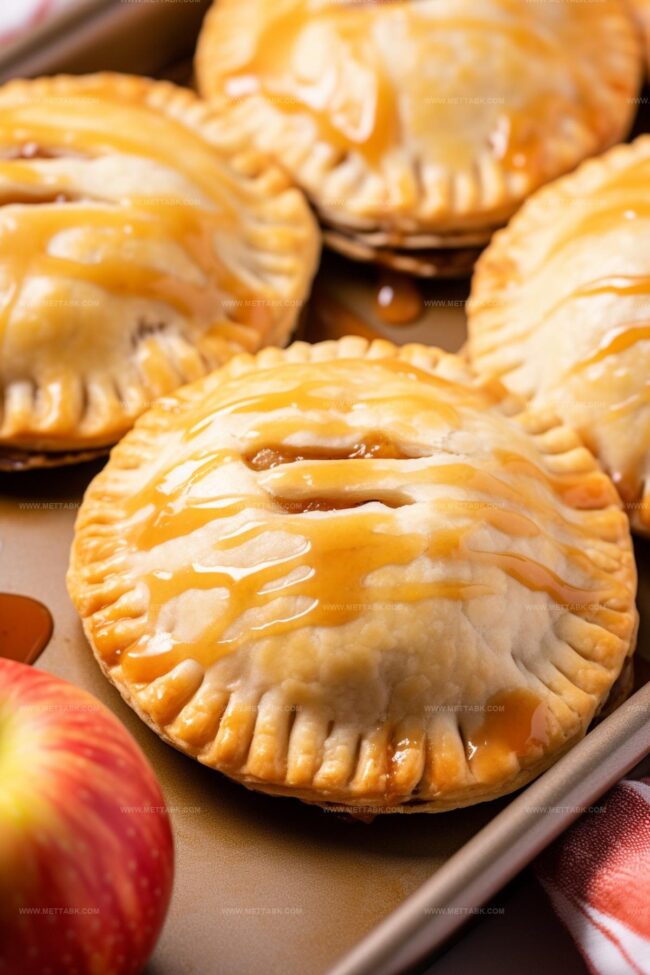
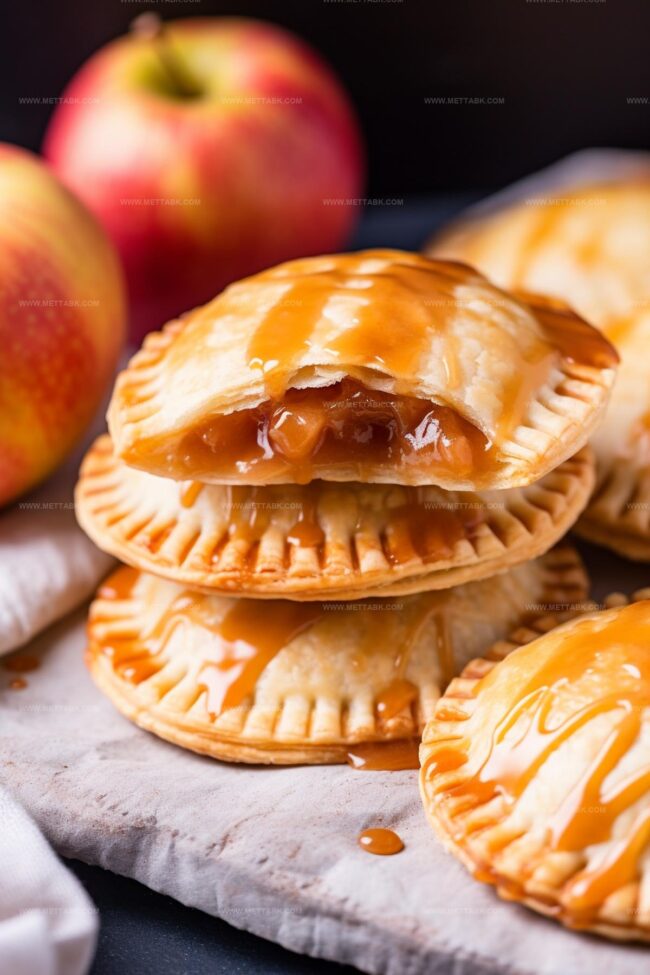
Sweet & Buttery Caramel Apple Hand Pies Recipe: Grab-and-Go Joy
Sweet memories of autumn bloom when this caramel apple hand pie captures your imagination with its golden, flaky crust.
Crisp orchards whisper inspiration behind every delectable bite.
Buttery pastry wraps tender fruit in a warm embrace of comfort.
Childhood nostalgia dances through each carefully crafted morsel.
Seasonal ingredients sing a melody of warmth and home.
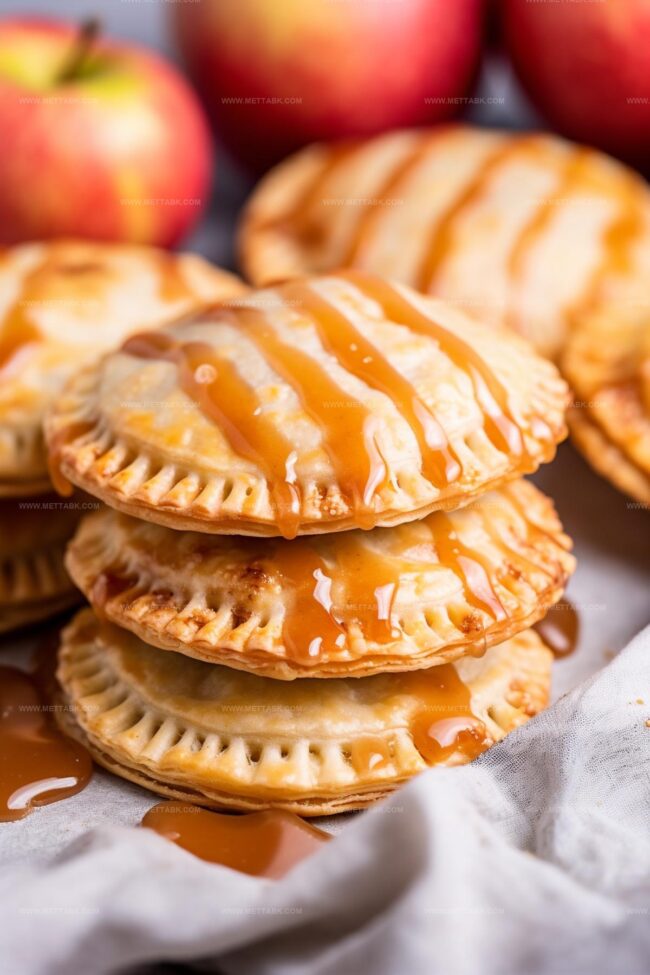
Compact and perfect for sharing, these little pies promise delightful moments of pure happiness.
Why Caramel Apple Hand Pies Make the Perfect Snack
Ingredients You’ll Need for Caramel Apple Hand Pies

Easy Steps to Make Caramel Apple Hand Pies
Step 1: Prepare Baking Station
Set your oven to roar at 400 degrees Fahrenheit. Line two baking sheets with parchment paper for a smooth baking adventure.
Step 2: Create Caramel Apple Filling
Grab a medium skillet and toss in:Sizzle the mixture over medium-high heat until apples become wonderfully tender, about five minutes. Let the mixture cool down for ten minutes.
Step 3: Roll Out Pie Crusts
Dust your work surface with flour. Gently roll out pie crusts and flatten them with a rolling pin.
Use a 3-4 inch cookie cutter or sandwich sealer to create 8 perfect circles from each crust.
Step 4: Mark Filling Spots
Create gentle indentations on the bottom pie crust to guide your filling placement.
Step 5: Fill and Layer
Spoon about 1 ½ tablespoons of caramel apple mixture into each marked indent. Layer the second pie crust on top, ensuring enough overhang to seal completely.
Step 6: Seal the Pies
Press edges gently to seal the pies. Use a sandwich sealer or fork to create a beautiful crimped border.
These little pockets of joy need a tight seal!
Step 7: Add Ventilation
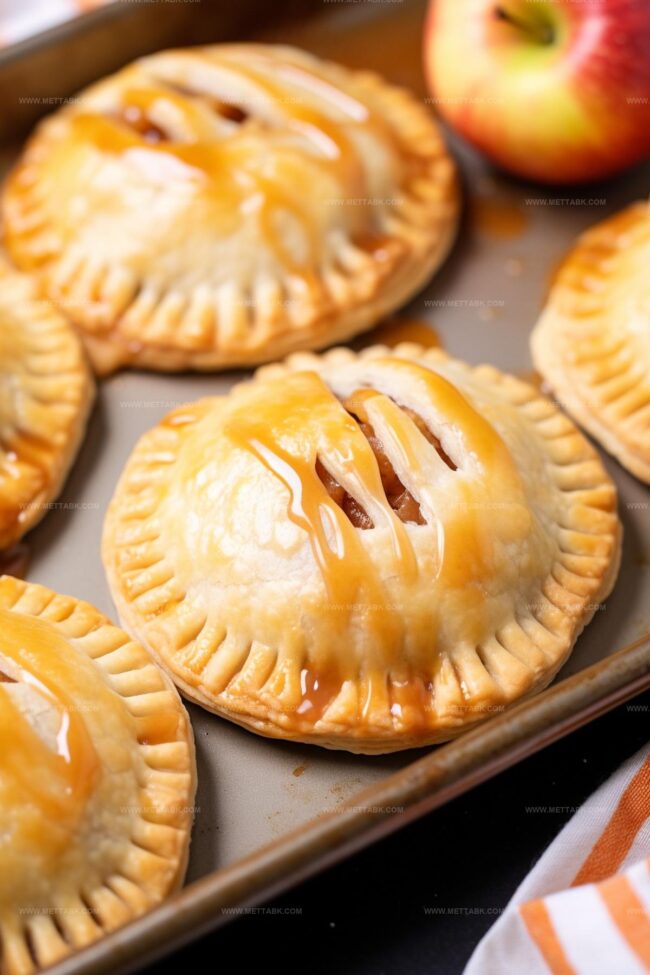
Slice three small slits in the top crust to let steam escape during baking.
Step 8: Apply Egg Wash
Whisk egg and heavy cream together. Lovingly brush the tops of your hand pies with this golden mixture.
Step 9: Bake to Perfection
Slide the pies into the preheated oven. Bake for 13-16 minutes until they turn a gorgeous golden brown.
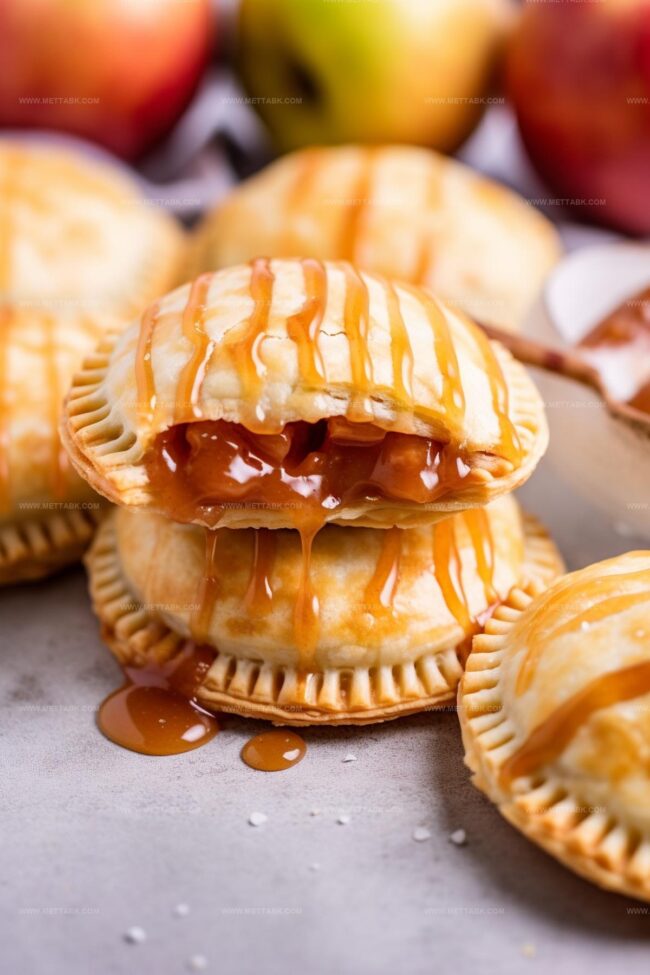
Step 10: Cool and Serve
Remove the pies from the oven and let them rest. These little treats are best enjoyed slightly warm, with all their caramel apple goodness ready to delight your taste buds.
Pro Tips for Flaky and Delicious Caramel Apple Hand Pies
Creative Twists on Caramel Apple Hand Pies
Pairing Ideas for Caramel Apple Hand Pies
How to Store Caramel Apple Hand Pies for Freshness
FAQs

Honeycrisp apples are ideal due to their sweet-tart flavor and firm texture that holds up well during cooking, creating perfect caramelized filling for hand pies.
Yes, you can prepare the hand pies in advance and refrigerate them before baking. Just add an extra 2-3 minutes to the baking time when cooking from a chilled state.
Ensure you seal the edges thoroughly by pressing with a fork or using a sandwich sealer. Also, avoid overfilling the pies and leave a small border around the edges when sealing.
The egg wash helps create a beautiful golden-brown color and gives the hand pies a glossy, professional appearance.
Print
Caramel Apple Hand Pies Recipe
- Total Time: 40 minutes
- Yield: 8 1x
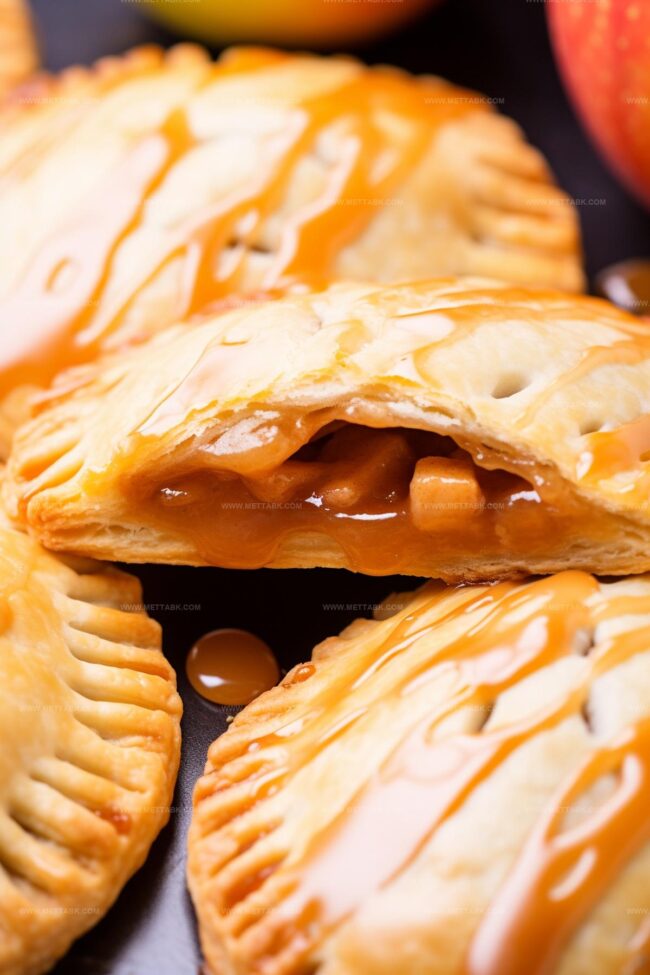
Description
Homemade caramel apple hand pies deliver classic autumn comfort with compact pastry perfection. Buttery crust, sweet-tart apple filling, and rich caramel drizzle invite warm memories of seasonal gatherings.
Ingredients
- 2 honeycrisp apples (small-sized, peeled, cored, and finely diced)
- 1/3 cup (80 ml) dark brown sugar
- 1/3 cup (80 ml) caramel syrup
- 1/4 cup (60 g) salted butter
- 14.1 oz (400 g) refrigerated pie crust
- 1 large egg
- 1 tbsp (15 ml) heavy cream
- 1/2 tsp allspice
Instructions
- Preheat the oven to 400°F and line two sheet pans with parchment paper for optimal baking preparation.
- In a medium skillet, combine diced Honeycrisp apples with caramel syrup, brown sugar, butter, and allspice over medium-high heat.
- Simmer the apple mixture until tender, approximately 5 minutes. Remove from heat and allow to cool for 10 minutes, letting flavors meld together.
- Roll out pie crusts on a floured surface and use a 3-4 inch cookie cutter to create 8 circles from each crust.
- Gently mark indentations on the bottom crust to guide filling placement, ensuring even distribution.
- Carefully spoon apple filling into each marked circle, leaving a small border around the edges for sealing.
- Layer the second pie crust over the filled circles, creating a complete coverage for each hand pie.
- Use a sandwich sealer or fork to crimp and seal the edges, preventing filling from leaking during baking.
- Create three small vents on the top of each pie to allow steam to escape and promote even cooking.
- Whisk egg and heavy cream together to create a golden egg wash. Brush the surface of each hand pie generously.
- Bake for 13-16 minutes until the pies turn a rich, golden brown color with crisp edges.
- Remove from the oven and let cool slightly before serving to allow filling to set and prevent burns.
Notes
- Choose Honeycrisp apples for their perfect balance of sweetness and tartness, ensuring a robust flavor profile in your hand pies.
- Keep apple pieces uniformly small to guarantee even cooking and a smooth filling texture that won’t puncture the delicate pie crust.
- Chill the prepared hand pies for 15 minutes before baking to help maintain their structural integrity and prevent filling leakage during cooking.
- Experiment with alternative spices like cinnamon or nutmeg to customize the flavor and match personal taste preferences.
- Prep Time: 25 minutes
- Cook Time: 15 minutes
- Category: Desserts, Snacks
- Method: Baking
- Cuisine: American
Nutrition
- Serving Size: 8
- Calories: 327 kcal
- Sugar: 22 g
- Sodium: 190 mg
- Fat: 17 g
- Saturated Fat: 8 g
- Unsaturated Fat: 7 g
- Trans Fat: 0.5 g
- Carbohydrates: 40 g
- Fiber: 2 g
- Protein: 3 g
- Cholesterol: 45 mg
Clara Bennett
Contributing Recipe Developer & Food Writer
Expertise
Baking and Pastry Development, Gluten-Free and Allergy-Friendly Recipe Creation, Culinary Storytelling and Food Journalism, Recipe Testing and Standardization, Southern Comfort Foods and Modern Twists
Education
Sullivan University – National Center for Hospitality Studies
Associate Degree in Culinary Arts
Focus: Baking and Pastry Arts, Recipe Testing, and Culinary Journalism.
Clara specialized in crafting desserts that blend classic Southern comfort with modern techniques, while developing strong writing skills to tell the story behind every dish.
Lane Community College (Certificate Program)
Certificate in Food Writing and Photography
Focus: Culinary storytelling, recipe formatting, food styling, and visual presentation.
Clara’s love of baking started young, powered by homemade pies, biscuits, and stories passed around the family table.
After earning her degree at Sullivan University and a food writing certificate at Lane Community College, she turned her passion into a craft: sharing recipes that are simple, soulful, and always full of heart.
She’s big on bold flavors, flexible ideas, and creating sweets that fit any table (yes, even if you’re gluten-free). When she’s not baking, you’ll find her wandering farmers’ markets, styling food for the next photo shoot, or working on her ever-growing recipe journal.