Irresistible Carmelita Cookies Recipe: Gooey Caramel Magic
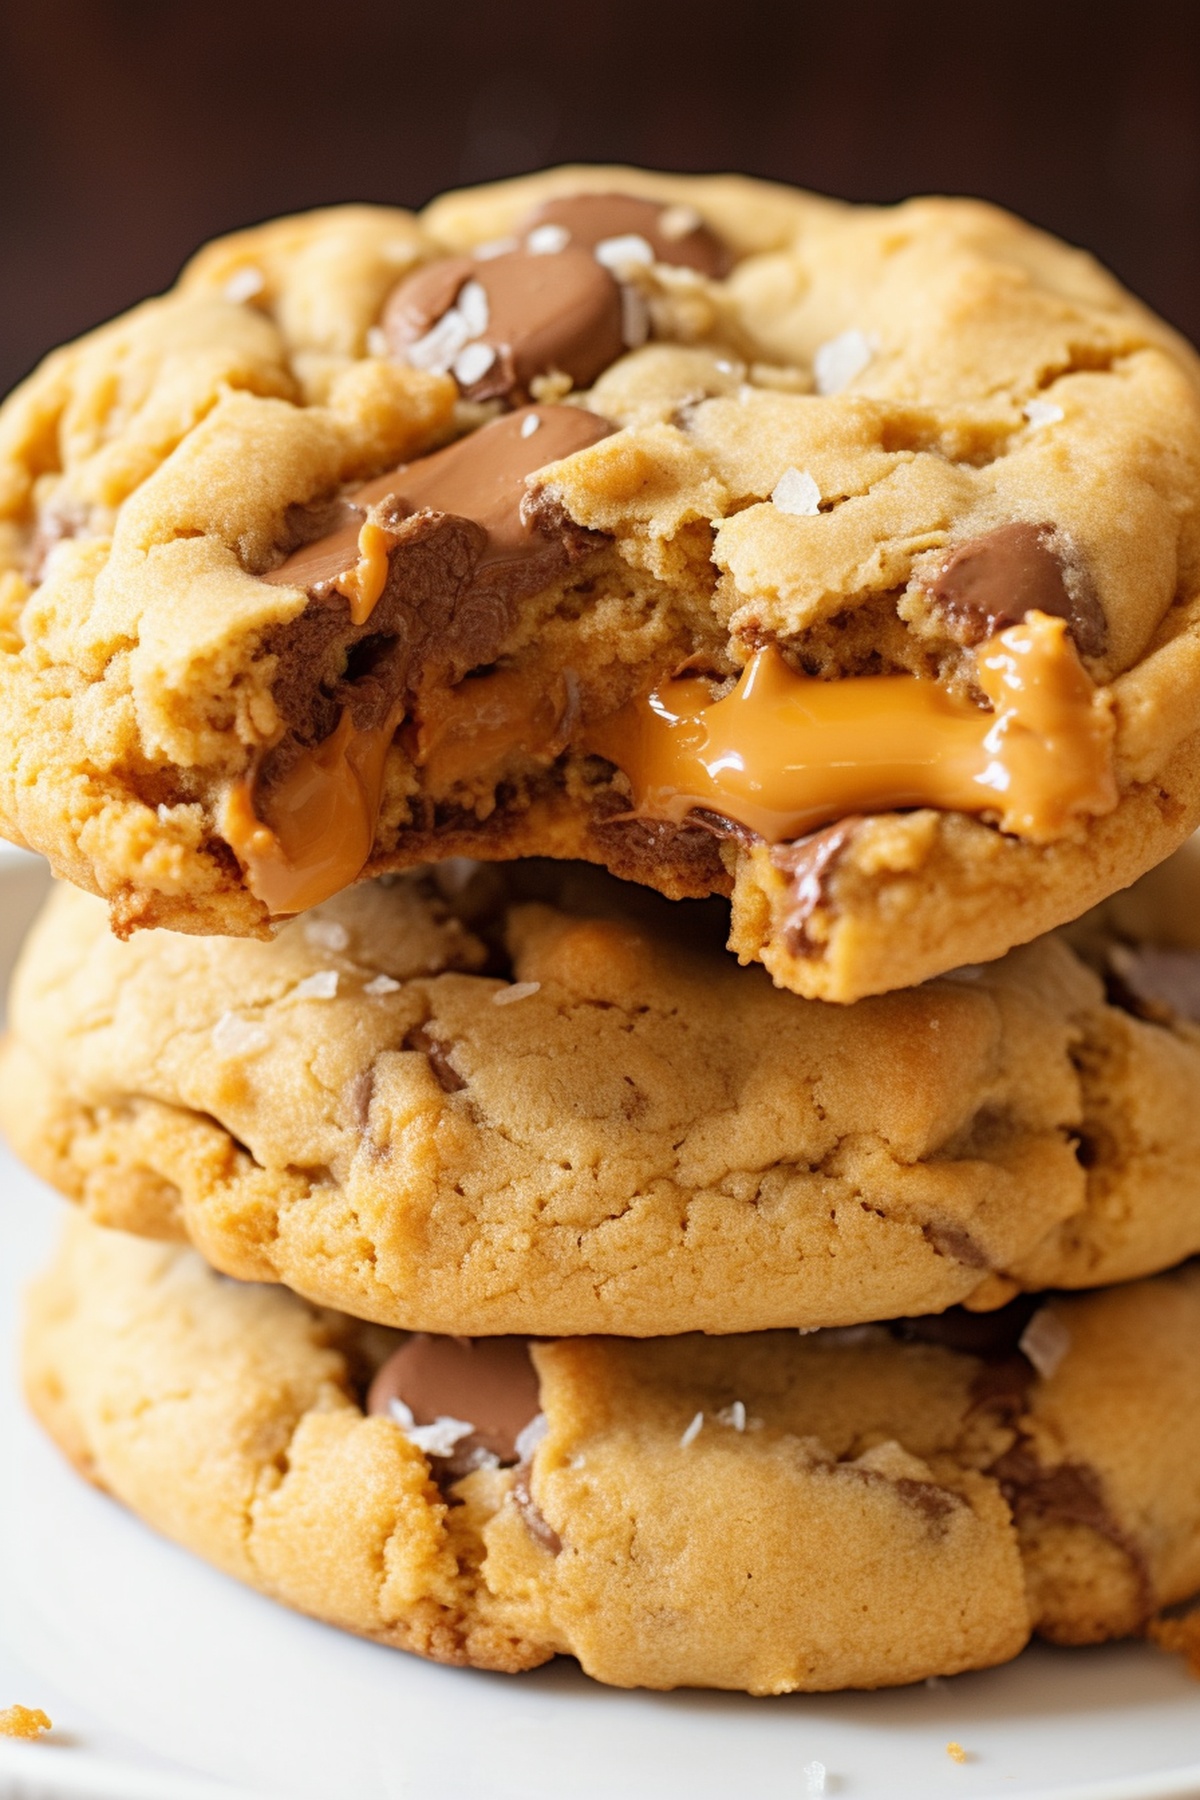
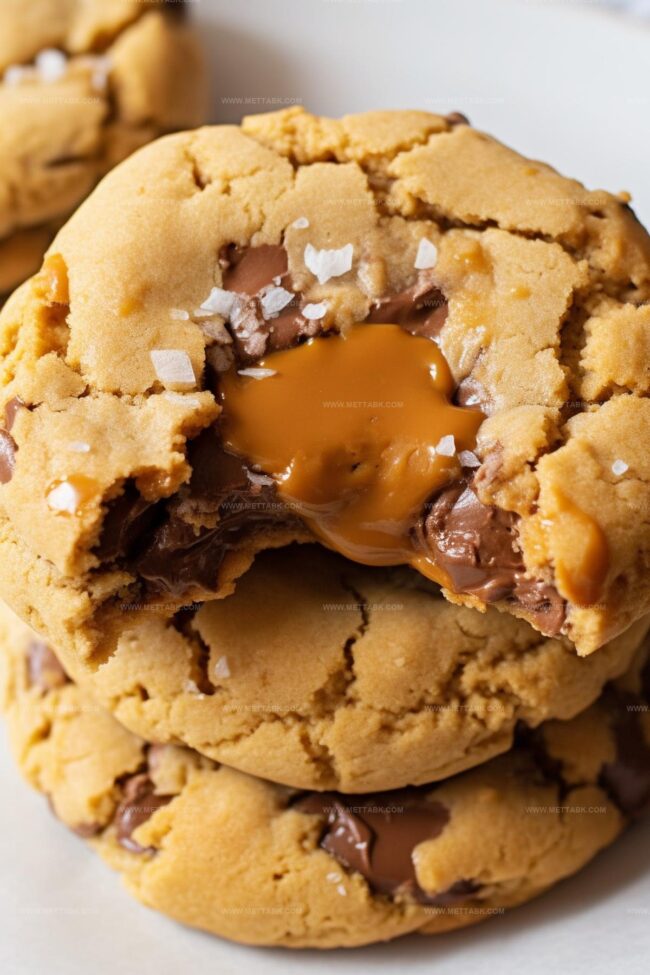
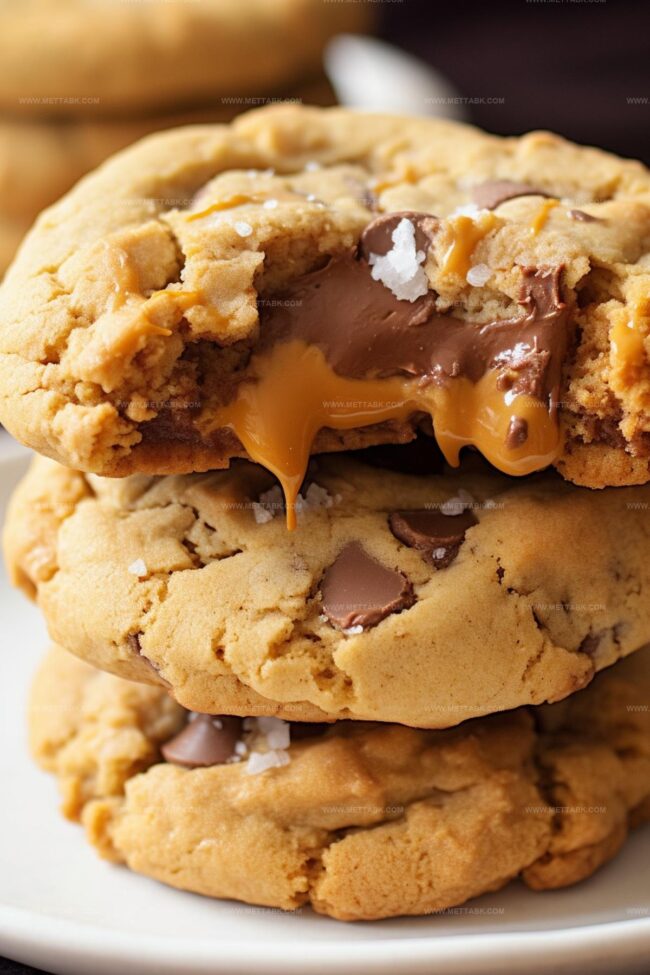
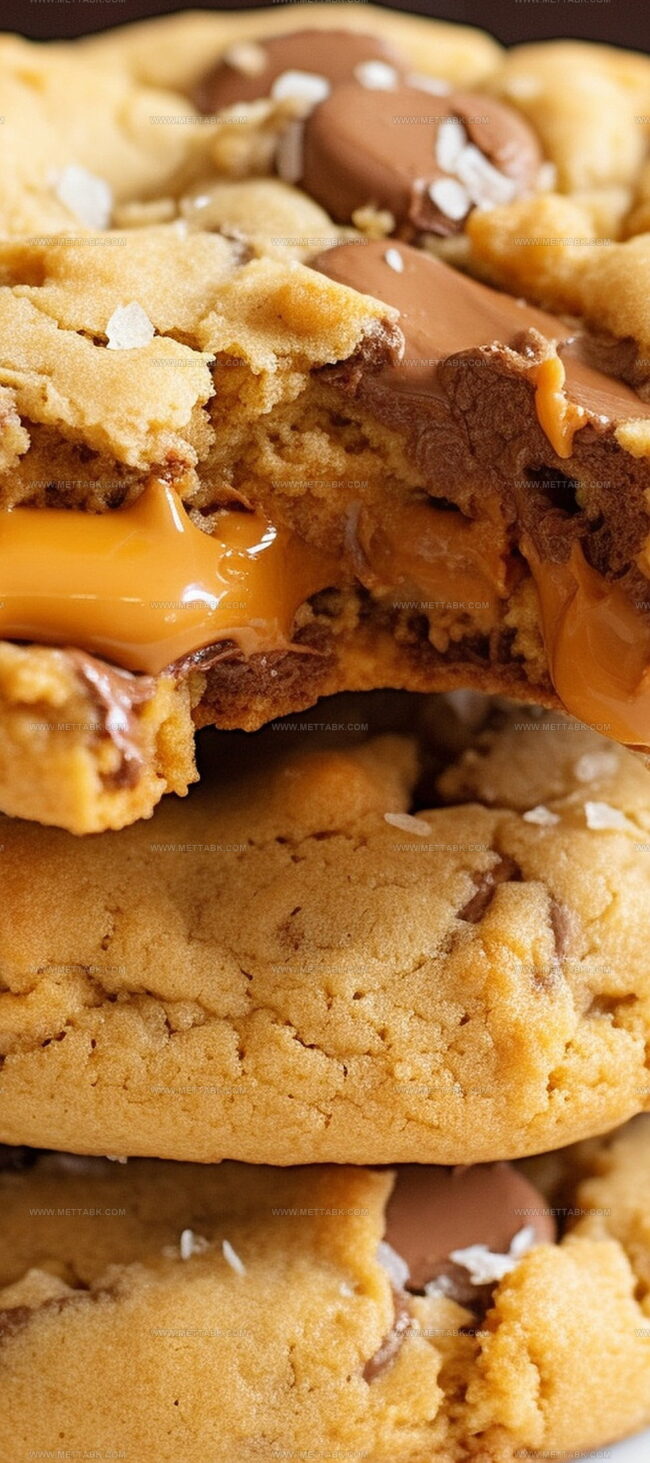
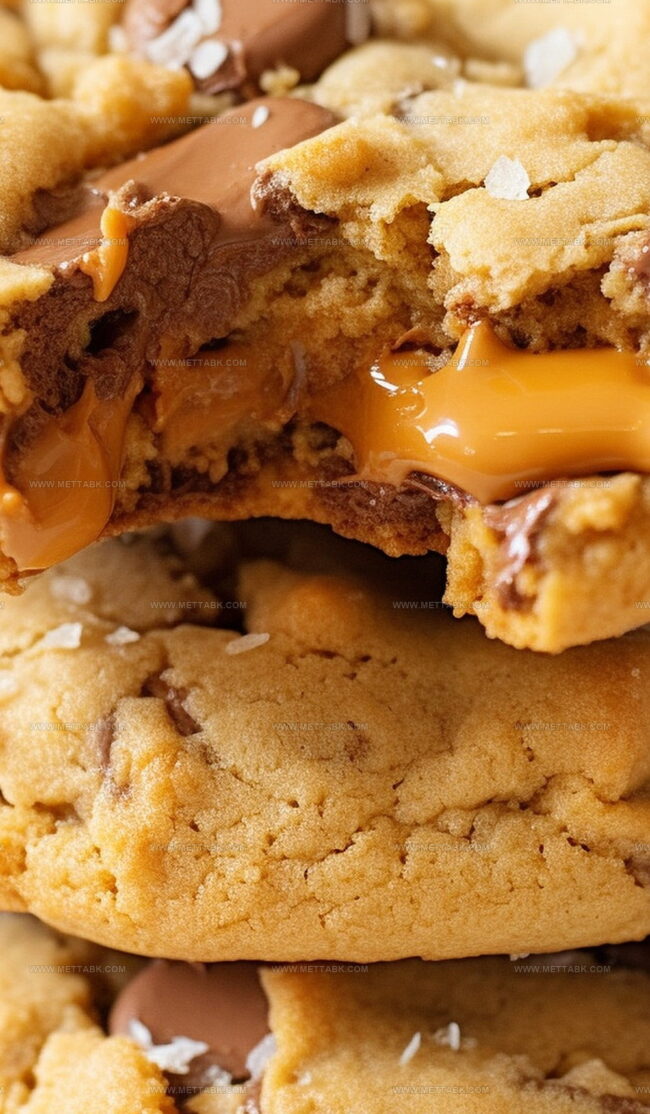
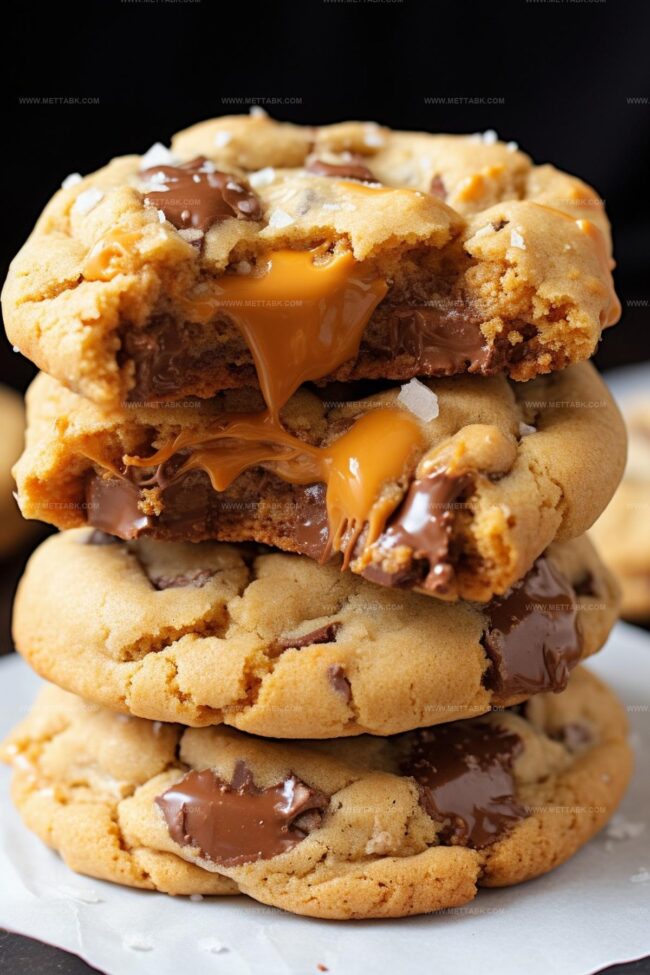
Crispy edges and gooey caramel make carmelita cookies a delightful surprise for anyone who loves sweet indulgences.
Layers of rich chocolate and buttery oats create a magical combination that melts in your mouth.
Soft caramel ribbons weave through a crumbly base, promising pure comfort in every bite.
Baking these treats fills your kitchen with an irresistible aroma that draws everyone closer.
Simple ingredients come together to craft a dessert that feels both nostalgic and exciting.
Each cookie tells a story of warmth and happiness, inviting you to savor every delectable moment.
You won’t be able to resist these irresistible morsels of pure bliss.
Carmelita Cookies That Wow Every Bite

Ingredients for Carmelita Cookies
Base Ingredients:Dry Ingredients:Mix-In Ingredients:How to Bake Carmelita Cookies
Step 1: Whip the Butter and Sugar
In a stand mixer with a paddle attachment, blend butter and brown sugar at medium speed for 2 minutes until the mixture becomes fluffy and well combined.
Step 2: Mix in Wet Ingredients
Add these ingredients:Mix for another minute until the batter looks smooth and uniform.
Step 3: Blend Dry Components
Lower the mixer speed and slowly incorporate:Mix until just combined, ensuring no flour pockets remain.
Step 4: Fold in Chocolate Chips
Gently mix chocolate chips into the dough on low speed, distributing them evenly throughout.
Step 5: Chill the Dough
Wrap the dough in plastic and refrigerate for at least one hour. Meanwhile, place caramel candies in the freezer to firm up.
Step 6: Prepare for Baking
Preheat the oven to 350°F. Line baking sheets with parchment paper.
Step 7: Shape the Cookies
Use a cookie scoop to portion dough. Stuff each dough ball with a frozen caramel candy, completely encasing it and creating a sealed round shape.
Space cookies 2 inches apart on the baking sheet.
Step 8: Bake to Golden Perfection
Bake for 10-12 minutes until edges turn golden brown and tops look set.
Step 9: Cool and Serve
Let cookies rest on the baking sheet for 4-5 minutes, then transfer to a wire rack to cool completely.
Tips to Perfect Carmelita Cookies
Variations to Try on Carmelita Cookies
Pairing Suggestions for Carmelita Cookies
Storage Advice for Carmelita Cookies
FAQs
Freezing the caramel candies helps prevent them from melting too quickly during baking, ensuring they stay intact inside the cookie and create a gooey caramel center.
Quick oats work best for this recipe as they blend more smoothly into the dough. Old-fashioned oats might create a chunkier texture and won’t incorporate as evenly.
The dough should look smooth and well-combined, with chocolate chips evenly distributed. Avoid overmixing, which can make the cookies tough – mix just until ingredients are incorporated.
Print
Carmelita Cookies Recipe
- Total Time: 27 minutes
- Yield: 24 1x
Description
Irresistible carmelita cookies blend chocolate, caramel, and oats in a classic midwestern dessert. Crisp edges and gooey center make you crave another sweet bite from this crowd-pleasing treat.
Ingredients
- 1.25 cups (295 ml) butter (at room temperature)
- 1.5 cups (340 g) light brown sugar
- 3 cups (240 g) quick oats
- 1.75 cups (220 g) all-purpose flour
- 2 cups (340 g) chocolate chips
- 36 rolo candies (unwrapped and frozen)
- 2 large eggs
- 1 tsp vanilla extract
- 1 tsp baking soda
- 1 tsp kosher salt
Instructions
- In an electric mixer with paddle attachment, cream butter and brown sugar at medium speed for 2 minutes until smooth and fluffy.
- Introduce eggs, vanilla extract, baking soda, and kosher salt to the mixture. Blend for an additional minute until ingredients are fully integrated and texture appears uniform.
- Lower mixer speed and gently fold in all-purpose flour, mixing until barely combined. Incorporate quick oats, adjusting mixer speed to ensure even distribution.
- Fold chocolate chips into the batter on low speed, ensuring uniform dispersion throughout the dough.
- Refrigerate dough for a minimum of 60 minutes, simultaneously freezing caramel-filled candies to maintain structural integrity.
- Preheat oven to 350°F and line baking sheets with parchment paper for optimal cookie preparation.
- Using a cookie scoop, portion dough and strategically embed a frozen caramel candy in the center. Completely encase the candy, forming a sealed spherical shape. Arrange dough balls with 2-inch spacing on prepared baking sheet.
- Bake for 10-12 minutes at 350°F, monitoring until edges turn golden and cookie tops set perfectly.
- Rest cookies on baking sheet for 4-5 minutes, then transfer to wire rack for complete cooling and final texture development.
Notes
- Freeze caramel-filled candies beforehand to prevent melting during baking and ensure a perfect gooey center that stays intact.
- Chill dough thoroughly to prevent excessive spreading and maintain the cookies’ structured shape during baking.
- Experiment with different chocolate chip varieties like dark, milk, or semi-sweet to customize flavor profiles and match personal preferences.
- Use parchment paper or silicone baking mats to prevent sticking and ensure easy cookie removal without breaking.
- Prep Time: 15 minutes
- Cook Time: 12 minutes
- Category: Snacks, Desserts
- Method: Baking
- Cuisine: American
Nutrition
- Serving Size: 24
- Calories: 259
- Sugar: 16 g
- Sodium: 98 mg
- Fat: 13 g
- Saturated Fat: 8 g
- Unsaturated Fat: 4 g
- Trans Fat: 0.3 g
- Carbohydrates: 33 g
- Fiber: 2 g
- Protein: 3 g
- Cholesterol: 27 mg
Clara Bennett
Contributing Recipe Developer & Food Writer
Expertise
Baking and Pastry Development, Gluten-Free and Allergy-Friendly Recipe Creation, Culinary Storytelling and Food Journalism, Recipe Testing and Standardization, Southern Comfort Foods and Modern Twists
Education
Sullivan University – National Center for Hospitality Studies
Associate Degree in Culinary Arts
Focus: Baking and Pastry Arts, Recipe Testing, and Culinary Journalism.
Clara specialized in crafting desserts that blend classic Southern comfort with modern techniques, while developing strong writing skills to tell the story behind every dish.
Lane Community College (Certificate Program)
Certificate in Food Writing and Photography
Focus: Culinary storytelling, recipe formatting, food styling, and visual presentation.
Clara’s love of baking started young, powered by homemade pies, biscuits, and stories passed around the family table.
After earning her degree at Sullivan University and a food writing certificate at Lane Community College, she turned her passion into a craft: sharing recipes that are simple, soulful, and always full of heart.
She’s big on bold flavors, flexible ideas, and creating sweets that fit any table (yes, even if you’re gluten-free). When she’s not baking, you’ll find her wandering farmers’ markets, styling food for the next photo shoot, or working on her ever-growing recipe journal.