
Irresistible Cheeseburger Sliders Recipe for Family Fun Night
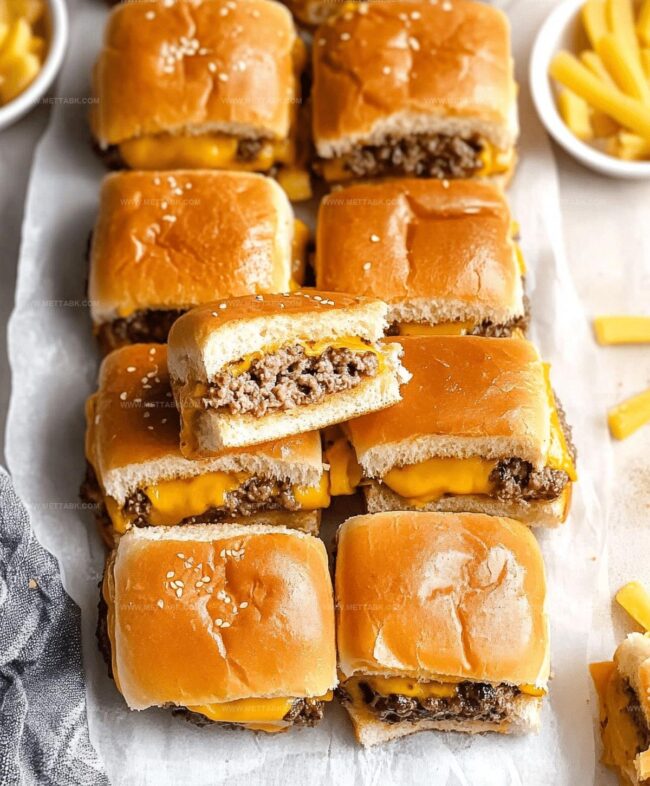
Tiny cheeseburger sliders pack massive flavor into adorable miniature packages that everyone loves.
Mini sandwiches deliver serious satisfaction without overwhelming your appetite.
Compact burgers work perfectly for parties, game nights, or casual gatherings with friends.
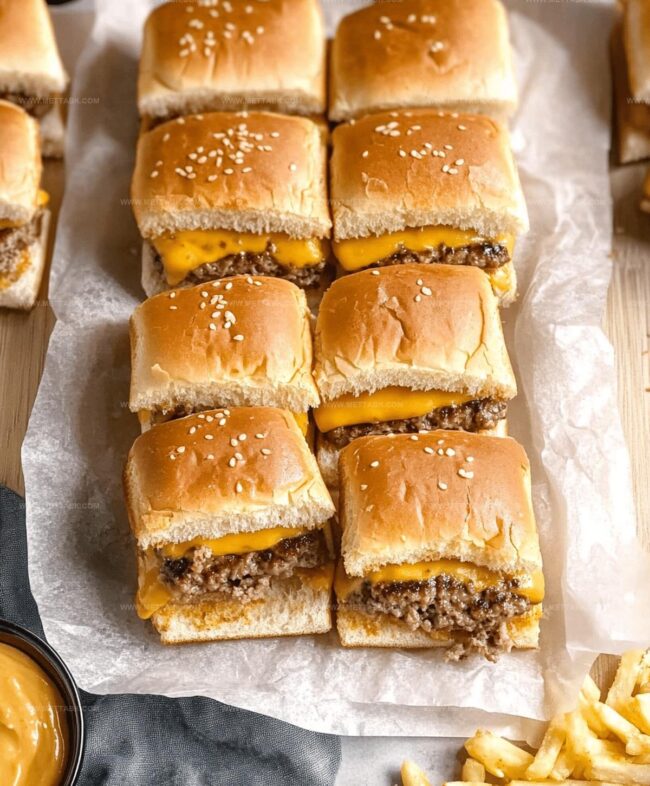
Succulent beef patties nestled between soft rolls create irresistible bites that disappear quickly.
Each slider combines juicy meat, melted cheese, and classic condiments in perfect proportions.
Weekend cooking becomes an exciting adventure when these little gems emerge from your kitchen.
Grab some ingredients and start crafting these crowd-pleasing morsels that will spark serious smiles.
Cheeseburger Sliders’ Classic Appeal
Ingredients For Cheeseburger Sliders
For the Meat:For the Base:For the Seasoning and Flavor Enhancers:For the Dairy and Topping:Preparing Cheeseburger Sliders Step-By-Step
Step 1: Warm Up the Oven
Fire up your oven to a cozy 350°F (175°C) so it’s ready for slider magic.
Step 2: Sizzle the Beef Mixture
Heat a skillet over medium flame and transform your ground beef into a flavor-packed sensation with these ingredients:Cook the mixture until it’s perfectly browned, then drain away any excess grease for a lean and mean filling.
Step 3: Build Your Slider Base
Arrange the bottom halves of slider buns in a baking dish. Spread the sizzling beef mixture evenly across the buns, creating a delicious foundation.
Crown each slider with cheese slices and cap them with the top bun halves.
Step 4: Butter and Beautify
Brush melted butter over the bun tops, giving them a golden sheen.
Sprinkle sesame seeds for extra crunch if you’re feeling fancy. Cover the sliders with foil and bake for 10-12 minutes.
Then uncover and bake for an additional 5 minutes until the cheese transforms into a molten blanket and the buns turn a gorgeous golden brown.
Step 5: Serve and Devour
Carefully remove the sliders from the oven and let them cool briefly.
Serve these mini marvels while they’re warm and watch them disappear in moments!
Expert Advice For Cheeseburger Sliders
Flavor Variations For Cheeseburger Sliders

Complementary Foods For Cheeseburger Sliders
Proper Storage For Cheeseburger Sliders
FAQs
Absolutely! They’re perfect for game days, birthday parties, and casual gatherings because they’re bite-sized, easy to eat, and crowd-pleasing.
Yes, you can assemble sliders in advance and refrigerate them before baking. Just add 5-10 minutes to the baking time if cooking directly from the refrigerator.
Use ground beef with 80/20 lean-to-fat ratio for the most flavor and juiciness. This ensures your sliders stay moist and tasty.
Customize toppings like adding pickles, extra cheese, or using mild seasonings. Kids love these mini burgers that are easy to handle and eat.
Print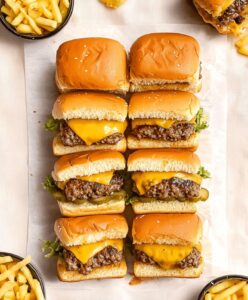
Cheeseburger Sliders Recipe
- Total Time: 32 minutes
- Yield: 12 1x
Description
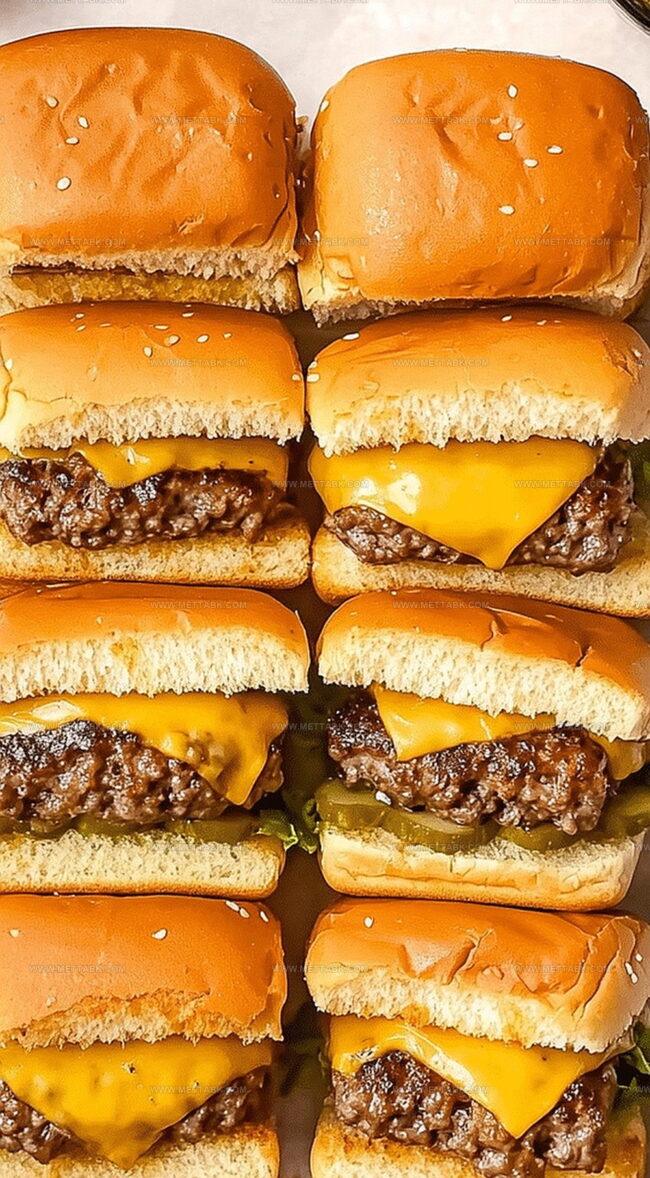
Cheeseburger sliders deliver miniature burger perfection with juicy beef patties and melted cheese. Compact party favorites that satisfy cravings and bring big flavor to small bites you’ll devour eagerly.
Ingredients
- 12 slider buns or dinner rolls
- 12 slices cheddar cheese (or cheese of choice)
- 1 lb (454 g) ground beef
- 2 tbsps (30 ml) melted butter (for brushing buns)
- 1 small onion, finely diced
- 1 tsp garlic powder
- 1 tsp onion powder
- Salt and pepper, to taste
- Sesame seeds (optional, for garnish)
Instructions
- Prepare ground beef by sautéing with aromatic seasonings in a skillet over medium heat until completely cooked through, ensuring no pink remains and draining excess fat.
- Arrange slider bun bases in a prepared baking dish, creating a uniform foundation for the mini burgers.
- Distribute the seasoned beef mixture evenly across the bun bases, creating a consistent layer of meat coverage.
- Layer cheese slices directly on top of the meat, ensuring complete and balanced cheese distribution.
- Crown the sliders with the remaining bun tops, creating compact mini burger sandwiches.
- Generously brush melted butter across the exterior of the bun tops, creating a golden, glossy finish.
- Optional: Sprinkle sesame seeds over the buttered surface for added texture and visual appeal.
- Tent the baking dish with aluminum foil to prevent excessive browning.
- Bake in a preheated 350°F (175°C) oven for 10-12 minutes, maintaining moisture and allowing flavors to meld.
- Remove foil and continue baking for an additional 5 minutes until cheese melts completely and buns turn a delicate golden brown.
- Allow sliders to rest briefly after removing from oven, then serve warm for optimal taste and texture.
Notes
- Drain beef thoroughly to prevent soggy buns and ensure a crispy texture that keeps sliders perfectly structured.
- Customize seasoning by experimenting with different spice blends like Cajun, Italian, or Mediterranean to transform the classic recipe into a global flavor experience.
- Consider using lean ground beef or turkey for a healthier version without compromising the rich, satisfying taste of traditional cheeseburger sliders.
- Prep sliders ahead of time and refrigerate before baking, which allows flavors to meld and makes them ideal for game day or party planning.
- Prep Time: 15 minutes
- Cook Time: 17 minutes
- Category: Lunch, Dinner, Snacks
- Method: Baking
- Cuisine: American
Nutrition
- Serving Size: 12
- Calories: 310 kcal
- Sugar: 2 g
- Sodium: 480 mg
- Fat: 20 g
- Saturated Fat: 9 g
- Unsaturated Fat: 10 g
- Trans Fat: 0.5 g
- Carbohydrates: 18 g
- Fiber: 1 g
- Protein: 17 g
- Cholesterol: 55 mg
Clara Bennett
Contributing Recipe Developer & Food Writer
Expertise
Baking and Pastry Development, Gluten-Free and Allergy-Friendly Recipe Creation, Culinary Storytelling and Food Journalism, Recipe Testing and Standardization, Southern Comfort Foods and Modern Twists
Education
Sullivan University – National Center for Hospitality Studies
Associate Degree in Culinary Arts
Focus: Baking and Pastry Arts, Recipe Testing, and Culinary Journalism.
Clara specialized in crafting desserts that blend classic Southern comfort with modern techniques, while developing strong writing skills to tell the story behind every dish.
Lane Community College (Certificate Program)
Certificate in Food Writing and Photography
Focus: Culinary storytelling, recipe formatting, food styling, and visual presentation.
Clara’s love of baking started young, powered by homemade pies, biscuits, and stories passed around the family table.
After earning her degree at Sullivan University and a food writing certificate at Lane Community College, she turned her passion into a craft: sharing recipes that are simple, soulful, and always full of heart.
She’s big on bold flavors, flexible ideas, and creating sweets that fit any table (yes, even if you’re gluten-free). When she’s not baking, you’ll find her wandering farmers’ markets, styling food for the next photo shoot, or working on her ever-growing recipe journal.