Homemade Cheesy Pepperoni Pizza Bombs Recipe: Snack Joy
Craving a mouthwatering cheesy pepperoni pizza bombs delight that explodes with flavor in every bite?
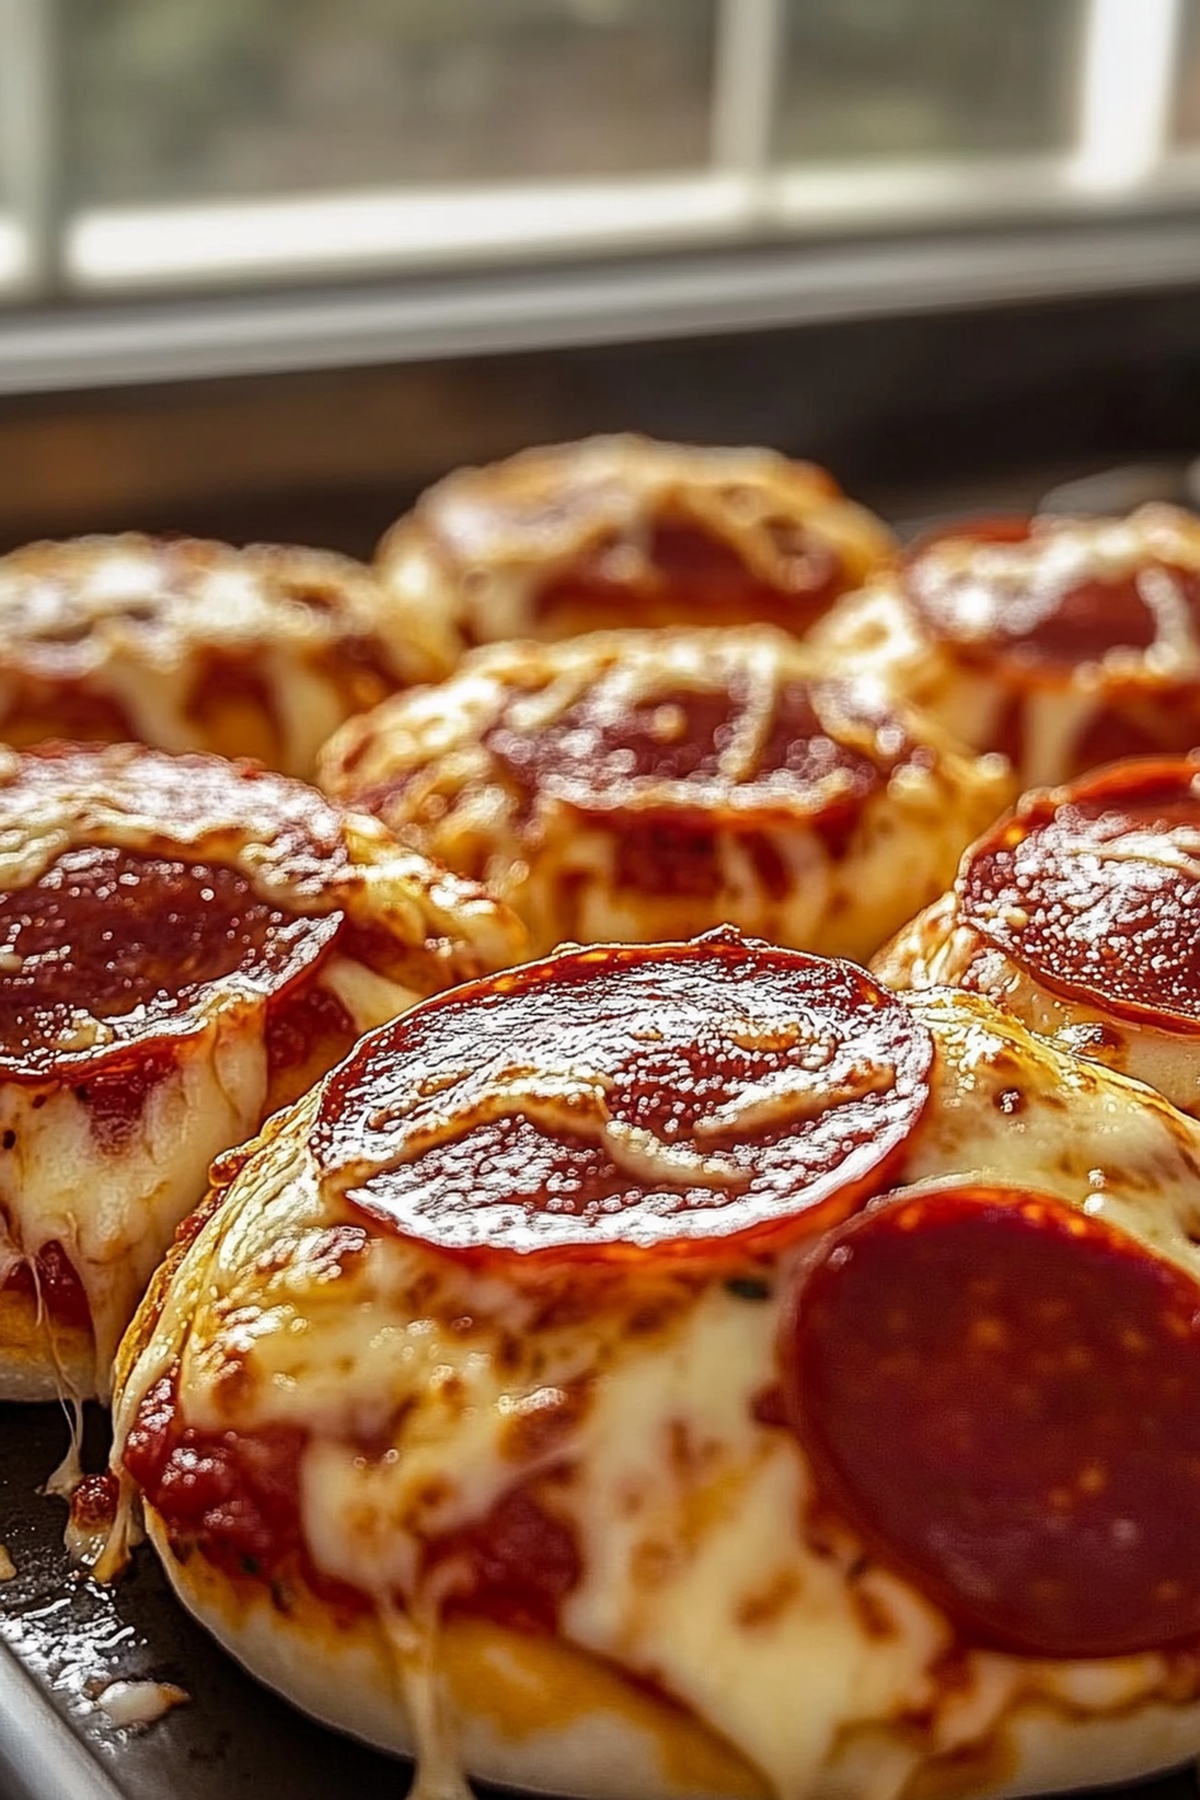
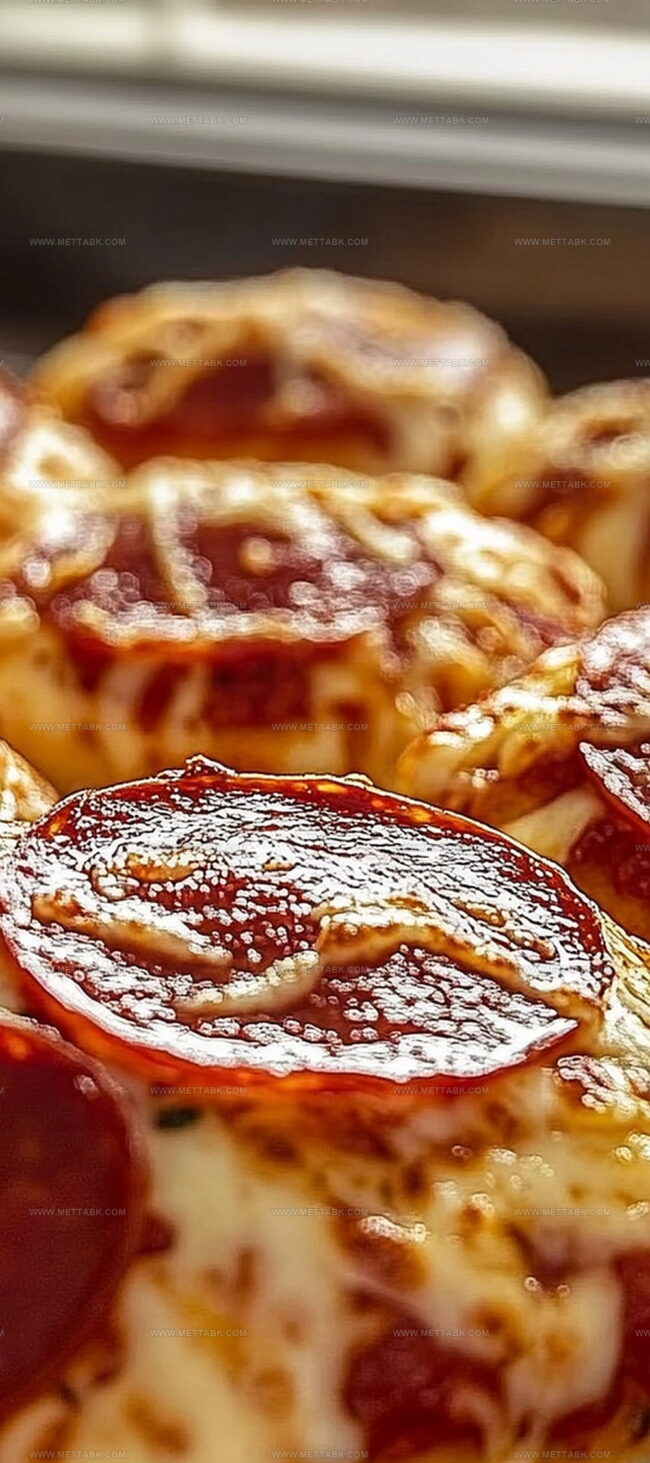
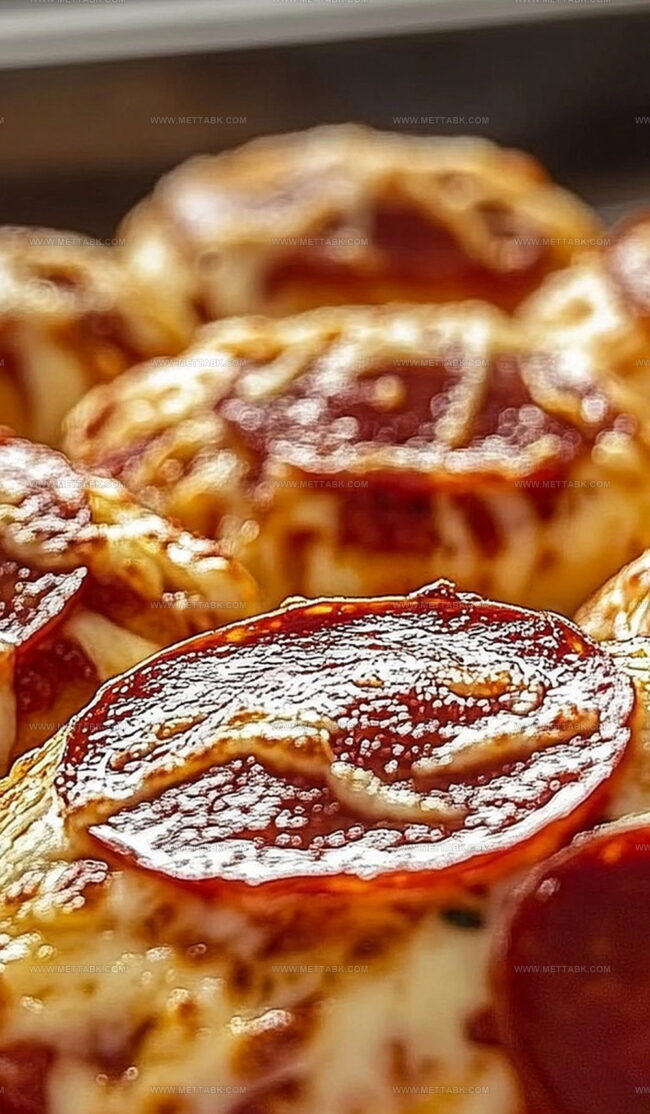
Dough pockets bursting with melted cheese and zesty pepperoni create an irresistible snack for game nights or casual gatherings.
Small handheld treats pack a serious punch of comfort food goodness.
Crispy golden exteriors give way to gooey, savory interiors that make you weak in the knees.
Forget boring appetizers and embrace these compact flavor bombs that disappear faster than you can say “more please!” Kids and adults alike will go crazy for these irresistible little morsels.
One taste, and you’ll understand why these pizza bombs are about to become your new favorite party sensation.
Cheesy Pepperoni Pizza Bombs Bursting with Flavor
Ingredients for Cheesy Pepperoni Pizza Bombs
Main Ingredients:Sauce and Seasoning:Finishing Touches:How to Prepare Pizza Bombs with Cheesy Goodness
Step 1: Prepare the Dough
Get your oven warming up to 375°F. Grab a baking sheet and cover it with parchment paper.
Take each biscuit dough and gently flatten it into a round shape about 4 inches wide. Your goal is to create a perfect canvas for delicious flavor.
Ingredients:Step 2: Create Flavor Pockets
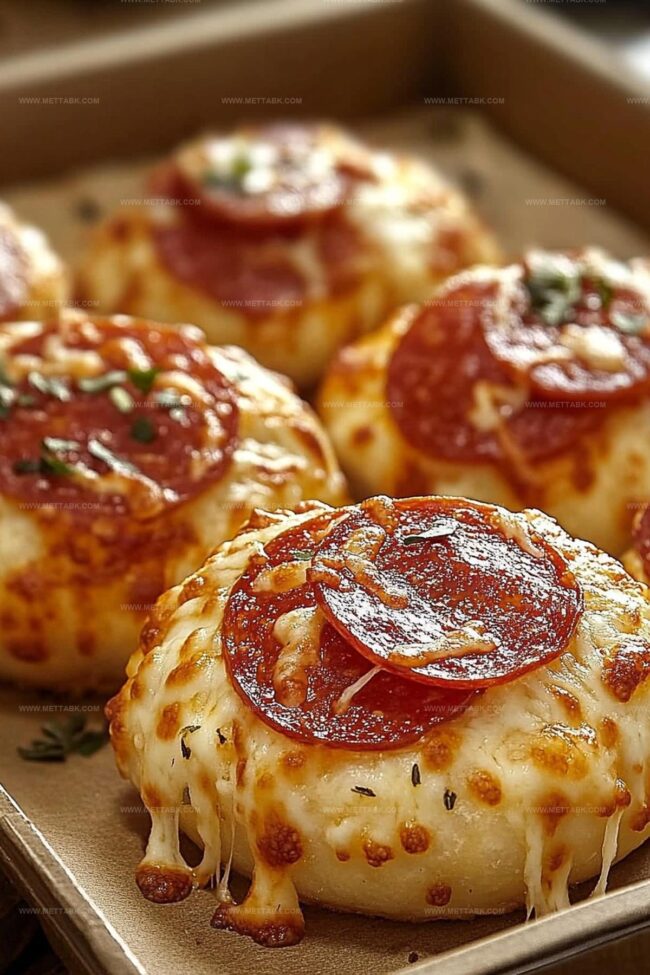
Spread a dollop of pizza sauce right in the center of each dough circle. Layer on some pepperoni slices and sprinkle a generous amount of mozzarella cheese.
This is where the magic happens! Carefully fold and pinch the edges of the dough, sealing all the tasty ingredients inside.
Transform each piece into a beautiful little ball that looks like a treasure waiting to be discovered.
Ingredients:Step 3: Add Extra Flavor Boost
Arrange the pizza bombs on the baking sheet with the sealed side facing down.
Brush the tops with melted butter for a golden shine. Sprinkle a magical combination of garlic powder, Italian seasoning, and Parmesan cheese over each bomb.
These extra touches will make your kitchen smell incredible.
Ingredients:Step 4: Bake to Perfection
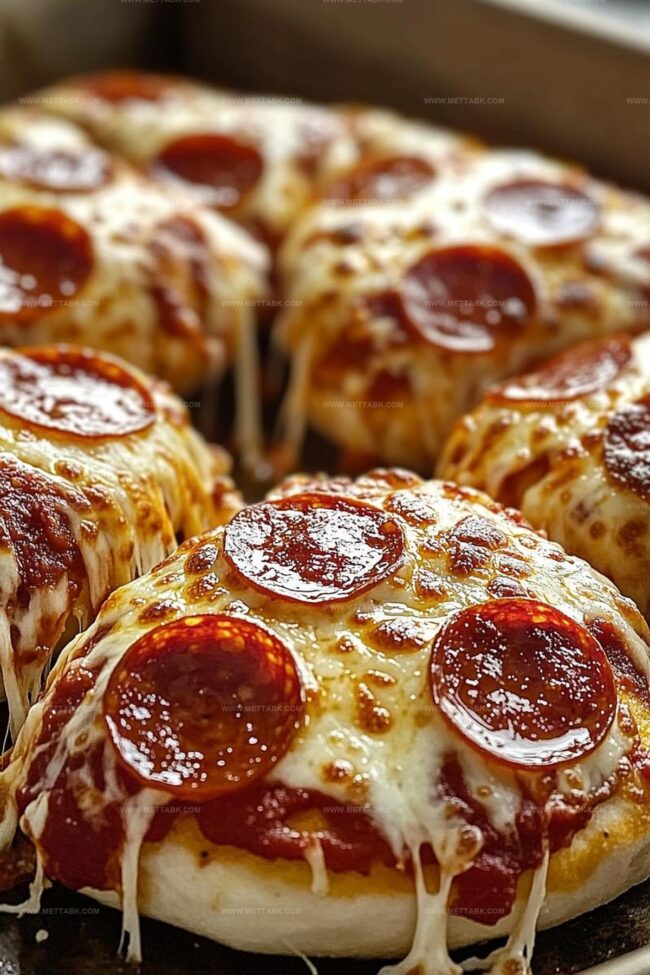
Slide the baking sheet into the oven and let the pizza bombs bake for 12-15 minutes.
Watch for a beautiful golden-brown color that signals they’re ready to devour. The cheese will be melted, and the edges crispy and inviting.
Step 5: Serve and Enjoy
Pull out the pizza bombs and let them cool for a moment. Serve them with a side of extra pizza sauce for dipping.
Get ready for a flavor explosion that will make everyone at the table happy!
Tips to Perfect Cheesy Pepperoni Pizza Bombs
Flavorful Twists on Pizza Bombs
Pairings That Go Well with Pizza Bombs
Storage Tips for Cheesy Pepperoni Pizza Bombs
FAQs
Yes, you can use homemade biscuit dough. Just ensure it’s rolled out to a similar thickness and size as the canned biscuit dough for consistent results.
Use low-fat mozzarella, drain pepperoni on paper towels before adding, and go easy on the butter to reduce greasiness.
Absolutely! You can assemble them ahead of time and refrigerate until ready to bake. They also freeze well before baking for quick future meals.
Experiment with cooked Italian sausage, ham, bacon bits, or even vegetarian options like spinach and mushrooms for variety.
Print
Cheesy Pepperoni Pizza Bombs Delight Recipe
- Total Time: 30 minutes
- Yield: 8 1x
Description
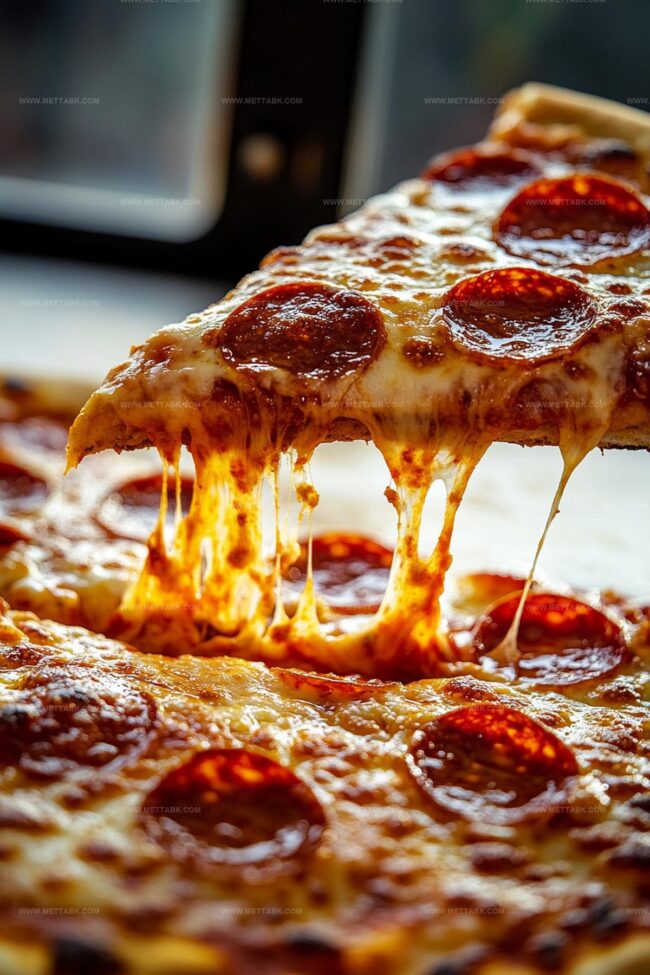
Cheesy pepperoni pizza bombs feature gooey mozzarella nestled inside crispy dough pockets packed with classic pizza flavors. Pizza lovers will savor these irresistible handheld treats perfect for snacking or entertaining guests.
Ingredients
- 1 cup shredded mozzarella cheese
- 16 slices pepperoni
- 1 can (8 pieces) refrigerated biscuit dough
- 1/4 cup (60 ml) pizza sauce
- 2 tablespoons grated Parmesan cheese
- 2 tablespoons (30 ml) melted butter
- 1 teaspoon Italian seasoning
- 1 teaspoon garlic powder
Instructions
- Preheat the oven to 375°F and prepare a parchment-lined baking sheet for optimal pizza bomb preparation.
- Gently stretch each biscuit dough into a wide, thin circular shape approximately 4 inches in diameter.
- Position a small dollop of pizza sauce at the center of each dough circle, creating a compact flavor foundation.
- Layer pepperoni slices and generous mozzarella cheese atop the sauce, ensuring even distribution.
- Carefully fold and pinch the dough edges together, creating a completely sealed spherical pocket that encapsulates the fillings.
- Arrange the assembled pizza bombs with the sealed side facing downward on the prepared baking sheet.
- Generously brush the exterior with melted butter to enhance golden crispiness.
- Sprinkle a harmonious blend of garlic powder, Italian seasoning, and Parmesan cheese over the surface for enhanced flavor complexity.
- Bake in the preheated oven for 12-15 minutes, monitoring until the bombs transform into a rich, golden-brown color.
- Remove from oven and let cool briefly before serving alongside additional pizza sauce for dipping pleasure.
Notes
- Experiment with different types of dough like whole wheat or gluten-free biscuit dough to accommodate dietary restrictions.
- Seal the edges carefully to prevent cheese and sauce from leaking during baking, ensuring a perfect pocket of flavor.
- Add variety by using alternative fillings like ham and Swiss, or vegetarian options with bell peppers and spinach to create exciting flavor combinations.
- Keep an eye on the oven to prevent over-browning, as different ovens may have slight temperature variations that can affect the golden-brown color.
- Prep Time: 15 minutes
- Cook Time: 15 minutes
- Category: Lunch, Dinner, Appetizer, Snacks
- Method: Baking
- Cuisine: Italian
Nutrition
- Serving Size: 8
- Calories: 280
- Sugar: 2 g
- Sodium: 580 mg
- Fat: 18 g
- Saturated Fat: 8 g
- Unsaturated Fat: 7 g
- Trans Fat: 0.5 g
- Carbohydrates: 20 g
- Fiber: 1 g
- Protein: 11 g
- Cholesterol: 40 mg
Clara Bennett
Contributing Recipe Developer & Food Writer
Expertise
Baking and Pastry Development, Gluten-Free and Allergy-Friendly Recipe Creation, Culinary Storytelling and Food Journalism, Recipe Testing and Standardization, Southern Comfort Foods and Modern Twists
Education
Sullivan University – National Center for Hospitality Studies
Associate Degree in Culinary Arts
Focus: Baking and Pastry Arts, Recipe Testing, and Culinary Journalism.
Clara specialized in crafting desserts that blend classic Southern comfort with modern techniques, while developing strong writing skills to tell the story behind every dish.
Lane Community College (Certificate Program)
Certificate in Food Writing and Photography
Focus: Culinary storytelling, recipe formatting, food styling, and visual presentation.
Clara’s love of baking started young, powered by homemade pies, biscuits, and stories passed around the family table.
After earning her degree at Sullivan University and a food writing certificate at Lane Community College, she turned her passion into a craft: sharing recipes that are simple, soulful, and always full of heart.
She’s big on bold flavors, flexible ideas, and creating sweets that fit any table (yes, even if you’re gluten-free). When she’s not baking, you’ll find her wandering farmers’ markets, styling food for the next photo shoot, or working on her ever-growing recipe journal.