Easy Cheesy Pepperoni Pizza Roll-Ups Recipe: Fun Finger Food
Pizza nights just got a delicious pepperoni pizza roll-ups twist that will make your taste buds dance with excitement.
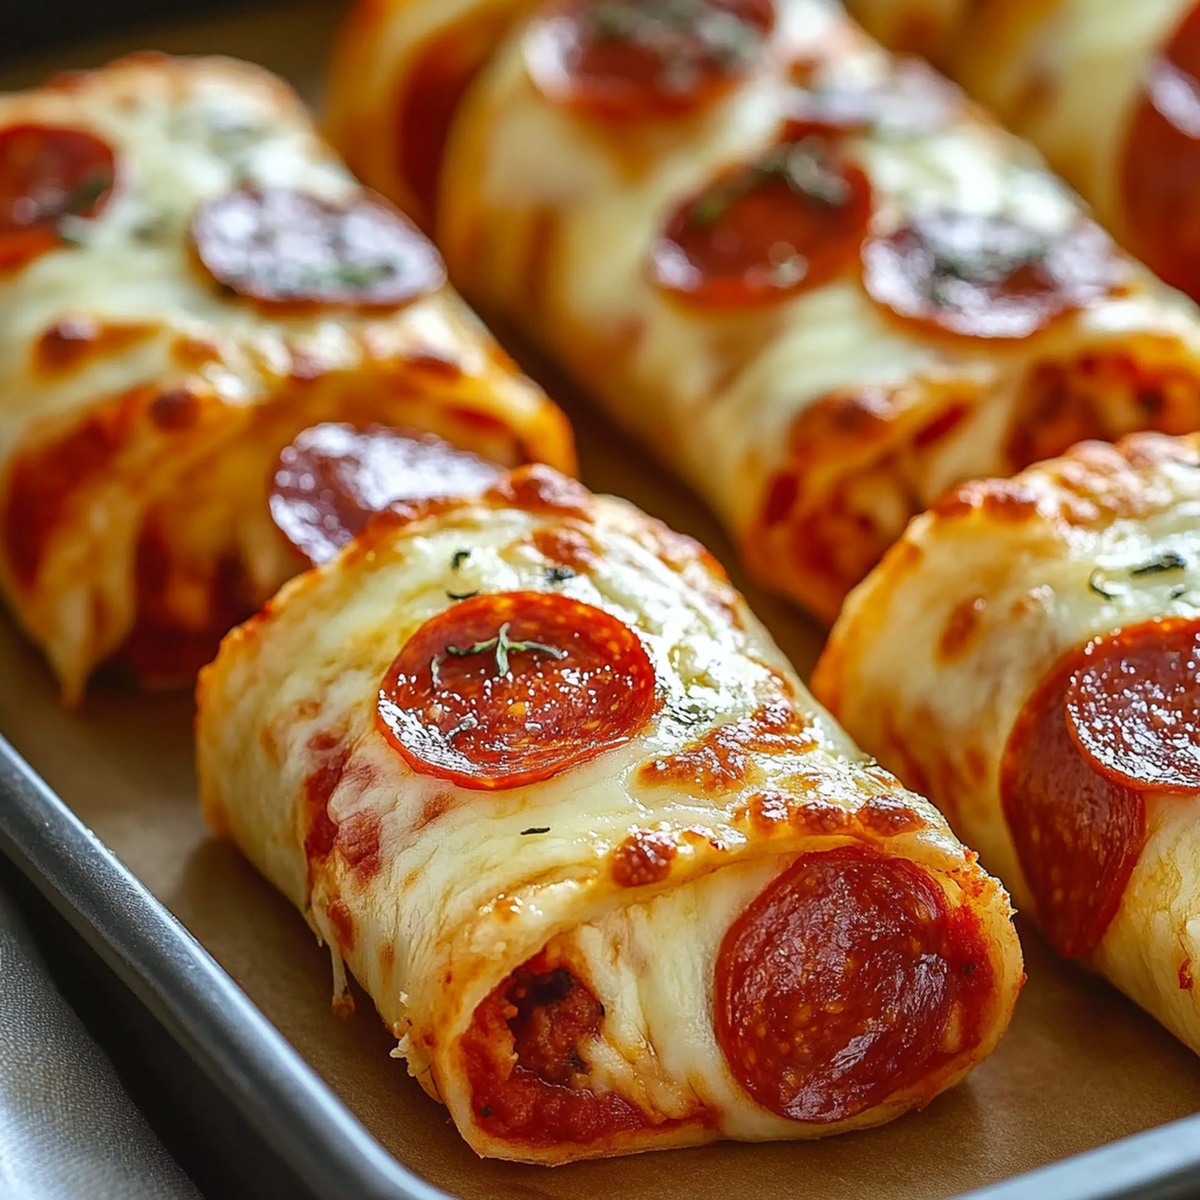
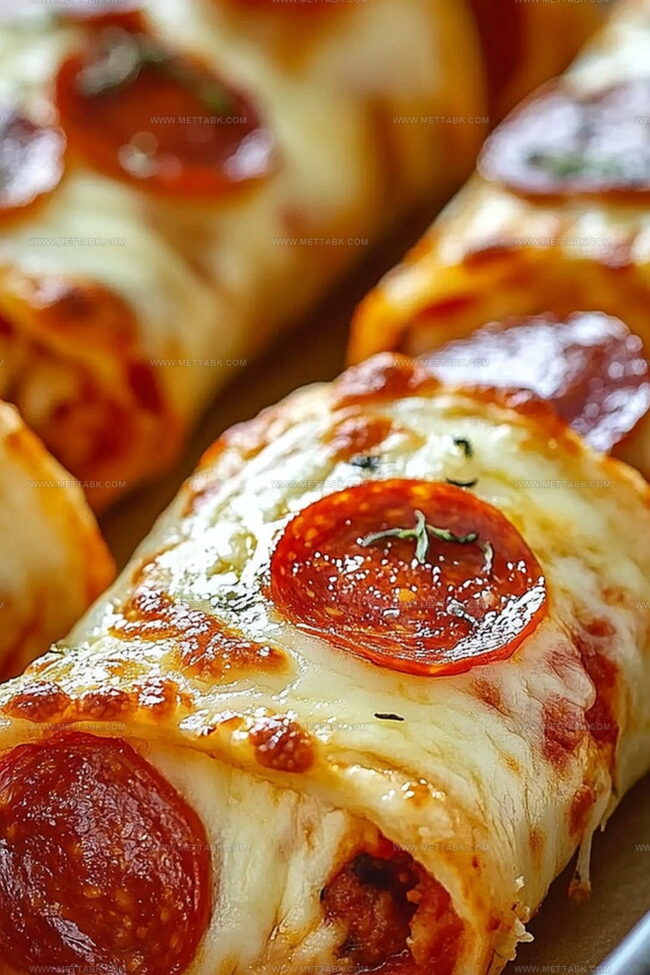
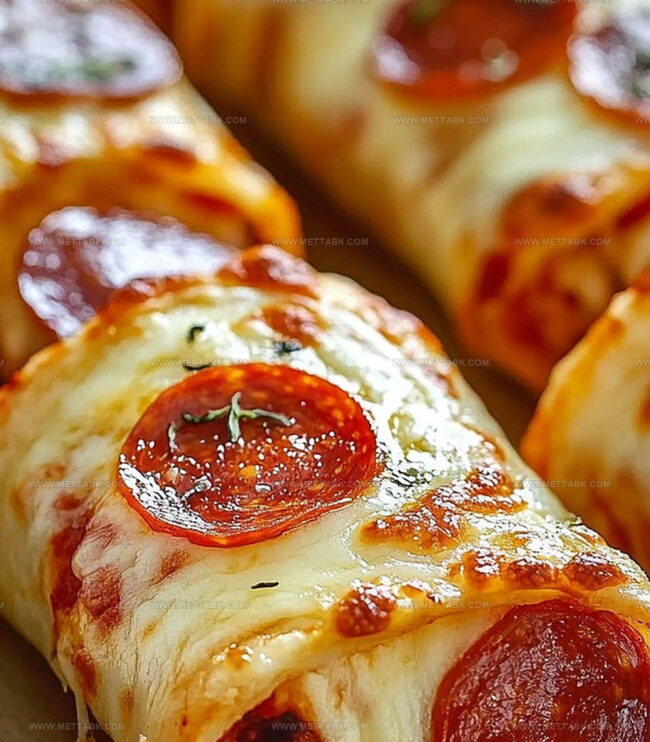
Crispy edges and melted cheese create a handheld snack perfect for quick meals or game day gatherings.
Compact and portable, these rolls pack all the classic pizza flavors into one irresistible package.
Kids and adults alike will go crazy for this simple yet innovative take on traditional pizza.
Rolled with care and baked to golden perfection, each bite promises a burst of savory goodness.
Minimal ingredients and straightforward preparation mean you can whip up these crowd-pleasers in no time.
Prepare to become the ultimate snack hero with this crowd-winning recipe that guarantees smiles all around.
Cheesy Pepperoni Pizza Roll-Ups That Please Crowds

Ingredients for Crispy and Cheesy Pepperoni Pizza Roll-Ups
Main Ingredients:Seasoning and Flavor Enhancers:Optional Garnish and Serving:How to Prepare Cheesy Pepperoni Pizza Roll-Ups Quickly
Step 1: Warm Up The Oven
Fire up your oven to a toasty 375°F and grab a baking sheet. Line it with parchment paper to prevent any sticky situations.
Step 2: Prep The Tortilla Canvas
Spread out a low-carb tortilla on your clean work surface. This will be your pizza roll-up masterpiece.
Step 3: Layer Delicious Toppings
Sprinkle these tasty ingredients across your tortilla:Step 4: Create The Perfect Roll
Carefully roll the tortilla from one end to the other, making sure it’s snug and tight. The goal is a compact, delicious cylinder.
Step 5: Bake To Golden Perfection
Place your rolled creation seam-side down on the prepared baking sheet. Slide into the preheated oven and bake for 15-20 minutes until the exterior turns a beautiful golden brown.
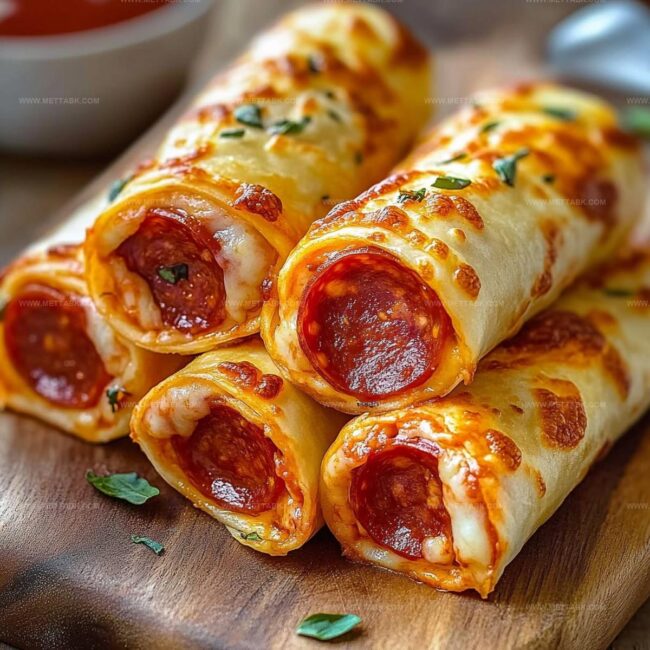
Step 6: Slice And Serve
Let the roll-ups cool slightly, then slice into tempting pinwheel sections. Serve alongside warm pasta sauce for an irresistible dipping experience.
Tips to Achieve Golden and Flavorful Pizza Roll-Ups
Flavorful Variations on Pepperoni Pizza Roll-Ups
Pairings That Go Well with Cheesy Pepperoni Roll-Ups
Storage Tips for Pepperoni Pizza Roll-Ups
FAQs
Yes, you can substitute with regular flour tortillas. The recipe will work just fine, though the carb content will be higher.
One tortilla typically creates 4-6 pinwheel slices, depending on how tightly you roll and slice them.
You can prepare the roll-ups in advance and refrigerate them before baking. Just add 2-3 extra minutes to the baking time when cooking from cold.
Use gluten-free tortillas and ensure your pepperoni and cheese are certified gluten-free to accommodate dietary needs.
Print
Cheesy Pepperoni Pizza Roll-Ups Recipe
- Total Time: 30 minutes
- Yield: 4 1x
Description
Savory cheesy pepperoni pizza roll-ups blend classic Italian flavors into a convenient handheld snack. Crispy edges and melted cheese make these rolls a crowd-pleasing appetizer you’ll want to share with friends and family.
Ingredients
- 1 cup shredded mozzarella cheese
- 15 slices pepperoni
- 4 low-carb tortillas
- 1 tsp (5 ml) Italian seasoning
- 1/2 cup (120 ml) pasta sauce (for dipping)
Instructions
- Preheat the oven to 375°F and prepare a baking sheet with parchment paper for optimal non-stick cooking.
- Spread mozzarella cheese across the entire surface of the low-carb tortilla, ensuring complete and even coverage.
- Arrange pepperoni slices strategically over the cheese layer, creating a uniform distribution.
- Sprinkle Italian seasoning generously to enhance the flavor profile of the roll-ups.
- Carefully roll the tortilla from one end to the other, maintaining a tight and compact form.
- Position the rolled tortilla seam-side down on the prepared baking sheet to prevent unraveling during cooking.
- Bake in the preheated oven for 15-20 minutes, watching for a golden-brown exterior that indicates crispy perfection.
- Remove from the oven and allow the roll-ups to cool for a few minutes to stabilize their structure.
- Slice the roll-ups into bite-sized pinwheel segments for easy serving.
- Warm the pasta sauce separately and serve alongside the roll-ups as a complementary dipping sauce.
Notes
- Swap traditional tortillas with low-carb alternatives to reduce carbohydrate intake and make the recipe more diet-friendly.
- Toast pepperoni quickly in a skillet before adding to roll-ups for enhanced crispy texture and deeper flavor profile.
- Experiment with different cheese combinations like provolone or aged cheddar to create unique taste variations.
- Let roll-ups rest for 2-3 minutes after baking to help them set and prevent filling from spilling out when slicing.
- Prep Time: 10 minutes
- Cook Time: 20 minutes
- Category: Lunch, Dinner, Appetizer, Snacks
- Method: Baking
- Cuisine: Italian-American
Nutrition
- Serving Size: 4
- Calories: 370 kcal
- Sugar: 4 g
- Sodium: 920 mg
- Fat: 26 g
- Saturated Fat: 11 g
- Unsaturated Fat: 13 g
- Trans Fat: 0.3 g
- Carbohydrates: 9 g
- Fiber: 2 g
- Protein: 18 g
- Cholesterol: 55 mg
Clara Bennett
Contributing Recipe Developer & Food Writer
Expertise
Baking and Pastry Development, Gluten-Free and Allergy-Friendly Recipe Creation, Culinary Storytelling and Food Journalism, Recipe Testing and Standardization, Southern Comfort Foods and Modern Twists
Education
Sullivan University – National Center for Hospitality Studies
Associate Degree in Culinary Arts
Focus: Baking and Pastry Arts, Recipe Testing, and Culinary Journalism.
Clara specialized in crafting desserts that blend classic Southern comfort with modern techniques, while developing strong writing skills to tell the story behind every dish.
Lane Community College (Certificate Program)
Certificate in Food Writing and Photography
Focus: Culinary storytelling, recipe formatting, food styling, and visual presentation.
Clara’s love of baking started young, powered by homemade pies, biscuits, and stories passed around the family table.
After earning her degree at Sullivan University and a food writing certificate at Lane Community College, she turned her passion into a craft: sharing recipes that are simple, soulful, and always full of heart.
She’s big on bold flavors, flexible ideas, and creating sweets that fit any table (yes, even if you’re gluten-free). When she’s not baking, you’ll find her wandering farmers’ markets, styling food for the next photo shoot, or working on her ever-growing recipe journal.