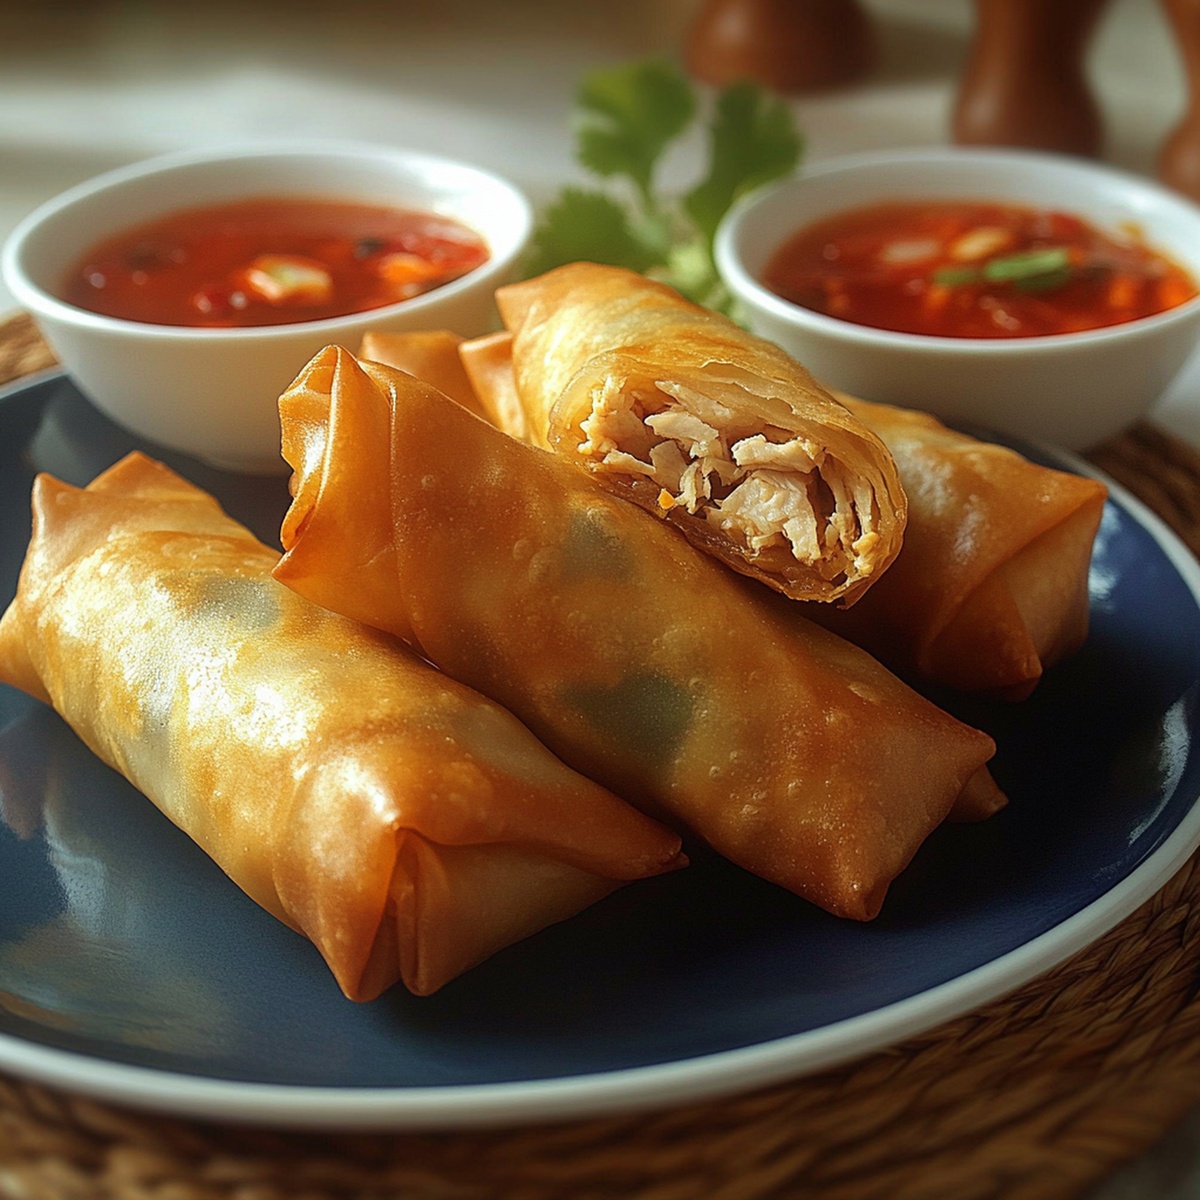
Zesty Homemade Chicken Spring Rolls Recipe for Fresh Flavors
Crispy and golden chicken spring rolls dance with vibrant flavors that promise an exciting culinary adventure.
Wrapped delicately in thin pastry, these delectable parcels burst with tantalizing ingredients.
Delightful crunch meets savory filling in every delicious bite.
Each roll carries the essence of traditional asian street food with a modern twist.
You’ll love how simple ingredients combine to create something truly magical.
Packed with protein and vegetables, these spring rolls offer a perfect balance of nutrition and taste.
Gather your ingredients and let’s create something extraordinary that will make your taste buds celebrate.
Chicken Spring Rolls That Bring Freshness to Any Meal

Ingredients for Crispy and Flavorful Chicken Spring Rolls
Protein:Vegetables and Seasonings:Wrapper and Cooking Ingredients:How to Roll Chicken Spring Rolls with Care
Step 1: Sizzle and Shred the Chicken
Heat a skillet over medium flame and cook the chicken until it’s completely done. The meat should look white and feel firm.
Once cooled, use two forks to pull the chicken apart into delicate, bite-sized shreds.
Step 2: Create the Flavorful Filling
Chop the vegetables into tiny pieces using a sharp knife.
In a mixing bowl, combine:Stir everything together until the ingredients are evenly distributed.
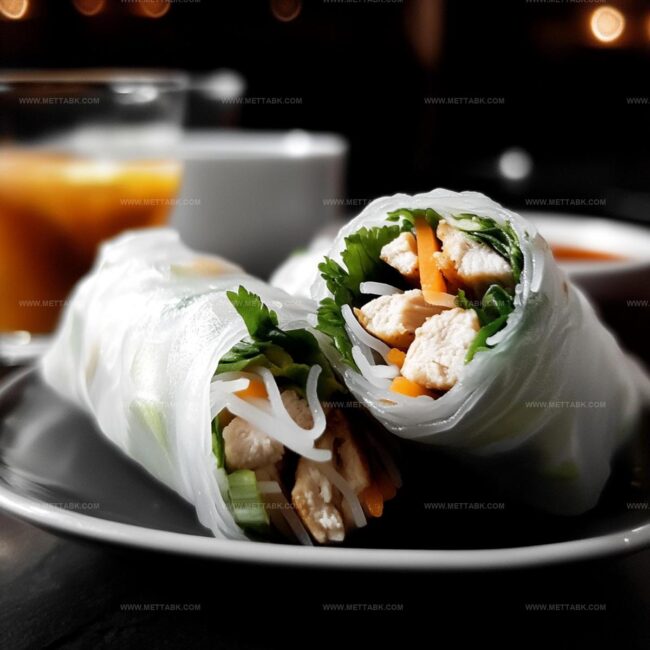
Step 3: Prepare the Rice Paper Wrappers
Grab a shallow dish of warm water.
Gently dip each rice paper wrapper into the water for a quick 10-second bath. The wrapper will become soft and pliable, ready for filling.
Step 4: Roll with Precision
Place a softened wrapper on a clean surface. Spoon the chicken mixture near one edge of the wrapper.
Fold the sides inward, then roll tightly from bottom to top, creating a neat, compact spring roll.
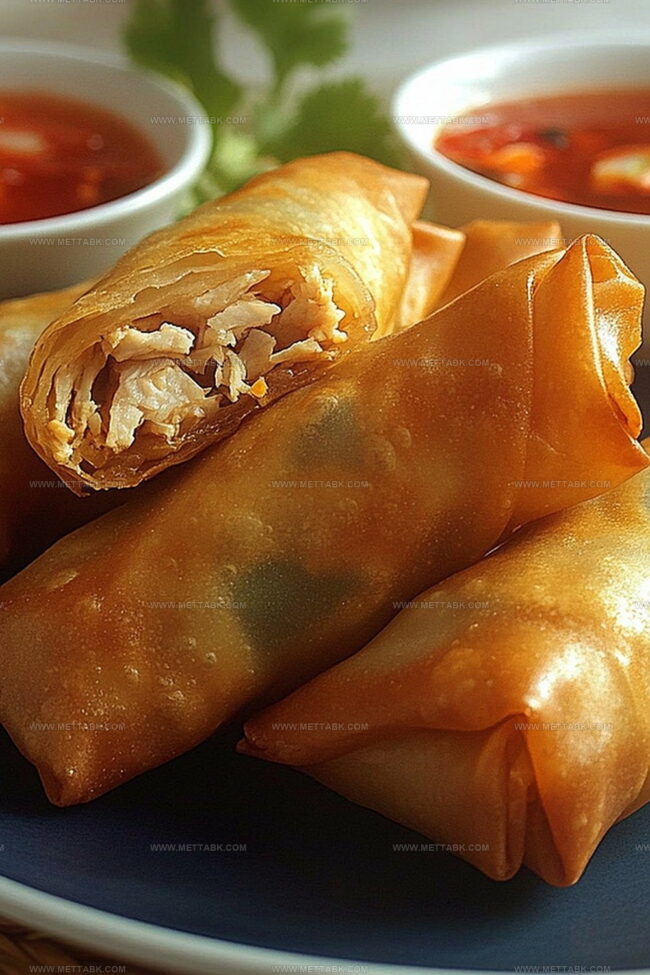
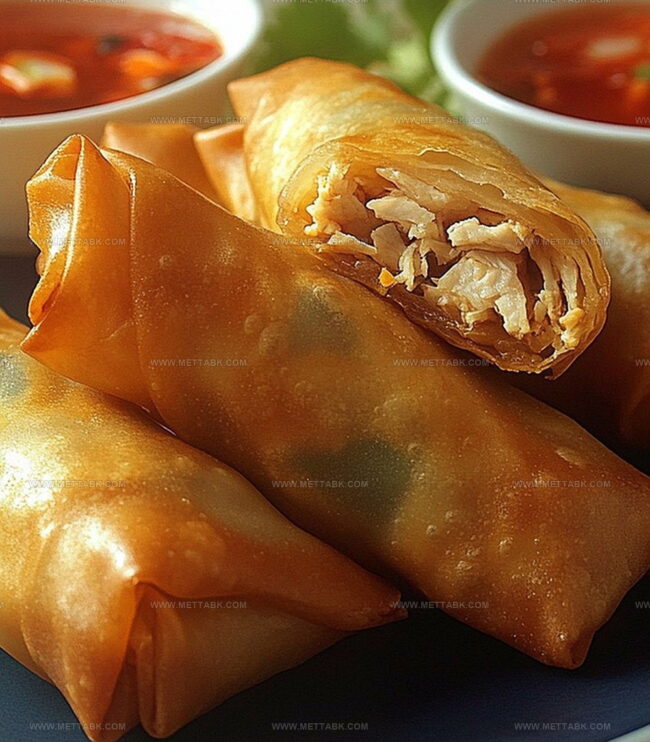
Step 5: Crisp and Golden Frying
Pour oil into a frying pan and heat over medium-high temperature.
Carefully place the rolls into the hot oil. Fry each side until they turn a beautiful golden brown, which takes about 3-4 minutes per side.
Step 6: Serve and Enjoy
Transfer the spring rolls to a paper towel-lined plate to drain excess oil. Plate immediately and serve with your favorite dipping sauce for a delicious appetizer or snack.
Tips for Perfect Chicken Spring Rolls Every Time
Flavorful Variations on Chicken Spring Rolls to Try
Pairings That Enhance Chicken Spring Rolls Enjoyment
Best Ways to Store Chicken Spring Rolls Safely
FAQs
Despite being fried, chicken spring rolls can be nutritious when using lean chicken, plenty of vegetables, and controlling oil usage. They provide protein, vitamins, and minerals from chicken and fresh vegetables.
Soy sauce is the key flavor enhancer in this recipe. Adding minced garlic, ginger, or herbs like cilantro can boost the taste profile and create more depth in the filling.
Yes, you can prepare the filling and wrap the rolls in advance. Store uncooked spring rolls between layers of parchment paper in the refrigerator for up to 24 hours before frying.
Print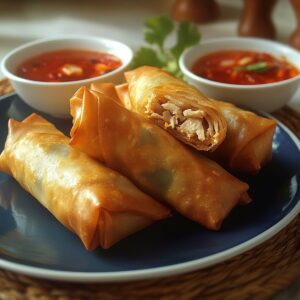
Chicken Spring Rolls Recipe
- Total Time: 30 minutes
- Yield: 10 1x
Description
Chinese-inspired chicken spring rolls bring crispy delight to dinner tables worldwide. Delicate wrappers encase savory seasoned chicken, creating a perfect appetizer for home cooks eager to explore international cuisine.
Ingredients
- 1 pound (454 g) boneless, skinless chicken breasts
- 10 rice paper wrappers
- 1 cup (240 ml) mixed fresh vegetables (carrots, bell peppers, cabbage)
- 2 tbsps (30 ml) low-sodium soy sauce
- 2 tbsps (30 ml) hoisin sauce
- 1 tbsp (15 ml) peanut butter
- juice from 1/2 lime
Instructions
- Prepare the chicken by sautéing in a skillet at medium heat until thoroughly cooked and no longer pink, approximately 6-8 minutes.
- Allow the chicken to cool, then carefully pull apart into fine, delicate shreds using two forks.
- Dice the vegetables into uniform, small pieces to ensure even distribution throughout the filling.
- Combine the shredded chicken, chopped vegetables, and soy sauce in a mixing bowl, gently blending the ingredients to create a harmonious filling.
- Fill a wide, shallow dish with warm water and briefly submerge the rice paper wrappers for 10 seconds to make them pliable and translucent.
- Place a softened wrapper on a clean, flat surface, positioning the filling near the bottom edge of the wrapper.
- Carefully fold the bottom edge over the filling, then fold in the side edges to create a tight seal.
- Roll the wrapper upward, pressing gently to ensure a compact and secure spring roll.
- Heat oil in a large frying pan to medium-high temperature, around 350°F.
- Gently place the rolled spring rolls into the hot oil, frying until each side turns a rich, golden brown, approximately 3-4 minutes per side.
- Remove the spring rolls and drain excess oil on a layer of absorbent paper towels.
- Serve immediately alongside the prepared dipping sauce for a crisp, flavorful appetizer.
Notes
- Prevent chicken dryness by using chicken thighs instead of breast meat for extra moisture and flavor.
- Enhance nutritional value by adding shredded carrots, bean sprouts, or finely chopped cabbage to the filling mixture.
- Achieve crispy texture by ensuring rice paper is completely dry before frying and maintaining consistent oil temperature around 350°F.
- Create gluten-free version by substituting soy sauce with tamari and using gluten-free rice paper wrappers.
- Prep Time: 15 minutes
- Cook Time: 15 minutes
- Category: Appetizer, Snacks, Lunch, Dinner
- Method: Frying
- Cuisine: Chinese
Nutrition
- Serving Size: 10
- Calories: 140
- Sugar: 3 g
- Sodium: 220 mg
- Fat: 4 g
- Saturated Fat: 1 g
- Unsaturated Fat: 3 g
- Trans Fat: 0 g
- Carbohydrates: 11 g
- Fiber: 1.5 g
- Protein: 15 g
- Cholesterol: 40 mg
Clara Bennett
Contributing Recipe Developer & Food Writer
Expertise
Baking and Pastry Development, Gluten-Free and Allergy-Friendly Recipe Creation, Culinary Storytelling and Food Journalism, Recipe Testing and Standardization, Southern Comfort Foods and Modern Twists
Education
Sullivan University – National Center for Hospitality Studies
Associate Degree in Culinary Arts
Focus: Baking and Pastry Arts, Recipe Testing, and Culinary Journalism.
Clara specialized in crafting desserts that blend classic Southern comfort with modern techniques, while developing strong writing skills to tell the story behind every dish.
Lane Community College (Certificate Program)
Certificate in Food Writing and Photography
Focus: Culinary storytelling, recipe formatting, food styling, and visual presentation.
Clara’s love of baking started young, powered by homemade pies, biscuits, and stories passed around the family table.
After earning her degree at Sullivan University and a food writing certificate at Lane Community College, she turned her passion into a craft: sharing recipes that are simple, soulful, and always full of heart.
She’s big on bold flavors, flexible ideas, and creating sweets that fit any table (yes, even if you’re gluten-free). When she’s not baking, you’ll find her wandering farmers’ markets, styling food for the next photo shoot, or working on her ever-growing recipe journal.