
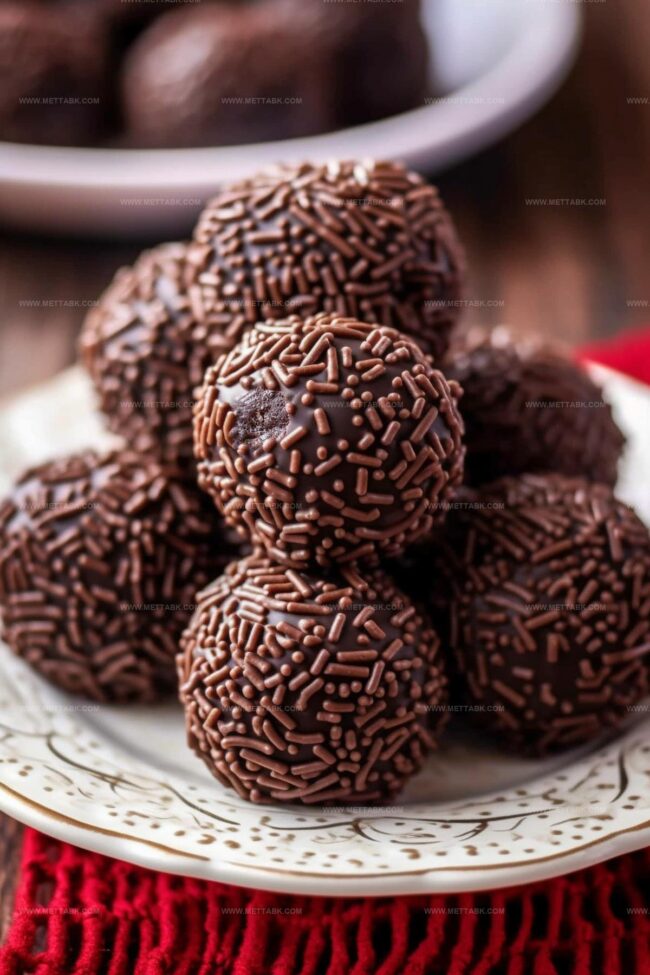
Quick & Dreamy Chocolate Bourbon or Rum Balls Recipe
Sweet memories of holiday gatherings often spark my enthusiasm for these delectable chocolate bourbon balls that melt effortlessly on your tongue.
Rich cocoa and smooth liquor create an irresistible combination for grown-up treats.
Generations of home cooks have perfected this no-bake dessert with subtle variations.
Weeknight baking becomes a playful adventure when mixing these decadent morsels.
Rum or bourbon adds a sophisticated kick that transforms simple ingredients into something extraordinary.
Subtle hints of warmth from the liquor complement the deep chocolate notes beautifully.
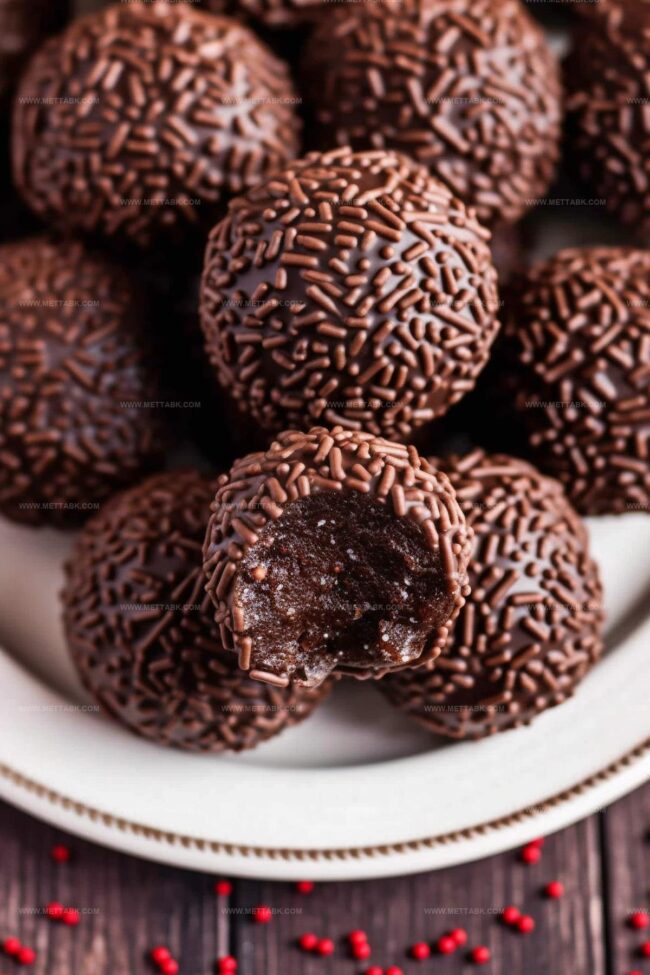
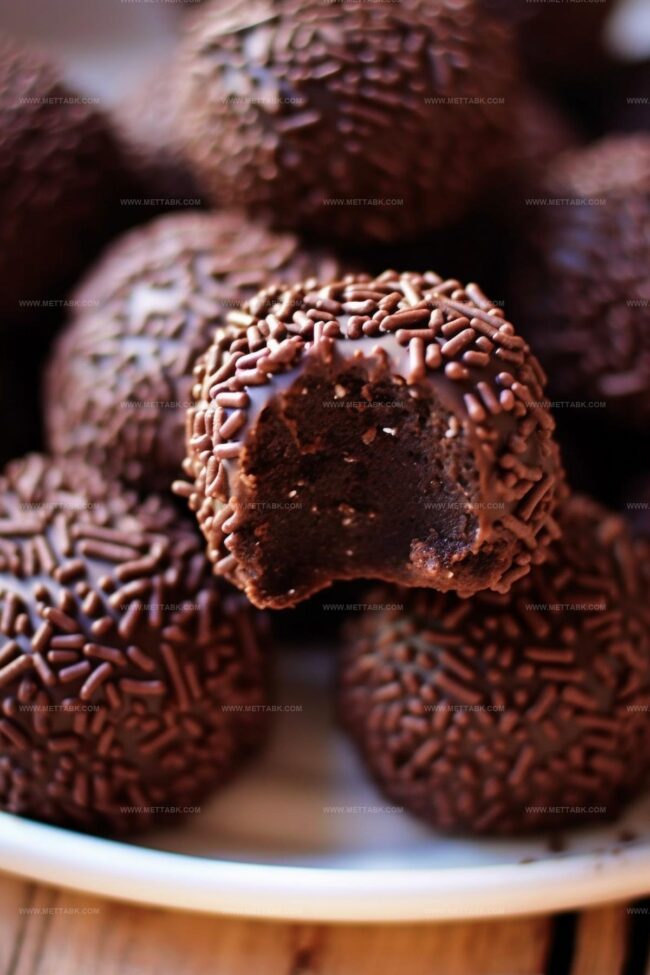
Roll these delightful spheres in crushed nuts or cocoa powder for an elegant finishing touch that promises pure indulgence.
One bite will transport you to a world of festive cheer and culinary delight.
Chocolate Bourbon or Rum Balls Delight
Ingredients for Chocolate Bourbon or Rum Balls
Instructions to Make Chocolate Bourbon or Rum Balls
Step 1: Crumble the Chocolate Cake
Break the chocolate cake into fine, delicate crumbs using your hands or a food processor. Aim for a consistent, sandy texture that will help bind the ingredients together smoothly.
Step 2: Mix Wet Ingredients
Gather your ingredients:Pour these liquids into the cake crumbs and mix thoroughly until the mixture becomes a cohesive, moldable dough that holds its shape when pressed.
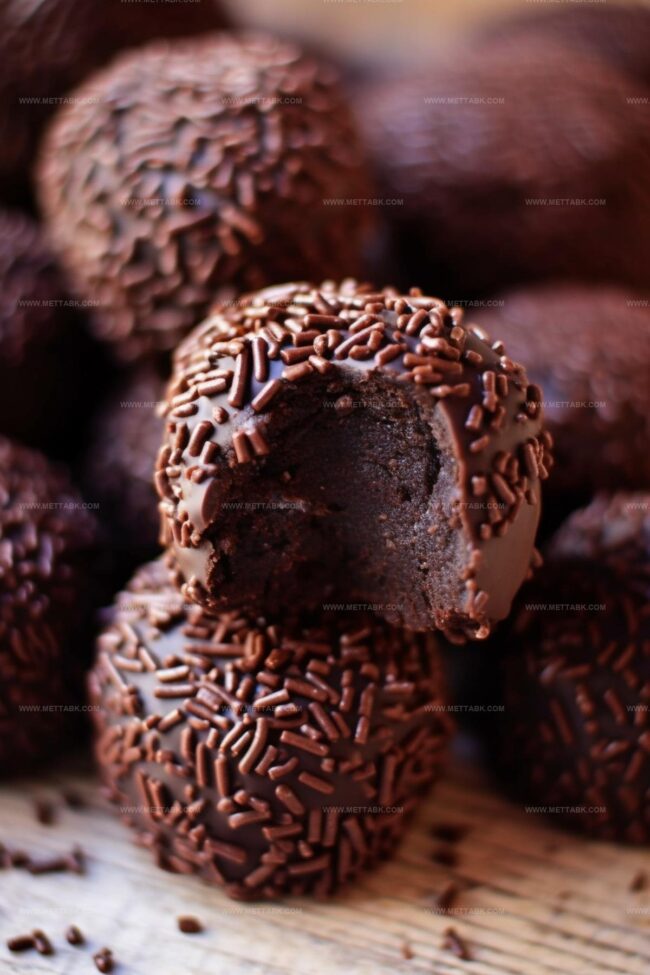
Step 3: Shape Delightful Spheres
Roll the mixture between your palms to create small, uniform balls about the size of a golf ball.
Make sure each ball is compact and smooth.
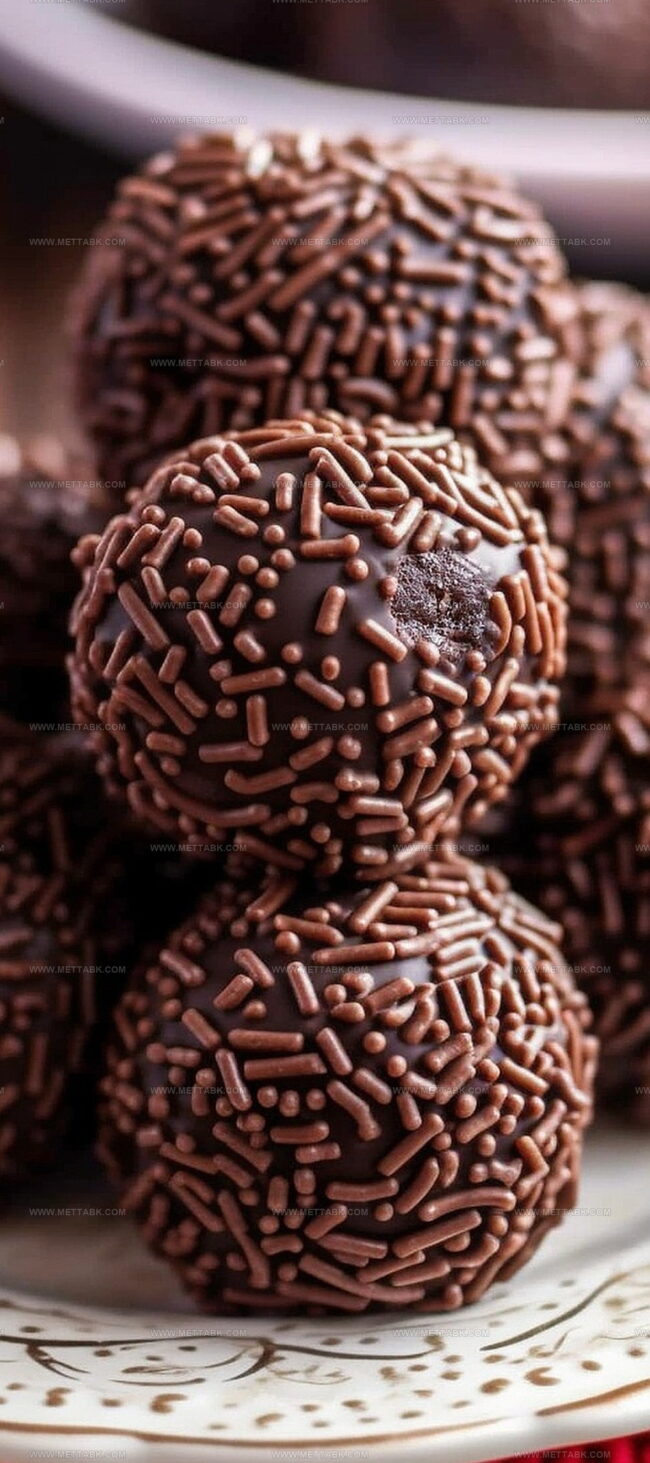
Step 4: Roll in Chocolate Coating
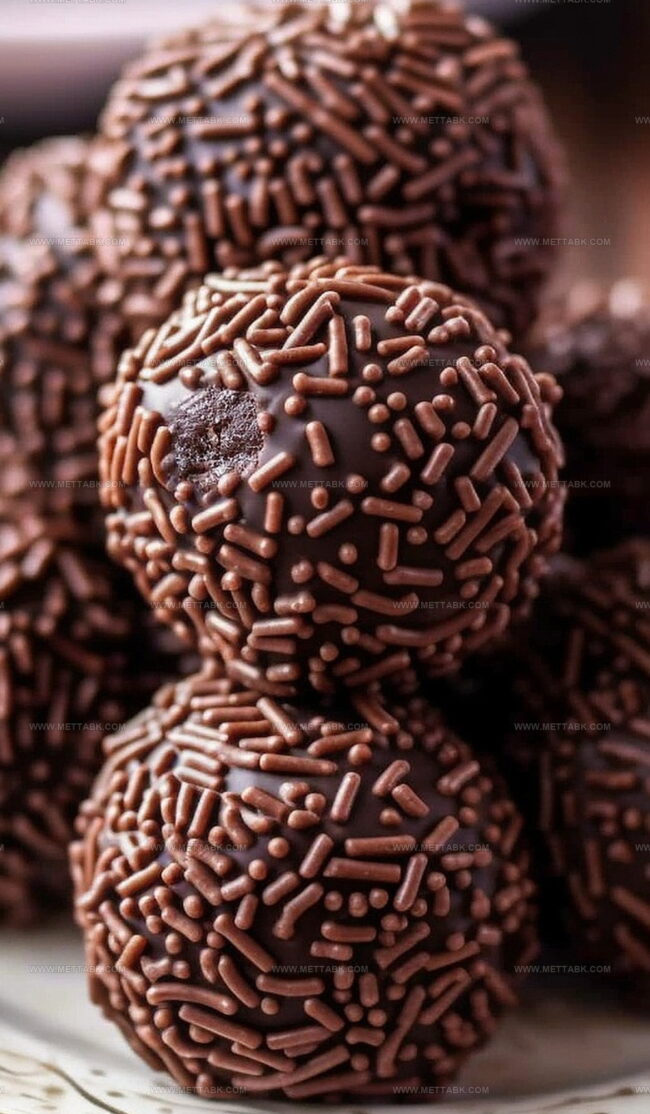
Generously coat each ball by rolling them in chocolate sprinkles, chocolate powder, or crushed nuts.
Ensure the entire surface is evenly covered for a delicious crunch.
Step 5: Chill and Set
Place the coated balls on a parchment-lined baking sheet.
Refrigerate for at least an hour to firm up the texture and enhance the flavor melding. For longer storage, transfer to an airtight container in the freezer.
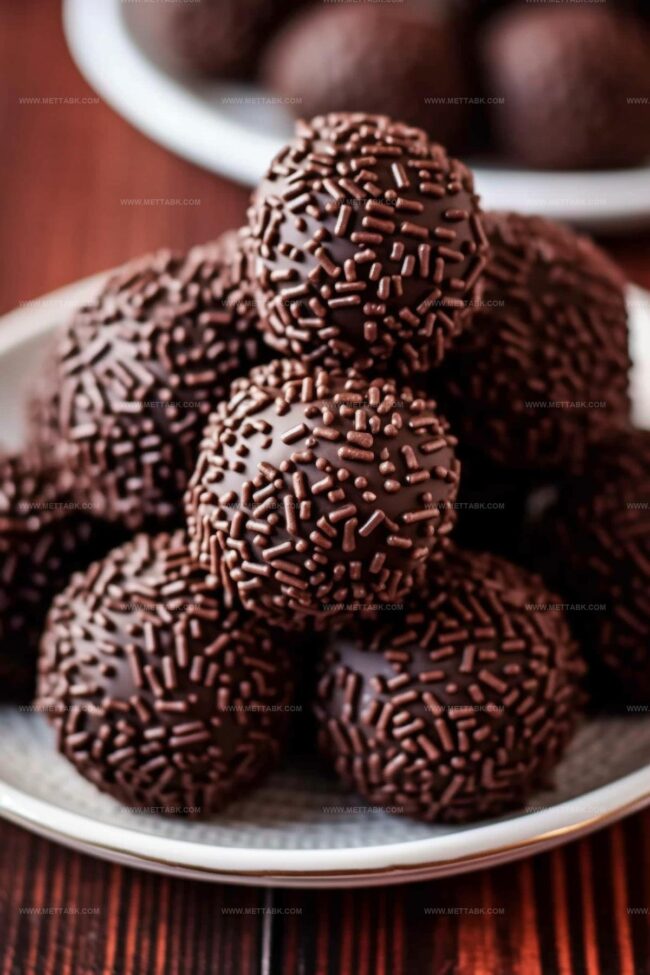
Step 6: Serve and Enjoy
Remove the balls from the refrigerator 10-15 minutes before serving to soften slightly. These boozy treats are perfect for adult gatherings or as a sophisticated dessert.
Expert Tips for Chocolate Bourbon or Rum Balls
Variations on Chocolate Bourbon or Rum Balls
Pairing Suggestions for Chocolate Bourbon or Rum Balls

Proper Storage for Chocolate Bourbon or Rum Balls
FAQs
Any dense chocolate cake like devil’s food or chocolate pound cake works perfectly. The cake should be moist but not too wet to help hold the ball shape.
Yes, you can use different liquors like brandy or Bailey’s Irish Cream. For non-alcoholic versions, try fruit juices or coffee to add moisture and flavor.
When stored in an airtight container in the refrigerator, rum balls can last up to 2 weeks. In the freezer, they can maintain quality for about 1-2 months.
No, chocolate sprinkles are optional. You can also roll the balls in cocoa powder, powdered sugar, chopped nuts, or shredded coconut for variety.
Print
Chocolate Bourbon Or Rum Balls Recipe
- Total Time: 50 minutes
- Yield: 24 1x
Description
Chocolate bourbon balls blend rich dark chocolate with smooth Kentucky spirits for an indulgent adult treat. Dessert enthusiasts will savor these bite-sized confections that combine deep cocoa flavors with warm liquor undertones.
Ingredients
- 1 9×13 chocolate cake (prepared from mix or recipe)
- 1/2 cup (120 ml) dark or spiced rum (or bourbon)
- 1/4 cup (60 ml) sweetened condensed milk
- 1/3 cup (80 ml) chocolate sprinkles
Instructions
- Pulverize the chocolate cake into fine, uniform crumbs within a spacious mixing vessel, ensuring no large chunks remain.
- Integrate the rum or bourbon and sweetened condensed milk into the cake crumbs, mixing thoroughly until a cohesive, moldable texture develops.
- Craft compact, bite-sized spheres approximately one inch in diameter, applying gentle pressure to compact the mixture and maintain structural integrity.
- Meticulously roll each formed ball through chocolate sprinkles, guaranteeing complete and even coverage on all exterior surfaces.
- Position the coated spheres onto a parchment-lined baking sheet, maintaining slight separation between each ball.
- Refrigerate for approximately 30 minutes to solidify the texture and enhance flavor melding, allowing the rum or bourbon to permeate the cake crumbs.
- Transfer the chilled confections to an airtight storage container, which can be kept refrigerated for up to one week or frozen for extended preservation.
- When ready to serve, remove from refrigeration or freezer and let rest at room temperature for 10-15 minutes to soften slightly and optimize flavor profile.
Notes
- Crumble cake completely to achieve fine, even texture for smooth ball formation.
- Use room temperature cake for easier crumbling and better ingredient incorporation.
- Experiment with different liquors like brandy or whiskey for unique flavor variations.
- Adjust sweetened condensed milk quantity to control ball consistency and prevent crumbling.
- Prep Time: 20 minutes
- Cook Time: 30 minutes
- Category: Snacks, Desserts, Cocktails
- Method: Freezing
- Cuisine: American
Nutrition
- Serving Size: 24
- Calories: 181
- Sugar: 18 g
- Sodium: 40 mg
- Fat: 7 g
- Saturated Fat: 4 g
- Unsaturated Fat: 2 g
- Trans Fat: 0.1 g
- Carbohydrates: 27 g
- Fiber: 1 g
- Protein: 2 g
- Cholesterol: 12 mg
Clara Bennett
Contributing Recipe Developer & Food Writer
Expertise
Baking and Pastry Development, Gluten-Free and Allergy-Friendly Recipe Creation, Culinary Storytelling and Food Journalism, Recipe Testing and Standardization, Southern Comfort Foods and Modern Twists
Education
Sullivan University – National Center for Hospitality Studies
Associate Degree in Culinary Arts
Focus: Baking and Pastry Arts, Recipe Testing, and Culinary Journalism.
Clara specialized in crafting desserts that blend classic Southern comfort with modern techniques, while developing strong writing skills to tell the story behind every dish.
Lane Community College (Certificate Program)
Certificate in Food Writing and Photography
Focus: Culinary storytelling, recipe formatting, food styling, and visual presentation.
Clara’s love of baking started young, powered by homemade pies, biscuits, and stories passed around the family table.
After earning her degree at Sullivan University and a food writing certificate at Lane Community College, she turned her passion into a craft: sharing recipes that are simple, soulful, and always full of heart.
She’s big on bold flavors, flexible ideas, and creating sweets that fit any table (yes, even if you’re gluten-free). When she’s not baking, you’ll find her wandering farmers’ markets, styling food for the next photo shoot, or working on her ever-growing recipe journal.