The Perfect Chocolate Cherry Blossom Cookies Recipe for Sweet Treats
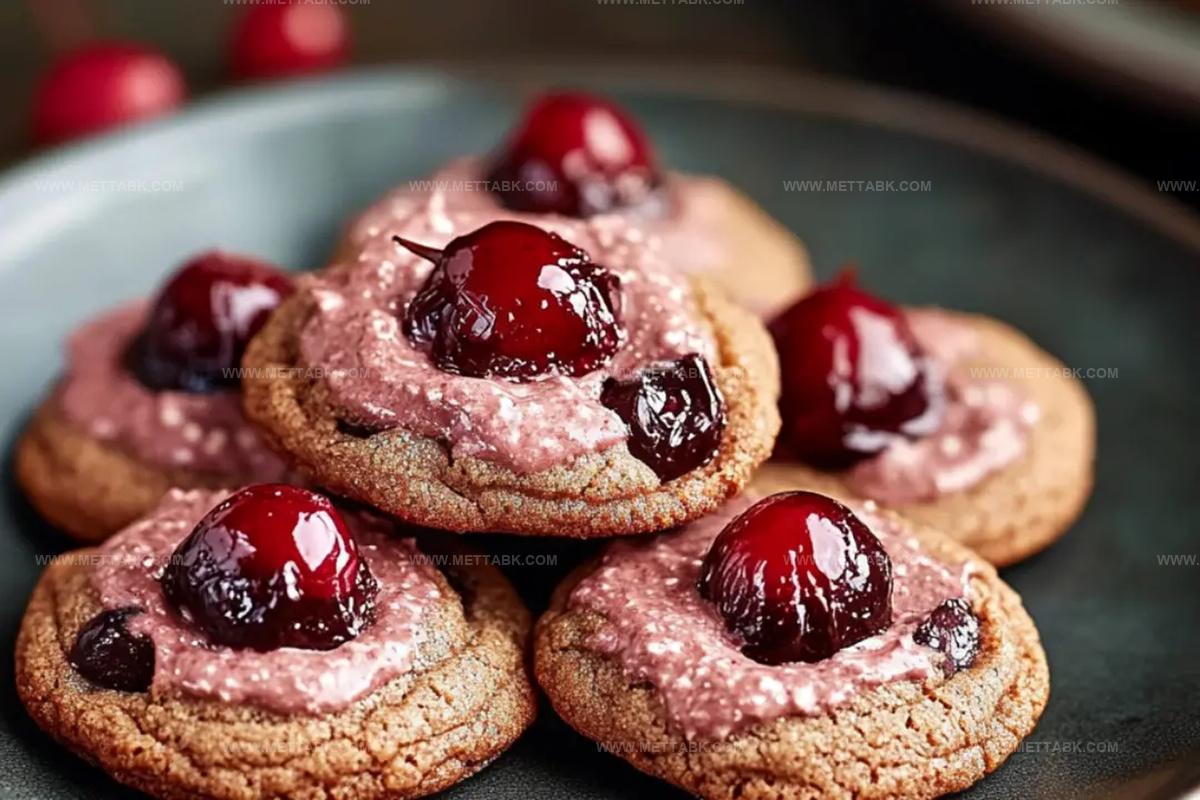
Sweet chocolate cherry blossom cookies invite you into a world of delightful surprises.
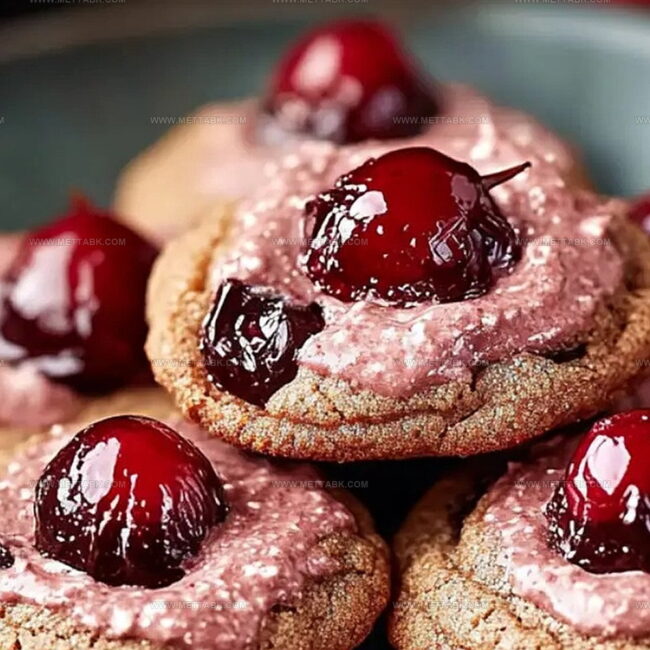
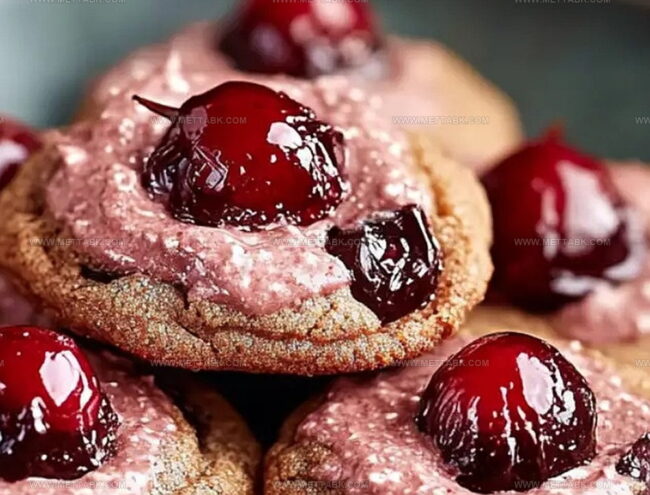
Crisp edges mingle with soft centers, creating a perfect harmony of textures.
Delicate pink petals of cherry blossoms dance alongside rich chocolate, promising a unique culinary adventure.
Each cookie whispers stories of springtime’s gentle embrace and indulgent moments.
Baking becomes an art form when unexpected flavors collide with traditional comfort.
Imagine the joy of sharing these elegant treats that blend cultural elegance with pure deliciousness.
You’ll fall in love with every fragrant, chocolate-kissed bite that celebrates seasonal magic.
What Makes Chocolate Cherry Blossom Cookies Stand Out
Ingredients for Chocolate Cherry Blossom Cookie Dough
For the Base:For the Flavor Enhancers:For the Finishing Touches:How to Bake Chocolate Cherry Blossom Cookies Right
Step 1: Whip Butter
Beat butter using an electric mixer until smooth and fluffy. The butter should transform into a creamy texture that looks light and airy.
Step 2: Blend Flavor Boosters
Mix in the following ingredients:Blend these components until they are completely combined and create a uniform mixture.
Step 3: Infuse Cherry Essence
Slowly pour cherry juice into the mixture while beating on high speed.
Continue mixing for one minute to ensure the juice is fully integrated.
Step 4: Form Soft Dough
Gradually add flour to the wet ingredients, mixing on low speed.
Continue until a soft, pliable dough forms. The texture should be smooth and slightly sticky.
Step 5: Incorporate Cherry Pieces
Fold in chopped cherries, stirring gently to distribute them evenly throughout the dough.
Step 6: Chill Dough
Wrap the dough tightly in plastic wrap and refrigerate for a minimum of 4 hours.
This helps develop deeper flavors and makes the dough easier to handle.
Step 7: Prepare Baking Station
Preheat the oven to 350F.
Line two baking sheets with parchment paper to prevent sticking.
Step 8: Shape Cookies
Roll the chilled dough into small balls, each about the size of a tablespoon.
Arrange them on the prepared baking sheets with slight spacing between each cookie.
Step 9: Bake to Golden Perfection
Bake cookies for 11-12 minutes.
Look for light golden edges as a sign they are perfectly done.
Step 10: Add Chocolate Kiss
Allow cookies to cool on the baking sheet for 5 minutes.
Gently press a Hersheys Kiss into the center of each warm cookie.
Step 11: Rapid Cooling
Quickly transfer cookies to the refrigerator or freezer for 15 minutes.
This prevents the chocolate kiss from melting completely.
Step 12: Optional Chocolate Drizzle
Melt chocolate in the microwave, stirring every 20 seconds to prevent burning.
Use a spoon or piping bottle to create decorative chocolate drizzles over the cooled cookies.
Tips to Make Soft Cherry Chocolate Cookies
Flavor Variations for Chocolate Blossom Cookies
What to Serve With Cherry Blossom Cookies
Best Way to Store Chocolate Blossom Cookies
FAQs
The cherry juice and chopped cherries provide a fresh, vibrant flavor that infuses the entire cookie with a delicate fruity essence, creating a more complex taste profile than traditional sugar cookies.
Yes, you can use pure cherry juice from the grocery store or even cherry syrup, though the intensity of flavor might slightly differ from fresh cherry juice.
Chilling helps the butter solidify, prevents cookies from spreading too much during baking, and allows the flavors to meld together, resulting in a more concentrated and rich taste.
Print
Chocolate Cherry Blossom Cookies Recipe
- Total Time: 17 minutes
- Yield: 24 1x
Description
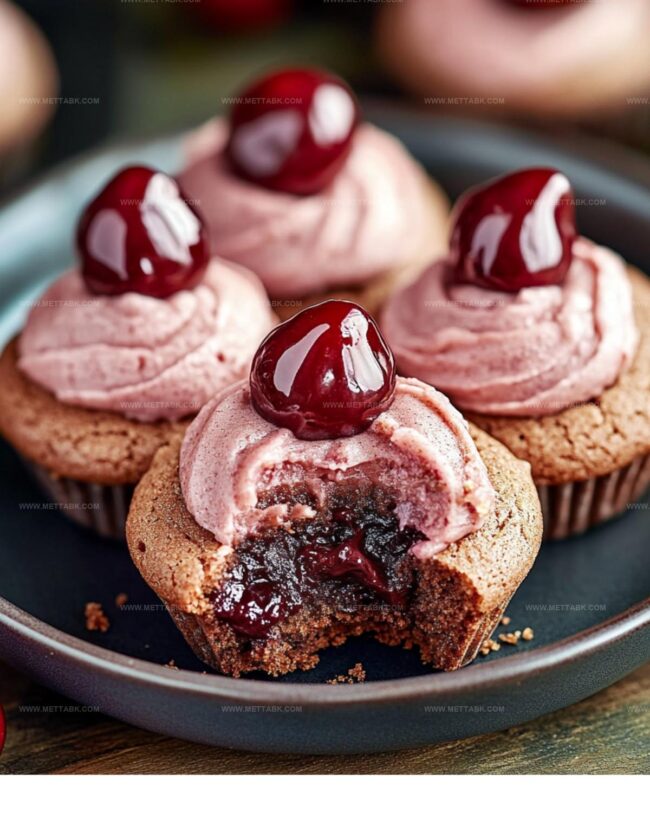
Sweet chocolate cherry blossom cookies blend rich cocoa with delicate floral notes, creating a sensory journey through Japanese-inspired baking. Chocolate lovers will savor these elegant treats that combine intense dark chocolate and subtle cherry essence in one irresistible bite.
Ingredients
Main Ingredients:
- 2 cups (250g) all-purpose flour
- 3/4 cup (170g) unsalted butter, softened
- 2/3 cup (134g) granulated sugar
- 24 Hershey’s Kisses, unwrapped
- 16 maraschino cherries, drained and chopped
Flavor Enhancers:
- 1 teaspoon pure vanilla extract
- 1/2 teaspoon almond extract
- 1 tablespoon (15 milliliters) maraschino cherry juice
Optional Topping:
- 4 ounces semi-sweet chocolate (for drizzling)
Instructions
- Cream butter in a large mixing bowl using high-speed mixer until smooth and fluffy for approximately 1 minute.
- Incorporate sugar, vanilla, and almond extracts into the butter mixture, blending thoroughly on medium speed until well combined.
- Gradually introduce cherry juice while continuing to mix at high speed for one minute, ensuring even distribution of liquid.
- Reduce mixer speed to low and gently fold in flour, mixing until a soft, pliable dough emerges.
- Fold chopped cherries into the dough, distributing them evenly throughout the mixture.
- Compress dough into a compact mass, then encase completely in plastic wrap, refrigerating for minimum 4 hours or up to 3 days to enhance flavor development.
- Preheat oven to 350F (177C) and prepare two baking sheets with parchment paper.
- Remove chilled dough and form into small, uniform spheres approximately 1 tablespoon in size.
- Arrange cookie balls on prepared baking sheets, maintaining consistent spacing.
- Bake for 11-12 minutes until edges acquire a delicate golden hue.
- Allow cookies to rest on baking sheet for 5 minutes after removing from oven.
- Gently press a Hershey’s Kiss into the center of each warm cookie.
- Immediately transfer cookies to refrigerator or freezer for 15 minutes to stabilize chocolate topping.
- Optional: Melt chocolate in microwave using 20-second intervals, stirring between each cycle.
- Drizzle melted chocolate over cookies using a spoon or piping bottle for decorative finish.
Notes
- Enhance the cherry flavor by using high-quality cherry juice or adding a splash of cherry liqueur to the dough for deeper complexity.
- Keep dough chilled to prevent spreading and maintain the cookies’ perfect shape during baking.
- Use room temperature butter for smoother mixing and better dough consistency, ensuring even incorporation of ingredients.
- For gluten-free variation, substitute all-purpose flour with a 1:1 gluten-free baking blend to accommodate dietary restrictions.
- Prep Time: 5 minutes
- Cook Time: 12 minutes
- Category: Snacks, Desserts
- Method: Baking
- Cuisine: American
Nutrition
- Serving Size: 24
- Calories: 197
- Sugar: 13 g
- Sodium: 32 mg
- Fat: 10 g
- Saturated Fat: 6 g
- Unsaturated Fat: 4 g
- Trans Fat: 0.1 g
- Carbohydrates: 24 g
- Fiber: 1 g
- Protein: 2 g
- Cholesterol: 30 mg
Nate Harper
Founder & Recipe Curator
Expertise
Single-Recipe Development, Farm-to-Table Cooking, Seasonal Menu Planning, Culinary Storytelling, Home Kitchen Innovation
Education
Cascade Culinary Institute – Central Oregon Community College
Certificate in Culinary Arts
Focus: Farm-to-table cuisine, sustainable cooking practices, and seasonal recipe creation.
Nate studied under experienced chefs who emphasized local sourcing, minimal waste, and building recipes from fresh, simple ingredients.
Nate Harper is the founder and creative force behind Make, Take, Bake. Raised in the wild beauty of Oregon’s high desert, Nate grew up surrounded by family gardens, farmers’ markets, and home kitchens that celebrated the seasons.
His early love for simple, honest food evolved into a professional passion when he attended Cascade Culinary Institute, where he sharpened his skills in creating recipes that are sustainable, satisfying, and made for everyday life.
Nate’s goal is to make cooking feel accessible, free of fuss, and full of flavor. He believes a single, thoughtfully built dish can stand alone, and sometimes even steal the show.