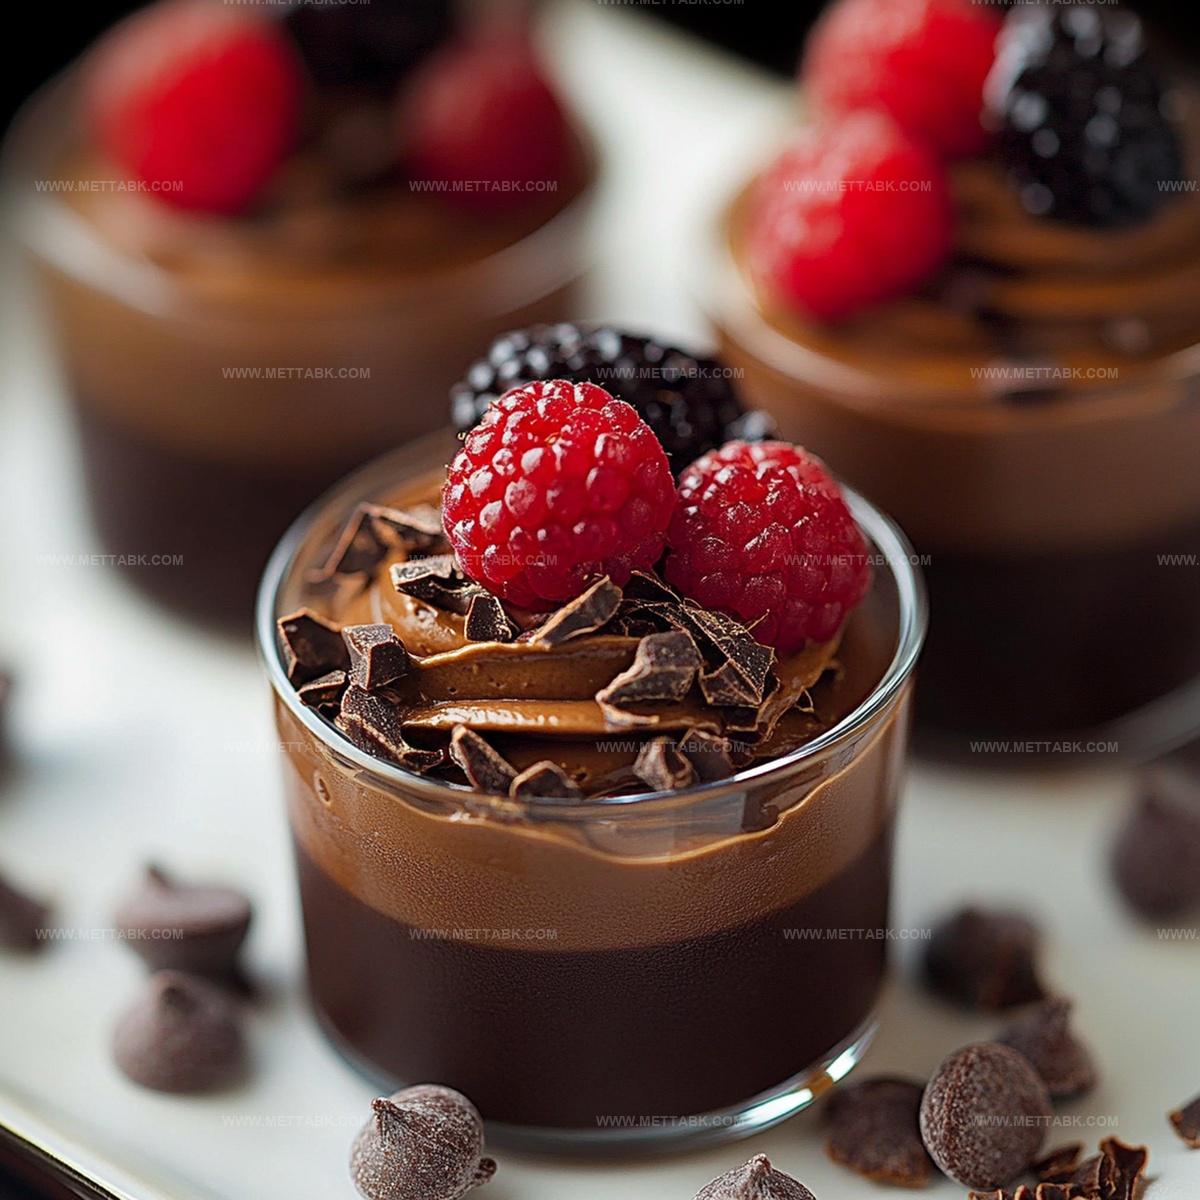
Heavenly Chocolate Mousse Cups Recipe: Silky Dessert Magic
Decadent chocolate mousse cups deliver a silky, indulgent dessert that melts hearts instantly.
Sweet dreams start with this luxurious treat waiting in your kitchen.
Smooth chocolate whispers promises of pure pleasure with every spoonful.
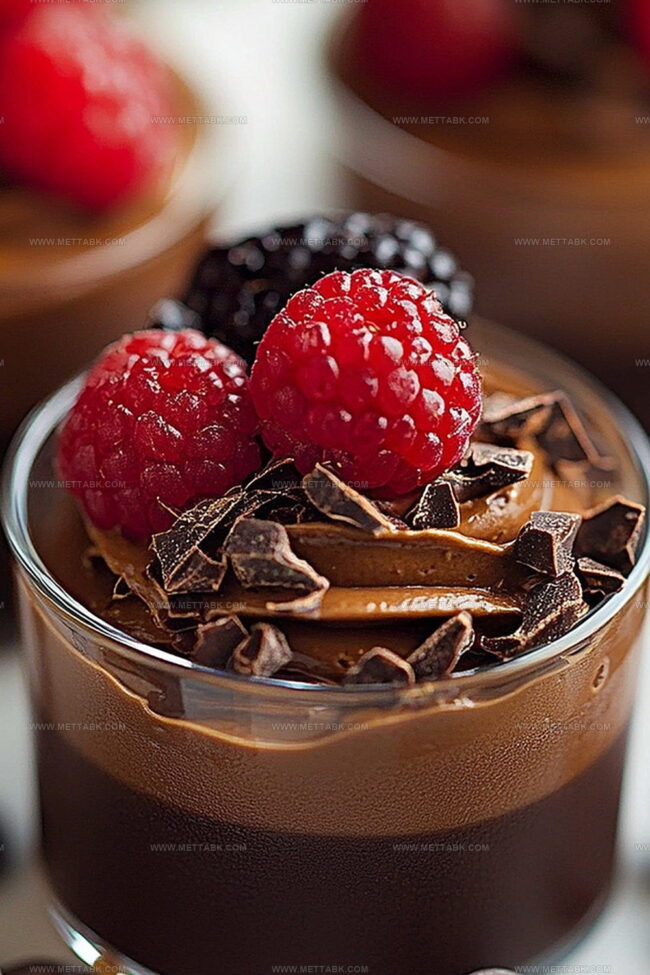
Layers of rich, airy goodness create a sensational experience for anyone craving intense flavor.
Professional pastry techniques become simple when you follow these carefully crafted steps.
Creamy textures and deep cocoa notes promise a dessert that feels both elegant and comforting.
Chocolate Mousse Cups That Melt Hearts Instantly
What Goes Into Those Heavenly Chocolate Mousse Cups
Main Chocolate Ingredients:Dairy and Egg Components:Sweetening Ingredients:Steps to Make Chocolate Mousse Cups Flawlessly
Step 1: Melt Chocolate
Create a luxurious chocolate base by melting dark chocolate using a double boiler or microwave. Stir gently until the chocolate transforms into a silky smooth texture.
Allow the chocolate to cool slightly, preventing any potential egg white curdling.
Step 2: Whip Heavy Cream
Grab a chilled bowl and whip the heavy cream using an electric mixer.
Continue whipping until soft, billowy peaks form that hold their shape but still look delicate and airy.
Step 3: Prepare Fluffy Egg Whites
In a separate spotless bowl, beat egg whites with sugar.
Whip vigorously until the mixture becomes glossy and forms stiff, elegant peaks that stand up when the beater is lifted.
Step 4: Combine Chocolate Mixture
Gently fold the slightly cooled melted chocolate into the whipped cream.
Use a light, careful motion to maintain the cream’s airiness. Next, delicately incorporate the egg white mixture, using a folding technique that preserves the mousse’s light and airy texture.
Step 5: Fill and Chill Mousse Cups
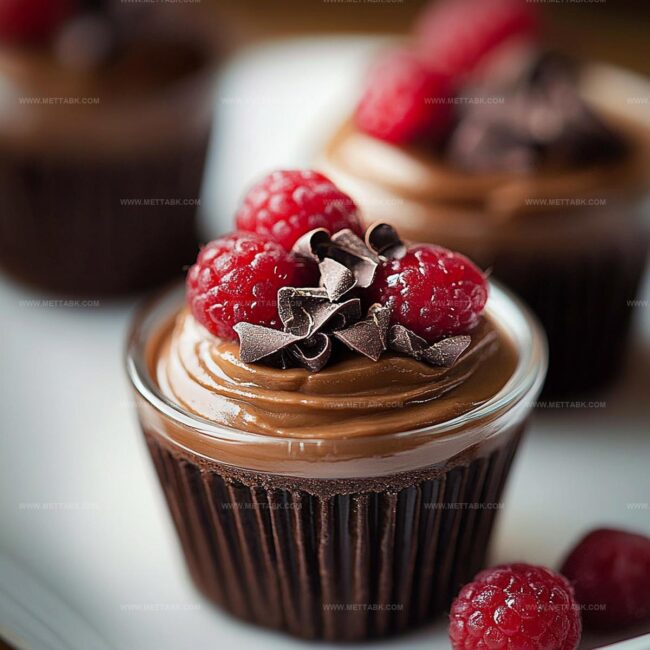
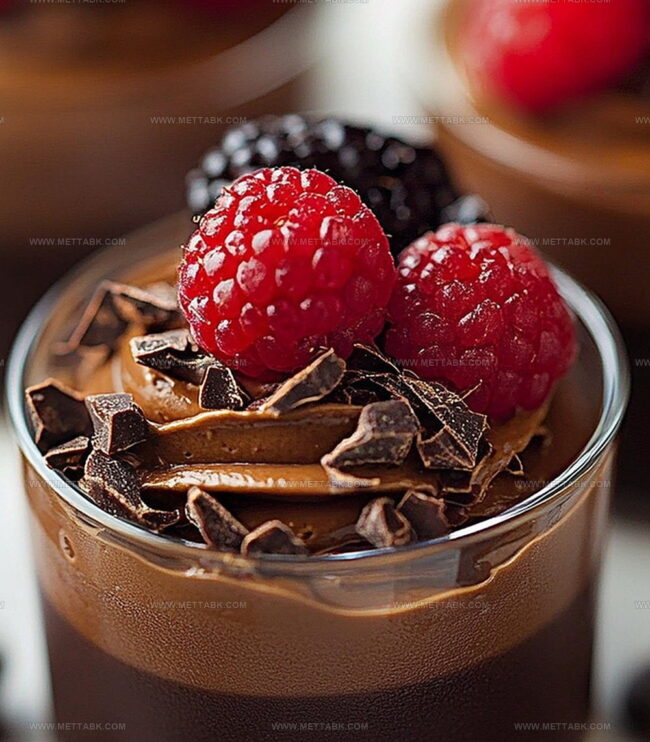
Carefully spoon or pipe the chocolate mousse into elegant serving cups. Create beautiful swirls or smooth surfaces as desired.
Place the filled cups in the refrigerator and allow them to chill for a minimum of 2 hours, letting the mousse set and develop its rich, creamy texture.
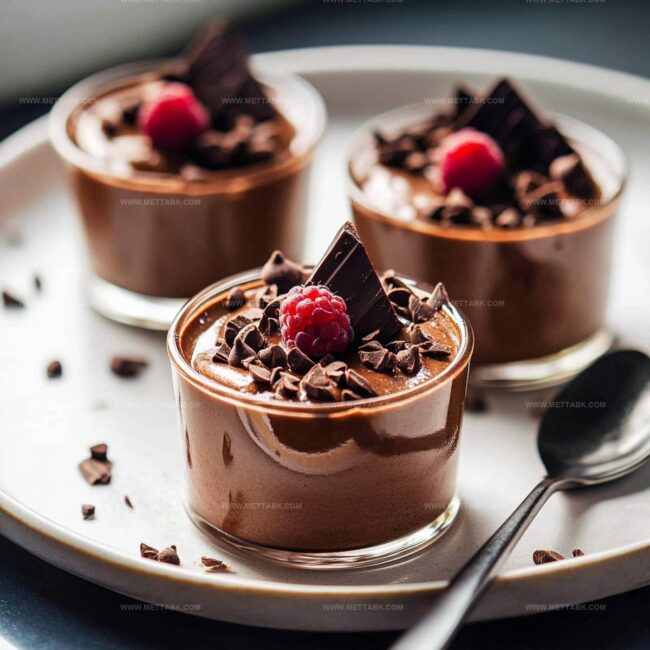
Step 6: Serve and Enjoy
Remove the mousse cups from the refrigerator just before serving.
Helpful Hints to Nail Chocolate Mousse Every Time
Sweet Twists to Try with Chocolate Mousse Cups
Pairing Ideas to Enhance Chocolate Mousse Moments
How to Keep Chocolate Mousse Cups Fresh Longer
FAQs
Dark chocolate with 60-70% cocoa solids creates the richest flavor and smooth texture, providing balanced sweetness and depth.
Using pasteurized eggs eliminates food safety concerns about consuming uncooked egg whites, ensuring a safe and delicious dessert.
Yes, you can prepare the mousse up to 2 days in advance and keep it refrigerated, which actually allows flavors to develop more intensely.
Egg whites are ready when they form stiff, glossy peaks that hold their shape and don’t droop when the whisk is lifted.
Print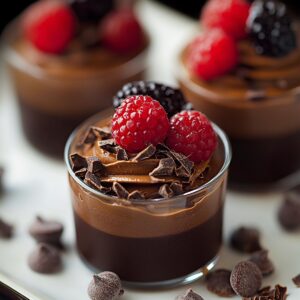
Chocolate Mousse Cups Recipe
- Total Time: 2 hours 20 minutes
- Yield: 4 1x
Description
Rich chocolate mousse cups combine silky French techniques with elegant presentation. Chocolate lovers will discover a luxurious dessert perfect for special occasions or intimate gatherings.
Ingredients
- 200 g dark chocolate (70% cocoa or more, high-quality)
- 300 ml (10 fl oz) heavy cream
- 3 large egg whites
- 1 teaspoon (5 ml) pure vanilla extract
- 50 g (1.75 oz) granulated sugar
Instructions
- Prepare a double boiler or microwave-safe bowl to melt dark chocolate, stirring until completely smooth and glossy at 100°F, then allow to cool for 5 minutes.
- Chill a mixing bowl and whisk attachment, then vigorously whip heavy cream until soft, billowy peaks develop, maintaining a light and airy texture.
- In a separate pristine bowl, vigorously beat egg whites, gradually incorporating sugar until the mixture transforms into a lustrous, voluminous meringue with defined peaks.
- Delicately fold the slightly cooled melted chocolate into the whipped cream, using gentle circular motions to maintain the cream’s delicate structure.
- Gently integrate the glossy egg white meringue into the chocolate-cream mixture, using a careful folding technique to preserve the mousse’s ethereal lightness.
- Transfer the velvety mousse into elegant serving cups, using either a spoon or piping bag for a refined presentation.
- Refrigerate the mousse cups for a minimum of 2 hours, allowing the dessert to set and develop a rich, silky consistency before serving chilled.
Notes
- Chill your mixing bowl and whisk beforehand to help the cream whip faster and more effectively.
- For a vegan version, replace heavy cream with coconut cream and use aquafaba instead of egg whites to maintain the mousse’s light texture.
- Experiment with different chocolate percentages to customize the richness and depth of flavor, from mild 55% to intense 85% dark chocolate.
- Garnish with fresh berries, chocolate shavings, or a sprinkle of sea salt to elevate the presentation and add complementary taste dimensions.
- Prep Time: 20 minutes
- Cook Time: 2 hours
- Category: Desserts
- Method: Blending
- Cuisine: French
Nutrition
- Serving Size: 4
- Calories: 351 kcal
- Sugar: 21 g
- Sodium: 20 mg
- Fat: 27 g
- Saturated Fat: 16 g
- Unsaturated Fat: 10 g
- Trans Fat: 0.1 g
- Carbohydrates: 22 g
- Fiber: 3 g
- Protein: 5 g
- Cholesterol: 80 mg
Clara Bennett
Contributing Recipe Developer & Food Writer
Expertise
Baking and Pastry Development, Gluten-Free and Allergy-Friendly Recipe Creation, Culinary Storytelling and Food Journalism, Recipe Testing and Standardization, Southern Comfort Foods and Modern Twists
Education
Sullivan University – National Center for Hospitality Studies
Associate Degree in Culinary Arts
Focus: Baking and Pastry Arts, Recipe Testing, and Culinary Journalism.
Clara specialized in crafting desserts that blend classic Southern comfort with modern techniques, while developing strong writing skills to tell the story behind every dish.
Lane Community College (Certificate Program)
Certificate in Food Writing and Photography
Focus: Culinary storytelling, recipe formatting, food styling, and visual presentation.
Clara’s love of baking started young, powered by homemade pies, biscuits, and stories passed around the family table.
After earning her degree at Sullivan University and a food writing certificate at Lane Community College, she turned her passion into a craft: sharing recipes that are simple, soulful, and always full of heart.
She’s big on bold flavors, flexible ideas, and creating sweets that fit any table (yes, even if you’re gluten-free). When she’s not baking, you’ll find her wandering farmers’ markets, styling food for the next photo shoot, or working on her ever-growing recipe journal.