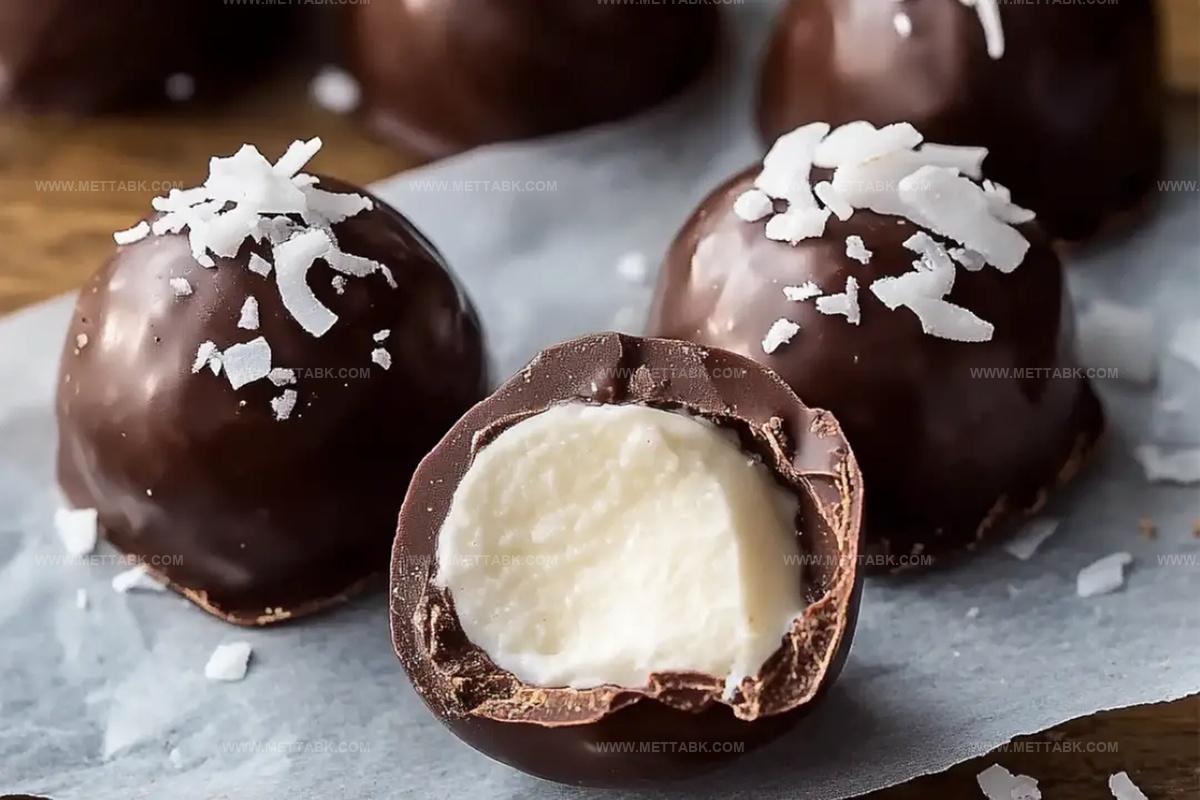
Dreamy Coconut Creme Chocolates Recipe for Sweet Bliss
Sweet coconut creme chocolates dance between decadence and delightful simplicity.
Smooth coconut flavors melt into rich chocolate layers.
Crafting these treats requires minimal ingredients and surprising technique.
Small kitchen adventures often produce magical results.
Chocolate lovers appreciate how quickly these confections come together.
Each bite promises a creamy, tropical escape from ordinary desserts.
We know you’ll savor every delicious moment of creating these irresistible chocolates.
Coconut Creme Chocolates Sweet Treats
Ingredients for Coconut Creme Chocolates
For the Coconut Filling:For the Chocolate Coating:For the Preparation:How to Make Coconut Creme Chocolates
Step 1: Whip Up Coconut Filling
Grab a mixing bowl and blend together:Stir everything until it forms a smooth, creamy mixture. If the filling feels too soft, pop it in the refrigerator for a quick 10-15 minute chill to help it firm up.
Step 2: Sculpt Delightful Shapes
Scoop out small portions of the coconut mixture and transform them into adorable bite-sized balls, elegant bars, or smooth ovals. Arrange these delectable morsels on a parchment-lined baking sheet and slide them into the freezer for a solid 30-minute firming session.
Step 3: Melt Chocolate Magic
Select a microwave-safe bowl and combine chocolate with coconut oil. Zap in 30-second bursts, stirring between each interval until the mixture becomes silky smooth.
For traditionalists, a double boiler works wonderfully as an alternative melting method.
Step 4: Chocolate Dipping Extravaganza
Grab a fork or specialized dipping tool and dive into the chocolate adventure.
Lovingly coat each coconut creation, allowing excess chocolate to gracefully drip away. Gently place the chocolate-covered treats back onto the parchment paper.
Step 5: Chill and Savor
Slide your chocolate-covered treasures into the refrigerator for 10-15 minutes, allowing the chocolate to set into a perfect, glossy shell. Store these delectable truffles in an airtight container in the refrigerator, where they’ll stay fresh and tempting for up to a week.
Tips for Perfect Coconut Chocolates
Variations on Coconut Creme Chocolates
Pairings for Coconut Creme Chocolates
Storage Tips for Coconut Chocolates
FAQs
You’ll need shredded coconut, sweetened condensed milk, coconut cream, vanilla extract, salt, chocolate, and coconut oil.
Yes! Milk, dark, or white chocolate all work great. Choose your favorite or mix and match for variety.
Typically yes, but always check your specific ingredients to confirm they are gluten-free, especially the chocolate.
Refrigerate the mixture for 10-15 minutes before shaping to help it firm up and make handling easier.
Print
Coconut Creme Chocolates Recipe
- Total Time: 1 hour 15 minutes
- Yield: 12 1x
Description
Silky coconut creme chocolates blend tropical sweetness with rich chocolate elegance. Luxurious layers of creamy coconut and smooth dark chocolate create an irresistible dessert that transports you to a blissful culinary paradise.
Ingredients
Main Ingredients:
- 2 cups shredded coconut
- 12 ounces (340 grams) dark or milk chocolate
- 1/2 cup sweetened condensed milk
Supporting Ingredients:
- 1/4 cup coconut cream
- 1/2 teaspoon vanilla extract
- 1/4 teaspoon salt
Instructions
- Blend shredded coconut, sweetened condensed milk, coconut cream, vanilla extract, and salt in a mixing bowl until thoroughly incorporated, creating a uniform coconut filling mixture.
- Refrigerate the mixture for 10-15 minutes if it feels overly sticky, allowing it to slightly firm up and become more manageable.
- Carefully form the coconut mixture into uniform small balls, bars, or oval shapes using clean hands or a small scoop.
- Transfer the shaped coconut pieces onto a parchment-lined baking sheet and place in the freezer for minimum 30 minutes to ensure solid structure.
- Prepare chocolate coating by melting chocolate with coconut oil using microwave technique: heat in 30-second intervals, stirring between each interval until smooth and completely liquefied.
- Remove frozen coconut pieces from freezer and carefully dip each piece into melted chocolate, using a fork or specialized dipping tool to ensure even coating.
- Gently tap the dipped chocolates to remove excess chocolate coating and place them back on parchment paper.
- Refrigerate the chocolate-covered coconut pieces for 10-15 minutes at 40°F until chocolate sets and hardens completely.
- Transfer finished coconut chocolates to an airtight container and store in refrigerator, consuming within one week for optimal freshness and flavor.
Notes
- Chill the coconut mixture before shaping to prevent sticky hands and ensure clean, precise formations.
- Use high-quality dark or milk chocolate for a rich, smooth coating that complements the sweet coconut filling.
- Experiment with different coatings like toasted coconut flakes or drizzled white chocolate for added texture and visual appeal.
- For gluten-free or vegan variations, select dairy-free chocolate and use plant-based condensed milk alternatives like coconut or almond milk versions.
- Prep Time: 15 minutes
- Cook Time: 1 hour
- Category: Desserts, Snacks
- Method: Blending
- Cuisine: Fusion
Nutrition
- Serving Size: 12
- Calories: 230
- Sugar: 18 g
- Sodium: 45 mg
- Fat: 16 g
- Saturated Fat: 14 g
- Unsaturated Fat: 1.5 g
- Trans Fat: 0 g
- Carbohydrates: 20 g
- Fiber: 2 g
- Protein: 2 g
- Cholesterol: 10 mg
Nate Harper
Founder & Recipe Curator
Expertise
Single-Recipe Development, Farm-to-Table Cooking, Seasonal Menu Planning, Culinary Storytelling, Home Kitchen Innovation
Education
Cascade Culinary Institute – Central Oregon Community College
Certificate in Culinary Arts
Focus: Farm-to-table cuisine, sustainable cooking practices, and seasonal recipe creation.
Nate studied under experienced chefs who emphasized local sourcing, minimal waste, and building recipes from fresh, simple ingredients.
Nate Harper is the founder and creative force behind Make, Take, Bake. Raised in the wild beauty of Oregon’s high desert, Nate grew up surrounded by family gardens, farmers’ markets, and home kitchens that celebrated the seasons.
His early love for simple, honest food evolved into a professional passion when he attended Cascade Culinary Institute, where he sharpened his skills in creating recipes that are sustainable, satisfying, and made for everyday life.
Nate’s goal is to make cooking feel accessible, free of fuss, and full of flavor. He believes a single, thoughtfully built dish can stand alone, and sometimes even steal the show.