
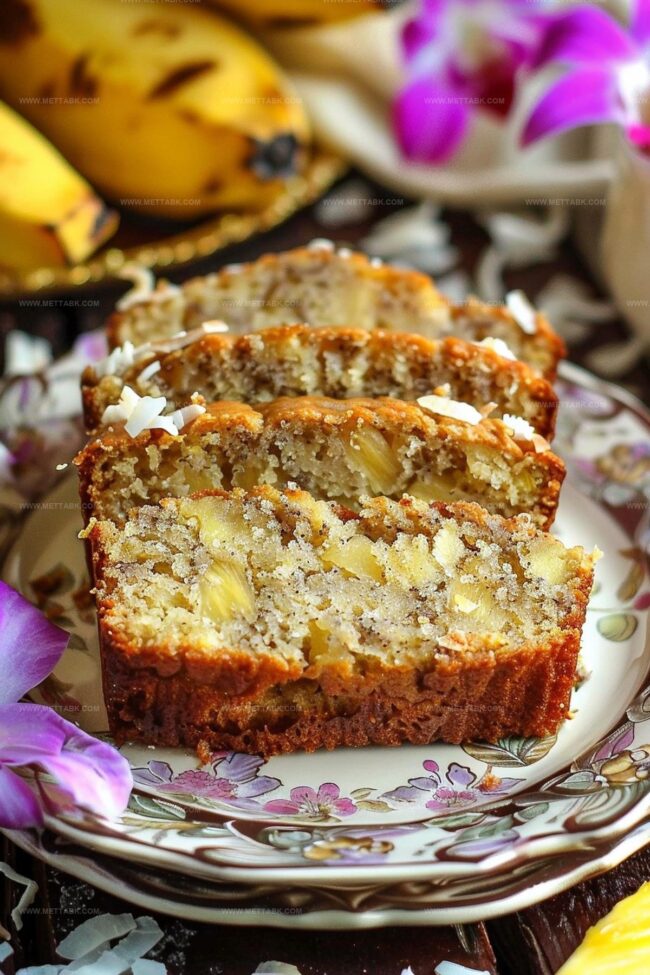
Sweet Island Breeze: Coconut Pineapple Banana Bread Recipe From Hawaii
Sweet memories of island breezes sweep through this coconut pineapple banana bread, carrying tropical whispers from pacific shores.
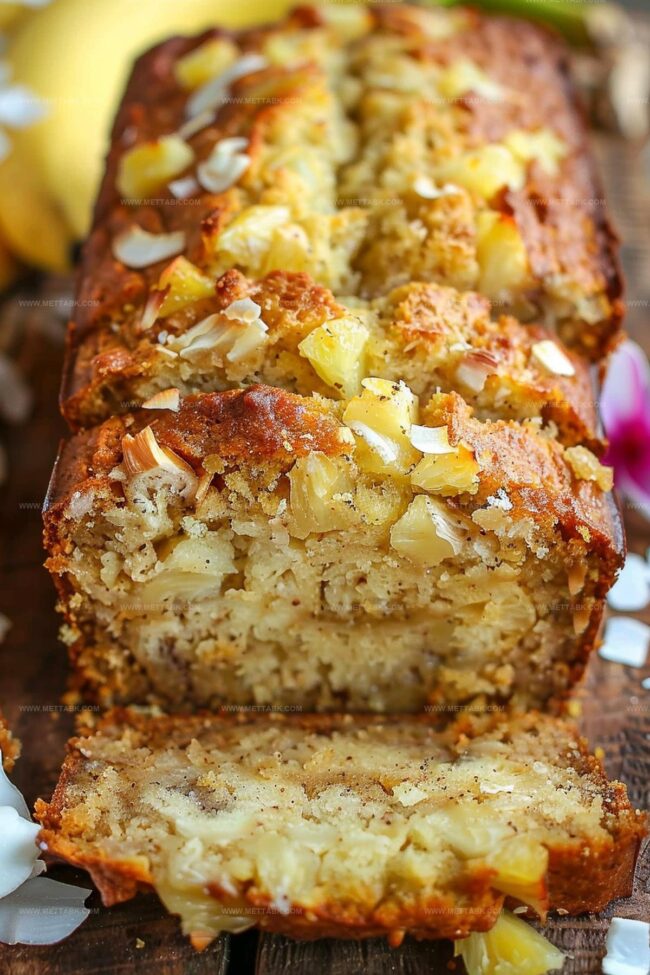
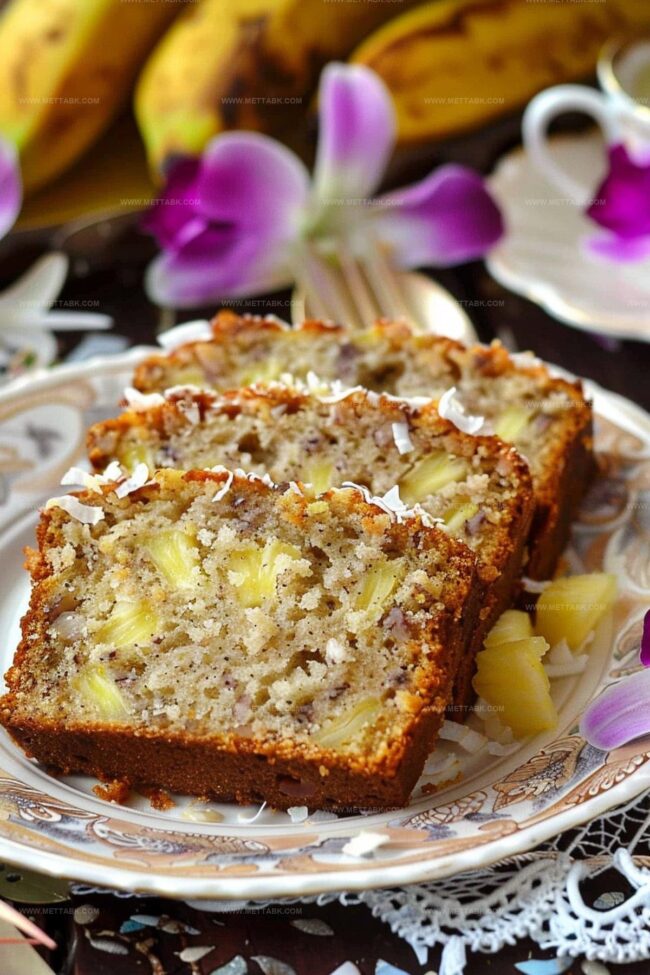
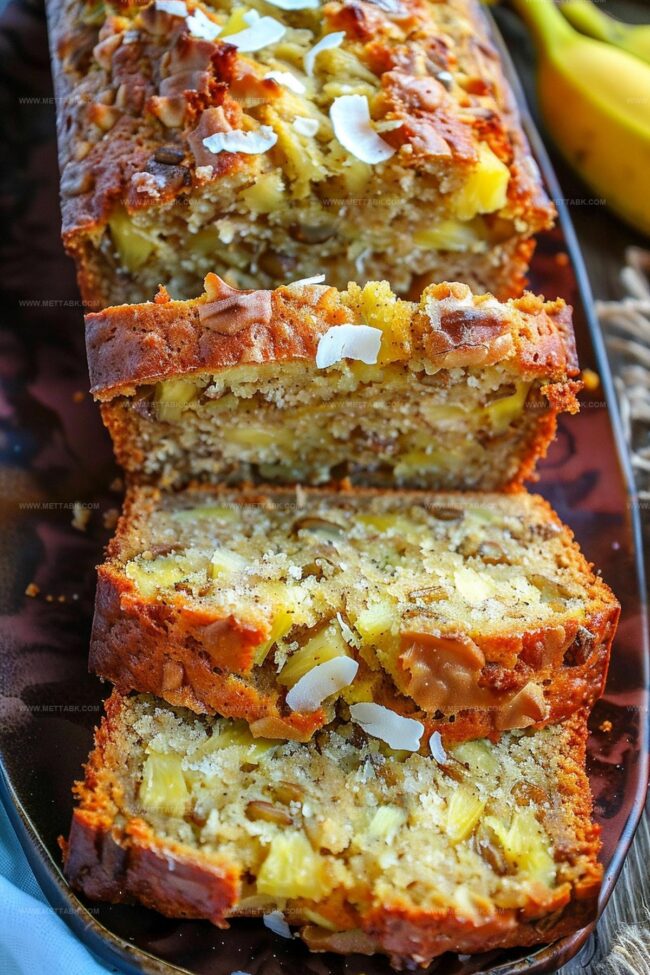
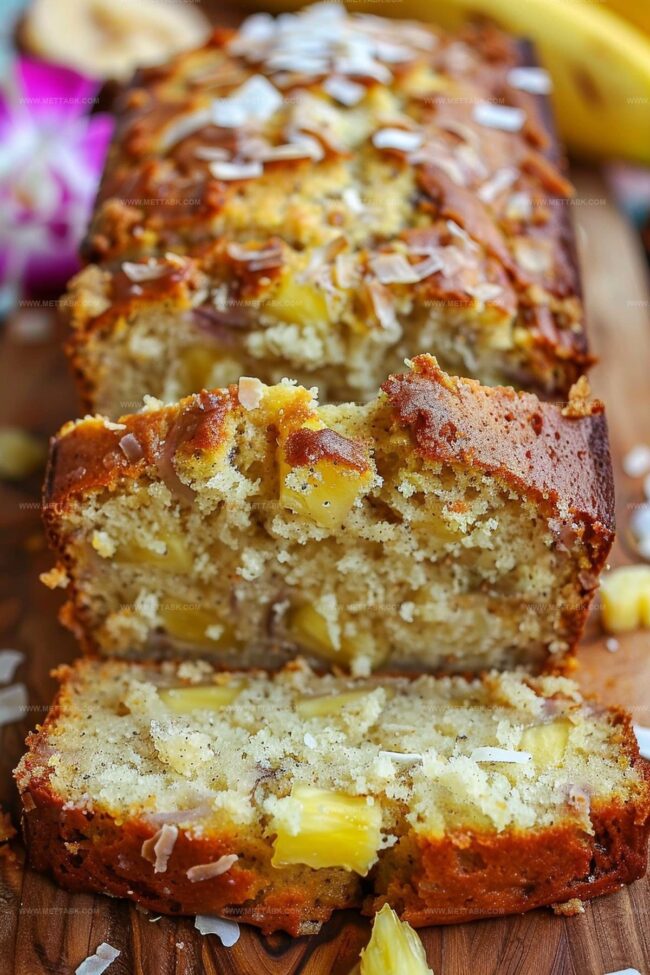
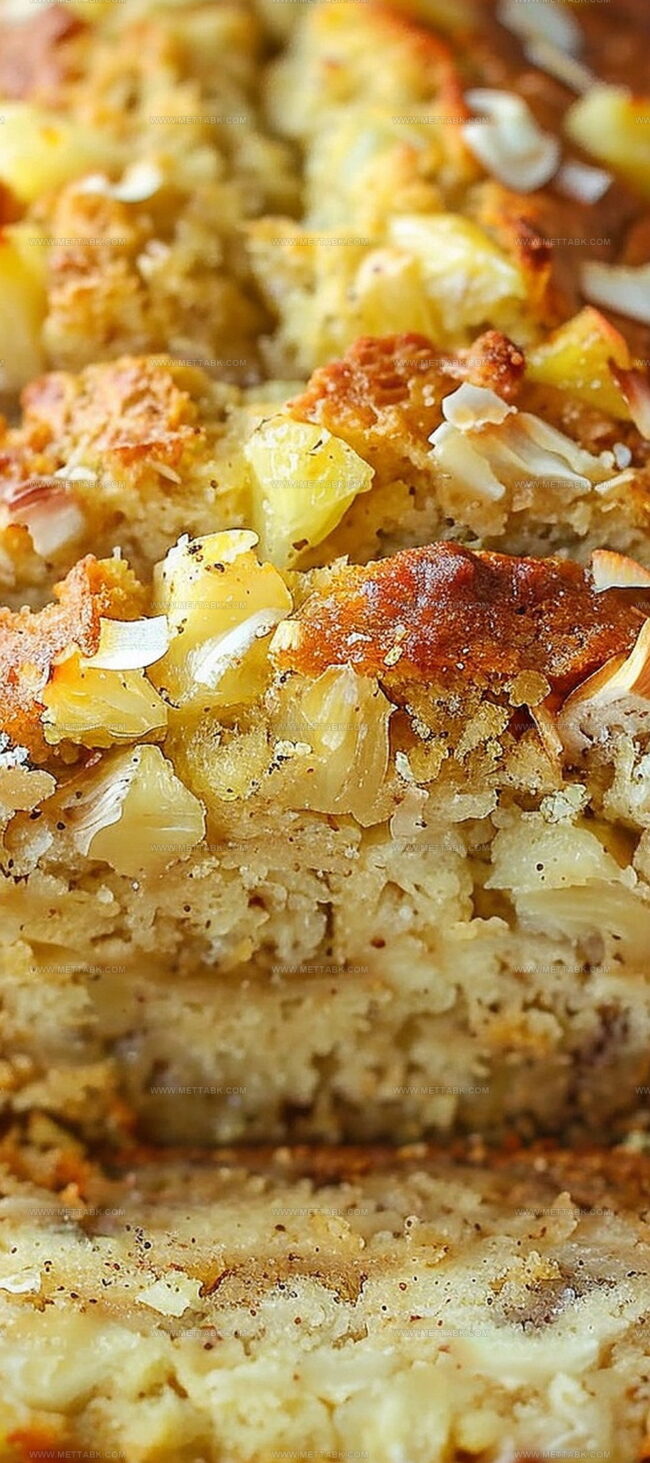
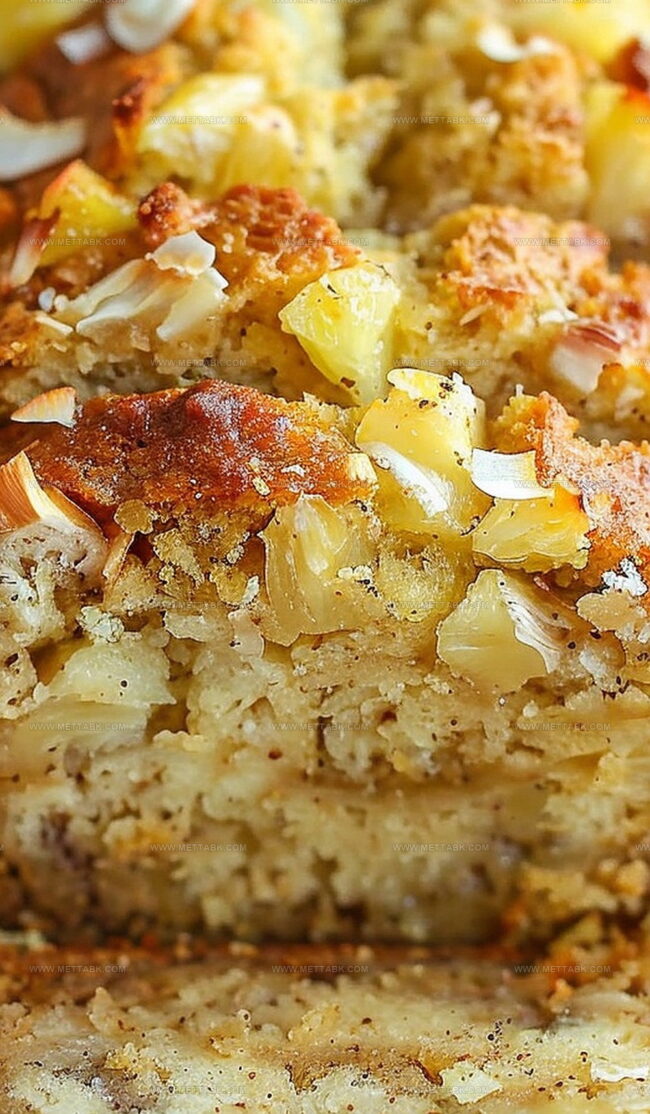
Ripe bananas mingle with chunks of golden pineapple, creating a luscious symphony of flavors.
Shredded coconut adds delightful texture and nutty complexity to each tender slice.
Sunshine-inspired ingredients dance together, promising a bite that transports you directly to hawaii’s gentle landscapes.
Warm spices subtly enhance the fruit’s natural sweetness, making each morsel irresistibly inviting.
Baking this bread fills your kitchen with an aroma so enchanting, neighbors might knock on your door.
Let this recipe become your delicious passport to pacific paradise.
Tropical Coconut Pineapple Banana Bread Treat
Ingredients for Coconut Pineapple Banana Bread
Core Ingredients:Dry Ingredients:Flavor Enhancers:How to Bake Coconut Pineapple Banana Bread
Step 1: Prepare Oven Workspace
Warm up your oven to 350°F. Grab a 9×5 inch loaf pan and coat it thoroughly with cooking spray or butter to prevent sticking.
Step 2: Create Creamy Base
In a large mixing bowl, whip together:Beat the ingredients until they transform into a light, fluffy cloud-like mixture. This magical process introduces air that makes the bread wonderfully soft.
Step 3: Blend Wet Ingredients
Add eggs one at a time, mixing thoroughly after each addition. Then fold in:Stir until everything combines into a delightful tropical symphony.
Step 4: Mix Dry Ingredients
In a separate bowl, gently sift together:Slowly incorporate these dry ingredients into the wet mixture. Stir gently to keep the batter light and airy.
Step 5: Sprinkle Tropical Magic
Fold in shredded coconut, ensuring it’s evenly distributed throughout the batter. This step adds an extra layer of Hawaiian-inspired deliciousness.
Step 6: Bake to Golden Perfection
Pour the batter into the prepared loaf pan. Slide it into the preheated oven and bake for 60-65 minutes.
The bread is ready when a toothpick inserted into the center comes out clean with just a few moist crumbs.
Step 7: Cool and Serve
Remove the bread from the oven and let it cool in the pan for 10 minutes.
Then transfer to a wire rack to cool completely. Slice and enjoy your tropical paradise in bread form!
Tips to Perfect Coconut Pineapple Banana Bread
Flavor Variations on Coconut Pineapple Banana Bread
Pairing Ideas for Coconut Pineapple Banana Bread
How to Store Coconut Pineapple Banana Bread
FAQs
You can use either fresh or canned pineapple. Just make sure to drain the canned pineapple thoroughly to prevent excess moisture in the bread.
Yes, substitute the all-purpose flour with a gluten-free flour blend designed for baking. Use a 1:1 ratio replacement to maintain the bread’s texture.
Use very ripe bananas with dark brown or black spots. These bananas are sweeter and more moist, which helps create a better bread texture and flavor.
Print
Coconut Pineapple Banana Recipe
- Total Time: 1 hour 20 minutes
- Yield: 8 1x
Description
Coconut pineapple banana bread showcases tropical flavors from Hawaii’s lush landscapes. Sweet, moist slices promise a delightful culinary journey you’ll savor with each delectable bite.
Ingredients
- 1 cup (240 ml) all-purpose flour
- 1 tsp (5 ml) baking powder
- ½ tsp (2.5 ml) baking soda
- ¼ tsp (1.25 ml) salt
- 1 very ripe banana (mashed)
- 1 cup (240 ml) crushed pineapple (undrained)
- 2 large eggs
- ½ cup (113 g) butter (softened)
- 1 cup (200 g) granulated sugar
- ¼ cup (30 g) shredded coconut
Instructions
- Preheat the oven to 350°F, preparing a pristine baking environment for your tropical-inspired bread.
- In a spacious mixing vessel, employ an electric mixer to whip softened butter and sugar into a cloud-like, aerated consistency, creating the foundation for a luxurious texture.
- Introduce eggs individually, thoroughly blending after each addition to ensure a harmonious mixture, then gently fold in mashed banana and crushed pineapple until evenly distributed.
- Separately, sift flour, baking powder, baking soda, and salt, creating a delicate dry ingredient blend. Gradually merge these with the wet ingredients, stirring minimally to preserve the bread’s tender crumb.
- Delicately incorporate shredded coconut, dispersing the tropical fragments throughout the batter to guarantee an even flavor profile.
- Grease a 9×5 inch loaf pan and carefully pour the batter, smoothing the surface for uniform baking.
- Slide the pan into the preheated oven, allowing the bread to bake for 60 minutes. Verify doneness by inserting a toothpick into the center – it should emerge clean and dry, signaling the bread’s complete transformation.
Notes
- Ensure butter is at room temperature for smooth creaming, creating a lighter and more tender bread texture.
- Gently fold dry ingredients to prevent gluten overdevelopment, maintaining a soft and delicate crumb.
- Toast coconut beforehand to enhance its nutty flavor and add extra depth to the bread’s overall taste profile.
- Replace regular flour with gluten-free alternatives like almond or coconut flour for those with dietary restrictions, keeping the same measurement proportions.
- Prep Time: 20 minutes
- Cook Time: 1 hour
- Category: Breakfast, Snacks, Desserts
- Method: Baking
- Cuisine: Hawaiian
Nutrition
- Serving Size: 8
- Calories: 266 kcal
- Sugar: 18 g
- Sodium: 150 mg
- Fat: 13 g
- Saturated Fat: 9 g
- Unsaturated Fat: 4 g
- Trans Fat: 0.2 g
- Carbohydrates: 33 g
- Fiber: 2 g
- Protein: 3 g
- Cholesterol: 40 mg
Clara Bennett
Contributing Recipe Developer & Food Writer
Expertise
Baking and Pastry Development, Gluten-Free and Allergy-Friendly Recipe Creation, Culinary Storytelling and Food Journalism, Recipe Testing and Standardization, Southern Comfort Foods and Modern Twists
Education
Sullivan University – National Center for Hospitality Studies
Associate Degree in Culinary Arts
Focus: Baking and Pastry Arts, Recipe Testing, and Culinary Journalism.
Clara specialized in crafting desserts that blend classic Southern comfort with modern techniques, while developing strong writing skills to tell the story behind every dish.
Lane Community College (Certificate Program)
Certificate in Food Writing and Photography
Focus: Culinary storytelling, recipe formatting, food styling, and visual presentation.
Clara’s love of baking started young, powered by homemade pies, biscuits, and stories passed around the family table.
After earning her degree at Sullivan University and a food writing certificate at Lane Community College, she turned her passion into a craft: sharing recipes that are simple, soulful, and always full of heart.
She’s big on bold flavors, flexible ideas, and creating sweets that fit any table (yes, even if you’re gluten-free). When she’s not baking, you’ll find her wandering farmers’ markets, styling food for the next photo shoot, or working on her ever-growing recipe journal.