
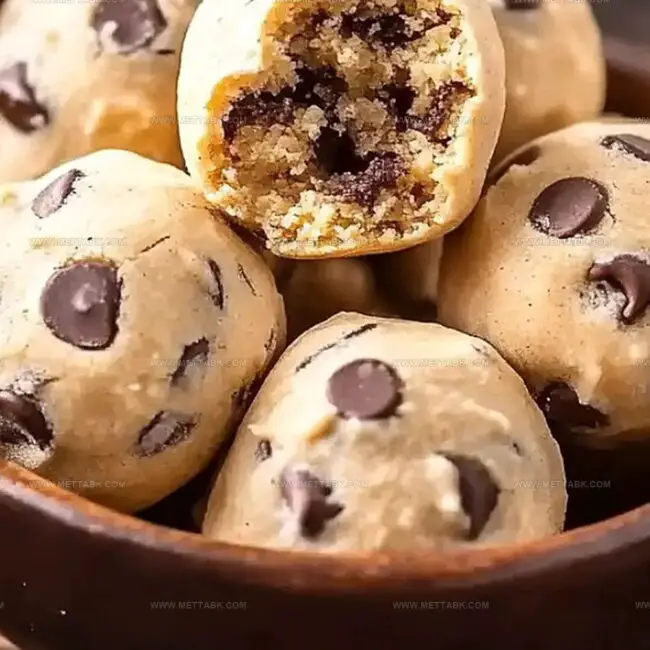
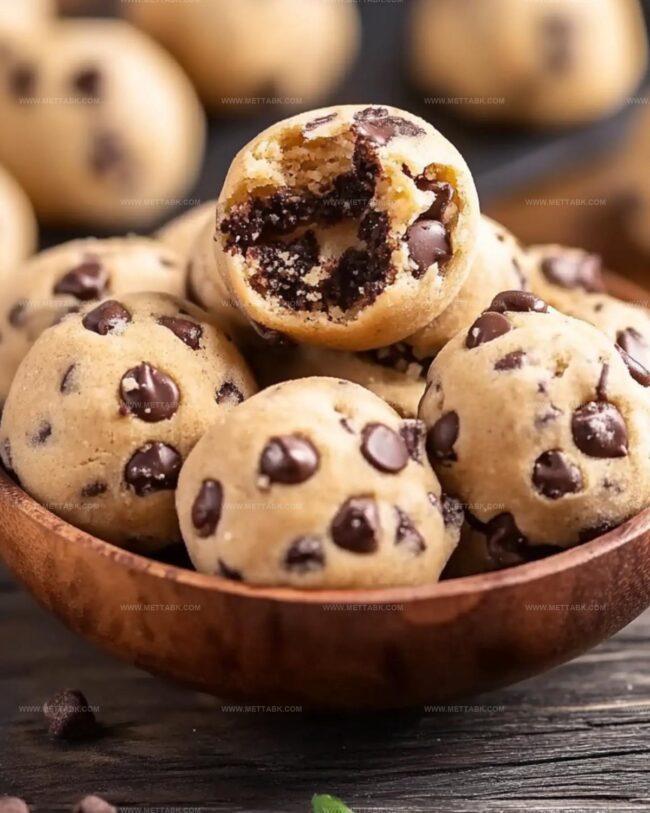
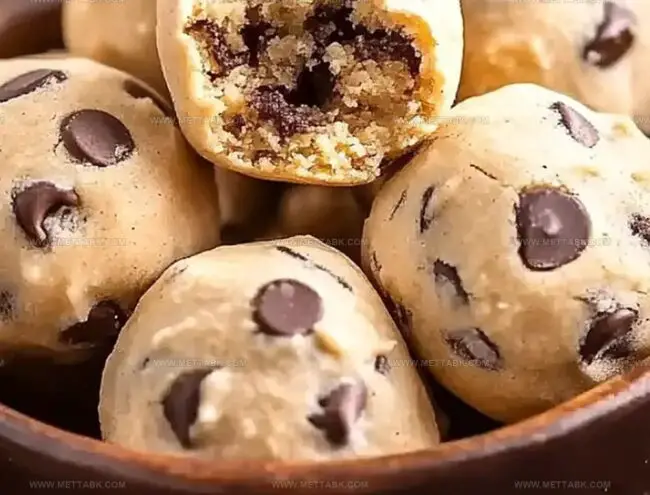
Easy Cookie Dough Bites Recipe: Sweet Treats in Every Bite
Indulging in homemade cookie dough bites brings pure childhood nostalgia with a delightful twist.
Sweet memories dance across my palate whenever I mix these irresistible morsels.
No baking required means instant gratification for dessert enthusiasts.
Texture matters deeply in creating the perfect treat that melts smoothly on your tongue.
Raw ingredients come together effortlessly, promising a simple yet decadent experience.
Small batches guarantee maximum freshness and enjoyment.
Each bite delivers a playful burst of classic comfort that keeps you reaching for more.
Whip up these delectable nuggets and watch smiles spread like delicious magic.
Why Cookie Dough Bites Are So Fun
What You Need for Cookie Dough Bites
For the Base:For the Sweeteners and Moisture:For the Mix-ins:Directions for No-Bake Cookie Dough Bites
Step 1: Prepare Flour Safely
Toast the flour in the oven by spreading it on a large sheet pan. Bake at 350F (175C) for 5 minutes to eliminate any potential bacteria.
Let the flour cool completely for about 10 minutes.
Step 2: Create Creamy Base
In a large mixing bowl, cream together:Beat until the mixture becomes smooth and fluffy, about 1 minute.
Step 3: Blend Sweetness
Gradually incorporate powdered sugar into the butter mixture. Mix at the lowest mixer setting until light and airy, about 1 minute.
Step 4: Add Liquid Goodness
Pour in whole milk and vanilla extract. Mix thoroughly until fully combined, about 30 seconds.
Step 5: Incorporate Flour
Once the flour has cooled completely, gently beat it into the dough. Mix until well combined, about 30-60 seconds.
Step 6: Fold in Chocolate
Carefully fold dark chocolate chips into the dough, distributing them evenly.
Step 7: Shape Dough Balls
Use a 1½-inch cookie scoop to portion out the dough.
Roll each portion between your palms to create smooth, round balls.
Step 8: Chill and Set
Place the dough balls on a plate or sheet pan.
Refrigerate for 30 minutes to firm up and enhance flavor.
Step 9: Serve and Enjoy
Remove from the refrigerator and serve cold.
Indulge in these irresistible cookie dough bites straight from the fridge!
Tips to Help With Cookie Dough Bites
Cookie Dough Bites With Your Own Flair
What to Eat With Cookie Dough Bites
How to Store Cookie Dough Bites Correctly
Store cookie dough bites in an airtight container for up to 5 days. Keep them chilled to maintain texture and freshness.
Transfer dough bites to a freezer-safe container or ziplock bag. Freeze for 2-3 months. Thaw in refrigerator overnight before enjoying.
Let bites sit at room temperature for 10-15 minutes before serving to soften slightly. Do not leave out for more than 2 hours.
Warm briefly in microwave for 5-10 seconds if desired. Be cautious to avoid melting the chocolate chips completely.
FAQs
Heat treating flour kills potential harmful bacteria like E. coli, making the raw cookie dough safe to eat without baking.
Yes! You can swap dark chocolate chips for milk, semi-sweet, or white chocolate chips based on your preference.
Store them in an airtight container in the refrigerator for up to 5 days to maintain their texture and flavor.
While a mixer makes the process easier, you can also use a hand whisk or wooden spoon with some extra arm strength to mix the ingredients.
Print
Cookie Dough Bites Recipe
- Total Time: 35 minutes
- Yield: 1 1x
Description
Indulgent cookie dough bites dance with nostalgic flavors, blending rich chocolate chips and creamy texture. Sweet memories unfold as comfort meets delightful snacking, inviting you to savor each irresistible moment.
Ingredients
Main Ingredients:
- 1.75 cups all-purpose flour
- 0.75 cup (1.5 sticks) salted butter, softened
- 0.75 cup light brown sugar
- 1 cup dark chocolate chips
Sweeteners:
- 0.25 cup powdered sugar
Liquid and Flavoring:
- 2 tablespoons whole milk
- 1.5 teaspoons vanilla extract
Instructions
- Toast flour on a large sheet pan at 350F (175C) for 5 minutes to eliminate potential bacteria, ensuring food safety.
- Allow toasted flour to cool completely for approximately 10 minutes, creating a safe base for the cookie dough.
- Cream salted butter and light brown sugar in a large mixing bowl until smooth and uniform, developing a rich foundational texture.
- Incorporate powdered sugar gradually using a low mixer setting, blending until the mixture becomes light and airy.
- Introduce whole milk and vanilla extract, mixing thoroughly to create a cohesive and fragrant liquid base.
- Gently fold the cooled, heat-treated flour into the mixture, ensuring complete integration without overmixing.
- Delicately fold dark chocolate chips throughout the dough, distributing them evenly for consistent flavor.
- Utilize a 1½-inch cookie scoop to form uniform dough portions, maintaining consistent size and shape.
- Roll each dough ball between palms to achieve a smooth, polished exterior and compact structure.
- Transfer shaped dough balls to a chilled plate or sheet pan, maintaining their round configuration.
- Refrigerate cookie dough bites for 30 minutes to solidify and enhance flavor melding.
- Serve directly from the refrigerator for optimal texture and enjoyment.
Notes
- Prevent Foodborne Illness by heat-treating flour in the oven, which kills potential harmful bacteria like E. coli that can survive in raw flour.
- Chill dough thoroughly before serving to enhance texture and help cookie dough bites maintain their shape, creating a firmer, more satisfying bite.
- Customize flavor profile by swapping dark chocolate chips with white, milk, or even butterscotch chips to match personal preferences or dietary needs.
- Store cookie dough bites in an airtight container in the refrigerator for up to 5 days, making them a convenient make-ahead dessert or snack option.
- Prep Time: 30 minutes
- Cook Time: 5 minutes
- Category: Snacks, Desserts
- Method: Baking
- Cuisine: American
Nutrition
- Serving Size: 1
- Calories: 1078 kcal
- Sugar: 70 g
- Sodium: 195 mg
- Fat: 60 g
- Saturated Fat: 36 g
- Unsaturated Fat: 21 g
- Trans Fat: 1 g
- Carbohydrates: 130 g
- Fiber: 6 g
- Protein: 7 g
- Cholesterol: 90 mg
Clara Bennett
Contributing Recipe Developer & Food Writer
Expertise
Baking and Pastry Development, Gluten-Free and Allergy-Friendly Recipe Creation, Culinary Storytelling and Food Journalism, Recipe Testing and Standardization, Southern Comfort Foods and Modern Twists
Education
Sullivan University – National Center for Hospitality Studies
Associate Degree in Culinary Arts
Focus: Baking and Pastry Arts, Recipe Testing, and Culinary Journalism.
Clara specialized in crafting desserts that blend classic Southern comfort with modern techniques, while developing strong writing skills to tell the story behind every dish.
Lane Community College (Certificate Program)
Certificate in Food Writing and Photography
Focus: Culinary storytelling, recipe formatting, food styling, and visual presentation.
Clara’s love of baking started young, powered by homemade pies, biscuits, and stories passed around the family table.
After earning her degree at Sullivan University and a food writing certificate at Lane Community College, she turned her passion into a craft: sharing recipes that are simple, soulful, and always full of heart.
She’s big on bold flavors, flexible ideas, and creating sweets that fit any table (yes, even if you’re gluten-free). When she’s not baking, you’ll find her wandering farmers’ markets, styling food for the next photo shoot, or working on her ever-growing recipe journal.