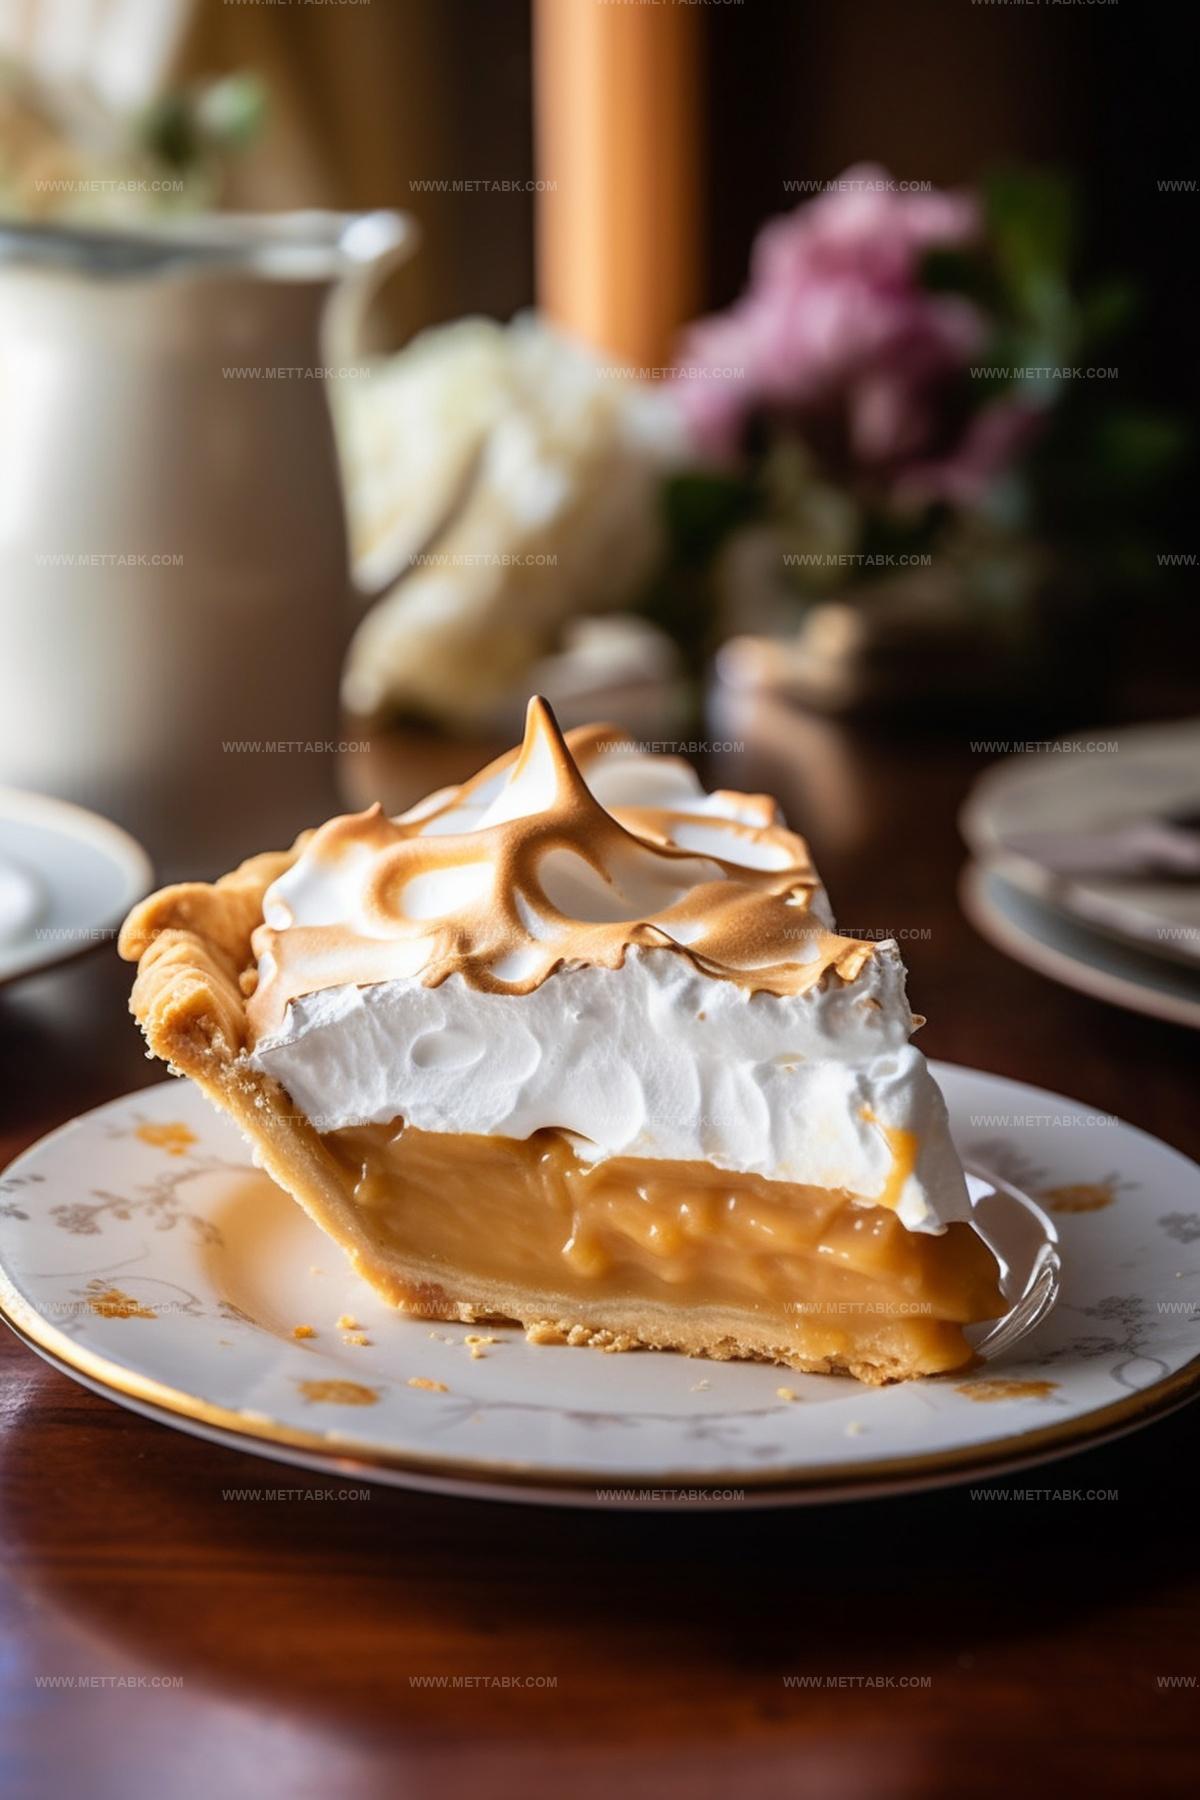
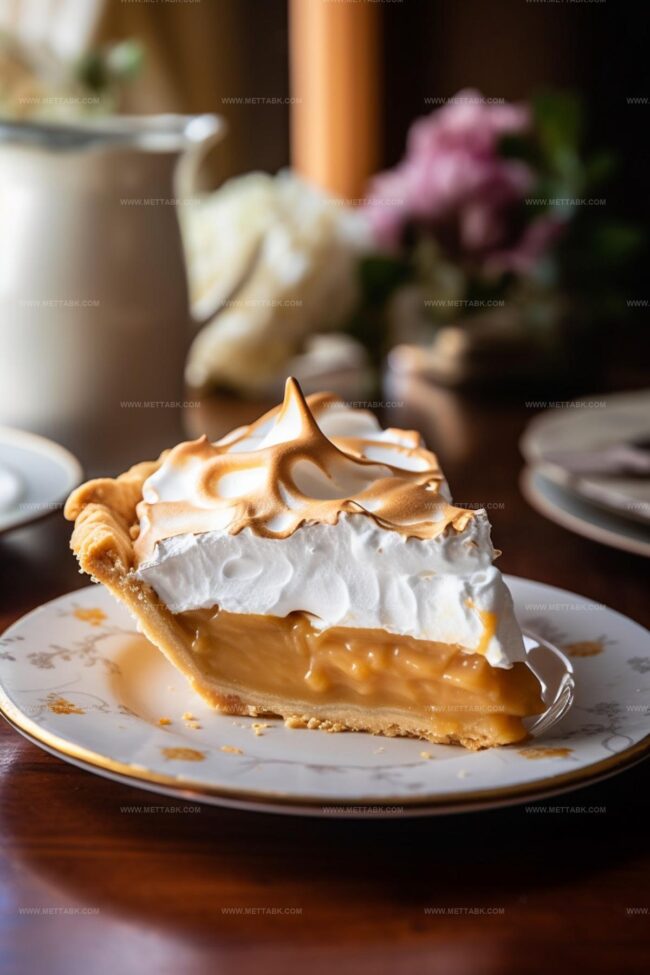
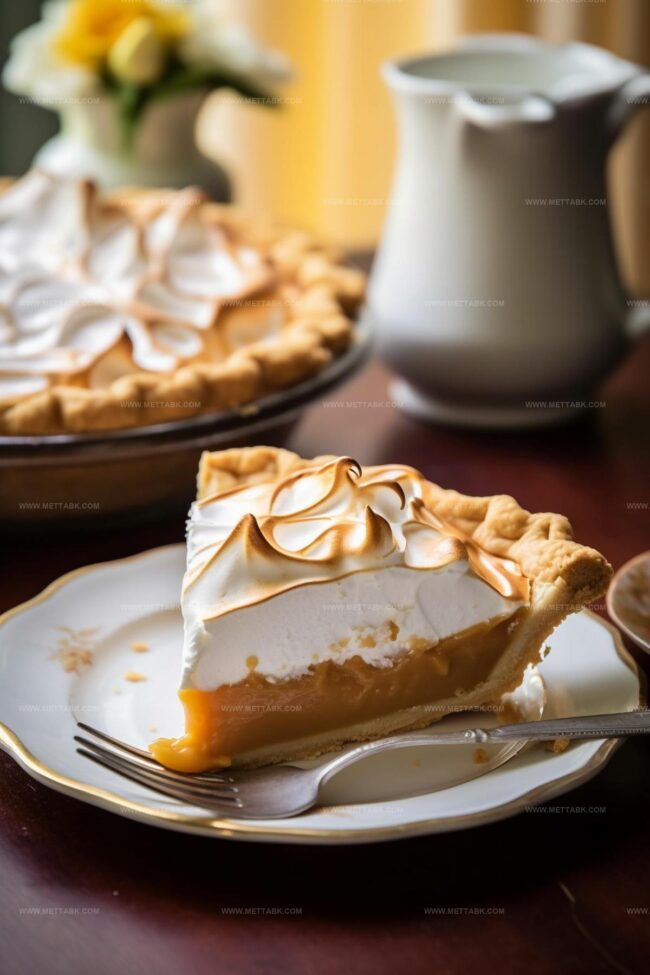
Creamy Homemade Butterscotch Pie Recipe for Sweet Smiles
Butterscotch lovers will absolutely adore this homemade pie that combines rich, caramel-like flavors with a silky smooth texture.
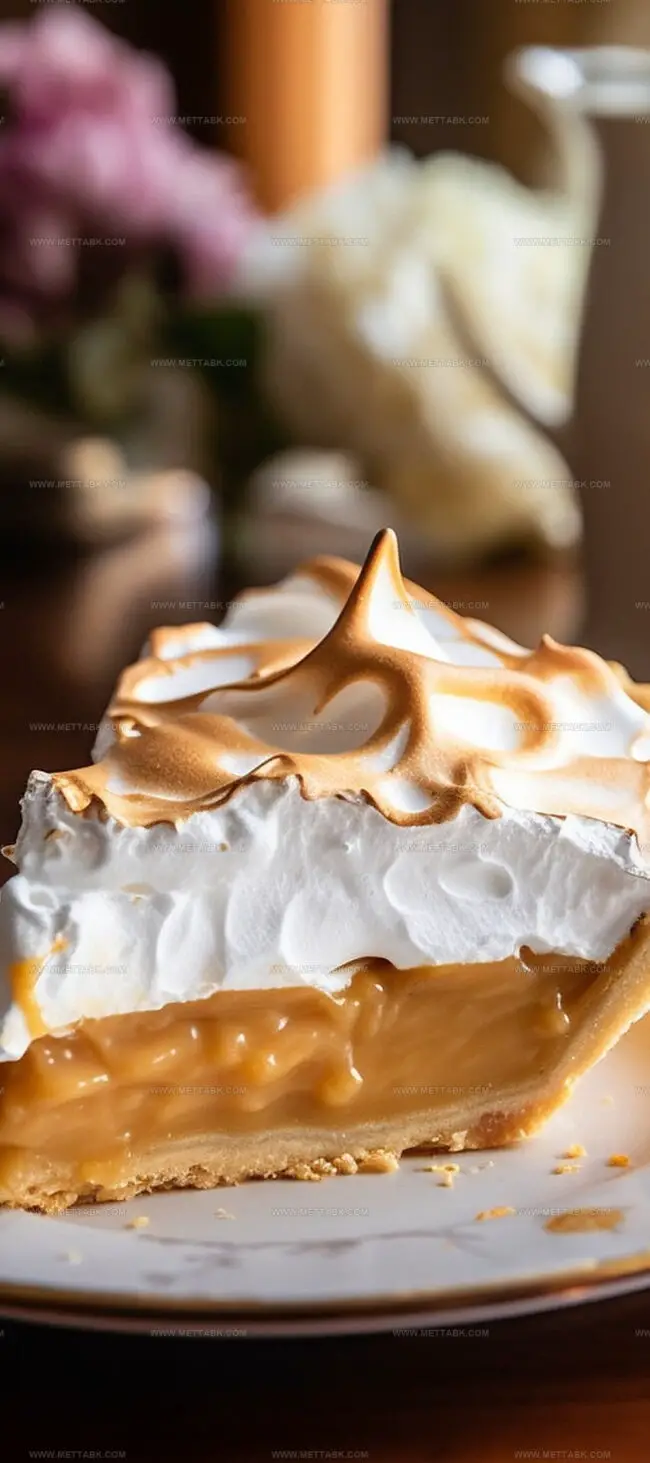
Smooth caramel notes dance across your palate with each delightful bite.
Sweet memories of grandma’s kitchen start brewing the moment you smell this delectable dessert.
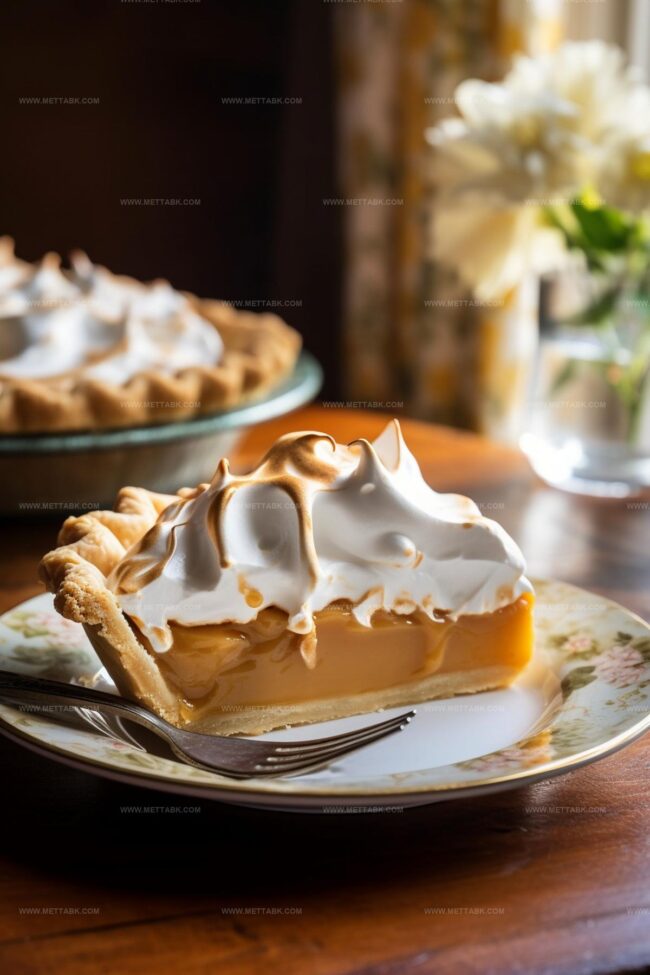
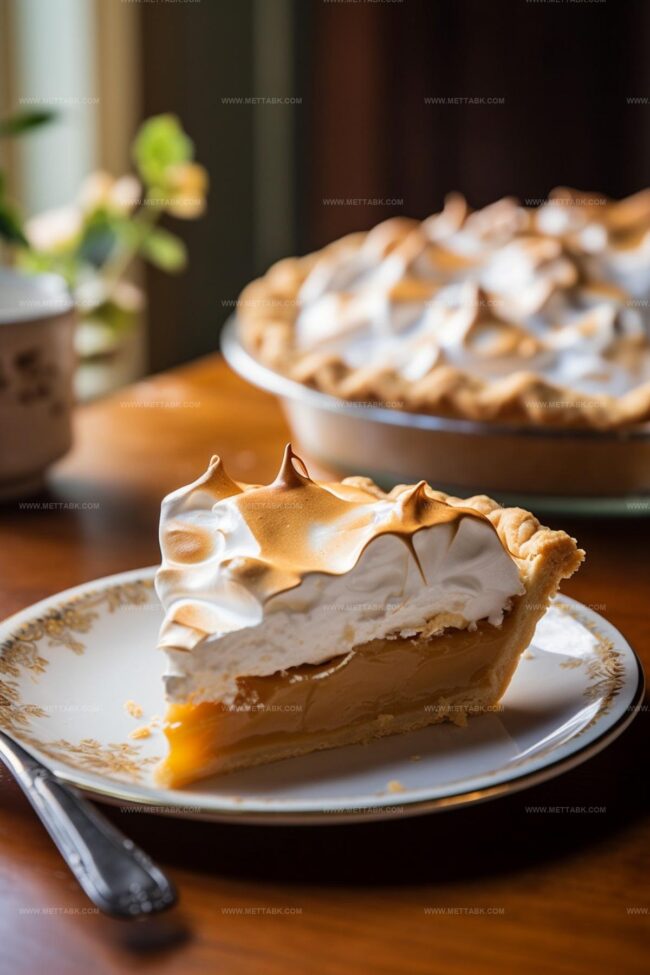
Layers of decadent filling nestle perfectly inside a flaky, golden crust that crumbles delicately.
Creamy butterscotch ingredients meld together with surprising ease, creating a dessert that looks complicated but comes together effortlessly.
Simple techniques guarantee a spectacular result that will impress anyone who takes a forkful.
Prepare to become the ultimate dessert hero at your next gathering.
You can totally nail this recipe and become a butterscotch pie champion.
Homemade Butterscotch Pie Rich and Velvety Classic Dessert
Ingredients to Prepare Homemade Butterscotch Pie
Stepwise Guide to Make Butterscotch Pie
Step 1: Prepare Pie Crust Dough
Grab a mixing bowl and toss in flour, sugar, and salt. Mix these dry ingredients until they’re friends.
Drop in cold butter cubes and use a pastry cutter to break them down into crumbly bits. Drizzle cold water gradually, mixing until the dough comes together like a soft, cohesive ball.
Wrap this dough in plastic and send it to chill in the refrigerator for about an hour.
Step 2: Create Luscious Butterscotch Filling
In a separate bowl, combine:Whisk these ingredients until they form a silky smooth mixture.
In a heavy pan, melt additional brown sugar until it turns a gorgeous golden color. Splash in a bit of hot water and keep stirring.
Slowly pour in the egg-milk mixture, cooking and stirring until the filling transforms into a thick, creamy consistency. Once off the heat, stir in vanilla extract and butter for extra richness.
Step 3: Blind Bake The Crust
Preheat the oven to a toasty 425°F. Roll out the chilled dough on a floured surface until it’s thin and elegant.
Gently drape the dough into a pie plate. Line the crust with parchment paper and sprinkle in pie weights.
Bake for 15-20 minutes until the edges look golden and crisp.
Step 4: Assemble And Bake The Pie
Lower the oven temperature to 350°F.
Pour the butterscotch filling into the pre-baked crust. Return the pie to the oven and bake for another 15-20 minutes.
Let the pie cool completely.
Step 5: Whip Up Dreamy Meringue
Set up a double boiler by filling a pot with water and placing a bowl on top.
Combine meringue ingredients in the bowl. Whisk consistently, warming the mixture until it reaches 160°F.
Transfer to a mixer and whip on medium-high speed until soft, billowy peaks form.
Step 6: Finish With Fabulous Meringue
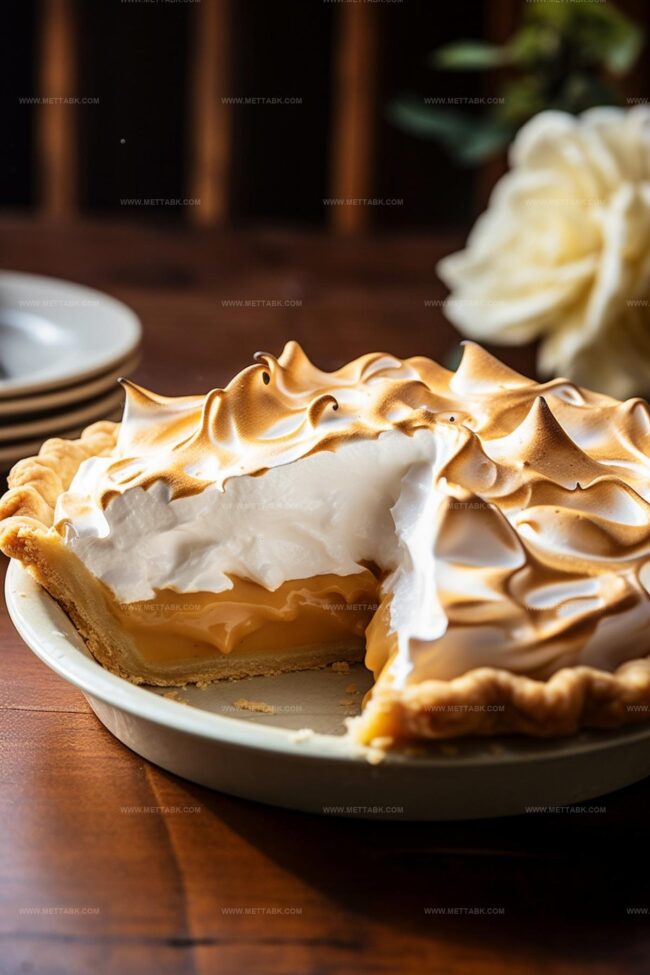
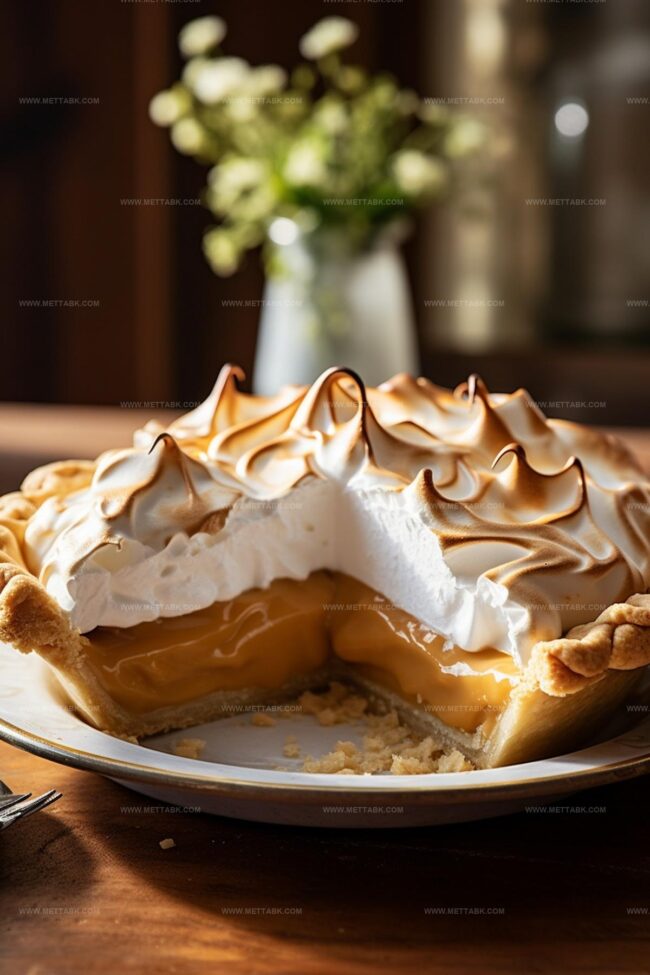
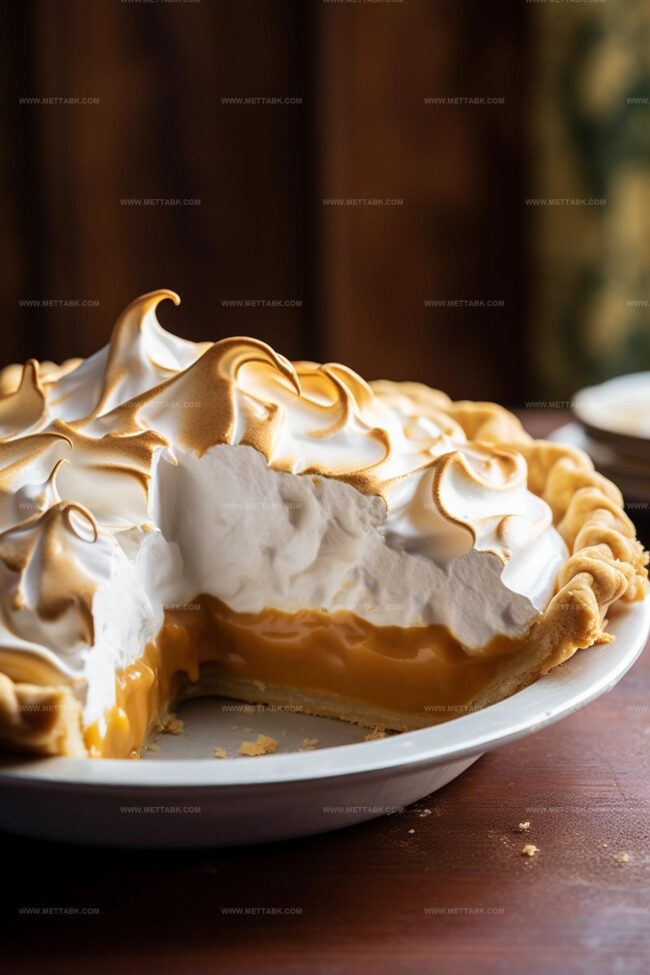
Spread the fluffy meringue across the cooled pie, creating beautiful swirls and peaks.
For an extra touch, use a kitchen torch to lightly brown the meringue’s surface. Each bite will be a magical journey of butterscotch bliss!
Tips to Perfect Homemade Butterscotch Pie Every Time
Flavor Swaps to Change Up Butterscotch Pie
Pairings That Complement Butterscotch Pie
Storage Guidelines for Butterscotch Pie
FAQs
Cold butter is the secret. When you cut cold butter into the flour mixture, it creates small, unmelted butter pieces that steam during baking, resulting in a light, flaky texture.
The filling is ready when it thickens and coats the back of a spoon. It should have a smooth, pudding-like consistency that doesn’t run when you tilt the pan.
Heating to 160°F ensures food safety by killing potential bacteria in the egg whites. This step also helps stabilize the meringue, creating a smoother, more glossy topping.
Print
Creamy Homemade Butterscotch Pie Recipe
- Total Time: 1 hour 50 minutes
- Yield: 8 1x
Description
Homemade butterscotch pie delights dessert enthusiasts with its rich, caramel-like flavor. Silky custard nestled in a flaky crust promises a sweet indulgence you’ll savor to the last delectable bite.
Ingredients
- 1 1/4 cups (158 g) all-purpose flour
- 1/2 cup (113 g) unsalted butter (cold and cubed)
- 1 cup (220 g) brown sugar
- 1 1/4 cups (296 ml) whole milk
- 4 large egg whites
- 2 large egg yolks
- 1 large egg
- 1 cup (200 g) granulated sugar
- 1/2 cup (113 g) cold water
- 1 tbsp all-purpose flour
- 1 tbsp salted butter
- 2 tsps vanilla extract
- 1 tsp pure vanilla extract
- 2 tsps orange extract
- 1 tsp granulated sugar
- 1/2 tsp cream of tartar
- 1/2 tsp salt
- 1/2 tsp fine sea salt
- 1 pinch fine sea salt
Instructions
- In a mixing bowl, blend flour, sugar, and salt to create a uniform dry mixture.
- Introduce cold butter cubes and use a pastry cutter to break down butter until the mixture resembles coarse crumbs.
- Gradually add cold water, mixing until the dough coheres into a compact ball.
- Wrap the dough in plastic and refrigerate for 50 minutes to rest and firm up.
- Create the filling by whisking brown sugar, flour, eggs, and milk until smooth and free of lumps.
- Caramelize remaining brown sugar in a heavy pan over medium heat until it transforms to a rich golden color.
- Add hot water to the caramelized sugar, stirring continuously to prevent burning.
- Gradually incorporate the egg-milk mixture, cooking and stirring until the filling thickens to a pudding-like consistency.
- Remove from heat and fold in vanilla extract and butter for enhanced flavor.
- Preheat oven to 425°F (220°C) and prepare a pie plate.
- Roll out chilled dough on a floured surface to 1/4-inch thickness and carefully transfer to pie plate.
- Line crust with parchment paper, add pie weights, and blind bake for 15-20 minutes until lightly golden.
- Reduce oven temperature to 350°F (175°C).
- Pour prepared filling into pre-baked crust and bake for an additional 15-20 minutes.
- Create meringue by heating egg whites, sugar, and cream of tartar in a double boiler to 160°F (71°C).
- Transfer heated mixture to mixer and whip on medium-high speed until stiff, glossy peaks form.
- Spread meringue over cooled pie, creating decorative peaks and swirls.
- Optional: Use a kitchen torch to lightly brown the meringue’s surface for added visual appeal.
Notes
- Customize the pie crust by substituting some flour with almond or coconut flour for a gluten-free alternative.
- Ensure butter is ice-cold when making the crust to achieve a flakier, more tender texture.
- Control the sweetness by adjusting brown sugar quantities according to personal preference.
- Use a digital thermometer for precise temperature monitoring during sugar and meringue preparation to prevent burning or undermixing.
- Prep Time: 1 hour 10 minutes
- Cook Time: 40 minutes
- Category: Desserts
- Method: Baking
- Cuisine: American
Nutrition
- Serving Size: 8
- Calories: 263 kcal
- Sugar: 32 g
- Sodium: 150 mg
- Fat: 12 g
- Saturated Fat: 7 g
- Unsaturated Fat: 5 g
- Trans Fat: 0.2 g
- Carbohydrates: 38 g
- Fiber: 1 g
- Protein: 5 g
- Cholesterol: 115 mg
Clara Bennett
Contributing Recipe Developer & Food Writer
Expertise
Baking and Pastry Development, Gluten-Free and Allergy-Friendly Recipe Creation, Culinary Storytelling and Food Journalism, Recipe Testing and Standardization, Southern Comfort Foods and Modern Twists
Education
Sullivan University – National Center for Hospitality Studies
Associate Degree in Culinary Arts
Focus: Baking and Pastry Arts, Recipe Testing, and Culinary Journalism.
Clara specialized in crafting desserts that blend classic Southern comfort with modern techniques, while developing strong writing skills to tell the story behind every dish.
Lane Community College (Certificate Program)
Certificate in Food Writing and Photography
Focus: Culinary storytelling, recipe formatting, food styling, and visual presentation.
Clara’s love of baking started young, powered by homemade pies, biscuits, and stories passed around the family table.
After earning her degree at Sullivan University and a food writing certificate at Lane Community College, she turned her passion into a craft: sharing recipes that are simple, soulful, and always full of heart.
She’s big on bold flavors, flexible ideas, and creating sweets that fit any table (yes, even if you’re gluten-free). When she’s not baking, you’ll find her wandering farmers’ markets, styling food for the next photo shoot, or working on her ever-growing recipe journal.