
Irresistible Creamy Peanut Butter Fudge Delight Recipe
Whipping up a creamy peanut butter fudge delight can turn an ordinary afternoon into a sweet celebration of indulgence.
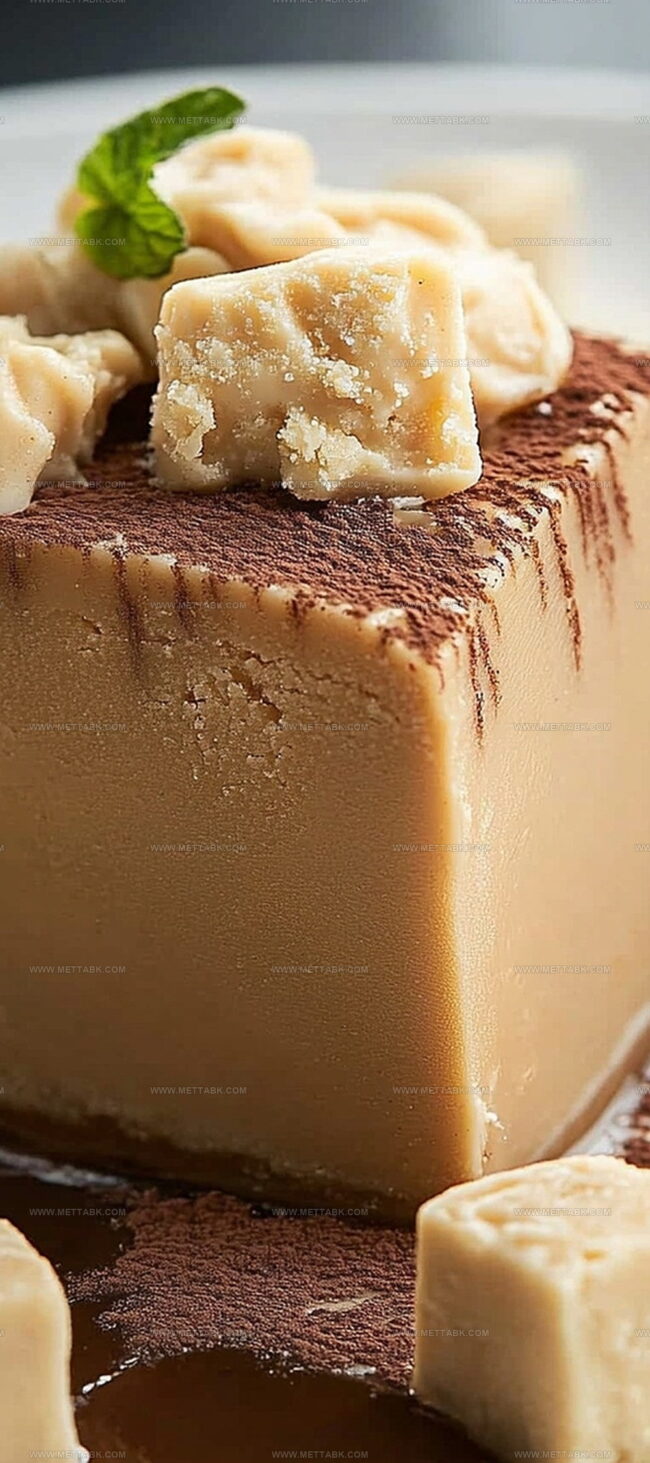
Each bite promises a smooth, melt-in-your-mouth experience that dances between rich chocolate and nutty comfort.
Chocolate lovers and peanut butter enthusiasts will find themselves captivated by this simple yet decadent treat.
Minimal ingredients come together in a magical process that requires no baking, making it perfect for spontaneous dessert cravings.
Soft, velvety textures promise a luxurious moment of pure culinary pleasure.
Cool the fudge completely to ensure perfect slicing and maximum enjoyment.
Take a leap and create this irresistible confection that will become your new favorite go-to dessert.
Peanut Butter Fudge That Brings Pure Satisfaction
Ingredients to Prepare Peanut Butter Fudge
Base Ingredients:Flavor Enhancers:Finishing Ingredient:How to Make Peanut Butter Fudge Perfectly
Step 1: Prepare Baking Canvas
Line an 8×8-inch baking dish with parchment paper, ensuring complete coverage with slight overhang for easy removal. Smooth out any wrinkles to create a perfect surface for your fudge.
Step 2: Create Sugary Caramel Base
In a medium saucepan, combine:Heat the mixture over medium flame, stirring continuously. Allow the blend to reach a vigorous boil, maintaining steady stirring.
Continue boiling for 2-3 minutes, watching the transformation into a golden, bubbling mixture.
Step 3: Infuse Peanut Butter Magic
Remove the saucepan from heat.
Swiftly incorporate:Stir rapidly until the mixture becomes silky smooth and completely integrated, creating a rich, glossy texture.
Step 4: Transform with Powdered Sugar
Gradually fold in powdered sugar, mixing thoroughly.
Blend until the mixture achieves a creamy, velvety consistency with no lumps or separation.
Step 5: Mold and Settle
Pour the fudge into the prepared dish, using a spatula to spread evenly.
Allow the fudge to rest at room temperature for approximately one hour, or until it becomes completely firm and set.
Step 6: Slice and Indulge
Once fully set, lift the fudge from the dish using parchment paper edges.
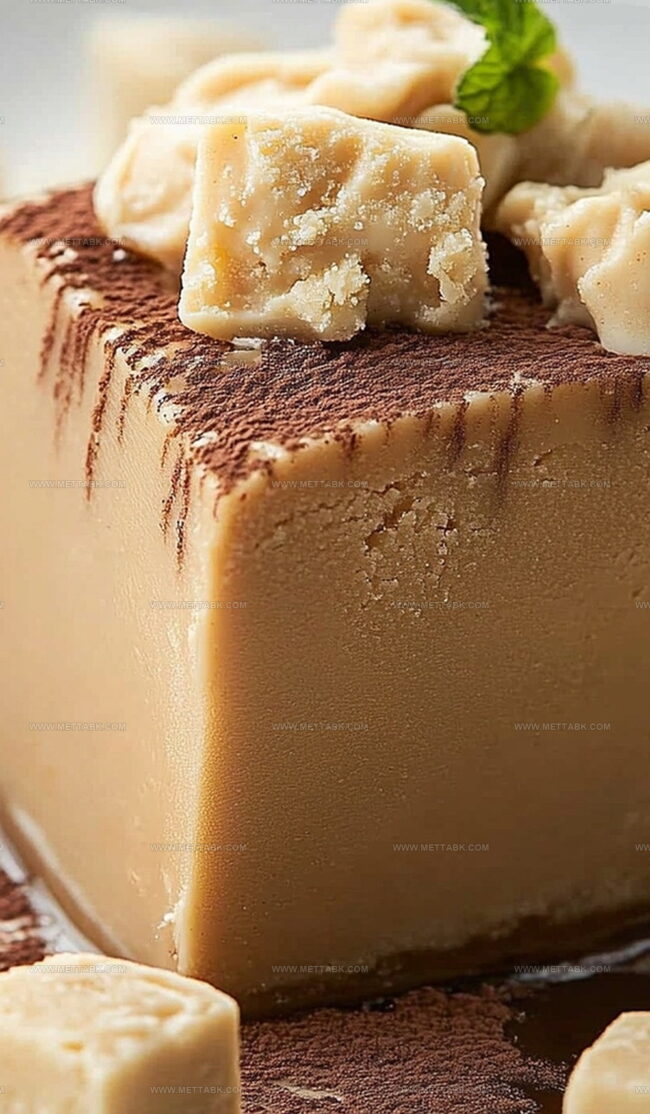
Slice into perfect squares using a sharp knife. Serve and savor the decadent, melt-in-your-mouth peanut butter treat.
Tips to Get Peanut Butter Fudge Just Right
Flavor Twists to Try With Peanut Butter Fudge
Pairing Suggestions to Enjoy Peanut Butter Fudge
Storing Peanut Butter Fudge for Freshness
FAQs
Natural peanut butter might separate and affect the fudge’s texture. Stick to creamy, processed peanut butter for best results.
Ensure you stir constantly while boiling and dissolve sugar completely. Use a candy thermometer to monitor temperature between 234-240°F for smooth consistency.
This usually happens if sugar doesn’t reach the right temperature or you didn’t boil long enough. Always follow the boiling time precisely and use a reliable thermometer.
Print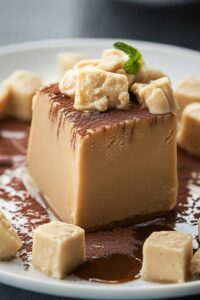
Creamy Peanut Butter Fudge Delight Recipe
- Total Time: 20 minutes
- Yield: 16 1x
Description
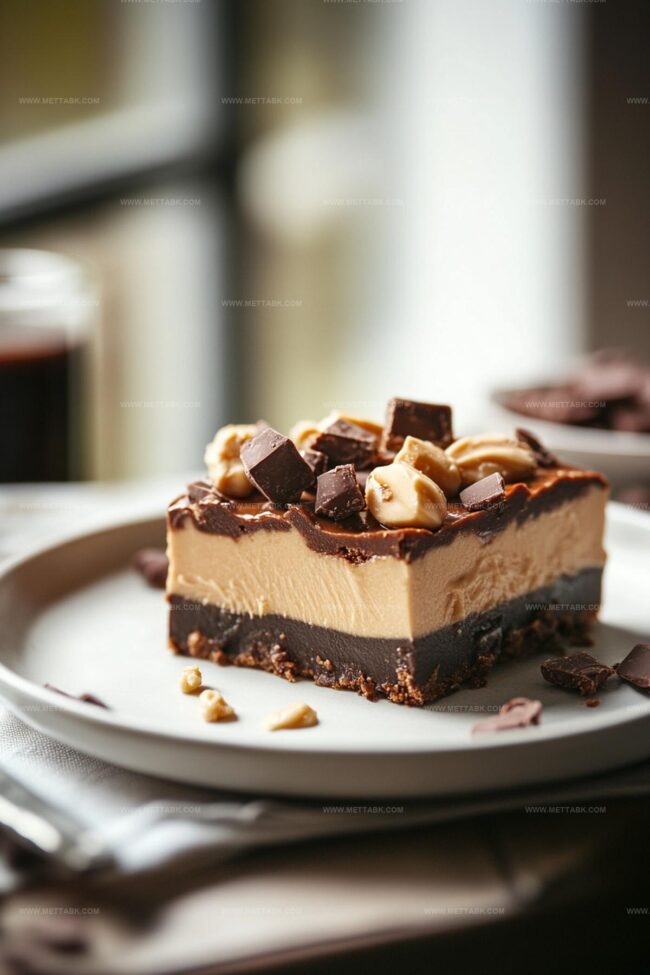
Peanut Butter Fudge Delight combines rich chocolate and smooth peanut butter in a classic dessert. Chocolate lovers will savor this simple, irresistible treat that melts perfectly on your palate.
Ingredients
- 1 cup creamy peanut butter
- 2 cups granulated sugar
- 1/2 cup unsalted butter
- 1/2 cup milk
- 3 cups powdered sugar
- 1 teaspoon vanilla extract
Instructions
- Prepare a foundational layer by lining an 8×8-inch baking dish with parchment paper, ensuring complete coverage for easy removal.
- Combine granulated sugar, butter, and milk in a medium saucepan, heating over medium temperature while continuously stirring until the mixture erupts into a vigorous boil.
- Maintain the boiling process for 2-3 minutes, gently stirring intermittently to prevent scorching and ensure even heat distribution.
- Immediately remove the saucepan from heat and swiftly incorporate peanut butter and vanilla extract, whisking until the mixture transforms into a silky, uniform consistency.
- Gradually fold in powdered sugar, blending thoroughly to create a smooth, creamy texture without any lumps or dry pockets.
- Transfer the molten fudge mixture into the prepared dish, using a spatula to spread evenly and eliminate any air pockets.
- Allow the fudge to cool naturally at room temperature for approximately 60 minutes, enabling it to solidify completely and develop its signature dense texture.
- Once fully set, slice the fudge into precise square portions, revealing the rich, decadent layers of peanut butter goodness.
- Serve and savor the luxurious, melt-in-your-mouth treat that combines sweet and nutty flavors in every delightful bite.
Notes
- Choose a high-quality, creamy peanut butter for the most luxurious flavor and smooth texture.
- Use a candy thermometer to ensure precise temperature control during boiling, preventing sugar crystallization.
- For a gluten-free version, confirm all ingredients are certified gluten-free before preparing.
- Customize the fudge by adding a sprinkle of sea salt on top or mixing in chopped roasted peanuts for extra crunch.
- Prep Time: 15 minutes
- Cook Time: 5 minutes
- Category: Desserts, Snacks
- Method: Boiling
- Cuisine: American
Nutrition
- Serving Size: 16
- Calories: 255
- Sugar: 30 g
- Sodium: 54 mg
- Fat: 12 g
- Saturated Fat: 6 g
- Unsaturated Fat: 5 g
- Trans Fat: 0.3 g
- Carbohydrates: 34 g
- Fiber: 1 g
- Protein: 4 g
- Cholesterol: 17 mg
Clara Bennett
Contributing Recipe Developer & Food Writer
Expertise
Baking and Pastry Development, Gluten-Free and Allergy-Friendly Recipe Creation, Culinary Storytelling and Food Journalism, Recipe Testing and Standardization, Southern Comfort Foods and Modern Twists
Education
Sullivan University – National Center for Hospitality Studies
Associate Degree in Culinary Arts
Focus: Baking and Pastry Arts, Recipe Testing, and Culinary Journalism.
Clara specialized in crafting desserts that blend classic Southern comfort with modern techniques, while developing strong writing skills to tell the story behind every dish.
Lane Community College (Certificate Program)
Certificate in Food Writing and Photography
Focus: Culinary storytelling, recipe formatting, food styling, and visual presentation.
Clara’s love of baking started young, powered by homemade pies, biscuits, and stories passed around the family table.
After earning her degree at Sullivan University and a food writing certificate at Lane Community College, she turned her passion into a craft: sharing recipes that are simple, soulful, and always full of heart.
She’s big on bold flavors, flexible ideas, and creating sweets that fit any table (yes, even if you’re gluten-free). When she’s not baking, you’ll find her wandering farmers’ markets, styling food for the next photo shoot, or working on her ever-growing recipe journal.