
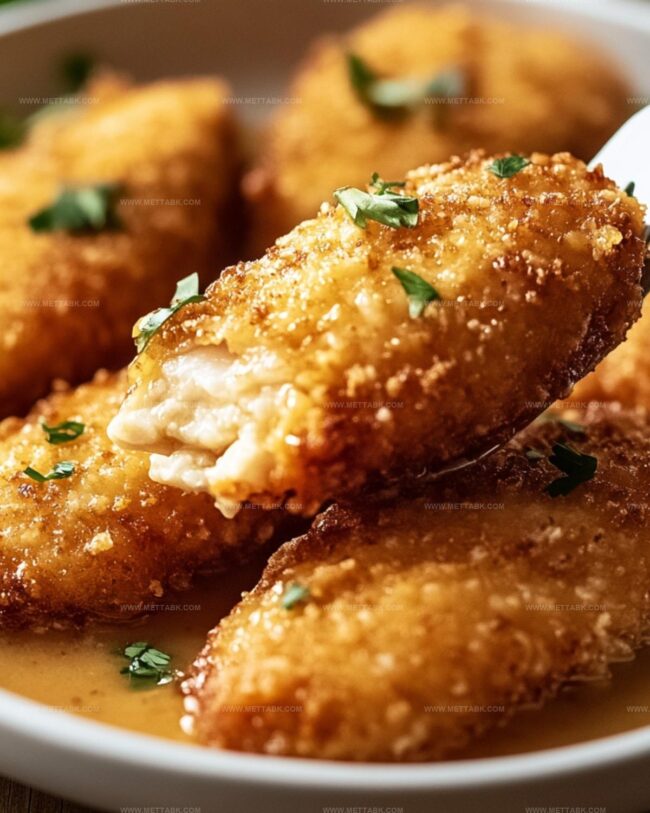
Crispy Buttered Ranch Chicken Recipe: A Zesty Family Favorite
Juicy chicken breasts coated in a mouthwatering ranch seasoning create an irresistible crispy buttered ranch chicken that’ll make dinner feel like a celebration.
Comfort meets gourmet in this simple yet spectacular dish.
Weeknight meals rarely taste this incredible without complicated techniques.
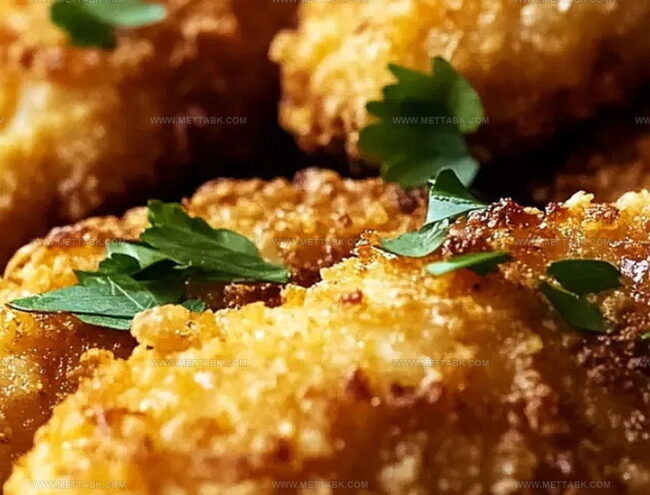
Creamy ranch powder works magic, delivering intense flavor in every golden-brown bite.
Butter adds a luxurious richness that elevates the entire experience.
Crisp edges and tender meat guarantee everyone at the table will ask for seconds.
Reasons Crispy Buttered Ranch Chicken Stands Out
Everything Needed for Buttered Ranch Chicken
For the Proteins:For the Coating Components:For the Seasonings and Spices:For the Binding and Moisture:Directions to Make Buttered Ranch Chicken Crispy
Step 1: Warm Up the Oven
Heat your oven to 400F (200C). Prepare a baking sheet by lining it with parchment paper or giving it a light grease coating.
Step 2: Create Flavor-Packed Coating
In a shallow bowl, combine the following ingredients:Mix these ingredients thoroughly to create a delicious, crunchy coating.
Step 3: Prepare Butter Bath
Melt butter in a separate bowl, creating a rich and indulgent dipping station for the chicken.
Step 4: Dress the Chicken
Take each chicken strip and give it a luxurious butter bath, ensuring complete coverage. Then roll the buttered chicken in the seasoned breadcrumb mixture, pressing gently to help the coating stick perfectly.
Step 5: Arrange on Baking Sheet
Carefully place the coated chicken strips on the prepared baking sheet. Ensure they have some breathing room and aren’t crowded together.
Step 6: Bake to Golden Perfection
Slide the baking sheet into the oven and bake for 20-25 minutes. Flip the chicken midway through cooking to ensure even browning and maximum crispiness.
Step 7: Rest and Serve
Allow the chicken to rest for a few minutes after baking. This helps the juices redistribute and the coating set.
Serve with your favorite dipping sauce and watch everyone’s eyes light up!
Tips for Perfect Crispy Buttered Ranch Chicken

New Takes on Buttered Ranch Chicken Style
What Complements Buttered Ranch Chicken Nicely
Best Way to Store Ranch Chicken Leftovers
Store leftover chicken in an airtight container for up to 3-4 days. Cool completely before sealing to prevent moisture buildup.
Wrap individual chicken strips tightly in plastic wrap, then place in a freezer bag. Freeze for maximum 2 months to maintain crispy texture and flavor.
Preheat oven to 375F, spread chicken on baking sheet, and warm for 10-12 minutes until heated through. Avoid microwave to prevent soggy breading.
Place chicken strips in air fryer basket, cook at 350F for 3-4 minutes, turning once to restore original crispiness and prevent drying out.
FAQs
Yes, you can use chicken breasts. Just cut them into strips or pound them to an even thickness to ensure consistent cooking.
Absolutely! Replace regular panko breadcrumbs with gluten-free panko or crushed gluten-free crackers to make the dish gluten-free.
For maximum crispiness, use a wire rack on your baking sheet to allow air circulation, and ensure you press the breadcrumb mixture firmly onto the chicken.
You can coat the chicken strips and store them in the refrigerator for up to 24 hours before baking. Just keep them covered to prevent drying out.
Print
Crispy Buttered Ranch Chicken Recipe
- Total Time: 40 minutes
- Yield: 2 1x
Description
Crispy ranch chicken delivers a mouthwatering Southern-style crunch that elevates weeknight dinner expectations. Perfectly seasoned and golden-brown, this irresistible dish ensures you’ll savor each flavorful, tender bite with pure culinary satisfaction.
Ingredients
Proteins:
- 2 large chicken breasts, cut into strips
Main Dry Ingredients:
- 1 cup panko breadcrumbs
- 1/2 cup grated Parmesan cheese
- 1 packet (1 ounce) ranch seasoning mix
Seasonings and Liquids:
- 1/2 cup unsalted butter, melted
- 1/2 teaspoon garlic powder
- 1/2 teaspoon paprika
- Salt, to taste
- Pepper, to taste
Instructions
- Prepare the oven at 400F (200C) and arrange a parchment-lined or lightly greased baking sheet.
- Combine panko, Parmesan, ranch seasoning, garlic powder, paprika, salt, and pepper in a shallow mixing vessel.
- Melt butter in a separate container for coating the chicken.
- Thoroughly immerse each chicken strip into the liquefied butter, ensuring complete coverage.
- Transfer the butter-drenched chicken into the seasoned breadcrumb mixture, gently pressing to create a uniform, crispy exterior.
- Arrange the coated chicken strips on the prepared baking sheet, maintaining adequate spacing between pieces to promote even crisping.
- Roast in the preheated oven for 20-25 minutes, rotating the strips midway through cooking to achieve uniform golden-brown coloration.
- Remove from oven and allow the chicken to rest momentarily, allowing the coating to set and juices to redistribute.
- Serve immediately with preferred condiments for optimal taste and texture.
Notes
- Optimize crispiness by using fresh panko breadcrumbs and ensuring they’re evenly coated on chicken strips.
- Swap regular chicken strips with gluten-free alternatives like almond flour coating for those with dietary restrictions.
- Boost flavor intensity by adding extra ranch seasoning or sprinkling dried herbs like thyme or parsley before baking.
- Reduce butter content by using olive oil spray for a lighter version while maintaining moisture and golden-brown texture.
- Prep Time: 15 minutes
- Cook Time: 25 minutes
- Category: Lunch, Dinner, Appetizer, Snacks
- Method: Baking
- Cuisine: American
Nutrition
- Serving Size: 2
- Calories: 770 kcal
- Sugar: 2 g
- Sodium: 1000 mg
- Fat: 55 g
- Saturated Fat: 30 g
- Unsaturated Fat: 20 g
- Trans Fat: 1 g
- Carbohydrates: 35 g
- Fiber: 2 g
- Protein: 60 g
- Cholesterol: 180 mg
Nate Harper
Founder & Recipe Curator
Expertise
Single-Recipe Development, Farm-to-Table Cooking, Seasonal Menu Planning, Culinary Storytelling, Home Kitchen Innovation
Education
Cascade Culinary Institute – Central Oregon Community College
Certificate in Culinary Arts
Focus: Farm-to-table cuisine, sustainable cooking practices, and seasonal recipe creation.
Nate studied under experienced chefs who emphasized local sourcing, minimal waste, and building recipes from fresh, simple ingredients.
Nate Harper is the founder and creative force behind Make, Take, Bake. Raised in the wild beauty of Oregon’s high desert, Nate grew up surrounded by family gardens, farmers’ markets, and home kitchens that celebrated the seasons.
His early love for simple, honest food evolved into a professional passion when he attended Cascade Culinary Institute, where he sharpened his skills in creating recipes that are sustainable, satisfying, and made for everyday life.
Nate’s goal is to make cooking feel accessible, free of fuss, and full of flavor. He believes a single, thoughtfully built dish can stand alone, and sometimes even steal the show.