
Irresistible Danish Butter Cookies Recipe for Sweet Moments
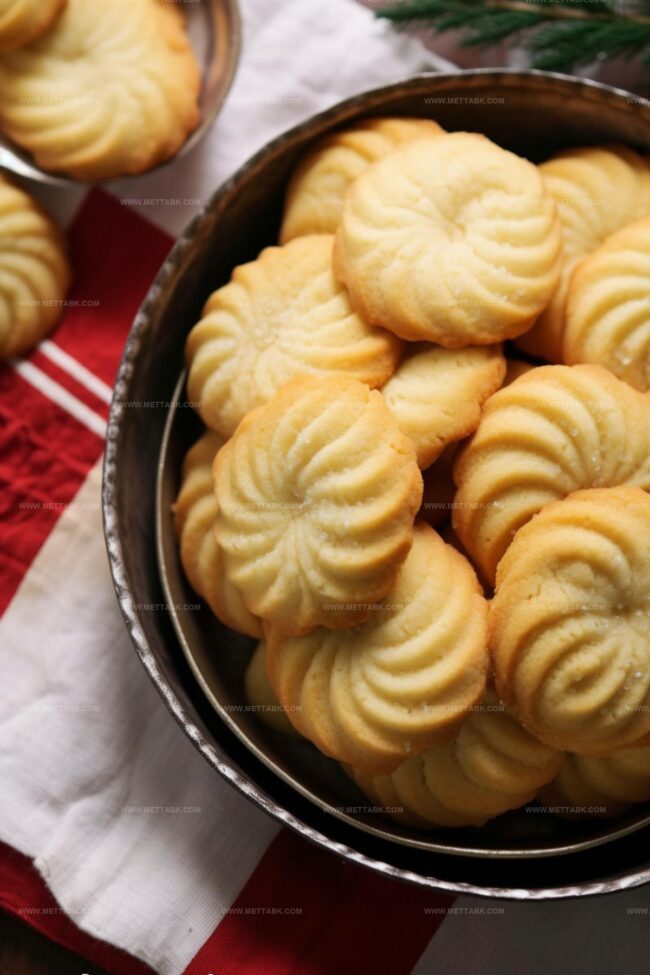
Crafting delectable danish butter cookies transports you to a world of buttery, melt-in-your-mouth magic.
Sweet memories flood back with each crumbly bite of these classic treats.
Generations have cherished this simple yet elegant recipe passed down through kitchens across Denmark.
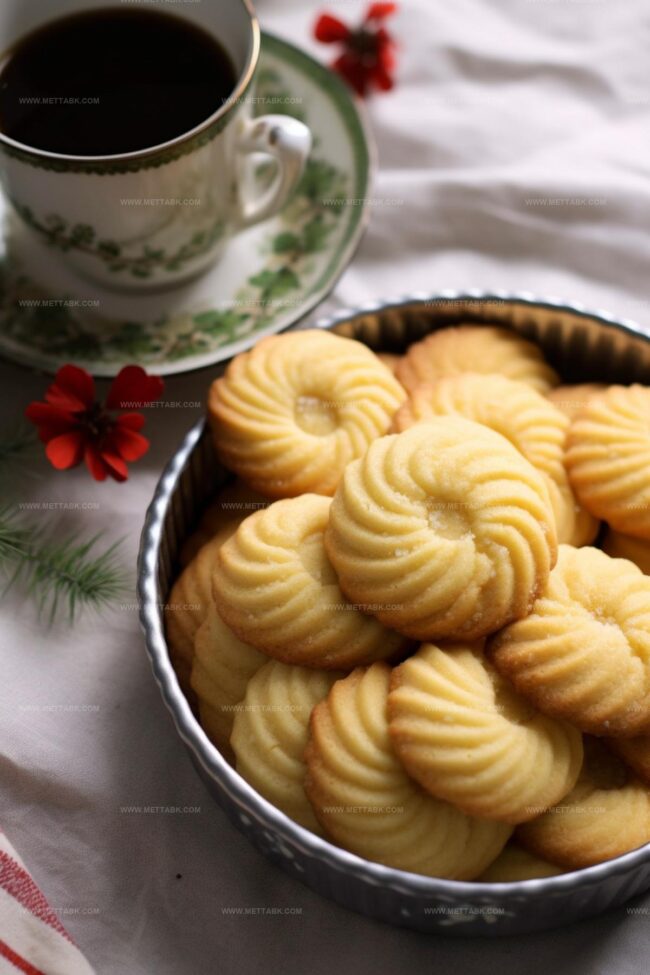
Crisp edges and rich, golden centers make these cookies irresistible to anyone who loves authentic European pastries.
Minimal ingredients combine to create something truly extraordinary – a testament to Danish baking simplicity.
Soft whispers of vanilla and pure butter promise a delightful experience that will have everyone asking for seconds.
Dive into this culinary adventure and let your taste buds dance with pure, sweet joy.
Timeless Danish Butter Cookies

Ingredients for Danish Butter Cookies
Fats and Dairy:Sweeteners:Binding and Flavor Enhancers:Dry Ingredients:How to Bake Danish Butter Cookies
Step 1: Warm Up The Oven
Set your oven to 350°F. Cover two baking sheets with parchment paper or silicone mats.
This prevents cookies from sticking and makes cleanup super easy.
Step 2: Create Fluffy Butter Base
Grab a mixing bowl and blend butter and sugar together.
Use medium speed and whip for 1-2 minutes until the mixture looks light and airy. This step creates the signature soft texture of Danish butter cookies.
Step 3: Introduce Flavor Enhancers
Mix in these ingredients:Beat everything together for about one minute until fully combined and smooth.
Step 4: Fold In Flour Gently
Slowly add flour to the mixture.
Use low speed to prevent tough cookies. Stir just until ingredients blend smoothly.
The dough should feel thick and rich.
Step 5: Shape Beautiful Cookies
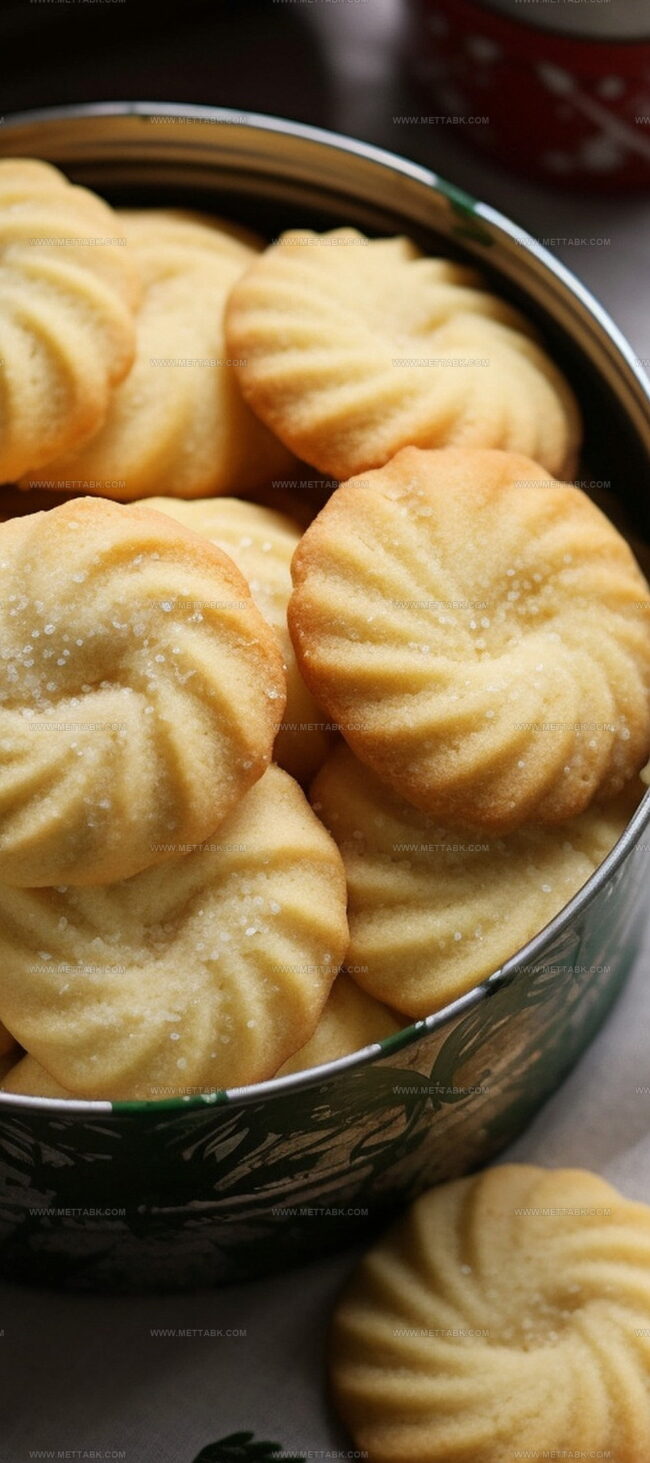
Fill a decorating bag with a large star tip.
Pipe circular shapes about 2 inches wide onto prepared baking sheets. Sprinkle a light dusting of sugar on top for extra sparkle and crunch.
Step 6: Bake To Golden Perfection
Slide one sheet at a time into the oven. Bake for 15-17 minutes until edges turn delicate golden brown.
Watch carefully to achieve that perfect color.
Step 7: Cool And Enjoy
Let cookies rest completely before moving.
This helps them set and develop a melt-in-your-mouth texture. Store in an airtight container or serve immediately with tea or coffee.
Pro Tips for Crisp Danish Butter Cookies
Variations on Danish Butter Cookies
Pairing Suggestions with Danish Butter Cookies

Proper Storage for Danish Butter Cookies
FAQs
The crisp texture comes from carefully creaming butter and sugar, which incorporates air, and using precise flour mixing techniques that prevent gluten development. The low-moisture dough and specific baking temperature contribute to their signature crumbly, melt-in-your-mouth quality.
A decorating bag with a large open star tip is recommended for traditional Danish Butter Cookies, but you can also use a cookie press or simply shape the dough by hand. The star tip creates the classic ridged appearance and helps achieve the authentic look.
Yes, you can prepare the cookie dough in advance and refrigerate it for up to 2 days. When ready to bake, let the dough sit at room temperature for about 15 minutes.
Print
Danish Butter Cookies Recipe
- Total Time: 32 minutes
- Yield: 24 1x
Description
Homemade Danish butter cookies showcase delicate pastry perfection from Denmark. Crisp, buttery rounds create sweet memories with simple ingredients and classic charm you’ll savor.
Ingredients
- 1 large egg
- 227 grams (8 oz) unsalted butter (at room temperature)
- 100 grams (3.5 oz) granulated sugar
- 284 grams (10 oz) all-purpose flour
- 1.5 teaspoons (7.5 ml) vanilla extract
- 0.25 teaspoon (1.25 ml) salt
- Additional granulated sugar for sprinkling
Instructions
- Prepare the oven at 350°F (175°C) and line two baking sheets with parchment paper or silicone mats to prevent cookie adhesion during baking.
- In a mixing bowl, cream unsalted butter and granulated sugar using medium speed for 1-2 minutes until the mixture becomes light and airy, creating a smooth foundation for the cookies.
- Integrate salt, vanilla extract, and egg into the butter-sugar mixture, blending thoroughly for about one minute to ensure uniform distribution of ingredients.
- Gently fold in all-purpose flour at low speed, mixing carefully to avoid developing excess gluten. Use a rubber spatula for final mixing, creating a thick, cohesive dough that holds its shape.
- Load the cookie dough into a piping bag fitted with a large open star tip, carefully forming 2-inch circular shapes on the prepared baking sheets. Delicately sprinkle additional granulated sugar over the piped dough for a crystalline finish.
- Bake one sheet at a time in the preheated oven for 15-17 minutes, watching for a light golden brown color that indicates perfect doneness and optimal flavor development.
- Remove cookies from the oven and allow complete cooling on the baking sheet. Once cooled, transfer to an airtight container for storage or serve immediately to enjoy their delicate, buttery texture.
Notes
- Use room temperature butter for smoother creaming and better cookie texture, ensuring it’s soft but not melted.
- Avoid overmixing the dough after adding flour to prevent tough, dense cookies that lose their delicate, crumbly Danish cookie character.
- Chill the piped cookie dough for 10-15 minutes before baking to help maintain their intricate star-shaped design and prevent spreading.
- Experiment with flavor variations by adding almond extract, citrus zest, or rolling in crushed nuts for a personalized twist on the classic recipe.
- Prep Time: 15 minutes
- Cook Time: 17 minutes
- Category: Snacks, Desserts
- Method: Baking
- Cuisine: Danish
Nutrition
- Serving Size: 24
- Calories: 168 kcal
- Sugar: 5 g
- Sodium: 27 mg
- Fat: 10 g
- Saturated Fat: 6 g
- Unsaturated Fat: 3.5 g
- Trans Fat: 0.4 g
- Carbohydrates: 18 g
- Fiber: 0.5 g
- Protein: 2 g
- Cholesterol: 20 mg
Clara Bennett
Contributing Recipe Developer & Food Writer
Expertise
Baking and Pastry Development, Gluten-Free and Allergy-Friendly Recipe Creation, Culinary Storytelling and Food Journalism, Recipe Testing and Standardization, Southern Comfort Foods and Modern Twists
Education
Sullivan University – National Center for Hospitality Studies
Associate Degree in Culinary Arts
Focus: Baking and Pastry Arts, Recipe Testing, and Culinary Journalism.
Clara specialized in crafting desserts that blend classic Southern comfort with modern techniques, while developing strong writing skills to tell the story behind every dish.
Lane Community College (Certificate Program)
Certificate in Food Writing and Photography
Focus: Culinary storytelling, recipe formatting, food styling, and visual presentation.
Clara’s love of baking started young, powered by homemade pies, biscuits, and stories passed around the family table.
After earning her degree at Sullivan University and a food writing certificate at Lane Community College, she turned her passion into a craft: sharing recipes that are simple, soulful, and always full of heart.
She’s big on bold flavors, flexible ideas, and creating sweets that fit any table (yes, even if you’re gluten-free). When she’s not baking, you’ll find her wandering farmers’ markets, styling food for the next photo shoot, or working on her ever-growing recipe journal.