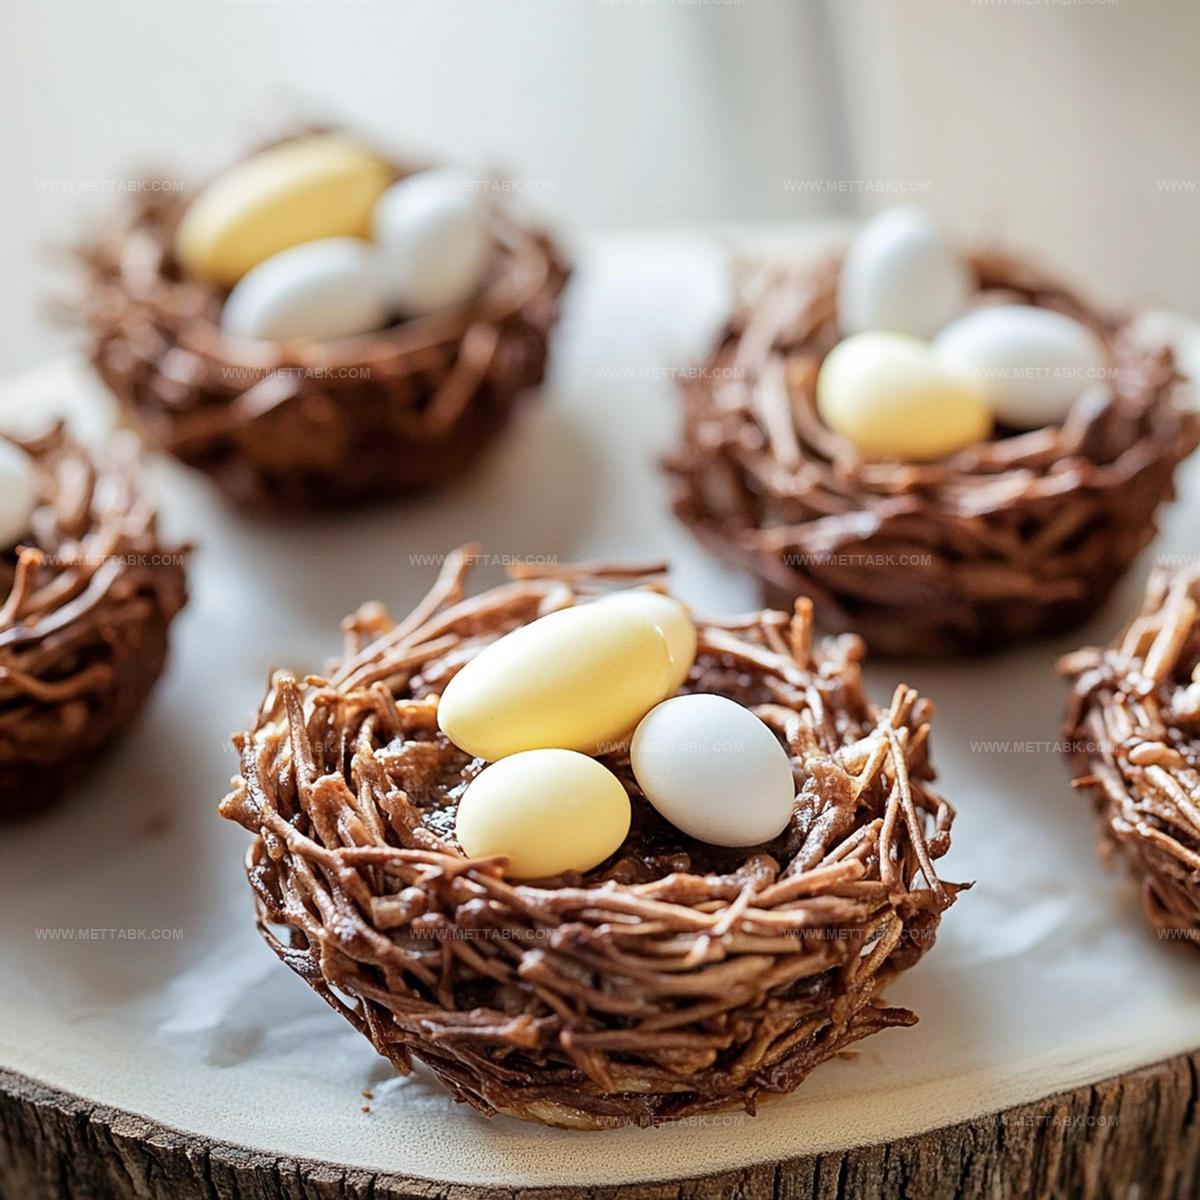
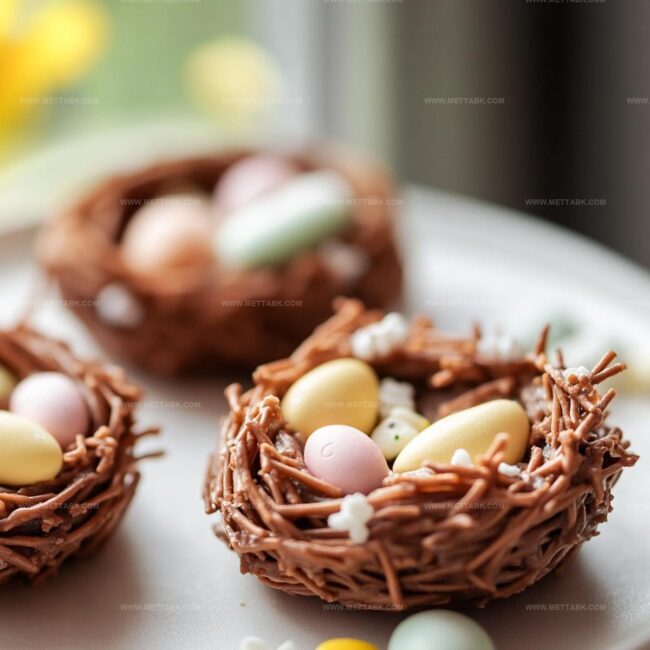
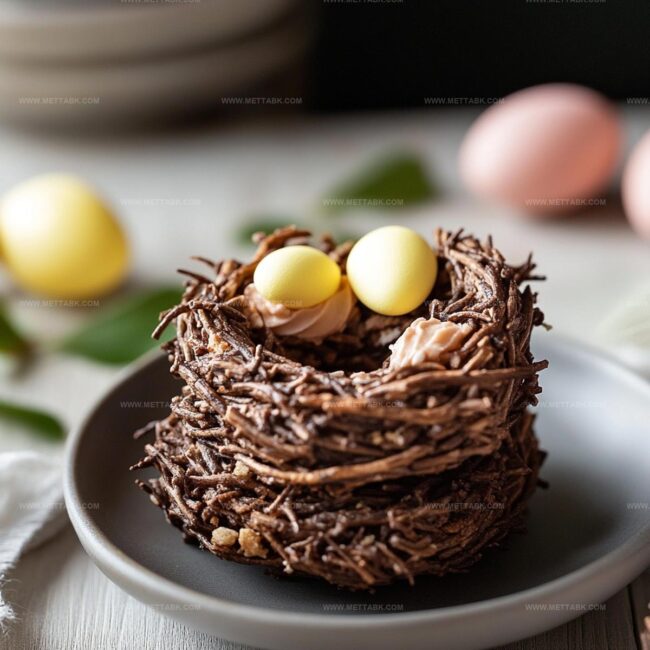
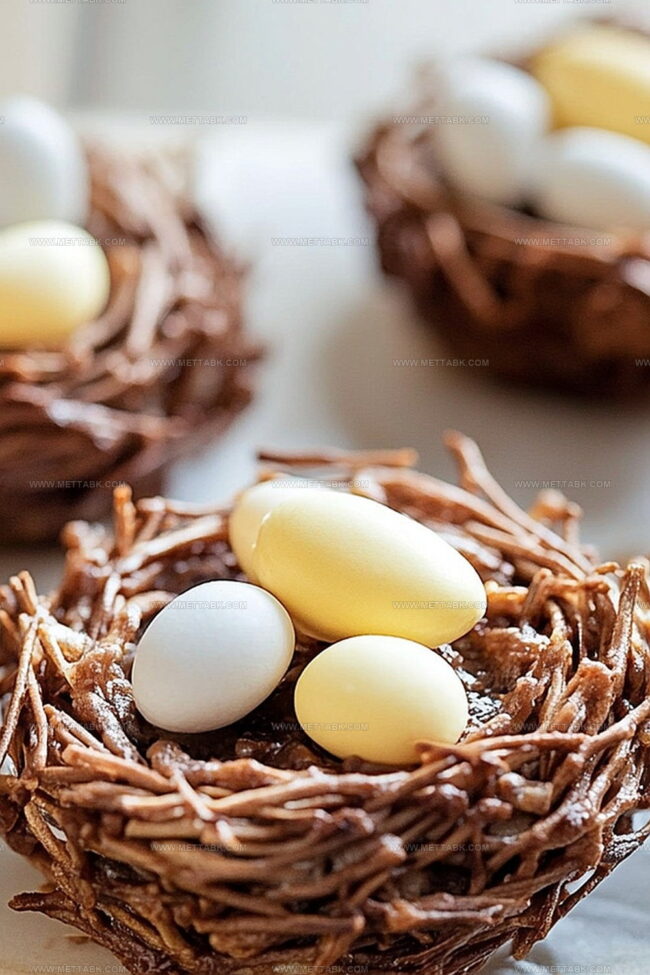
Adorable Easter Bird Nests Cookies Recipe for Spring Baking Fun
Crafting delightful easter bird nests cookies brings pure joy to any springtime celebration.
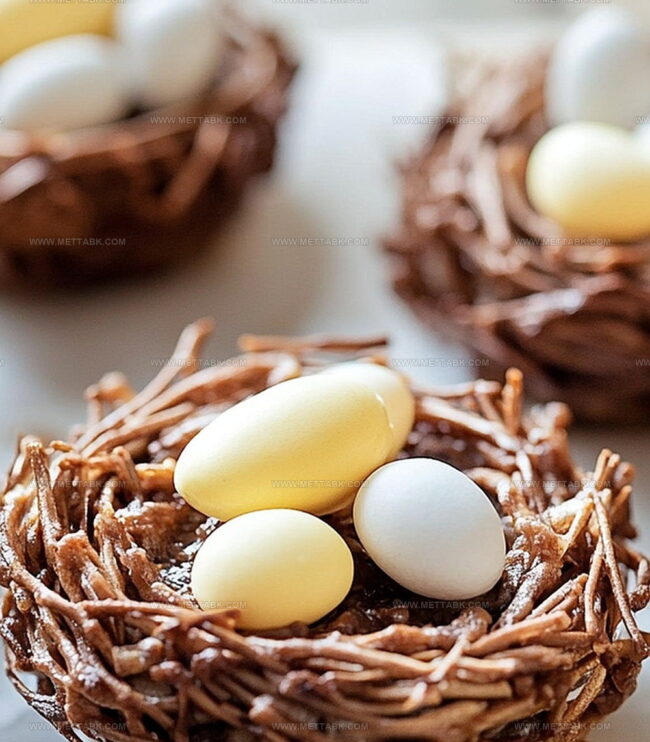
Sweet chocolate and crispy noodles combine into adorable treats that spark childhood memories.
Marshmallows melt perfectly to create a sticky, delectable base for these charming confections.
Kids absolutely love helping build these whimsical little nests decorated with colorful candy eggs.
Pastel-hued candies nestle gently into the chocolate-glazed clusters, creating miniature edible landscapes.
Clusters of these playful cookies will definitely become your go-to dessert for seasonal gatherings.
You’ll find these simple yet magical treats irresistible and surprisingly easy to assemble.
Gather your ingredients and let the delicious magic begin!
Delight in Delicious Easter Bird Nests Cookies
Essential Ingredients of Easter Bird Nests Cookies
Main Ingredients:Decorative Ingredients:Optional Extras:Steps to Bake Easter Bird Nests Cookies
Step 1: Prepare Melting Station
Grab a microwave-safe bowl and combine chocolate and butter. Zap in short 30-second bursts, stirring gently between each interval until the mixture transforms into a silky, glossy blend.
Step 2: Create Nest Texture
Introduce shredded wheat cereal into the melted chocolate mixture. Carefully fold and coat every strand, ensuring each piece gets a luxurious chocolate embrace.
Step 3: Shape Whimsical Nests
Line a baking sheet with parchment paper. Using a spoon, craft small circular clusters that resemble charming bird nests.
Gently press the center to create a cozy indentation perfect for nestling sweet treats.
Step 4: Add Colorful Eggs
While the chocolate nests are still warm and slightly soft, delicately place pastel candy eggs into the center of each nest.
The residual warmth will help the eggs settle perfectly.
Step 5: Allow Cooling and Set
Let the chocolate bird nests rest at room temperature or pop them in the refrigerator.
Wait patiently until the chocolate hardens completely, transforming into adorable, edible springtime decorations.
Step 6: Serve and Celebrate
Once set, transfer these delightful treats to a serving platter.
These cute Easter bird nests are ready to charm kids and adults alike with their playful design and delicious chocolate flavor.
Tips for Crispy and Sweet Easter Bird Nests Cookies
Creative Spins on Easter Bird Nests Cookies
Pairings to Complement Easter Bird Nests Cookies
Storage Advice for Easter Bird Nests Cookies
FAQs
Yes, you can substitute milk, dark, or white chocolate based on your preference. Just ensure it melts smoothly.
Substitute with chow mein noodles or pretzel sticks for a similar crunchy texture in the nests.
These Easter bird nests will stay fresh for 3-5 days when stored in an airtight container at room temperature.
Absolutely! Kids love helping create these easy, no-bake cookies and can decorate with colorful candy eggs.
Print
Easter Bird Nests Cookies Recipe
- Total Time: 15 minutes
- Yield: 12 1x
Description
Delightful easter bird nests cookies blend chocolate, marshmallows, and colorful candies into a whimsical springtime treat. Crispy chow mein noodles create a charming nest perfect for celebrating seasonal joy with family and friends.
Ingredients
- 3 cups shredded wheat cereal
- 1 cup semi-sweet chocolate chips
- 1 cup pastel candy eggs
- 2 tablespoons (30 ml) unsalted butter
- 1 teaspoon (5 ml) vanilla extract
Instructions
- Gently melt chocolate and butter in microwave, stirring every 30 seconds until completely smooth and glossy.
- Carefully incorporate shredded wheat cereal, ensuring each strand is thoroughly coated with the chocolate mixture.
- Using clean hands or two spoons, craft delicate nest-shaped clusters on parchment-lined baking sheet, creating small hollows in center of each mound.
- While cookies remain slightly warm, strategically nestle candy eggs into each cookie’s center, pressing lightly to secure.
- Allow nests to rest at room temperature approximately 30-45 minutes, permitting chocolate to solidify and maintain structured shape.
- Once completely cooled and set, transfer cookies to serving platter, ensuring gentle handling to preserve intricate nest design.
Notes
- Choose high-quality chocolate for richer flavor and smoother melting.
- Use a silicone spatula to fold cereal gently and prevent breaking delicate strands.
- Create uniform nest sizes by using a small ice cream scoop or tablespoon for consistent shaping.
- Experiment with different chocolate types like dark, milk, or white for varied taste experiences.
- Prep Time: 15 minutes
- Cook Time: 0 minutes
- Category: Desserts, Snacks
- Method: Melting
- Cuisine: American
Nutrition
- Serving Size: 12
- Calories: 164 kcal
- Sugar: 9 g
- Sodium: 29 mg
- Fat: 7 g
- Saturated Fat: 4 g
- Unsaturated Fat: 2 g
- Trans Fat: 0.1 g
- Carbohydrates: 22 g
- Fiber: 2 g
- Protein: 2 g
- Cholesterol: 11 mg
Clara Bennett
Contributing Recipe Developer & Food Writer
Expertise
Baking and Pastry Development, Gluten-Free and Allergy-Friendly Recipe Creation, Culinary Storytelling and Food Journalism, Recipe Testing and Standardization, Southern Comfort Foods and Modern Twists
Education
Sullivan University – National Center for Hospitality Studies
Associate Degree in Culinary Arts
Focus: Baking and Pastry Arts, Recipe Testing, and Culinary Journalism.
Clara specialized in crafting desserts that blend classic Southern comfort with modern techniques, while developing strong writing skills to tell the story behind every dish.
Lane Community College (Certificate Program)
Certificate in Food Writing and Photography
Focus: Culinary storytelling, recipe formatting, food styling, and visual presentation.
Clara’s love of baking started young, powered by homemade pies, biscuits, and stories passed around the family table.
After earning her degree at Sullivan University and a food writing certificate at Lane Community College, she turned her passion into a craft: sharing recipes that are simple, soulful, and always full of heart.
She’s big on bold flavors, flexible ideas, and creating sweets that fit any table (yes, even if you’re gluten-free). When she’s not baking, you’ll find her wandering farmers’ markets, styling food for the next photo shoot, or working on her ever-growing recipe journal.