The Jolliest Easter Jell-O Pie Recipe for Sweet Spring Celebrations
Crafting a delightful easter jell-o pie brings nostalgic memories of childhood celebrations dancing through my kitchen.
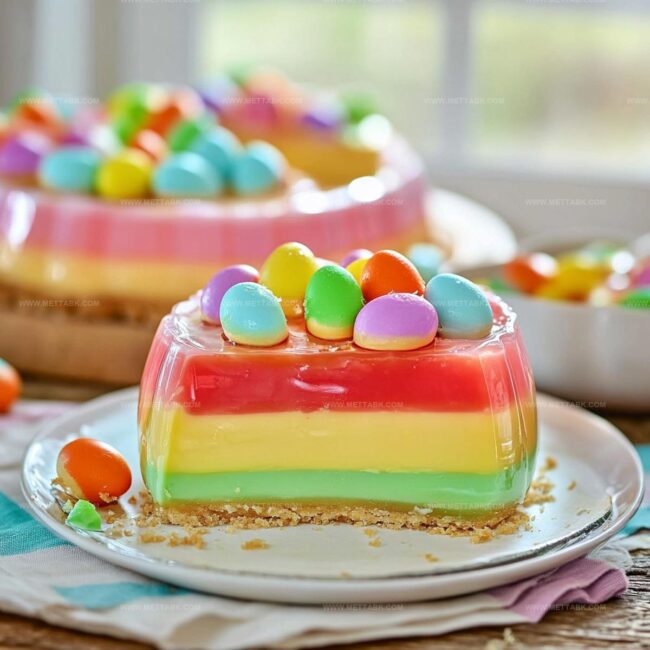
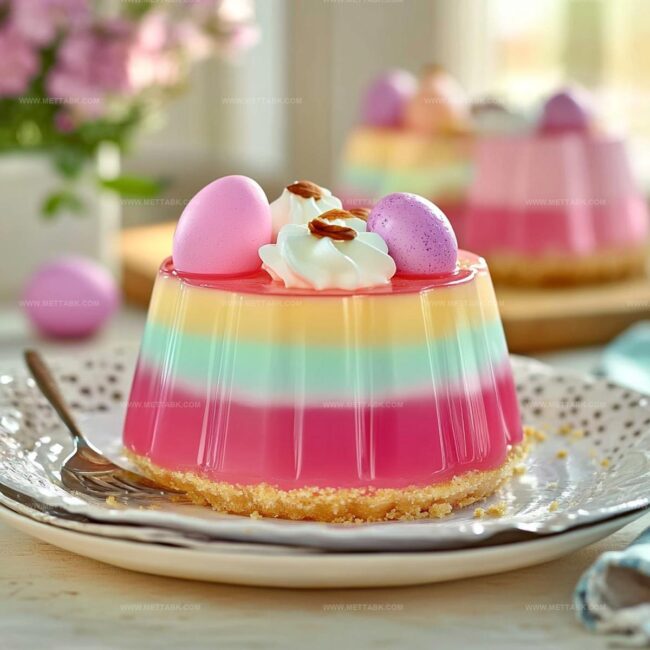
Pastel colors and wiggly textures transform this classic dessert into a playful centerpiece.
Sweet memories whisper of grandmother’s special techniques while mixing vibrant gelatin layers.
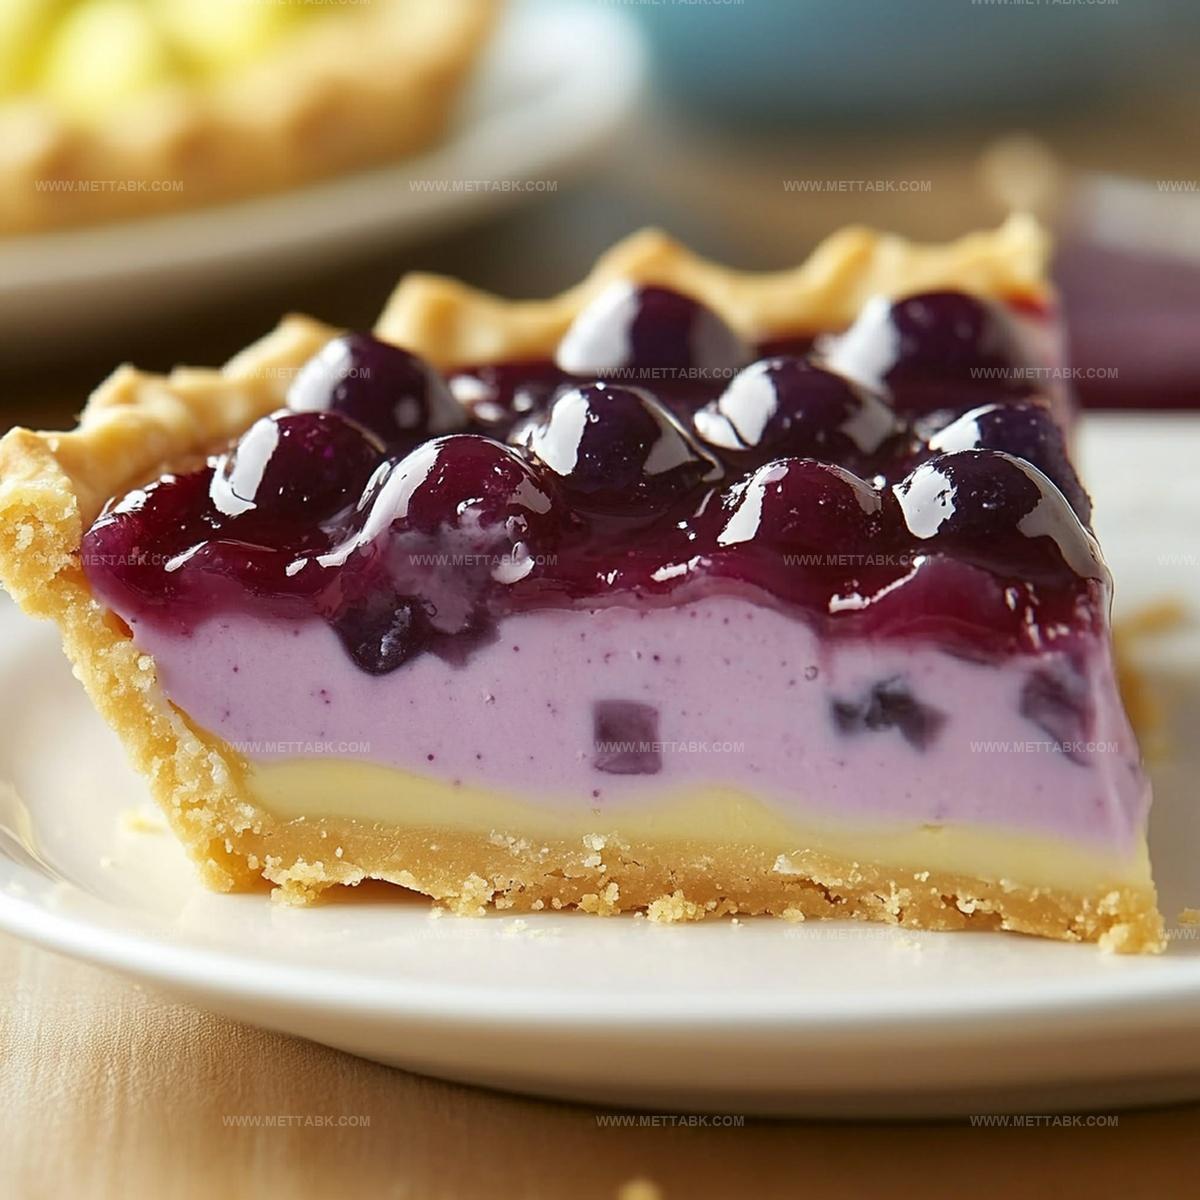
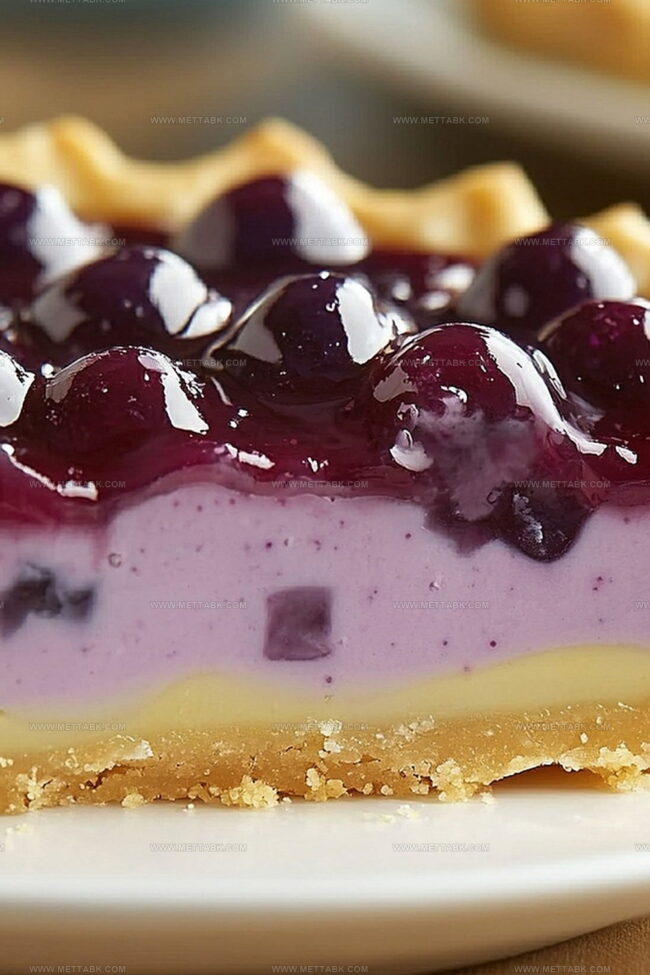
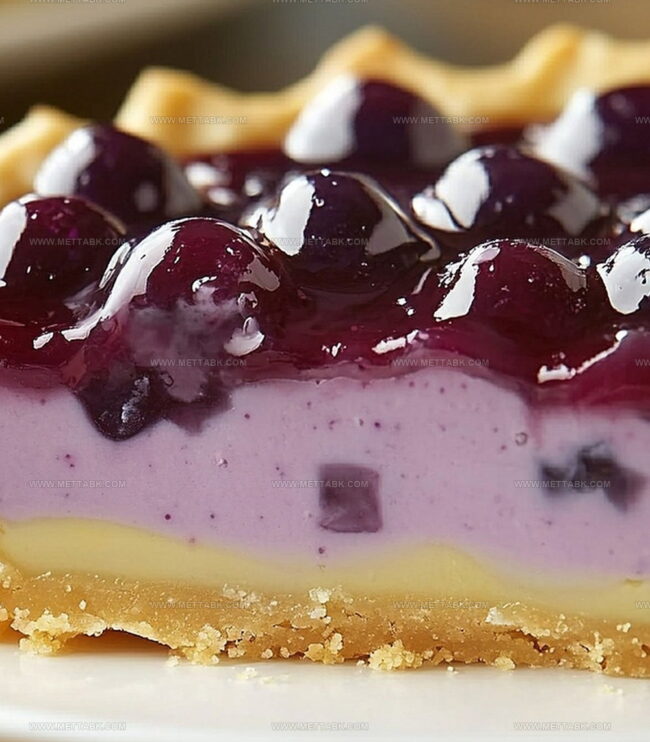
Creamy filling and crisp graham cracker crust promise a delectable experience for everyone at the table.
Soft, jiggly segments create a whimsical treat that sparks conversation and smiles.
Simple ingredients combine to make something magical that feels both traditional and fresh.
You might just become the star of your next springtime gathering with this delightful confection.
Easter Jell-O Pie That Brings Nostalgic Sweetness
Ingredients for Colorful and Fruity Easter Jell-O Pie
Crust Base:Filling Ingredients:Decorative Additions:How to Prepare Easter Jell-O Pie with Ease
Step 1: Create Crunchy Crust Base
Grab graham crackers and crush them into fine crumbs. Melt butter until silky smooth.
Mix crumbs with melted butter until perfectly combined. Press the mixture firmly into a pie dish, creating an even layer that covers bottom and sides.
Use the back of a spoon or your fingers to compact the crust smoothly.
Step 2: Prepare Colorful Gelatin Mixture
Boil water and pour into a mixing bowl.
Sprinkle gelatin powder into hot water, stirring continuously until completely dissolved. Allow the liquid to cool down to room temperature for several minutes.
Whip cream until soft peaks form, creating a fluffy texture.
Step 3: Blend Creamy Gelatin Filling
Gently fold whipped cream into the cooled gelatin mixture.
Stir carefully to maintain the light, airy consistency. The filling should look smooth and have a beautiful pastel color.
Step 4: Layer and Chill Pie
Pour half of the gelatin mixture over the prepared crust. Place the pie in the refrigerator and let it set for 30 minutes.
Optional: Add fresh berries or fruit slices between layers for extra flavor and decoration. Carefully pour remaining gelatin mixture over the first layer.
Step 5: Final Refrigeration
Place the pie in the refrigerator and let it chill completely. Wait for at least four hours or overnight to ensure perfect texture and set.
Before serving, you can garnish with additional whipped cream or fresh fruit on top.
Tips for Perfect Easter Jell-O Pie Every Time
Flavorful Variations on Easter Jell-O Pie
Pairings That Enhance Easter Jell-O Pie Experience
Best Storage Tips for Easter Jell-O Pie
FAQs
Absolutely! Choose bright, pastel colors like lime, strawberry, or lemon to create a festive Easter look. Mix and match flavors for a fun, colorful dessert.
The traditional recipe contains dairy from whipped cream. For a lighter version, substitute with whipped coconut cream or non-dairy whipped topping to make it more inclusive.
Top the pie with fresh berries, whipped cream swirls, or sprinkle pastel-colored sugar crystals. You can also use Easter-themed candy decorations like mini chocolate eggs or marshmallow chicks.
Print
Easter Jell-O Pie Recipe
- Total Time: 5 hours 50 minutes
- Yield: 8 1x
Description
Creamy Easter Jell-o Pie blends nostalgic flavors with springtime cheer. Pastel gelatin layers and fluffy whipped cream create a delightful dessert you’ll savor with family and friends.
Ingredients
- 1 package (3 oz/85 g) Jell-O gelatin (various flavors)
- 1 cup (240 ml) whipped cream
- 1 cup (100 g) crushed graham crackers
- 1/2 cup (75 g) fresh strawberries
- 1/2 cup (75 g) fresh blueberries
- 1/2 cup (120 ml) hot water
- 1 tbsp (15 ml) lemon juice
Instructions
- Crush graham crackers into fine crumbs and blend thoroughly with melted butter, creating a uniform mixture that will form a sturdy pie base.
- Press the cracker-butter blend firmly and evenly into the pie dish, ensuring a compact and smooth foundation.
- Boil water and completely dissolve the Jell-O gelatin, stirring until no granules remain and the liquid appears clear and vibrant.
- Allow the gelatin mixture to cool to room temperature, preventing potential separation when combining with whipped cream.
- Gently fold whipped cream into the cooled gelatin, creating a light, airy filling with a smooth, consistent texture.
- Pour half of the creamy gelatin mixture over the prepared graham cracker crust, spreading evenly to create the first layer.
- Refrigerate the pie for approximately 30 minutes, allowing the initial layer to set and stabilize before adding additional layers.
- Strategically add contrasting colored gelatin layers or incorporate fresh fruit for visual appeal and enhanced flavor complexity.
- Completely chill the pie for 4-6 hours or ideally overnight, ensuring a firm, well-set dessert with perfect consistency.
- Remove from refrigerator shortly before serving to maintain the pie’s delicate structure and optimal taste.
Notes
- Customize the crust by using gluten-free graham crackers or replacing them with crushed nuts for a low-carb alternative.
- Experiment with different Jell-O flavors to create a rainbow-like effect or match seasonal colors for festive occasions.
- Enhance the texture by folding in fresh berries or chopped fruit directly into the Jell-O mixture before layering.
- For a lighter version, substitute whipped cream with Greek yogurt or whipped coconut cream to reduce calories and add a tangy twist.
- Prep Time: 20 minutes
- Cook Time: 5 hours 30 minutes
- Category: Desserts
- Method: Refrigerating
- Cuisine: American
Nutrition
- Serving Size: 8
- Calories: 150 kcal
- Sugar: 20 g
- Sodium: 100 mg
- Fat: 5 g
- Saturated Fat: 3 g
- Unsaturated Fat: 1 g
- Trans Fat: 0 g
- Carbohydrates: 25 g
- Fiber: 1 g
- Protein: 2 g
- Cholesterol: 15 mg
Clara Bennett
Contributing Recipe Developer & Food Writer
Expertise
Baking and Pastry Development, Gluten-Free and Allergy-Friendly Recipe Creation, Culinary Storytelling and Food Journalism, Recipe Testing and Standardization, Southern Comfort Foods and Modern Twists
Education
Sullivan University – National Center for Hospitality Studies
Associate Degree in Culinary Arts
Focus: Baking and Pastry Arts, Recipe Testing, and Culinary Journalism.
Clara specialized in crafting desserts that blend classic Southern comfort with modern techniques, while developing strong writing skills to tell the story behind every dish.
Lane Community College (Certificate Program)
Certificate in Food Writing and Photography
Focus: Culinary storytelling, recipe formatting, food styling, and visual presentation.
Clara’s love of baking started young, powered by homemade pies, biscuits, and stories passed around the family table.
After earning her degree at Sullivan University and a food writing certificate at Lane Community College, she turned her passion into a craft: sharing recipes that are simple, soulful, and always full of heart.
She’s big on bold flavors, flexible ideas, and creating sweets that fit any table (yes, even if you’re gluten-free). When she’s not baking, you’ll find her wandering farmers’ markets, styling food for the next photo shoot, or working on her ever-growing recipe journal.