Springtime Delight: Easter Oreo Cookie Casserole Recipe
Sweet tooths go wild for this easter oreo cookie casserole that blends childhood nostalgia with decadent dessert magic.
Layers of creamy goodness stack up like delightful memories from past celebrations.
Chocolate cookie crumbs create a perfect base for marshmallow-studded filling that melts seamlessly.
Pastel sprinkles add whimsical color to each delectable bite.
Soft textures mingle with crunchy cookie edges, creating unexpected flavor contrasts.
Nobody can resist this playful twist on classic holiday treats.
Dive in and create a dessert that sparks pure joy at your easter table.
Easter Oreo Cookie Casserole You’ll Adore
Ingredients for Delicious Easter Oreo Casserole
For the Base:For the Creamy Layer:For the Festive Toppings:How to Prepare Easter Oreo Cookie Casserole
Step 1: Whip Up Vanilla Pudding
In a large mixing bowl, blend instant vanilla pudding mix with milk using a whisk. Allow the mixture to rest and thicken for approximately 5 minutes.
Step 2: Create Creamy Cheese Blend
Using an electric mixer, beat softened cream cheese until it reaches a smooth consistency. Gradually incorporate powdered sugar, continuing to mix until fully integrated.
Step 3: Merge Pudding and Cream Cheese
Carefully fold the cream cheese mixture into the vanilla pudding, ensuring a uniform and smooth texture throughout.
Step 4: Incorporate Whipped Delight
Gently fold thawed whipped topping into the mixture, creating a light and airy consistency.
Step 5: Build Cookie Foundation
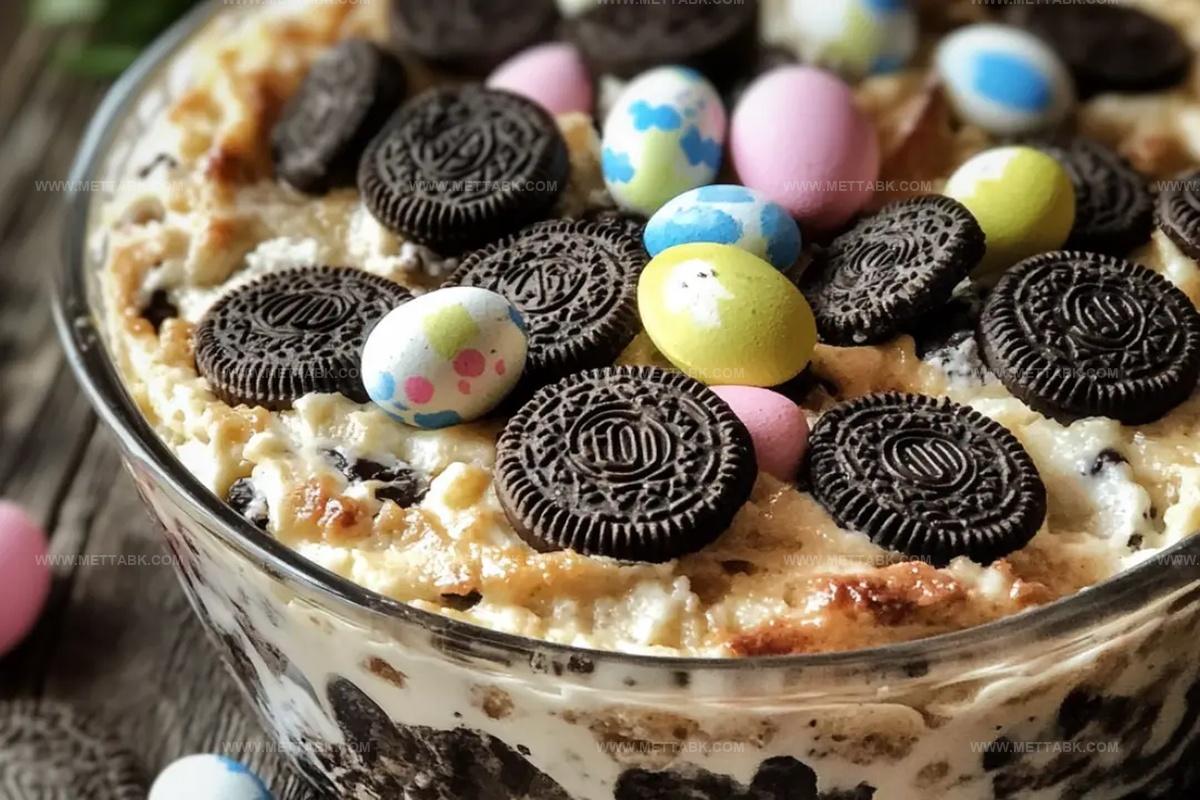
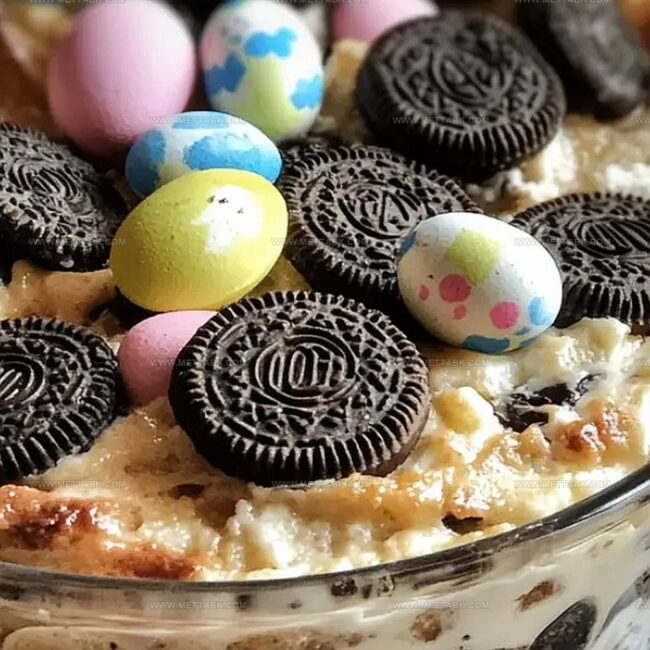
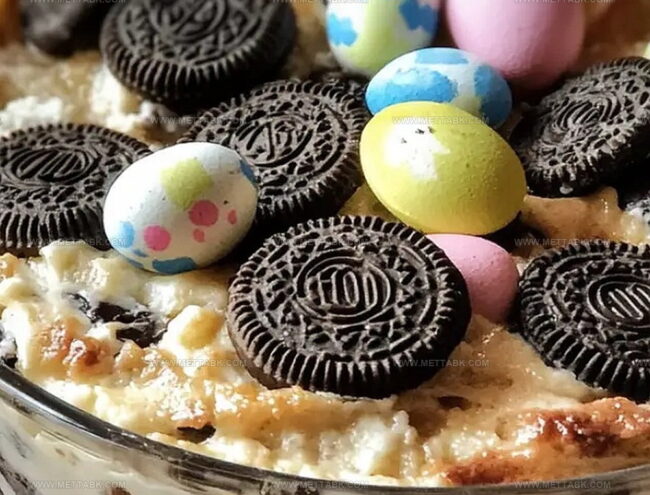
Spread a generous layer of crushed Oreo cookies across the bottom of a 9×13 inch baking dish.
Step 6: Layer Decadent Filling
Pour half of the pudding mixture over the Oreo cookie base.
Sprinkle Easter candies on top. Repeat the layering process:Step 7: Chill and Develop Flavors
Cover the casserole and refrigerate for a minimum of 4 hours, or ideally overnight, allowing flavors to meld and texture to set.
Step 8: Final Festive Touch
Before serving, optionally garnish with extra crushed Oreo cookies and Easter candies. Serve chilled and savor this delightful Easter treat!
Tips for Best Easter Oreo Casserole Results
Variations on Easter Oreo Cookie Casserole
Pairing Ideas for Easter Oreo Casserole
How to Keep Easter Oreo Casserole Fresh
Store the casserole in an airtight container in the refrigerator for up to 3-4 days. Keep it tightly covered to prevent drying out and absorbing other food odors.
Wrap the casserole securely in plastic wrap and aluminum foil. Freeze for up to 2 weeks. Thaw overnight in the refrigerator before serving.
Enjoy this dessert cold straight from the refrigerator. Avoid microwaving, as it can make the whipped topping and pudding mixture separate or become watery.
Remove from the refrigerator 10-15 minutes before serving to soften slightly and enhance the flavors. Top with fresh Easter candies for a crisp, vibrant presentation.
FAQs
The key ingredients include instant vanilla pudding mix, milk, cream cheese, powdered sugar, whipped topping, Oreo cookies, and festive Easter candies.
Yes, this dessert is perfect for making in advance. You can prepare it the night before and let it chill overnight, which actually helps the flavors blend better.
Absolutely! Kids can help crush the Oreo cookies, sprinkle candies, and mix ingredients, making it a fun family cooking activity.
The Easter Oreo Cookie Casserole will stay fresh for 3-4 days when stored in an airtight container in the refrigerator.
Print
Easter Oreo Cookie Casserole Recipe
- Total Time: 4 hours 20 minutes
- Yield: 8 1x
Description
Indulgent Easter Oreo Cookie Casserole brings creamy chocolate magic to holiday dessert tables. Sweet layers of crushed cookies and rich cream create a festive treat you’ll crave with every delightful spoonful.
Ingredients
Main Ingredients:
- 1 package (14.3 ounces / 405 grams) Oreo cookies
- 3 cups milk
- 8 ounces (226 grams) cream cheese
Dairy and Sweet Components:
- 1 package (5.1 ounces / 145 grams) instant vanilla pudding mix
- 1 cup powdered sugar
- 1 container (8 ounces / 226 grams) frozen whipped topping, thawed
Decorative Ingredients:
- Assorted Easter candies (jelly beans, Cadbury Mini Eggs, pastel M&Ms)
Instructions
- Craft the pudding base by whisking instant vanilla pudding mix with milk, allowing it to thicken for 5 minutes at room temperature.
- Prepare cream cheese mixture by beating softened cream cheese until silky smooth, then gradually incorporating powdered sugar until well integrated.
- Create a harmonious blend by gently folding the cream cheese mixture into the vanilla pudding, ensuring a uniform consistency.
- Enhance the mixture’s texture by delicately incorporating thawed whipped topping, creating a light and airy composition.
- Establish the foundation of the dessert by distributing a generous layer of crushed Oreo cookies across the bottom of a 9×13 inch baking dish.
- Construct alternating layers by spreading half the pudding mixture over the cookie base, then generously scattering Easter candies.
- Repeat the layering process with remaining Oreo cookies, pudding mixture, and festive candies, creating a visually appealing stratification.
- Refrigerate the dessert for a minimum of 4 hours, preferably overnight, allowing flavors to meld and texture to set completely.
- Final presentation involves garnishing with additional crushed Oreo cookies and Easter candies just before serving, creating a visually stunning and delectable dessert.
Notes
- Experiment with different pudding flavors like chocolate or butterscotch to create unique variations of this dessert.
- Swap regular Oreos with seasonal or themed flavors like Birthday Cake or Mint to add extra excitement and color.
- For a lighter version, use low-fat cream cheese, sugar-free pudding mix, and reduced-calorie whipped topping to cut down on calories.
- Prepare this dessert ahead of time for stress-free entertaining, as it tastes even better after chilling overnight and allows flavors to blend perfectly.
- Prep Time: 20 minutes
- Cook Time: 4 hours
- Category: Breakfast, Desserts, Snacks
- Method: Chilling
- Cuisine: American
Nutrition
- Serving Size: 8
- Calories: 360
- Sugar: 38 g
- Sodium: 210 mg
- Fat: 18 g
- Saturated Fat: 10 g
- Unsaturated Fat: 7 g
- Trans Fat: 0.5 g
- Carbohydrates: 46 g
- Fiber: 1 g
- Protein: 4 g
- Cholesterol: 35 mg
Nate Harper
Founder & Recipe Curator
Expertise
Single-Recipe Development, Farm-to-Table Cooking, Seasonal Menu Planning, Culinary Storytelling, Home Kitchen Innovation
Education
Cascade Culinary Institute – Central Oregon Community College
Certificate in Culinary Arts
Focus: Farm-to-table cuisine, sustainable cooking practices, and seasonal recipe creation.
Nate studied under experienced chefs who emphasized local sourcing, minimal waste, and building recipes from fresh, simple ingredients.
Nate Harper is the founder and creative force behind Make, Take, Bake. Raised in the wild beauty of Oregon’s high desert, Nate grew up surrounded by family gardens, farmers’ markets, and home kitchens that celebrated the seasons.
His early love for simple, honest food evolved into a professional passion when he attended Cascade Culinary Institute, where he sharpened his skills in creating recipes that are sustainable, satisfying, and made for everyday life.
Nate’s goal is to make cooking feel accessible, free of fuss, and full of flavor. He believes a single, thoughtfully built dish can stand alone, and sometimes even steal the show.