Colorful Springtime Easy Easter Fudge Recipe for Sweet Treats
Sweet chocolate lovers often discover an incredible easter fudge recipe that transforms simple ingredients into a delightful seasonal treat.
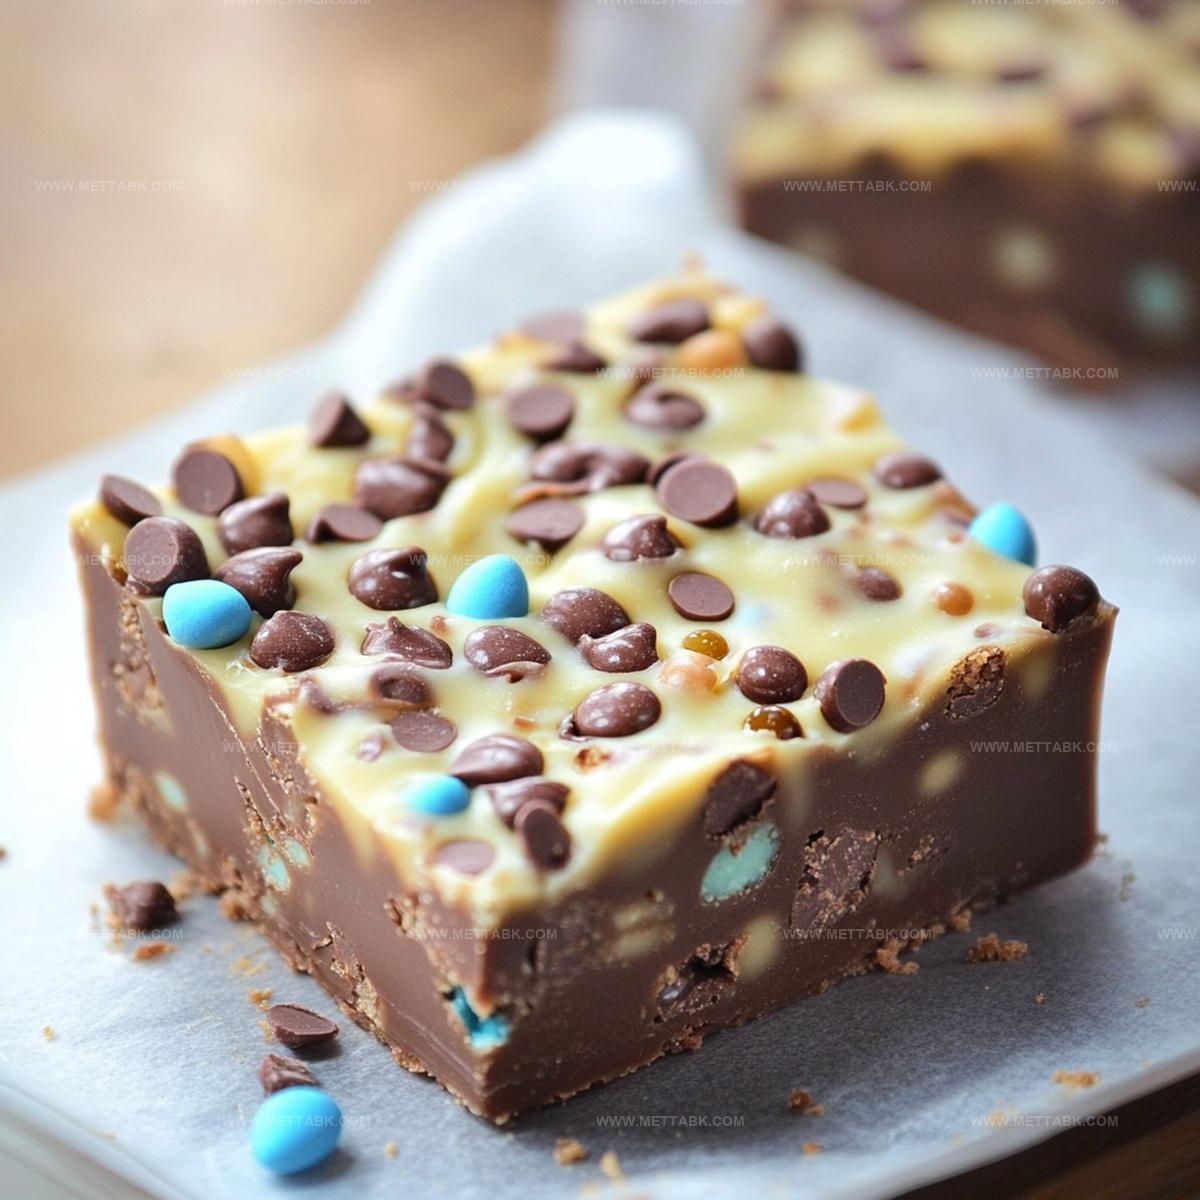
Creamy textures and smooth marshmallow hints make this dessert something special for spring celebrations.
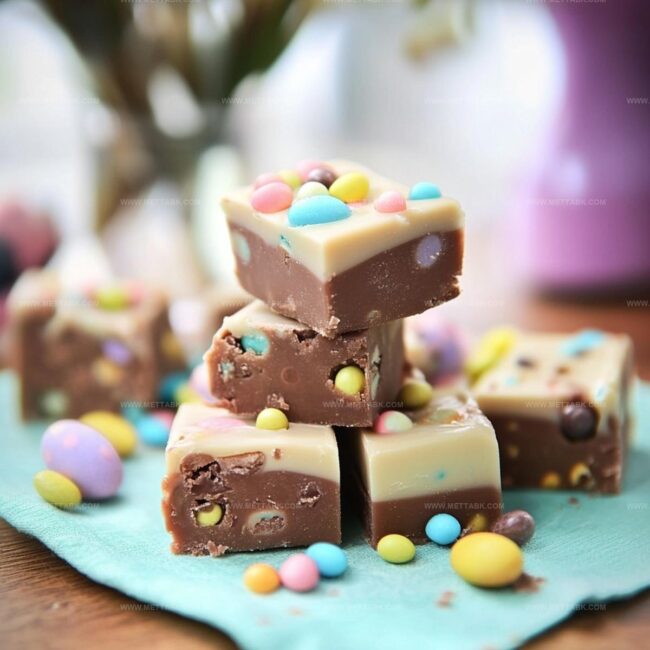
Pastel colors can brighten any gathering with minimal kitchen effort.
Minimal preparation means maximum enjoyment for home bakers seeking quick delights.
Chocolate and marshmallow combine in a simple, mouthwatering creation that feels luxurious yet easy to craft.
Delicate swirls of pastel colors make this fudge a stunning centerpiece for your holiday table.
Easter Fudge That Sweetens Any Occasion
Ingredients for Rich and Creamy Easter Fudge
Main Ingredients:Flavor Enhancers:Decorative Ingredients:Preparation Ingredient:How to Make Easter Fudge at Home

Step 1: Prepare Baking Dish
Line an 8-inch square baking dish with parchment paper, ensuring the paper hangs slightly over the edges for easy removal later. Smooth out any wrinkles to create a clean surface for your fudge.
Step 2: Melt Dairy Base
In a medium saucepan, combine sweetened condensed milk and butter over low heat. Gently stir the mixture until it becomes completely smooth and well-blended, creating a creamy foundation for your fudge.
Step 3: Incorporate Chocolate
Remove the pan from heat and add chocolate chips. Stir continuously until the chips melt completely, creating a rich and glossy chocolate mixture.
Pour in vanilla extract and mix thoroughly to enhance the flavor profile.
Step 4: Add Colorful Sprinkles
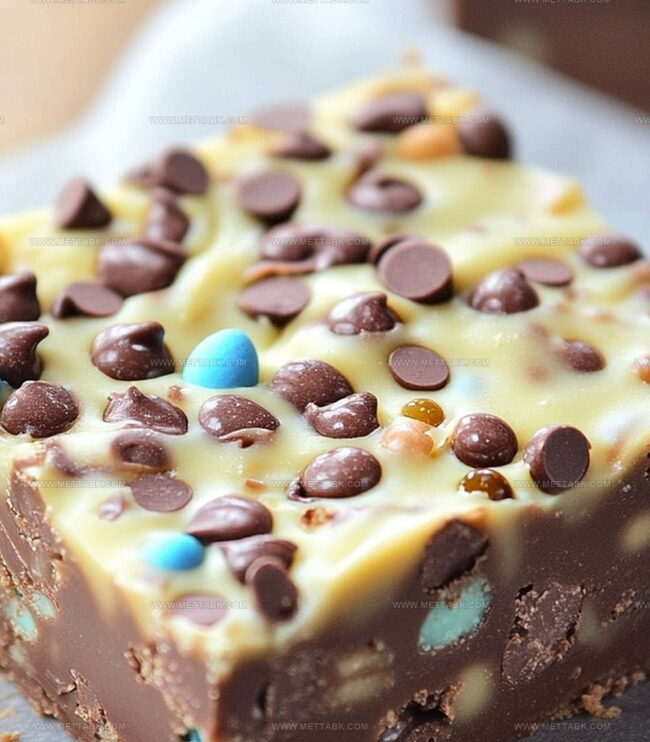
Fold half of the colorful sprinkles into the warm chocolate mixture.
The heat will slightly melt the sprinkles, creating a beautiful marbled effect throughout the fudge.
Step 5: Transfer And Decorate
Pour the fudge mixture into the prepared baking dish, spreading it evenly with a spatula.
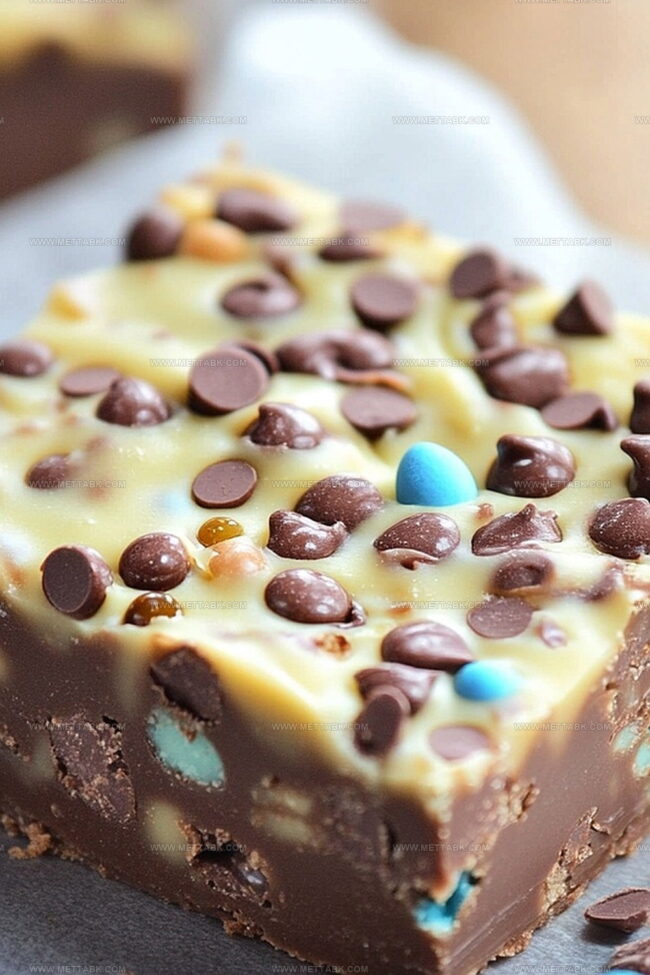
Sprinkle the remaining colorful decorations on top, creating a festive and eye-catching surface.
Step 6: Chill And Serve
Refrigerate the fudge for approximately 2 hours until it becomes firm and fully set.
Once chilled, lift the fudge out of the dish using the parchment paper edges. Slice into bite-sized squares and serve as a delightful Easter treat.
Tips to Nail Perfect Easter Fudge Every Time
Flavorful Twists on Easter Fudge
Pairings That Go Well with Easter Fudge
Storage Tips for Easter Fudge
FAQs
Sweetened condensed milk, butter, chocolate chips, vanilla extract, and colorful sprinkles are the main ingredients that create this festive treat.
Yes, you can substitute milk, dark, or white chocolate chips depending on your preference, but ensure they melt smoothly for the best texture.
When stored in an airtight container in the refrigerator, the fudge can last up to 7-10 days, maintaining its creamy consistency and delicious flavor.
Absolutely! This recipe is kid-friendly with simple steps like mixing and adding sprinkles, making it a fun Easter activity for the whole family to enjoy together.
Print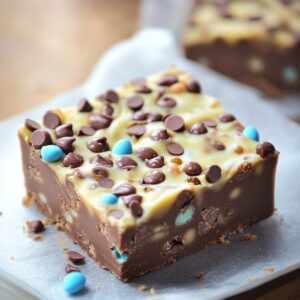
Easy Easter Fudge Recipe
- Total Time: 2 hours 15 minutes
- Yield: 16 1x
Description
Creamy Easter fudge delivers a delightful pastel-colored treat perfect for spring celebrations. Sweet marshmallow and white chocolate blend seamlessly, creating a simple dessert you’ll adore.
Ingredients
- 2 cups chocolate chips (semisweet or milk)
- 1 (14 oz/397 g) can sweetened condensed milk
- 2 tbsp unsalted butter
- 1 tsp vanilla extract
- 1/2 cup colorful sprinkles (plus extra for topping)
Instructions
- Prepare an 8-inch square baking dish by lining it completely with parchment paper, ensuring smooth coverage on all sides.
- Combine sweetened condensed milk and butter in a medium saucepan, gently heating over low temperature until completely melted and seamlessly blended.
- Immediately remove the saucepan from heat source and incorporate chocolate chips, stirring continuously until they dissolve entirely into a glossy, uniform mixture.
- Introduce vanilla extract and whisk thoroughly to distribute the flavor evenly throughout the fudge base.
- While the mixture remains warm, gently fold in approximately half of the colorful sprinkles, creating a speckled, festive appearance.
- Transfer the soft fudge mixture into the prepared parchment-lined dish, using a spatula to spread it uniformly and create an even surface.
- Delicately scatter the remaining sprinkles across the top, pressing them lightly to ensure they adhere to the fudge’s surface.
- Chill the fudge in the refrigerator for roughly 2 hours, allowing it to set completely and develop a firm, sliceable consistency.
- Once solidified, lift the fudge from the dish using the parchment paper edges as handles, then slice into neat, bite-sized squares for serving.
Notes
- Customize sprinkle colors to match different holiday themes or seasonal celebrations for a festive touch.
- For a gluten-free version, ensure all ingredients, especially sprinkles, are certified gluten-free.
- Slightly warm the baking dish before pouring fudge to prevent rapid temperature changes that might cause cracking.
- Create dairy-free alternatives by using coconut condensed milk and vegan butter substitutes for a plant-based friendly dessert.
- Prep Time: 15 minutes
- Cook Time: 2 hours
- Category: Desserts, Snacks
- Method: Simmering
- Cuisine: American
Nutrition
- Serving Size: 16
- Calories: 180
- Sugar: 20 g
- Sodium: 40 mg
- Fat: 9 g
- Saturated Fat: 5 g
- Unsaturated Fat: 3 g
- Trans Fat: 0.1 g
- Carbohydrates: 25 g
- Fiber: 1 g
- Protein: 2 g
- Cholesterol: 15 mg
Clara Bennett
Contributing Recipe Developer & Food Writer
Expertise
Baking and Pastry Development, Gluten-Free and Allergy-Friendly Recipe Creation, Culinary Storytelling and Food Journalism, Recipe Testing and Standardization, Southern Comfort Foods and Modern Twists
Education
Sullivan University – National Center for Hospitality Studies
Associate Degree in Culinary Arts
Focus: Baking and Pastry Arts, Recipe Testing, and Culinary Journalism.
Clara specialized in crafting desserts that blend classic Southern comfort with modern techniques, while developing strong writing skills to tell the story behind every dish.
Lane Community College (Certificate Program)
Certificate in Food Writing and Photography
Focus: Culinary storytelling, recipe formatting, food styling, and visual presentation.
Clara’s love of baking started young, powered by homemade pies, biscuits, and stories passed around the family table.
After earning her degree at Sullivan University and a food writing certificate at Lane Community College, she turned her passion into a craft: sharing recipes that are simple, soulful, and always full of heart.
She’s big on bold flavors, flexible ideas, and creating sweets that fit any table (yes, even if you’re gluten-free). When she’s not baking, you’ll find her wandering farmers’ markets, styling food for the next photo shoot, or working on her ever-growing recipe journal.