
Heavenly Garlic Parmesan Cheeseburger Bombs Recipe For Dinner
Crafting the ultimate garlic parmesan cheeseburger bombs delivers an explosion of flavor that will make your taste buds dance with excitement.
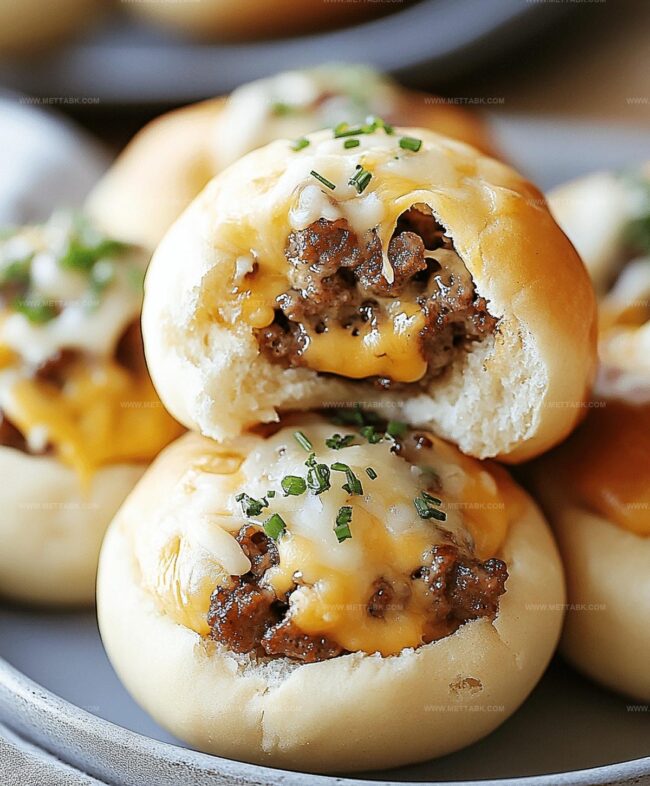
Melted cheese oozes from these delectable pockets of meaty goodness.
Ground beef gets a gourmet makeover with fragrant garlic and rich parmesan.
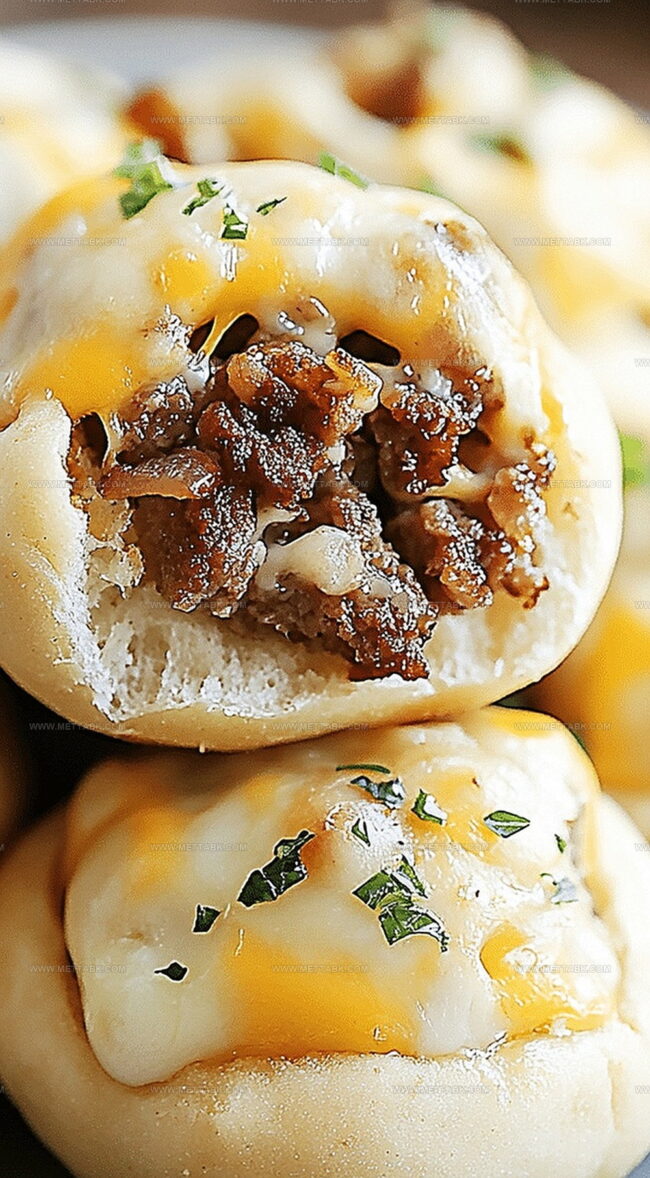
Each bite promises a crispy exterior giving way to a molten center bursting with savory ingredients.
You’ll want to serve these at every gathering, watching friends devour them with pure delight.
Crisp, golden, and irresistibly delicious, these bombs are about to become your new go-to comfort food.
Grab an apron and let’s create some seriously epic party food that everyone will be talking about.
Garlic Parmesan Cheeseburger Bombs You’ll Love to Share
Ingredients to Make Cheeseburger Bombs
Main Ingredients:Seasoning Blend:Topping Ingredients:Garnish:Cooking Cheeseburger Bombs Without Fuss

Step 1: Warm Up The Oven
Crank the oven to a toasty 375F (190C) and get ready for some delicious magic.
Step 2: Sizzle The Beef
In a skillet, brown the ground beef over medium heat.
Sprinkle in:Cook until the meat is perfectly done, then let it cool down for a few moments.
Step 3: Create Cheesy Pockets
Take each biscuit dough and gently flatten it out.
Place a slice of cheese in the center, then add a generous scoop of the cooked beef.
Step 4: Wrap And Seal
Carefully fold the edges of the dough around the filling, making sure to seal it completely so no delicious goodness escapes.
Step 5: Arrange On Baking Sheet
Place the sealed dough balls seam-side down on a parchment-lined baking sheet.
They should look like little flavor bombs waiting to explode with deliciousness.
Step 6: Prepare Flavor Boost
In a small bowl, mix together:Generously brush this mouthwatering mixture over the tops of the dough balls.
Step 7: Bake To Golden Perfection
Pop the baking sheet into the oven and bake for 12-15 minutes.
Watch for that beautiful golden-brown color that signals they’re ready to devour.
Step 8: Garnish And Serve
Sprinkle some fresh parsley on top for a pop of color and freshness.
Serve these cheesy beef bombs while they’re warm and watch everyone’s eyes light up with excitement.
Cheeseburger Bombs Done Right Every Time
Twist the Flavor of Cheeseburger Bombs

What Matches Well with Cheeseburger Bombs
Best Way to Keep Cheeseburger Bombs Fresh
FAQs
Ground beef, biscuit dough, cheese slices, garlic powder, onion powder, salt, pepper, butter, minced garlic, and Parmesan cheese are the key ingredients for making these cheeseburger bombs.
Yes, you can substitute ground beef with ground turkey, chicken, or pork depending on your preference and dietary needs.
Make sure to seal the edges of the biscuit dough completely by pinching and folding them tightly around the cheese and beef to create a secure pocket.
Absolutely! These cheeseburger bombs are perfect for kids because they’re easy to eat, packed with flavor, and have a fun, handheld format that children typically enjoy.
Print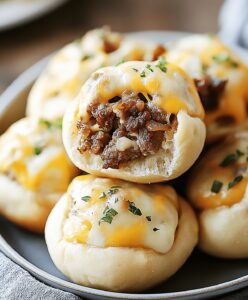
Garlic Parmesan Cheeseburger Bombs Recipe
- Total Time: 35 minutes
- Yield: 8 1x
Description
Mouthwatering garlic parmesan cheeseburger bombs combine classic burger flavors with irresistible cheesy goodness. Hearty meat, melted cheese, and crispy garlic-herb coating create an explosive appetizer perfect for game day or casual gatherings.
Ingredients
Main Protein:
- 1 pound (454 grams) ground beef
Spices and Seasonings:
- 1 teaspoon garlic powder
- 1 teaspoon onion powder
- Salt to taste
- Pepper to taste
Cheese and Dairy:
- 8 slices cheddar cheese
- 2 tablespoons butter, melted
- 2 tablespoons grated Parmesan cheese
Dough and Herbs:
- 1 can refrigerated biscuit dough
- 2 cloves garlic, minced
- Fresh parsley for garnish
Instructions
- Warm the oven to 375F, creating an ideal environment for golden, crispy bites.
- In a skillet, transform ground beef into a flavorful base with aromatic seasonings, cooking until perfectly browned and then allowing it to cool slightly.
- Create delectable parcels by gently pressing each biscuit dough flat, strategically positioning a cheese slice in its center.
- Carefully cradle the cheese and beef within the dough, meticulously folding and pinching edges to create secure, enclosed pockets.
- Arrange the sealed dough bundles seam-side down on a parchment-lined baking sheet, ensuring even spacing.
- Craft a luxurious topping by whisking melted butter with fragrant minced garlic and nutty Parmesan cheese.
- Lavishly brush the herb-infused butter mixture across the surface of each dough ball, promising a rich, golden exterior.
- Slide the baking sheet into the preheated oven, allowing 12-15 minutes for transformation into crisp, bronzed parcels.
- Sprinkle freshly chopped parsley over the hot cheeseburger bombs, adding a final touch of vibrant color and fresh flavor.
Notes
- Customize meat options by swapping ground beef with ground turkey, chicken, or plant-based alternatives for dietary preferences.
- Ensure meat is fully cooled before stuffing to prevent dough from becoming soggy and maintain structural integrity.
- Create uniform sizes by using a cookie scoop or measuring spoon when portioning beef and sealing dough for consistent cooking.
- Prevent burning by monitoring biscuits closely during final minutes of baking, as oven temperatures can vary slightly.
- Prep Time: 20 minutes
- Cook Time: 15 minutes
- Category: Lunch, Dinner, Snacks
- Method: Baking
- Cuisine: American
Nutrition
- Serving Size: 8
- Calories: 410 kcal
- Sugar: 1 g
- Sodium: 630 mg
- Fat: 29 g
- Saturated Fat: 13 g
- Unsaturated Fat: 14 g
- Trans Fat: 1 g
- Carbohydrates: 17 g
- Fiber: 1 g
- Protein: 22 g
- Cholesterol: 80 mg
Clara Bennett
Contributing Recipe Developer & Food Writer
Expertise
Baking and Pastry Development, Gluten-Free and Allergy-Friendly Recipe Creation, Culinary Storytelling and Food Journalism, Recipe Testing and Standardization, Southern Comfort Foods and Modern Twists
Education
Sullivan University – National Center for Hospitality Studies
Associate Degree in Culinary Arts
Focus: Baking and Pastry Arts, Recipe Testing, and Culinary Journalism.
Clara specialized in crafting desserts that blend classic Southern comfort with modern techniques, while developing strong writing skills to tell the story behind every dish.
Lane Community College (Certificate Program)
Certificate in Food Writing and Photography
Focus: Culinary storytelling, recipe formatting, food styling, and visual presentation.
Clara’s love of baking started young, powered by homemade pies, biscuits, and stories passed around the family table.
After earning her degree at Sullivan University and a food writing certificate at Lane Community College, she turned her passion into a craft: sharing recipes that are simple, soulful, and always full of heart.
She’s big on bold flavors, flexible ideas, and creating sweets that fit any table (yes, even if you’re gluten-free). When she’s not baking, you’ll find her wandering farmers’ markets, styling food for the next photo shoot, or working on her ever-growing recipe journal.