
The Best Gingerbread Cookie Bars Recipe for Cozy Baking Fun
Sweet memories of childhood winters always flood back when I think about gingerbread cookie bars that remind me of cozy afternoons.
Grandma’s kitchen would smell incredible with warm spices wafting through the air.
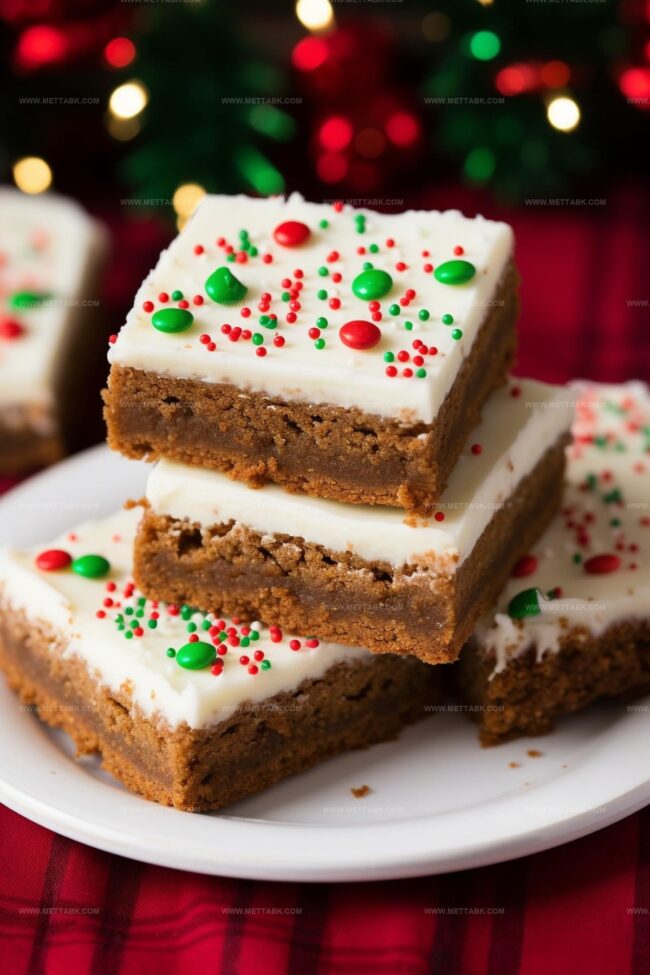
Soft and chewy textures promise a delightful treat for anyone who loves classic holiday flavors.
Molasses and cinnamon blend perfectly to create a nostalgic dessert that feels like a warm hug.
Dark brown sugar adds depth and richness to these irresistible bars that melt in your mouth.
Baking these treats connects you to generations of family traditions and festive moments.
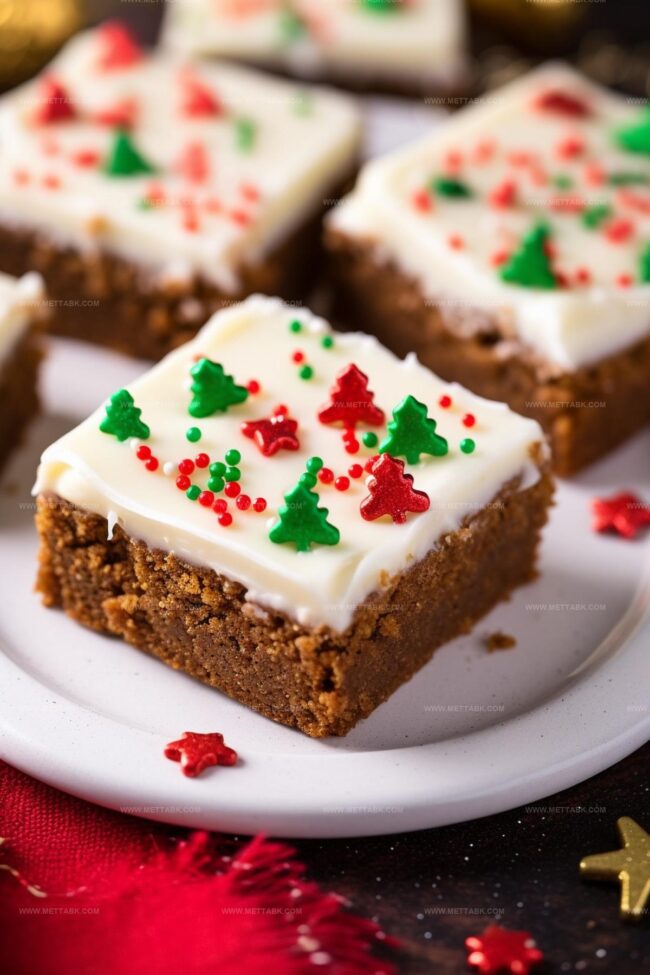
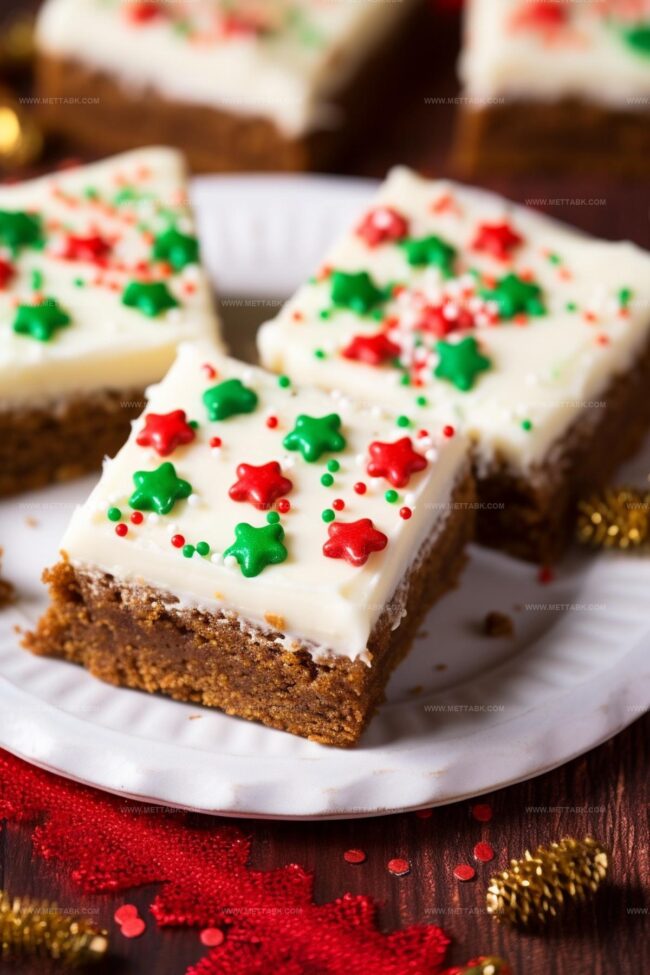
Delightful Gingerbread Cookie Bars
Ingredients for Gingerbread Cookie Bars
Instructions for Baking Gingerbread Cookie Bars
Step 1: Prepare Baking Space
Slide the oven rack to the middle position. Warm the oven to 350°F.
Grab a 9×13-inch pan and coat it thoroughly with non-stick cooking spray.
Step 2: Mix Dry Ingredients
Grab a large bowl and toss in:Whisk these ingredients until they’re perfectly blended and looking cozy together.
Step 3: Create Butter Mixture
In another spacious bowl, combine:Blend these ingredients on medium speed until the mixture looks fluffy and light, about 2-3 minutes.
Step 4: Combine Wet and Dry Ingredients
Drop in the egg and mix thoroughly.
Slowly add the dry ingredients, starting on low speed and then ramping up to medium. Mix until everything looks harmonious, roughly 1 minute.
Step 5: Bake the Bars
Spread the dough evenly in the prepared pan. Slide into the oven and bake for 15-20 minutes.
Look for a darker color and a toothpick with just a few moist crumbs. Let the bars cool completely on a wire rack.
Step 6: Craft Cream Cheese Frosting
In a mixing bowl, blend:Whip on medium speed until light and fluffy, about 2-3 minutes.
Step 7: Perfect the Frosting
Gently add:Start mixing on low speed, then increase to medium-high.
Whip until the frosting looks smooth and creamy, around 1-2 minutes.
Step 8: Finish and Serve
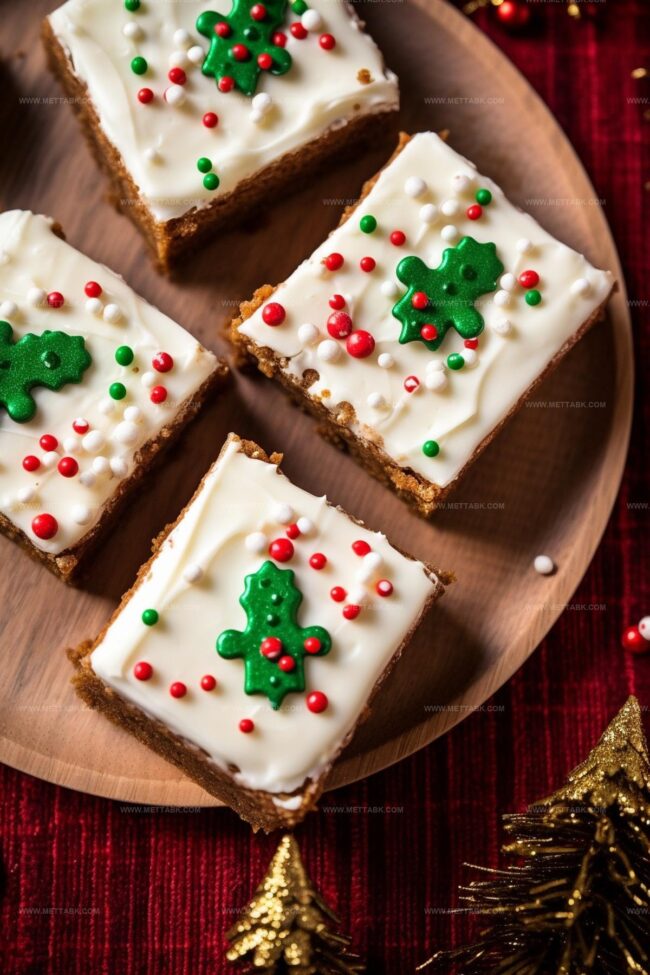
Once the bars are completely cool, spread the frosting generously across the top.
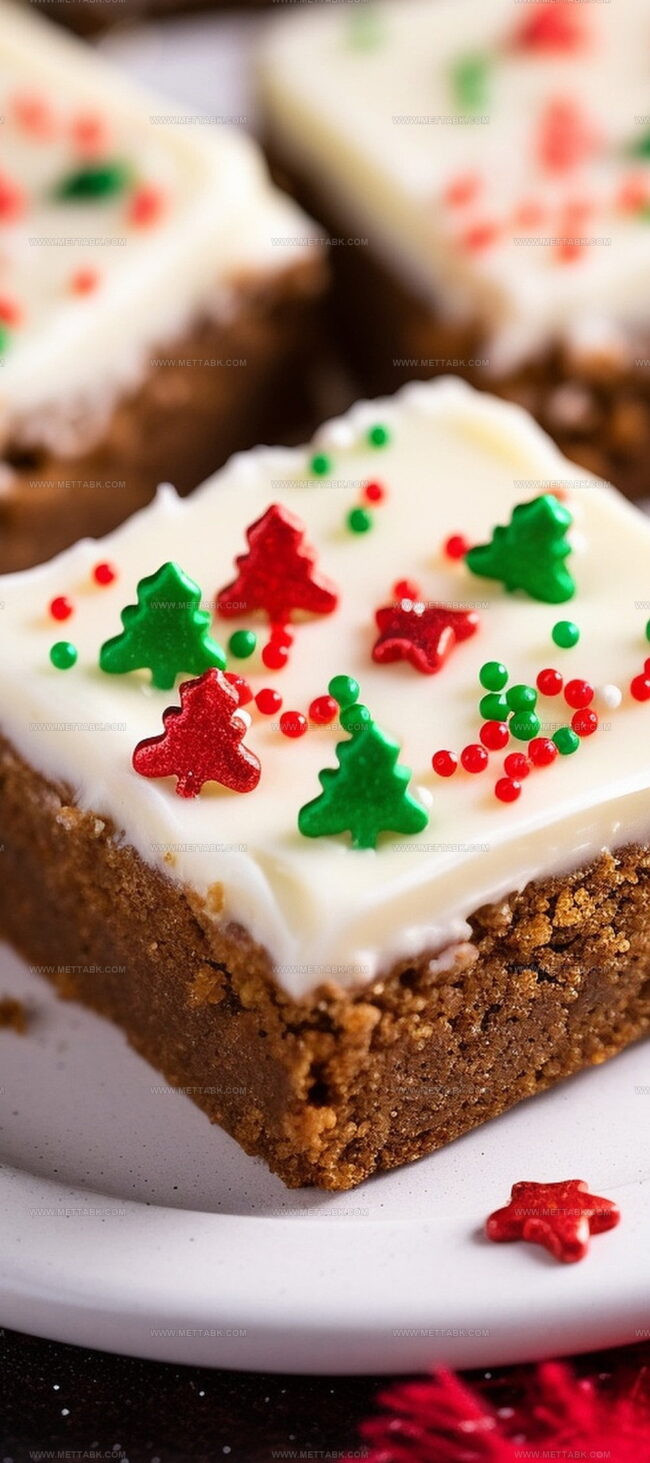
Sprinkle with holiday decorations if you’re feeling extra festive. Slice into bars and watch them disappear!
Pro Tips for Perfect Gingerbread Cookie Bars
Variations to Try with Gingerbread Cookie Bars
Pairing Suggestions with Gingerbread Cookie Bars
Storing Advice for Gingerbread Cookie Bars
FAQs

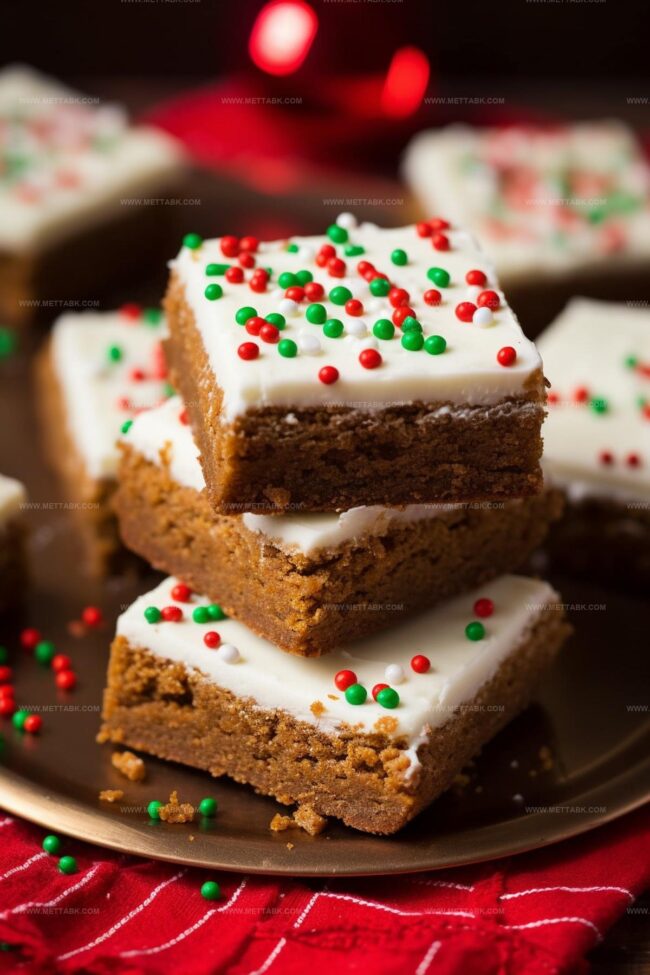
These bars offer a softer, more cake-like texture compared to crisp gingerbread cookies. They’re easier to make and provide a more uniform dessert that’s simple to cut and serve.
Absolutely! You can use a hand mixer or even mix by hand with a whisk and wooden spoon. The key is to ensure ingredients are well combined and the mixture is smooth.
Look for slightly darker edges and a toothpick with a few moist crumbs when inserted into the center. Avoid overbaking, as this can make the bars dry and tough.
Print
Gingerbread Cookie Bars Recipe
- Total Time: 40 minutes
- Yield: 16 1x
Description
Delightful gingerbread cookie bars blend warm spices with sweet nostalgia. Molasses and brown sugar create rich layers of comforting holiday cheer you’ll savor with each delicious bite.
Ingredients
- 2 cups all-purpose flour
- 1 large egg
- 3/4 cup granulated sugar
- 1/4 cup dark brown sugar (firmly packed)
- 1/2 cup unsalted butter (melted)
- 1/3 cup molasses
- 1 tbsp ground cinnamon
- 2 tsps baking soda
- 1/2 tsp salt
- 1/2 tsp pure vanilla extract
- 1/2 tsp ground ginger
- 1/4 tsp ground nutmeg
- 1/4 tsp ground cloves
- 6 oz cream cheese (softened)
- 3 tbsps unsalted butter (softened)
- 2 1/4 cups powdered sugar
- 3/4 tsp vanilla extract
- Holiday sprinkles (optional)
Instructions
- Prepare your workspace by positioning the oven rack in the middle and heating to 350°F. Coat a 9×13-inch pan with non-stick spray, ensuring complete coverage.
- Sift together flour, baking soda, and all spices (cinnamon, ginger, nutmeg, cloves) with salt in a large mixing bowl. Thoroughly combine dry ingredients and set aside.
- In a separate bowl, blend melted butter with granulated and dark brown sugars, molasses, and vanilla. Whip the mixture until it becomes light and airy, approximately 2-3 minutes.
- Gently fold the egg into the sugar mixture until fully integrated. Slowly incorporate dry ingredients, mixing on low speed, then increase to medium to create a uniform dough.
- Spread the dough evenly into the prepared pan, ensuring smooth distribution. Bake for 15-20 minutes until edges darken and a toothpick reveals moist crumbs when inserted. Remove from oven and cool completely on a wire rack.
- Whip softened cream cheese and butter together until the mixture becomes fluffy and pale, about 2-3 minutes.
- Gradually introduce powdered sugar and vanilla to the cream cheese blend. Start mixing on low speed, then increase to medium-high until the frosting reaches a silky, smooth consistency.
- Once bars have cooled completely, generously spread cream cheese frosting across the surface. Optional: Garnish with festive sprinkles. Cut into individual bars and serve.
Notes
- Ensure butter is fully melted but not hot when mixing to prevent curdling of other ingredients.
- Use fresh spices for maximum flavor intensity, checking expiration dates before measuring.
- Avoid overmixing the dough to keep bars tender and prevent tough texture.
- Line the pan with parchment paper for easier removal and cleaner cutting of bars.
- Room temperature egg helps create smoother batter and more consistent mixing.
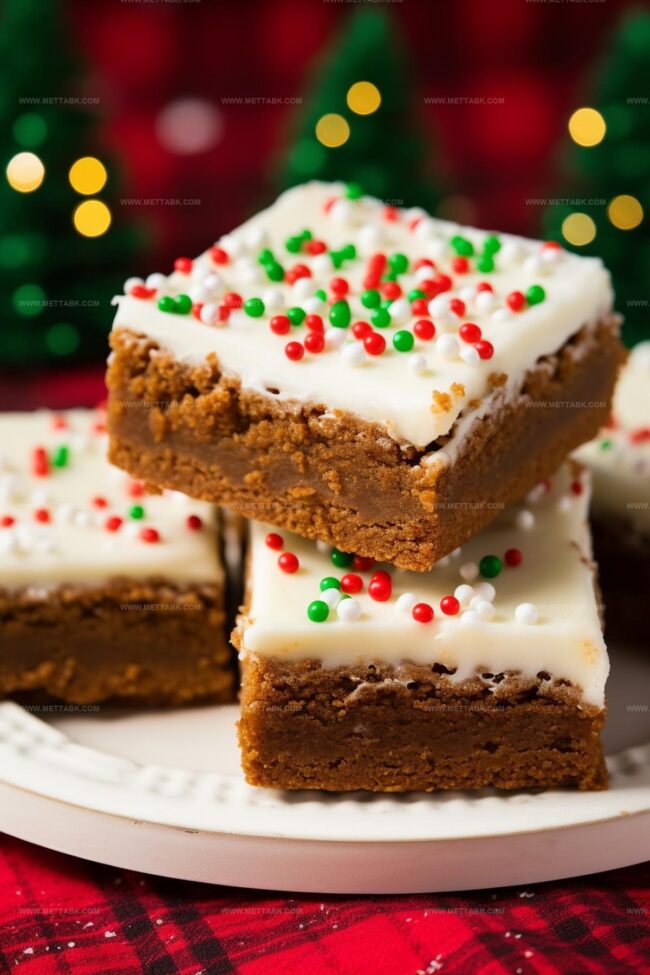
- Slightly underbake for softer, chewier bars – toothpick should have a few moist crumbs.
- Cool bars completely before frosting to prevent melting and sliding of cream cheese topping.
- Swap molasses with honey for lighter flavor or maple syrup for different sweetness profile.
- Use gluten-free flour blend for celiac-friendly version without compromising texture.
- Prep Time: 20 minutes
- Cook Time: 20 minutes
- Category: Desserts, Snacks
- Method: Baking
- Cuisine: American
Nutrition
- Serving Size: 16
- Calories: 229 kcal
- Sugar: 22 g
- Sodium: 164 mg
- Fat: 11 g
- Saturated Fat: 6 g
- Unsaturated Fat: 4 g
- Trans Fat: 0.1 g
- Carbohydrates: 32 g
- Fiber: 1 g
- Protein: 2 g
- Cholesterol: 27 mg
Clara Bennett
Contributing Recipe Developer & Food Writer
Expertise
Baking and Pastry Development, Gluten-Free and Allergy-Friendly Recipe Creation, Culinary Storytelling and Food Journalism, Recipe Testing and Standardization, Southern Comfort Foods and Modern Twists
Education
Sullivan University – National Center for Hospitality Studies
Associate Degree in Culinary Arts
Focus: Baking and Pastry Arts, Recipe Testing, and Culinary Journalism.
Clara specialized in crafting desserts that blend classic Southern comfort with modern techniques, while developing strong writing skills to tell the story behind every dish.
Lane Community College (Certificate Program)
Certificate in Food Writing and Photography
Focus: Culinary storytelling, recipe formatting, food styling, and visual presentation.
Clara’s love of baking started young, powered by homemade pies, biscuits, and stories passed around the family table.
After earning her degree at Sullivan University and a food writing certificate at Lane Community College, she turned her passion into a craft: sharing recipes that are simple, soulful, and always full of heart.
She’s big on bold flavors, flexible ideas, and creating sweets that fit any table (yes, even if you’re gluten-free). When she’s not baking, you’ll find her wandering farmers’ markets, styling food for the next photo shoot, or working on her ever-growing recipe journal.