
The Jolliest Grinch Fudge Recipe for Holiday Sweet Tooths
Sweet memories of holiday cheer collide with classic grinch fudge in this delightful seasonal treat.
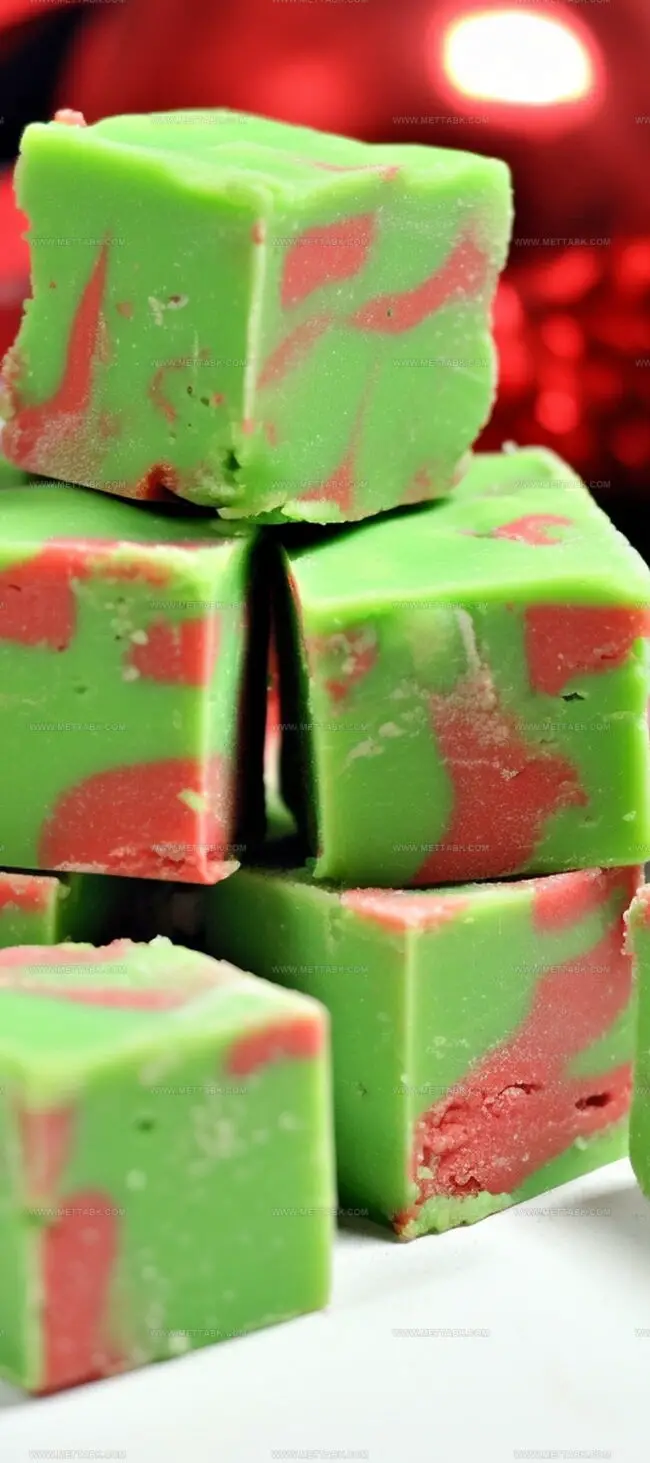
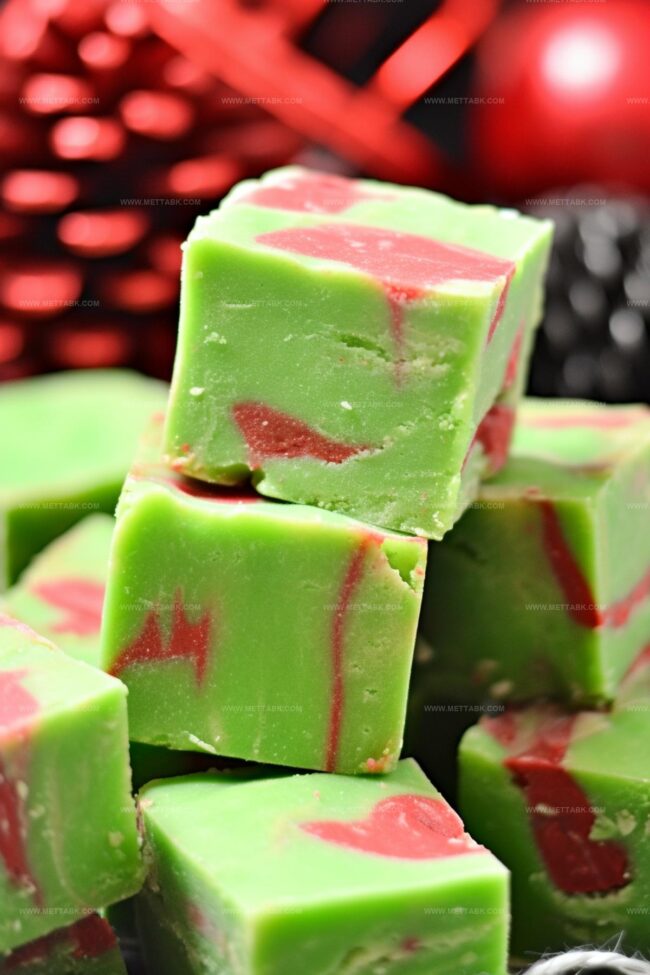
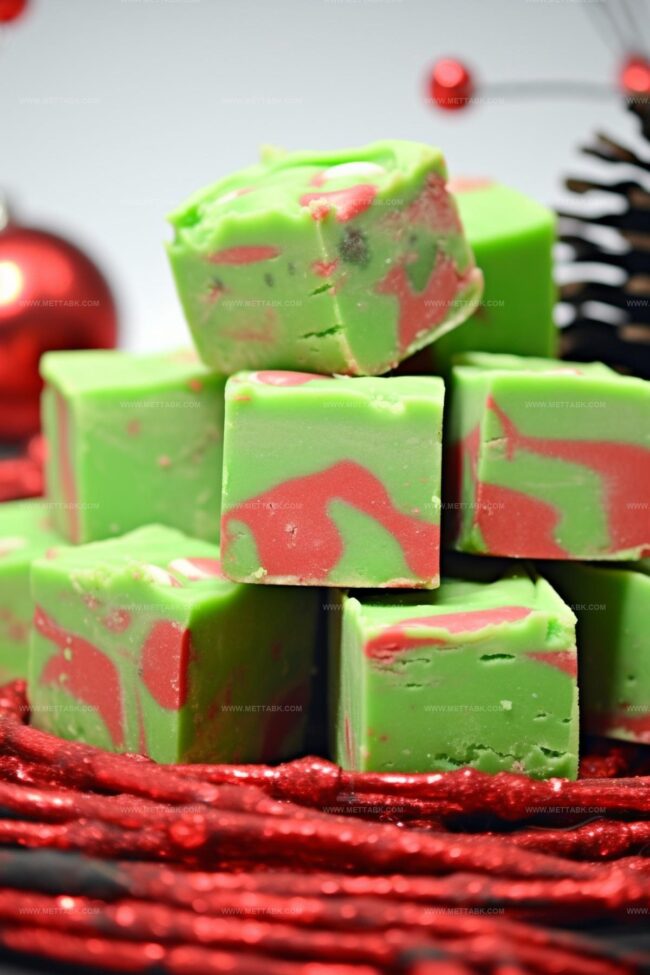
Green swirls of delectable goodness promise a whimsical dessert adventure.
Chocolate lovers will adore this playful twist on traditional fudge.
Soft, creamy textures melt perfectly on your tongue with each bite.
Minimal ingredients create maximum excitement for winter celebrations.
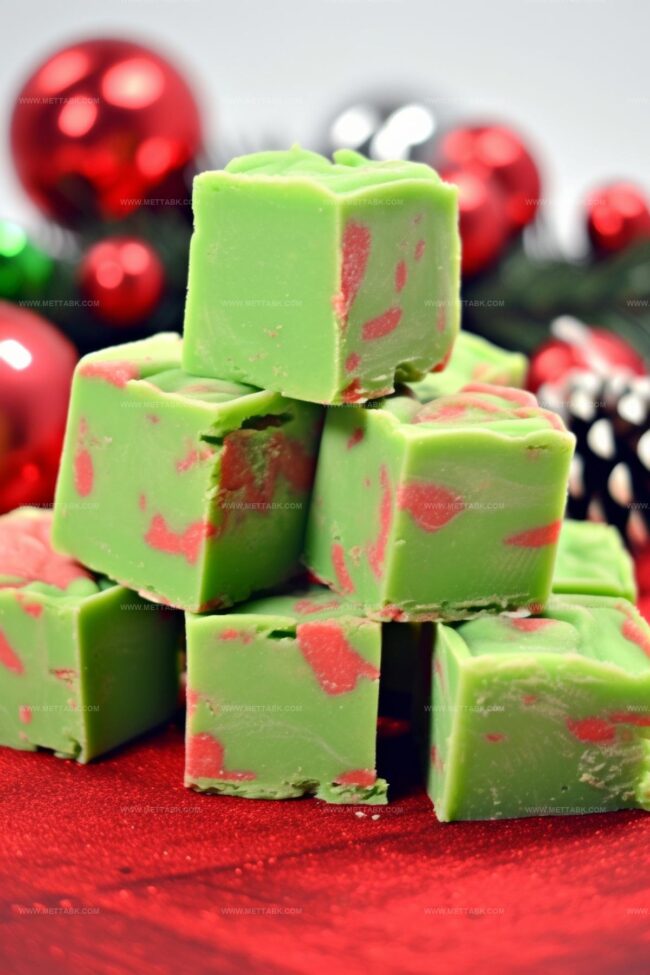
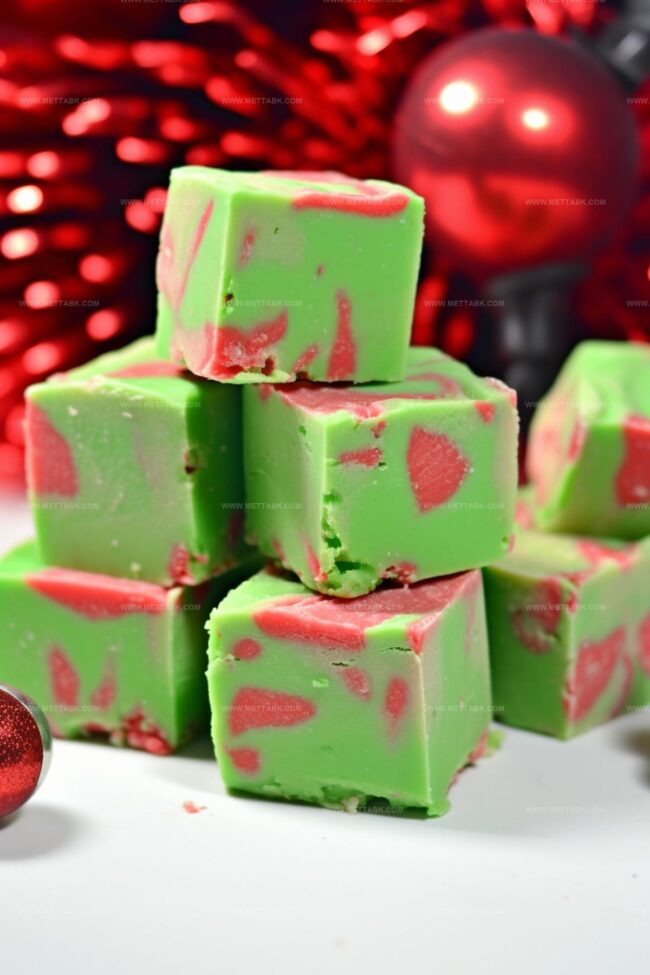
Vibrant colors and rich flavors make this dessert a festive showstopper.
Whip up this magical recipe and watch smiles spread faster than frosting on a cookie.
Grinch Fudge That’s Delightfully Sweet

Ingredients to Craft Grinch Fudge
Main Ingredients:
White Chocolate: A creamy, sweet base that provides the rich and smooth texture of the fudge.
Sweetened Condensed Milk: A thick, sugary milk that helps bind the fudge and create a rich, smooth consistency.
Flavor Enhancers:Coloring and Preparation Ingredients:How to Make Grinch Fudge
Step 1: Prepare Baking Canvas
Line an 8-inch square pan with parchment paper. Spritz the paper with cooking spray to help the fudge slide out effortlessly when it’s ready.
Step 2: Melt Chocolate Magic
Grab two small saucepans. In each pan, combine:Warm over low-medium heat, stirring gently.
Step 3: Infuse Flavor Excitement
Pour peppermint extract into each chocolate mixture. Stir until the extract blends completely, creating a smooth and fragrant base.
Step 4: Create Colorful Layers
Divide the melted chocolate into two portions:Adjust color intensity to match your Grinch-inspired vision.
Step 5: Build the Festive Foundation
Pour the green fudge into the prepared pan.
Sprinkle cinnamon red hot candies across the surface for a playful touch.
Step 6: Layer the Vibrant Topping
Carefully spoon the red fudge over the green layer.
Aim for an even distribution that looks as magical as it tastes.
Step 7: Swirl with Artistic Flair
Take a knife and create mesmerizing swirls, blending the red and green together.
Let your creativity flow!
Step 8: Allow Fudge to Set
Let the fudge rest at room temperature.
Give it plenty of time to firm up – overnight works best.
Step 9: Slice and Serve
Cut the fudge into bite-sized squares.
Each piece is a delightful reminder of holiday cheer.
Tips to Perfect Grinch Fudge Texture
Flavor Variations for Grinch Fudge
Pairing Suggestions for Grinch Fudge
Storing Grinch Fudge Correctly
FAQs

Regular food coloring may not provide the same vibrant color intensity as gel food coloring. Gel food coloring is more concentrated and gives a richer, more saturated color without adding extra liquid to the fudge mixture.
Continuous stirring and using low-medium heat are key to preventing graininess. Make sure to stir constantly and avoid overheating the chocolate, which can cause sugar crystals to form and create a grainy texture.
While peppermint extract adds a festive flavor, you can substitute it with vanilla extract for a more neutral taste. However, the signature holiday flavor will be less pronounced.
Print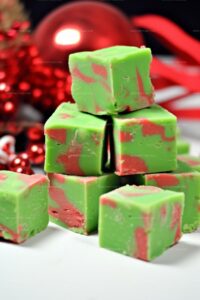
Grinch Fudge Recipe
- Total Time: 25 minutes
- Yield: 16 1x
Description
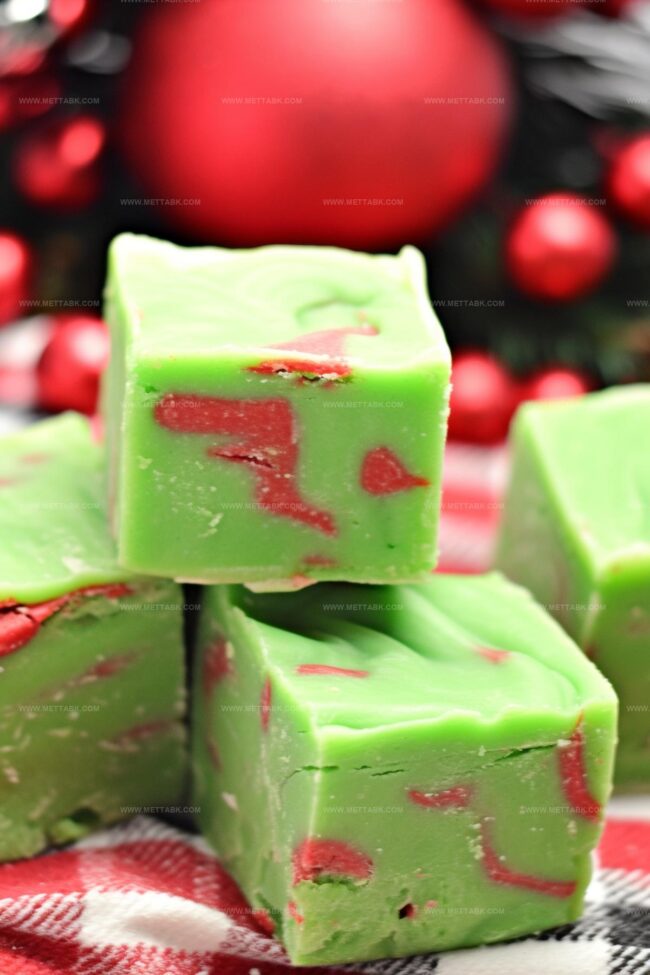
Festive Grinch fudge brings holiday cheer with its green-tinted white chocolate base and cheerful red heart sprinkles. Whimsical colors and sweet flavors make this dessert a playful tribute to Dr. Seuss’s beloved character.
Ingredients
- 2 cans sweetened condensed milk
- 4 cups (680 g) white chocolate chips
- 2 tsp peppermint extract
- 1/4 cup (40 g) cinnamon red hot candies
- 1–3 drops green gel food coloring
- 1–4 drops red gel food coloring
Instructions
- Prepare an 8-inch square dish by lining with parchment paper and lightly spraying with non-stick cooking spray to facilitate easy fudge removal.
- Set up two small pots on low-medium heat, dividing white chocolate chips and sweetened condensed milk equally between them.
- Stir chocolate mixtures continuously, ensuring a smooth texture without any lumps, maintaining consistent heat around 110°F.
- Add peppermint extract to both pots, thoroughly incorporating the flavoring into each chocolate base.
- Create distinct color variations by adding green gel food coloring to one pot and red gel food coloring to the other, adjusting drops to achieve desired color intensity.
- Pour the green-tinted fudge mixture into the prepared dish, evenly distributing cinnamon red hot candies across the surface.
- Carefully layer the red-tinted fudge over the green mixture, ensuring gentle and even coverage.
- Generate a marbled effect by delicately swirling the red and green layers using a knife, creating an artistic pattern without overmixing.
- Allow fudge to set at room temperature, preferably for 4-6 hours or overnight, until completely firm and solid.
- Once set, slice the fudge into precise 1-inch squares, revealing the festive swirled pattern underneath.
Notes
- Customize the color intensity by gradually adding food gel drops, letting personal preference guide the vibrant Grinch-themed hues.
- Prevent chocolate burning by using a double boiler or carefully monitoring low heat while stirring consistently to maintain smooth texture.
- Enhance flavor complexity by experimenting with additional extracts like vanilla or replacing peppermint with almond extract for unique taste variations.
- Create dietary-friendly versions by substituting white chocolate chips with dairy-free alternatives and using condensed coconut milk for vegan compatibility.
- Prep Time: 20 minutes
- Cook Time: 5 minutes
- Category: Desserts, Snacks
- Method: Melting
- Cuisine: American
Nutrition
- Serving Size: 16
- Calories: 283
- Sugar: 32 g
- Sodium: 20 mg
- Fat: 15 g
- Saturated Fat: 9 g
- Unsaturated Fat: 6 g
- Trans Fat: 0.2 g
- Carbohydrates: 33 g
- Fiber: 0.2 g
- Protein: 1.5 g
- Cholesterol: 8 mg
Clara Bennett
Contributing Recipe Developer & Food Writer
Expertise
Baking and Pastry Development, Gluten-Free and Allergy-Friendly Recipe Creation, Culinary Storytelling and Food Journalism, Recipe Testing and Standardization, Southern Comfort Foods and Modern Twists
Education
Sullivan University – National Center for Hospitality Studies
Associate Degree in Culinary Arts
Focus: Baking and Pastry Arts, Recipe Testing, and Culinary Journalism.
Clara specialized in crafting desserts that blend classic Southern comfort with modern techniques, while developing strong writing skills to tell the story behind every dish.
Lane Community College (Certificate Program)
Certificate in Food Writing and Photography
Focus: Culinary storytelling, recipe formatting, food styling, and visual presentation.
Clara’s love of baking started young, powered by homemade pies, biscuits, and stories passed around the family table.
After earning her degree at Sullivan University and a food writing certificate at Lane Community College, she turned her passion into a craft: sharing recipes that are simple, soulful, and always full of heart.
She’s big on bold flavors, flexible ideas, and creating sweets that fit any table (yes, even if you’re gluten-free). When she’s not baking, you’ll find her wandering farmers’ markets, styling food for the next photo shoot, or working on her ever-growing recipe journal.