
The Perfect Strawberry Cheesecake Bliss Recipe For Sweet Cravings
Creamy strawberry cheesecake bliss whispers sweet promises of decadent dessert magic.
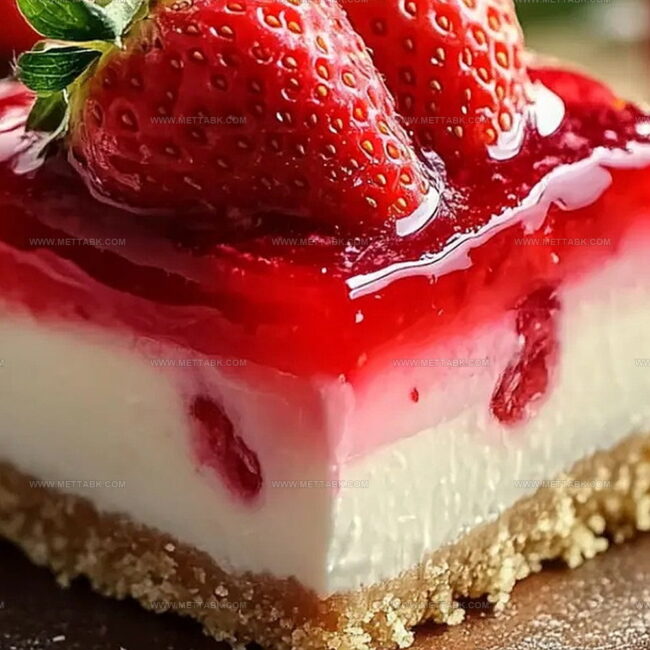
Silky textures dance across delicate graham cracker crusts.
Summer berries peek through smooth cream cheese landscapes.
Seasonal fruits bring vibrant color and tangy brightness to each delightful slice.
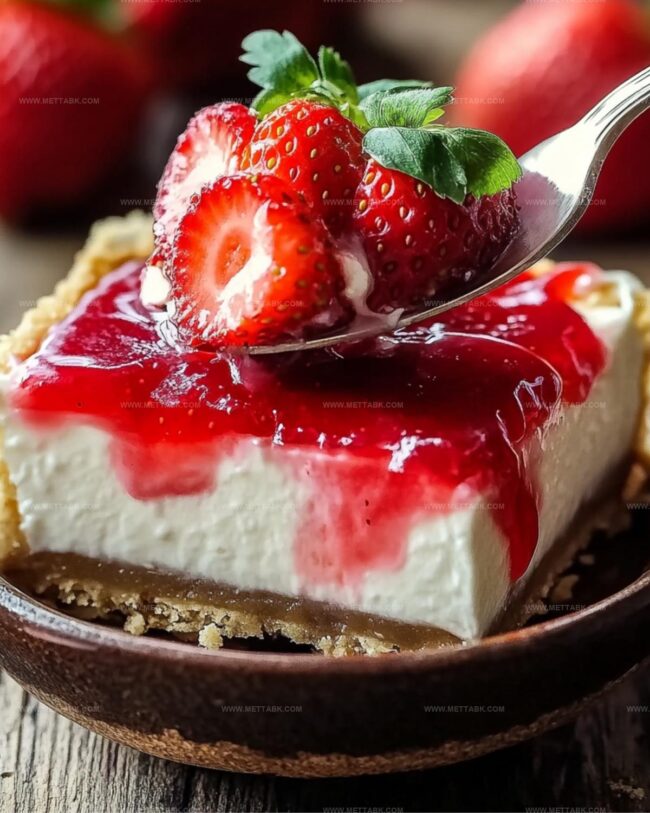
Delicate swirls of strawberry compote create dreamy patterns against pristine white surfaces.
Chilled and elegant, this dessert promises pure indulgence for anyone seeking a moment of pure culinary joy.
Heavenly Strawberry Cheesecake to Savor
Ingredients for Heavenly Strawberry Cheesecake Delight
For the Base:For the Creamy Layer:For the Finishing Touch:How to Bake Heavenly Strawberry Cheesecake
Step 1: Warm Up the Oven
Preheat the oven to 350 degrees Fahrenheit. Grab a 9×13-inch baking dish and coat it thoroughly with cooking spray or butter to prevent sticking.
Step 2: Create Fruity Foundation
Open the strawberry pie filling and spread it in an even, luscious layer across the bottom of the prepared baking dish. In a separate mixing bowl, blend the cream cheese until it becomes silky smooth.
Gradually incorporate sugar and vanilla extract, whisking until the mixture is completely uniform and creamy.
Step 3: Craft Delicious Layers
Gently spoon dollops of the cream cheese mixture over the strawberry filling, creating a beautiful marbled effect.
Grab the dry yellow cake mix and sprinkle it evenly across the top, ensuring complete coverage of the previous layers.
Step 4: Drizzle and Prepare
Melt the butter until it’s completely liquid.
Carefully drizzle the melted butter over the cake mix, making sure to distribute it as evenly as possible to help create a golden, crispy topping.
Step 5: Bake to Perfection
Place the baking dish in the preheated oven and bake for 40-45 minutes.
Look for a golden-brown top and a slightly crisp exterior. The dessert should be bubbling slightly around the edges.
Step 6: Cool and Serve
Remove the dish from the oven and let it cool for 10-15 minutes. This resting time allows the layers to set and makes serving easier.
If desired, garnish with fresh strawberries for an extra burst of fruity freshness. Slice and serve warm for maximum deliciousness.
Tips for Perfect Heavenly Strawberry Cheesecake
Variations on Heavenly Strawberry Cheesecake
Pairing Suggestions for Heavenly Strawberry Cheesecake
Storage Tips for Heavenly Strawberry Cheesecake
Store leftover cheesecake in an airtight container, covering tightly with plastic wrap or lid. Keep chilled for up to 4-5 days to maintain freshness and prevent bacterial growth.
Wrap individual slices or whole cake in plastic wrap, then place in freezer-safe container. Freeze for maximum 2-3 months. Label with date for easy tracking.
Transfer frozen cheesecake from freezer to refrigerator 6-8 hours before serving. Never thaw at room temperature to prevent texture changes.
Warm individual slices in microwave for 15-20 seconds on low power. Alternatively, use oven at 325F for 10-15 minutes, covering with foil to prevent burning and maintain moisture.
FAQs
Absolutely! While strawberry works wonderfully, cherry or raspberry pie fillings are equally delicious and can create a similar amazing dessert.
No, you can mix the cream cheese, sugar, and vanilla by hand with a whisk or spatula until smooth and well combined.
Yellow cake mix is ideal, but white cake mix can also work perfectly if that’s what you have in your pantry. The key is using a standard dry cake mix.
Yes, you can prepare this cheesecake bliss a day in advance. Simply cover and refrigerate after baking, and it will stay fresh and delicious for 2-3 days.
Print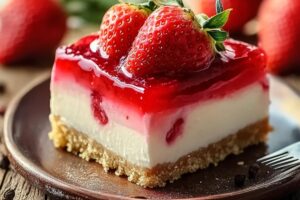
Heavenly Strawberry Cheesecake Bliss Recipe
- Total Time: 1 hour
- Yield: 12 1x
Description
Strawberry Cheesecake Bliss elevates dessert expectations with creamy layers of indulgence and luscious berry sweetness. Rich Philadelphia cream cheese mingles with fresh strawberries, creating a dessert that delights palates and promises pure culinary satisfaction.
Ingredients
Main Ingredients:
- 1 box (15.25 ounces/432 grams) yellow cake mix
- 1 can (21 ounces/595 grams) strawberry pie filling
- 1 package (8 ounces/226 grams) cream cheese, softened
Dairy and Sweeteners:
- 1/2 cup (113 grams) unsalted butter, melted
- 1/2 cup (100 grams) sugar
- 1/2 teaspoon vanilla extract
Garnish:
- Fresh strawberries (optional)
Instructions
- Prepare the baking environment by heating the oven to 350°F and lightly coating a 9×13-inch baking dish with a thin layer of grease.
- Create a vibrant base by spreading the strawberry pie filling uniformly across the bottom of the prepared dish, ensuring complete coverage.
- In a separate mixing bowl, whisk the cream cheese, sugar, and vanilla extract until the mixture transforms into a silky, homogeneous texture with no lumps.
- Carefully distribute generous spoonfuls of the cream cheese blend over the strawberry filling, aiming for an even, artistic pattern.
- Gently scatter the dry yellow cake mix across the entire surface, making sure to cover all previous layers completely and uniformly.
- Drizzle the melted butter in a controlled, zigzag motion to maximize coverage and enhance the cake’s potential golden, crispy top.
- Transfer the dish to the preheated oven and bake for 40-45 minutes, watching for a rich golden-brown color and a slightly crisp exterior.
- Remove from the oven and allow the dessert to cool for 10-15 minutes, which helps set the layers and intensify the flavors.
- Optional: Embellish with fresh, vibrant strawberries just before serving to add a burst of color and fresh fruity essence.
Notes
- Choose high-quality cream cheese at room temperature for smoother, lump-free mixing and a silkier texture.
- Opt for fresh, ripe strawberries to enhance the natural sweetness and vibrant flavor of the dessert.
- Experiment with gluten-free cake mix for a celiac-friendly version that doesn’t compromise on taste or texture.
- Chill the dessert for a few hours before serving to allow flavors to meld and achieve a more set consistency.
- Prep Time: 15 minutes
- Cook Time: 45 minutes
- Category: Desserts
- Method: Baking
- Cuisine: American
Nutrition
- Serving Size: 12
- Calories: 368
- Sugar: 31 g
- Sodium: 285 mg
- Fat: 17 g
- Saturated Fat: 10 g
- Unsaturated Fat: 6 g
- Trans Fat: 0.3 g
- Carbohydrates: 47 g
- Fiber: 1 g
- Protein: 4 g
- Cholesterol: 55 mg
Nate Harper
Founder & Recipe Curator
Expertise
Single-Recipe Development, Farm-to-Table Cooking, Seasonal Menu Planning, Culinary Storytelling, Home Kitchen Innovation
Education
Cascade Culinary Institute – Central Oregon Community College
Certificate in Culinary Arts
Focus: Farm-to-table cuisine, sustainable cooking practices, and seasonal recipe creation.
Nate studied under experienced chefs who emphasized local sourcing, minimal waste, and building recipes from fresh, simple ingredients.
Nate Harper is the founder and creative force behind Make, Take, Bake. Raised in the wild beauty of Oregon’s high desert, Nate grew up surrounded by family gardens, farmers’ markets, and home kitchens that celebrated the seasons.
His early love for simple, honest food evolved into a professional passion when he attended Cascade Culinary Institute, where he sharpened his skills in creating recipes that are sustainable, satisfying, and made for everyday life.
Nate’s goal is to make cooking feel accessible, free of fuss, and full of flavor. He believes a single, thoughtfully built dish can stand alone, and sometimes even steal the show.