
The Ultimate Gooey Homemade Brownies Recipe Everyone Loves
Rich chocolate brownies can satisfy any sweet-loving palate with their decadent, gooey charm.
Dense squares of pure delight emerge from simple ingredients mixed with love.
Every baker knows the magic happens when cocoa meets butter in perfect harmony.
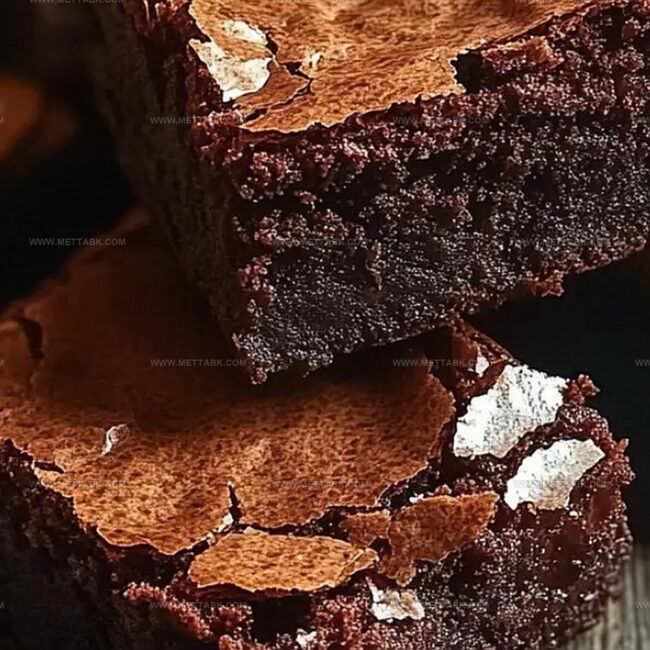
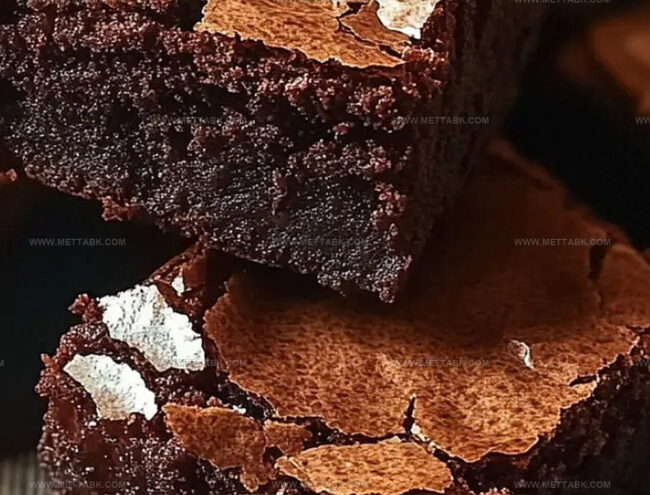
Crumbly edges and soft centers create a texture that melts instantly on your tongue.
Kitchen counters transform into chocolate havens when these treats start baking.
Warm aromas will drift through rooms, calling everyone to sample the delicious creation.
Grab a mixing bowl and let the chocolate adventure begin!
Homemade Brownies That Melt in Your Mouth
Ingredients for Classic Homemade Brownies
For the Main Ingredients:For the Flavor Enhancers:For the Leavening Agents:For the Baking Preparation:How to Bake Perfect Brownies
Step 1: Warm Up the Oven
Crank your oven to a toasty 350F (175C). Grab your baking pan and line it with parchment paper, giving it a light spray of cooking oil to prevent sticking.
Step 2: Create the Chocolatey Base
In a big mixing bowl, whisk together:Crack in the eggs one by one, giving each a vigorous mix. Pour in the vanilla extract and stir until everything looks smooth and glossy.
Sift in your dry ingredients:Gently fold everything together until just combined. Toss in chocolate chunks or chips, stirring them through for those irresistible pockets of melted chocolate.
Step 3: Bake to Perfection
Transfer the luscious batter to your prepared pan, smoothing the top with a spatula. Slide into the preheated oven and bake for 30-35 minutes.
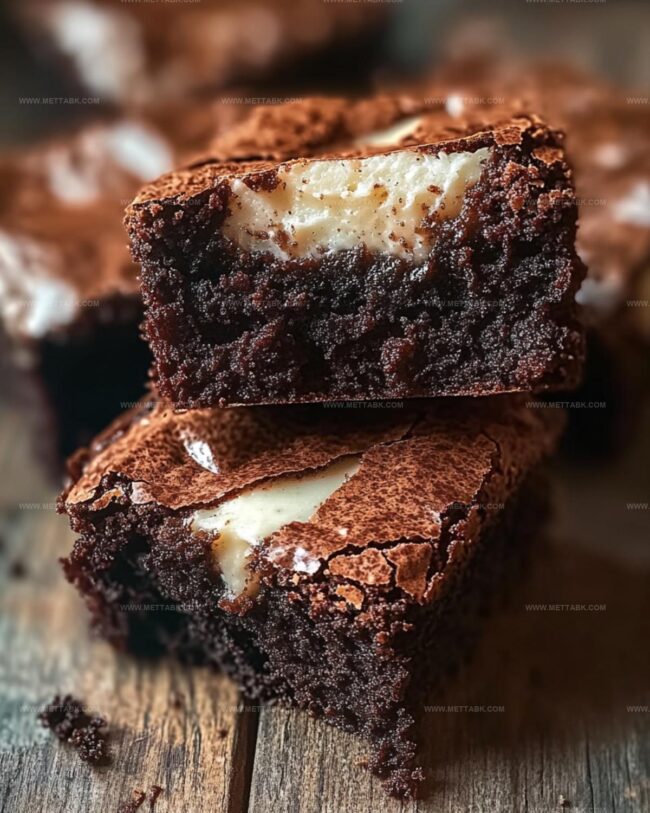
You’ll know they’re done when the top looks shiny and a toothpick comes out with just a few moist crumbs. Patience is key – let the brownies cool for at least 20 minutes before slicing to ensure they hold their shape and achieve that dreamy fudgy texture.
Tips for Fudgy and Moist Brownies
Creative Brownie Variations
Serving Ideas for Homemade Brownies
Proper Storage for Homemade Brownies
Store brownies in an airtight container with parchment paper between layers. Keep in the refrigerator for up to 5 days, maintaining their moisture and rich flavor.
Wrap individual brownies tightly in plastic wrap, then place in a freezer-safe container. Freeze for up to 3 months, preserving their delicious texture and taste.
Place brownies in a sealed container at room temperature for 2-3 days. Keep away from direct sunlight and heat to prevent drying out.
Warm refrigerated or frozen brownies in the microwave for 10-15 seconds. Alternatively, let frozen brownies thaw at room temperature for 30 minutes before enjoying their gooey goodness.
FAQs
Yes, you can substitute cocoa powder for melted chocolate. The recipe already uses cocoa powder, which helps create rich chocolate flavor and fudgy texture.
Semi-sweet or dark chocolate chunks are ideal. They melt beautifully and provide intense chocolate flavor without making the brownies too sweet.
Look for a shiny top and edges that pull slightly away from the pan. When you insert a toothpick, it should have a few moist crumbs but no wet batter. This ensures a fudgy, not dry, brownie.
Print
Homemade Brownies Recipe
- Total Time: 55 minutes
- Yield: 12 1x
Description
Indulgent chocolate Homemade Brownies bring pure bliss to dessert lovers seeking rich, fudgy perfection. Moist squares of chocolatey goodness will transport you straight to dessert paradise with minimal effort and maximum satisfaction.
Ingredients
Chocolate Base:
- 1 cup (225g / 8 ounces) unsalted butter, melted
- 1 cup (120g / 4.2 ounces) unsweetened cocoa powder
- 1 cup (175g / 6.2 ounces) dark chocolate chunks or chips
Sweeteners:
- 2 cups (400g / 14.1 ounces) granulated sugar
- 1 cup (200g / 7 ounces) brown sugar
Binding and Dry Ingredients:
- 4 large eggs
- 1 tablespoon vanilla extract
- 1 cup (125g / 4.4 ounces) all-purpose flour
- 1/2 teaspoon salt
- 1/2 teaspoon baking powder
Instructions
- Preheat the oven to 350°F (175°C) and prepare an 8-inch or 9-inch baking pan by lining it with parchment paper and applying a light grease coating.
- In a spacious mixing bowl, thoroughly combine melted butter with granulated and brown sugars using a whisking motion until the mixture appears smooth and homogeneous.
- Incorporate eggs individually, whisking vigorously after each addition to ensure complete integration and a uniform texture.
- Introduce vanilla extract and blend seamlessly into the sugar mixture.
- Gently sift cocoa powder, flour, salt, and baking powder directly into the wet ingredients, folding carefully to prevent overmixing and maintain a tender consistency.
- Delicately fold chocolate chunks or chips throughout the batter, distributing them evenly for maximum flavor and texture variation.
- Transfer the batter to the prepared pan, using a spatula to spread it evenly and create a level surface.
- Bake for 30-35 minutes, watching for a glossy top and checking doneness by inserting a toothpick that should emerge with a few moist crumbs.
- Remove from oven and allow brownies to cool for a minimum of 20 minutes, which helps achieve the ideal dense and fudgy texture before slicing.
Notes
- Use room temperature eggs to ensure smooth batter incorporation and even mixing.
- Avoid overmixing the batter to prevent tough, dense brownies; fold gently until ingredients are just combined.
- For gluten-free version, swap all-purpose flour with almond flour or gluten-free flour blend, maintaining the same measurement.
- Add a sprinkle of sea salt on top before baking to enhance the chocolate flavor and create a delightful sweet-salty contrast.
- Prep Time: 20 minutes
- Cook Time: 35 minutes
- Category: Desserts, Snacks
- Method: Baking
- Cuisine: American
Nutrition
- Serving Size: 12
- Calories: 366 kcal
- Sugar: 38 g
- Sodium: 390 mg
- Fat: 23 g
- Saturated Fat: 13 g
- Unsaturated Fat: 10 g
- Trans Fat: 0.3 g
- Carbohydrates: 44 g
- Fiber: 4 g
- Protein: 5 g
- Cholesterol: 48 mg
Nate Harper
Founder & Recipe Curator
Expertise
Single-Recipe Development, Farm-to-Table Cooking, Seasonal Menu Planning, Culinary Storytelling, Home Kitchen Innovation
Education
Cascade Culinary Institute – Central Oregon Community College
Certificate in Culinary Arts
Focus: Farm-to-table cuisine, sustainable cooking practices, and seasonal recipe creation.
Nate studied under experienced chefs who emphasized local sourcing, minimal waste, and building recipes from fresh, simple ingredients.
Nate Harper is the founder and creative force behind Make, Take, Bake. Raised in the wild beauty of Oregon’s high desert, Nate grew up surrounded by family gardens, farmers’ markets, and home kitchens that celebrated the seasons.
His early love for simple, honest food evolved into a professional passion when he attended Cascade Culinary Institute, where he sharpened his skills in creating recipes that are sustainable, satisfying, and made for everyday life.
Nate’s goal is to make cooking feel accessible, free of fuss, and full of flavor. He believes a single, thoughtfully built dish can stand alone, and sometimes even steal the show.