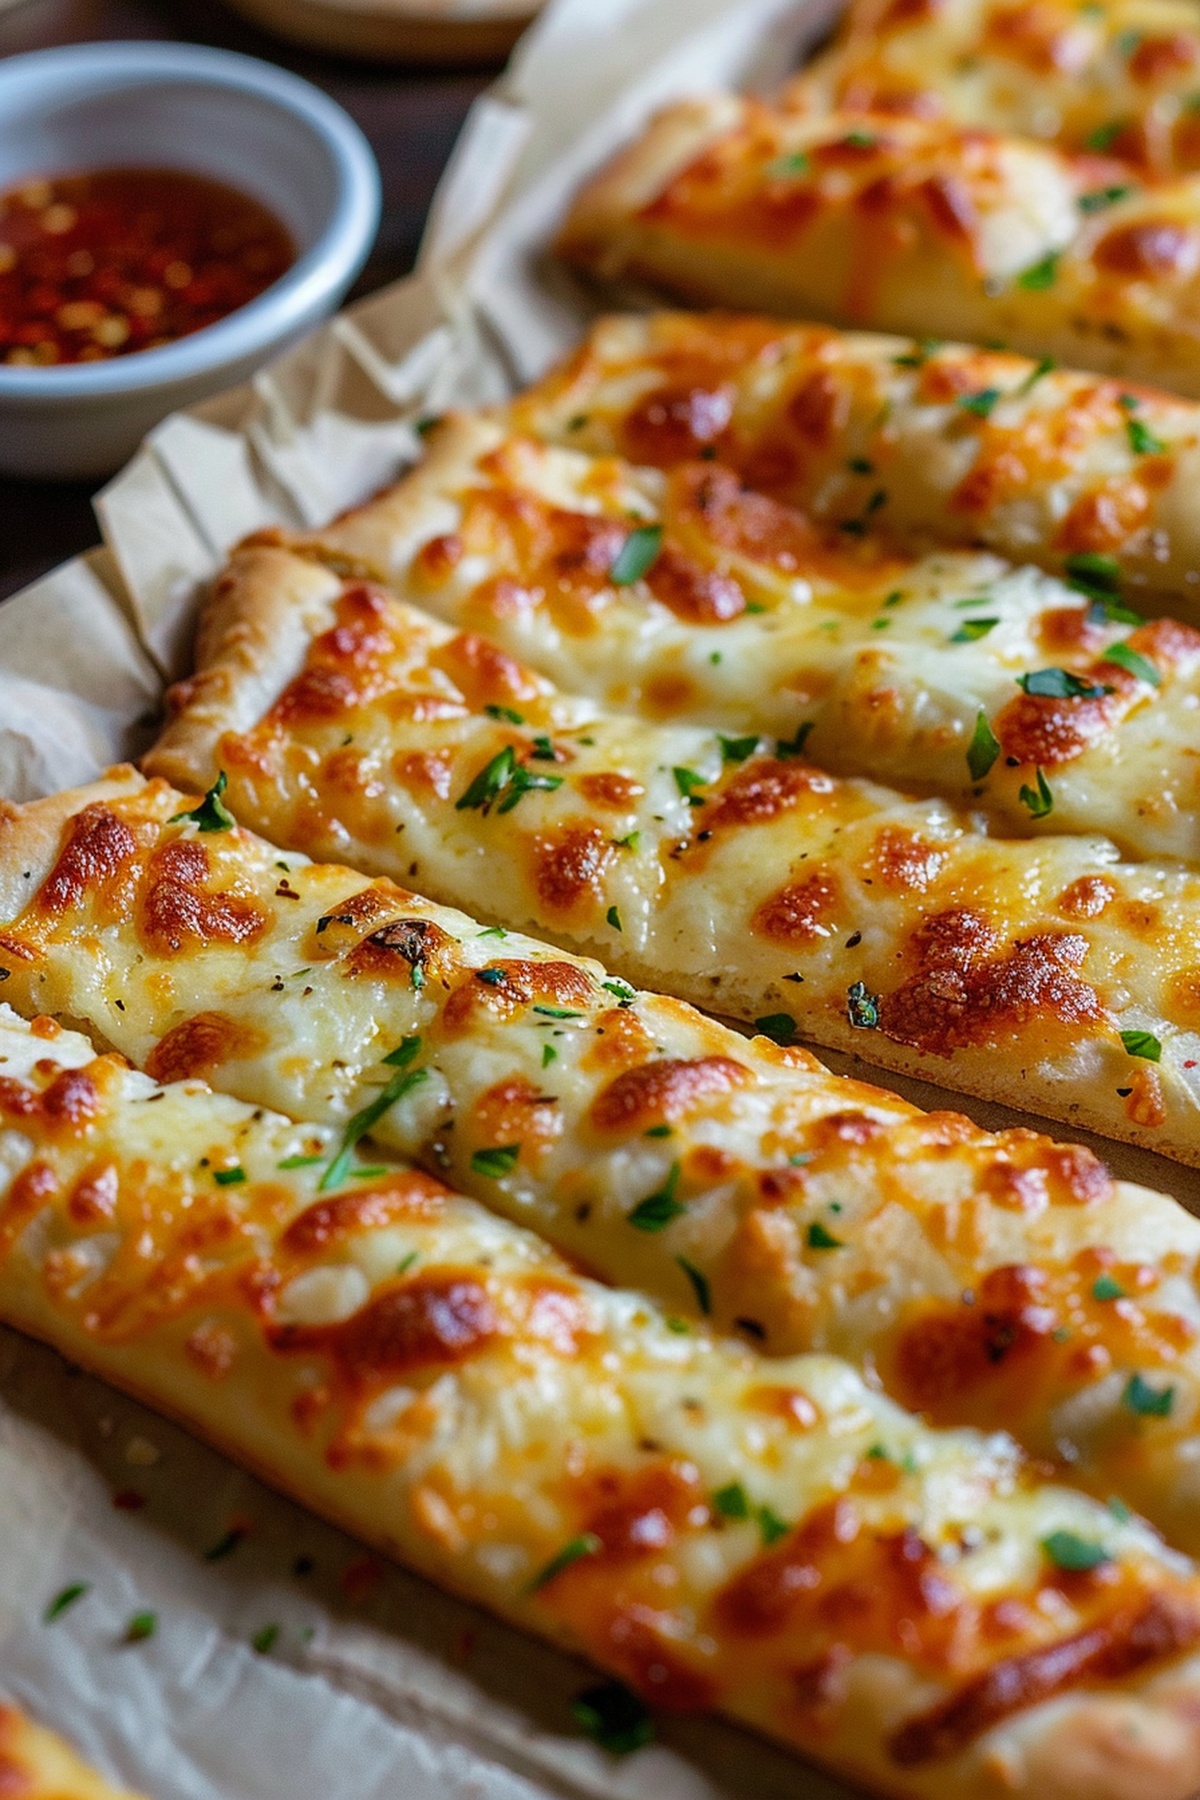
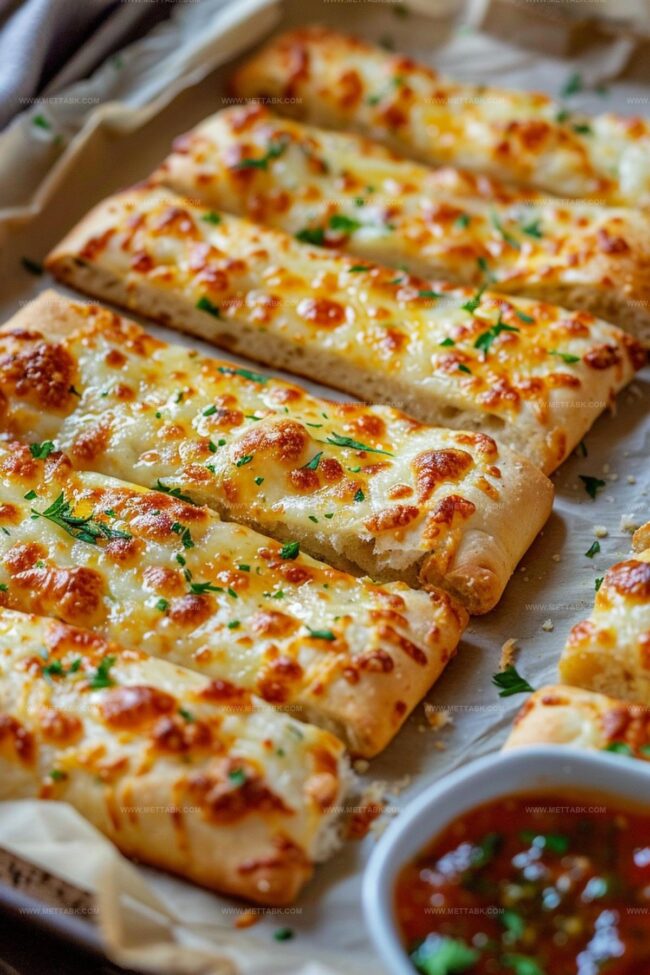
Fluffy Homemade Cheesy Garlic Breadsticks Recipe: Pure Bliss
Crispy, golden homemade cheesy garlic breadsticks sparkle with irresistible charm on any dinner table.
Kitchen magic happens when simple ingredients blend perfectly.
Warm aromas of melted cheese and fresh garlic fill your space instantly.
Soft dough transforms into crunchy, delectable treats that everyone craves.
Cheese lovers understand the pure comfort these sticks provide.
Each bite promises a delightful blend of savory flavors and textures.
Let’s create something spectacular that will make your meal unforgettable.
Homemade Cheesy Garlic Breadsticks That Wow

Ingredients for Homemade Cheesy Garlic Breadsticks

How to Make Homemade Cheesy Garlic Breadsticks
Step 1: Fire Up the Oven
Get your oven roaring hot at 425°F. Grab a baking sheet and line it with parchment paper for super easy cleanup.
Step 2: Spread the Dough
Gently unroll the pizza crust onto the prepared baking sheet. Smooth it out so it’s nice and even.
Step 3: Whip Up Garlic Magic
In a small bowl, mix together:Stir until the mixture becomes a fragrant, creamy blend.
Step 4: Butter Up the Dough
Use a pastry brush to paint every inch of the dough with the garlic butter.
Make sure no spot is left behind!
Step 5: Sprinkle Herbal Goodness
Dust half of the dried basil across the buttery surface.
Let those herbs dance around the dough.
Step 6: Cheese Explosion
Shower the dough with:Cover the entire surface in a blanket of cheesy deliciousness.
Step 7: Final Flavor Boost
Scatter the remaining basil over the cheese. Add a whisper of salt and a crack of black pepper for that extra zing.
Step 8: Create Breadstick Strips
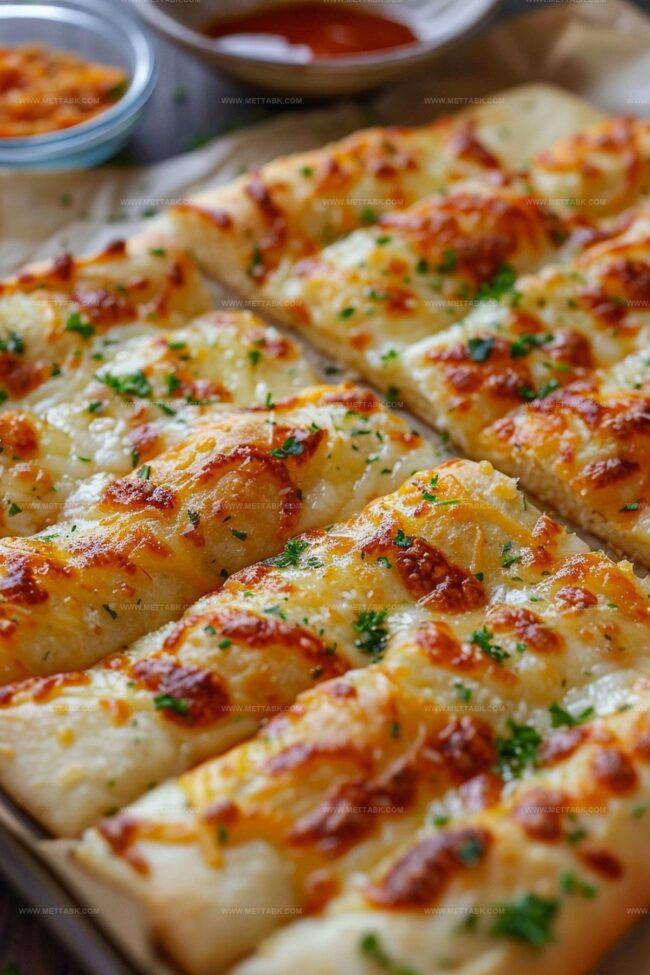
Grab a pizza cutter and slice the dough into 12 perfect breadstick-sized strips.
Step 9: Bake to Golden Perfection
Slide the baking sheet into the hot oven.
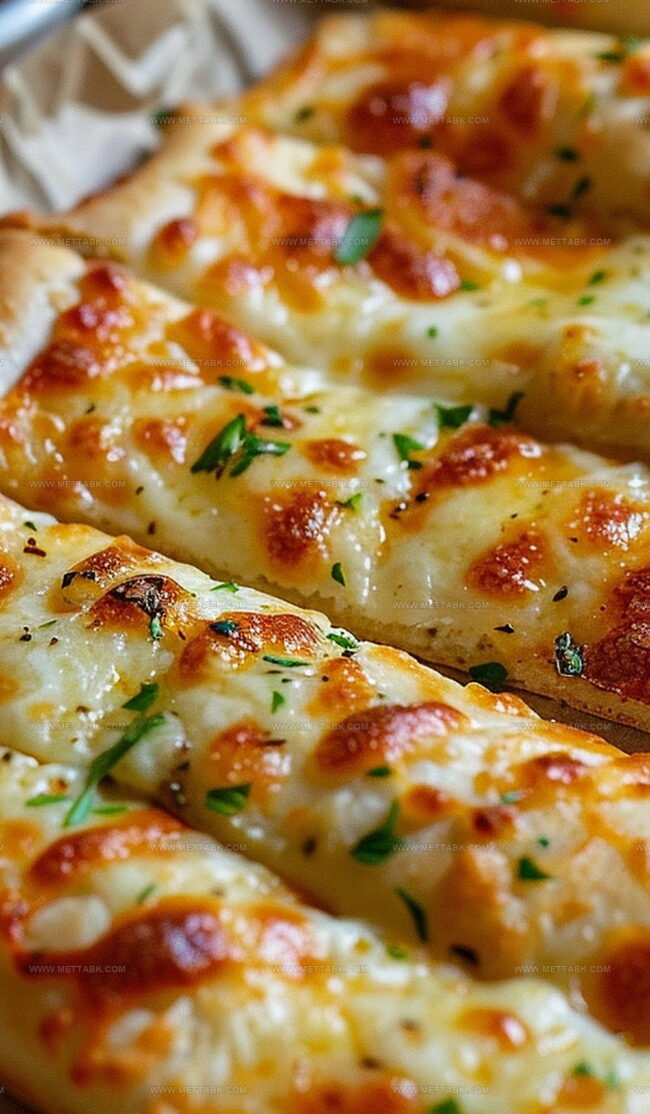
Bake for 15 minutes until the cheese turns golden and bubbly.
Step 10: Final Slice and Separate
Immediately after pulling out the breadsticks, run the pizza cutter along the previous lines to separate them completely.
Step 11: Serve and Devour
Transfer those steaming, cheesy breadsticks to a serving plate. Enjoy them while they’re hot and at their most mouthwatering!
Tips to Perfect Homemade Cheesy Garlic Breadsticks
Variations on Homemade Cheesy Garlic Breadsticks
Pairing Suggestions for Homemade Cheesy Garlic Breadsticks
Storage Advice for Homemade Cheesy Garlic Breadsticks
FAQs
Absolutely! Feel free to experiment with cheddar, provolone, or a blend of cheeses to customize your breadsticks’ flavor profile.
Fresh minced garlic provides a more robust and vibrant flavor compared to pre-minced garlic from a jar. Freshly chopped garlic will enhance the overall taste of your breadsticks.
You can use a lightly greased baking sheet as an alternative. The goal is to prevent the breadsticks from sticking to the surface during baking.
Print
Homemade Cheesy Garlic Breadsticks Recipe
- Total Time: 30 minutes
- Yield: 8 1x
Description
Irresistible homemade cheesy garlic breadsticks bring Italian pizzeria flavors straight to home kitchens. Crisp edges, melted cheese, and bold garlic notes create a perfect side dish or snack that will satisfy hungry diners.
Ingredients
- 1 prepared refrigerated pizza crust
- 1 1/2 cups (340 g) shredded mozzarella cheese
- 1/4 cup (25 g) grated Parmesan cheese
- 2 tbsps (28 g) unsalted butter
- 2 tsps minced garlic
- 1 tsp dried basil
- Salt (to taste)
- Freshly ground black pepper (to taste)
Instructions
- Prepare the oven at 425°F, positioning the rack in the center to create an ideal baking environment.
- Spread the refrigerated pizza crust onto a parchment-lined baking sheet, smoothing out any wrinkles for even cooking.
- Create a fragrant garlic butter by thoroughly mixing softened butter with finely minced garlic until completely incorporated.
- Generously brush the entire surface of the dough with the garlic butter mixture, ensuring comprehensive and even coverage.
- Sprinkle half of the dried basil across the buttered dough, creating an aromatic herb foundation.
- Distribute Mozzarella and Parmesan cheeses uniformly over the dough, completely covering the initial basil layer.
- Enhance the flavor profile by adding the remaining basil, then season with salt and freshly ground black pepper to taste.
- Use a pizza cutter to divide the dough into 12 precise, equal-sized breadstick segments before baking.
- Bake for 15 minutes in the preheated oven until the cheese transforms into a golden, bubbling surface.
- Immediately after removing from the oven, re-slice the breadsticks along the original cut lines to ensure clean separation.
- Transfer to a serving platter and enjoy while the breadsticks are piping hot and at peak crispiness.
Notes
- Customize cheese by mixing different varieties like cheddar or provolone for unique flavor profiles.
- Enhance gluten-free options by substituting regular pizza dough with cauliflower or almond flour-based crusts.
- Elevate nutritional value by adding finely chopped spinach or herbs between cheese layers for extra nutrients.
- Adjust garlic intensity by roasting garlic beforehand for a mellower, deeper flavor experience.
- Prep Time: 15 minutes
- Cook Time: 15 minutes
- Category: Appetizer, Snacks
- Method: Baking
- Cuisine: Italian
Nutrition
- Serving Size: 8
- Calories: 280 kcal
- Sugar: 1 g
- Sodium: 400 mg
- Fat: 15 g
- Saturated Fat: 8 g
- Unsaturated Fat: 6 g
- Trans Fat: 0.5 g
- Carbohydrates: 22 g
- Fiber: 1 g
- Protein: 13 g
- Cholesterol: 30 mg
Clara Bennett
Contributing Recipe Developer & Food Writer
Expertise
Baking and Pastry Development, Gluten-Free and Allergy-Friendly Recipe Creation, Culinary Storytelling and Food Journalism, Recipe Testing and Standardization, Southern Comfort Foods and Modern Twists
Education
Sullivan University – National Center for Hospitality Studies
Associate Degree in Culinary Arts
Focus: Baking and Pastry Arts, Recipe Testing, and Culinary Journalism.
Clara specialized in crafting desserts that blend classic Southern comfort with modern techniques, while developing strong writing skills to tell the story behind every dish.
Lane Community College (Certificate Program)
Certificate in Food Writing and Photography
Focus: Culinary storytelling, recipe formatting, food styling, and visual presentation.
Clara’s love of baking started young, powered by homemade pies, biscuits, and stories passed around the family table.
After earning her degree at Sullivan University and a food writing certificate at Lane Community College, she turned her passion into a craft: sharing recipes that are simple, soulful, and always full of heart.
She’s big on bold flavors, flexible ideas, and creating sweets that fit any table (yes, even if you’re gluten-free). When she’s not baking, you’ll find her wandering farmers’ markets, styling food for the next photo shoot, or working on her ever-growing recipe journal.