
Homemade Cheez Recipe: Crafting Your Favorite Snack with Ease
Crafting a delightful homemade cheez brings pure comfort to any kitchen adventure.
Cheese lovers understand the magic of melting, stretching goodness that transforms simple ingredients into culinary magic.
Creamy textures and rich flavors dance across your palate with each carefully blended bite.
Smooth techniques make creating your own dairy delight surprisingly simple and rewarding.
Unexpected ingredients can elevate this classic staple from ordinary to extraordinary.
Passionate cooks know that homemade versions always outshine store-bought alternatives.
Experiment and savor the delicious results of your cheesy creativity.
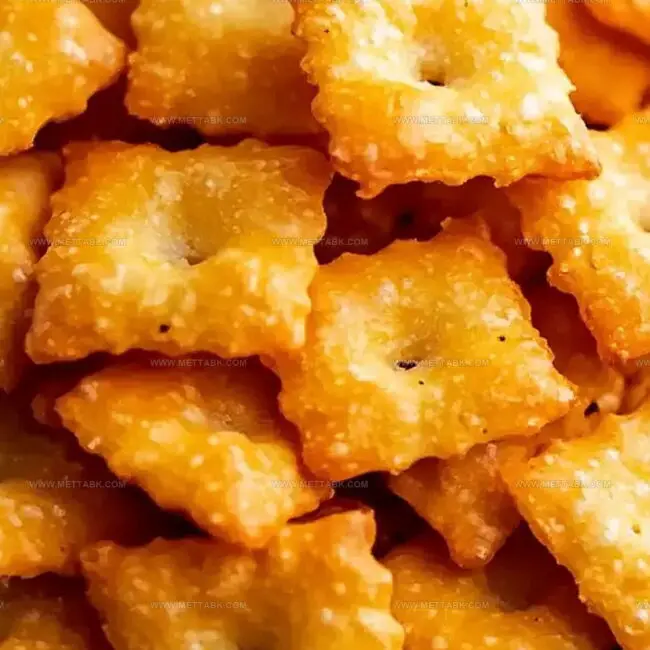
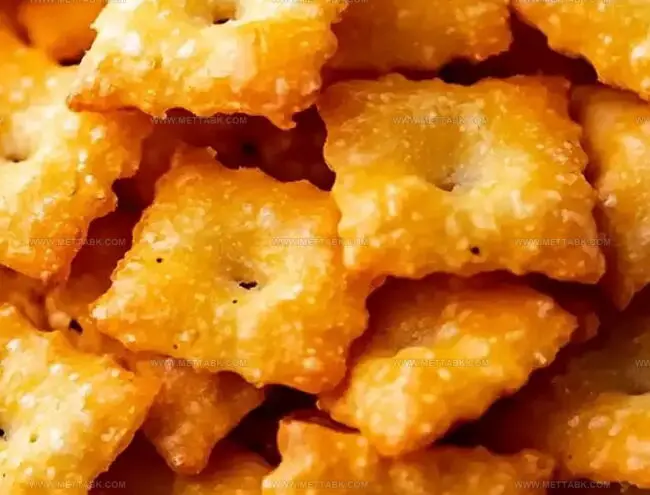
Homemade Cheez-Its Snack That Surprises and Satisfies
Ingredients Used in Homemade Cheez-Its
For the Base:For the Liquid:For the Preparation:How to Make Homemade Cheez-Its From Scratch

Step 1: Blend the Base
Grab your food processor and toss in these ingredients:Pulse everything together until the mixture looks like sandy crumbs. The texture should be rough and uneven, not completely smooth.
Step 2: Bring the Dough Together
Drizzle in cold water, one tablespoon at a time. Keep mixing until the dough starts to form a cohesive ball.
Stop adding water once the dough feels slightly tacky but holds together.
Step 3: Chill and Rest
Shape the dough into a flat disc.
Wrap it snugly in plastic wrap. Pop it into the refrigerator for half an hour.
This resting time helps the gluten relax and makes rolling easier.
Step 4: Prepare for Baking
Heat your oven to 375°F.
Grab a clean work surface and dust it with flour.
Step 5: Roll and Shape
Use a rolling pin to transform the chilled dough into an ultra-thin sheet.
Aim for a thickness close to a credit card. Use a sharp knife or pizza cutter to slice the dough into tiny squares.
Step 6: Create Signature Holes
Take a toothpick and poke a small hole in the center of each cracker. This classic Cheez-It detail helps the crackers bake evenly and look authentic.
Step 7: Bake to Perfection
Arrange the crackers on a lined baking sheet. Make sure they’re not touching.
Slide the sheet into the hot oven and bake until the edges turn golden brown and crispy.
Step 8: Cool and Crunch
Remove the crackers from the oven and let them cool completely on a wire rack.
They’ll continue to crisp up as they cool down. Store in an airtight container for maximum crunchiness.
Tips to Get Homemade Cheez-Its Perfectly Crisp
Flavor Variations to Try on Homemade Cheez-Its
Suggested Pairings With Homemade Cheez-Its Snack
Enhance Cheesy Cracker Experience: Perfect Pairings
Storing Homemade Cheez-Its to Keep Them Fresh
Seal cooled crackers in an airtight container with parchment paper between layers. Keeps crispy for 5-7 days at 40°F or below.
Pack completely cooled crackers in freezer-safe ziplock bags, removing excess air. Freeze up to 2 months without losing texture or flavor.
Store in sealed container at room temperature for 3-4 days. Keep away from direct sunlight and moisture to maintain crunchiness.
Crisp crackers in 350°F oven for 3-5 minutes on a baking sheet. Spread in single layer and watch carefully to prevent burning.
FAQs
Sharp cheddar cheese provides the most intense flavor and creates the classic tangy taste that mimics store-bought crackers. Aged cheddar will give a more robust cheese profile.
Roll the dough extremely thin, approximately 1/8 inch thick, to ensure crispy and light crackers that closely resemble the original Cheez-Its texture. Thinner dough creates crunchier results.
Yes, substitute the all-purpose flour with a gluten-free flour blend. Ensure the blend contains xanthan gum for better binding and texture. Test the consistency and adjust liquid as needed.
Print
Homemade Cheez Recipe
- Total Time: 1 hour
- Yield: 4 1x
Description
Cheesy comfort calls with this homemade cheez recipe, delivering nostalgic flavors that dance across palates. Rich dairy goodness meets simple ingredients, promising pure deliciousness you’ll crave again and again.
Ingredients
Main Ingredients:
- 1 cup sharp cheddar cheese, shredded
- 3/4 cup all-purpose flour (or whole wheat flour)
- 4 tablespoons (1/4 cup) unsalted butter, cold & cubed
Seasoning:
- 1/2 teaspoon salt
Liquid:
- 2 tablespoons ice-cold water
Instructions
- Pulverize cheese, butter, flour, and salt in a food processor until the mixture transforms into a grainy, sandy texture.
- Gradually introduce cold water, one tablespoon at a time, allowing the dough to consolidate into a cohesive mass.
- Mold the dough into a flattened circular shape, encase completely in plastic wrap, and nestle in the refrigerator for half an hour to firm up.
- Heat the oven to 375F (190C), ensuring proper temperature for optimal crispness.
- Transfer the chilled dough onto a generously floured surface and meticulously roll it to an ultra-thin consistency, approximately 1/8 inch thick.
- Slice the dough into precise 1-inch squares using a sharp knife or pizza cutter, creating uniform cracker shapes.
- Puncture the center of each square with a toothpick, creating characteristic perforations typical of traditional cheese crackers.
- Arrange the raw crackers on a parchment-lined baking sheet, ensuring minimal overlap between pieces.
- Slide the baking sheet into the preheated oven and bake for 12-15 minutes, watching for a golden-brown transformation and crisp edges.
- Remove from oven and allow crackers to cool completely on the baking sheet, enabling them to achieve maximum crunchiness and structural integrity.
Notes
- Experiment with different cheese varieties like sharp cheddar, aged gouda, or parmesan for unique flavor profiles.
- Adjust salt levels depending on the cheese’s saltiness to prevent overly salty crackers.
- Replace wheat flour with almond or gluten-free blend for celiac-friendly snacking.
- Freeze extra dough for up to one month, enabling quick homemade cracker preparation anytime hunger strikes.
- Prep Time: 45 minutes
- Cook Time: 15 minutes
- Category: Snacks, Appetizer
- Method: Baking
- Cuisine: American
Nutrition
- Serving Size: 4
- Calories: 210 kcal
- Sugar: 0.2 g
- Sodium: 320 mg
- Fat: 18 g
- Saturated Fat: 11 g
- Unsaturated Fat: 6 g
- Trans Fat: 0.1 g
- Carbohydrates: 8 g
- Fiber: 0.4 g
- Protein: 7 g
- Cholesterol: 40 mg
Clara Bennett
Contributing Recipe Developer & Food Writer
Expertise
Baking and Pastry Development, Gluten-Free and Allergy-Friendly Recipe Creation, Culinary Storytelling and Food Journalism, Recipe Testing and Standardization, Southern Comfort Foods and Modern Twists
Education
Sullivan University – National Center for Hospitality Studies
Associate Degree in Culinary Arts
Focus: Baking and Pastry Arts, Recipe Testing, and Culinary Journalism.
Clara specialized in crafting desserts that blend classic Southern comfort with modern techniques, while developing strong writing skills to tell the story behind every dish.
Lane Community College (Certificate Program)
Certificate in Food Writing and Photography
Focus: Culinary storytelling, recipe formatting, food styling, and visual presentation.
Clara’s love of baking started young, powered by homemade pies, biscuits, and stories passed around the family table.
After earning her degree at Sullivan University and a food writing certificate at Lane Community College, she turned her passion into a craft: sharing recipes that are simple, soulful, and always full of heart.
She’s big on bold flavors, flexible ideas, and creating sweets that fit any table (yes, even if you’re gluten-free). When she’s not baking, you’ll find her wandering farmers’ markets, styling food for the next photo shoot, or working on her ever-growing recipe journal.