
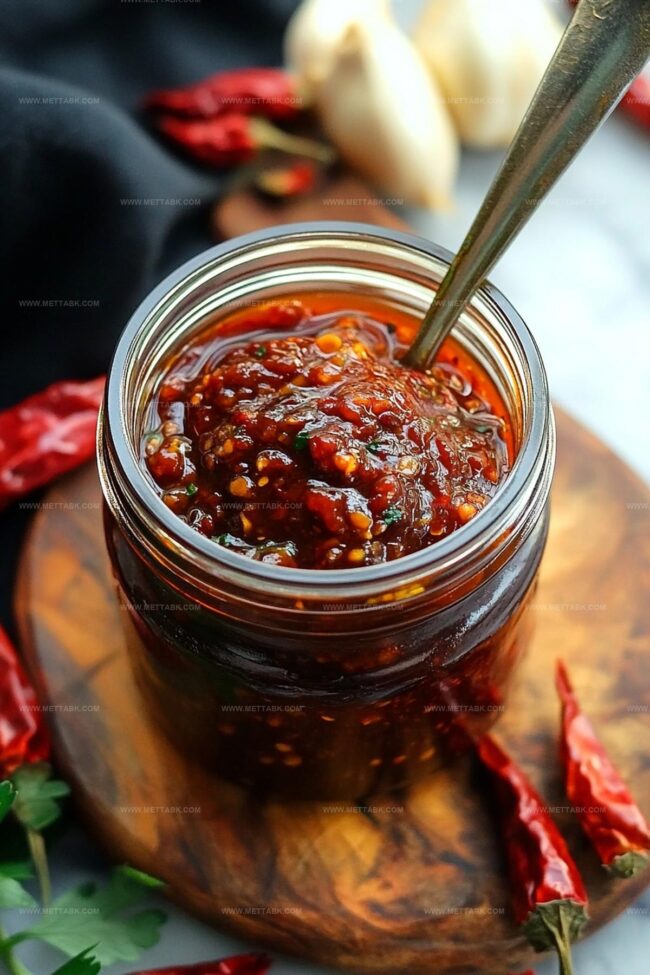
The Zesty Homemade Chili Garlic Sauce Recipe You Need Today
Crafting a zesty homemade chili garlic sauce can revolutionize your culinary adventures with bold, vibrant flavors.
Spicy condiments bring magic to countless dishes, adding depth and excitement to every bite.
Kitchens come alive when simple ingredients combine in unexpected ways.
Peppers and garlic dance together, creating a condiment that speaks directly to your taste buds.
Each batch promises a unique blend of heat and complexity that store-bought versions can never match.
Blending fresh chilies with aromatic garlic unlocks a world of delicious possibilities.
Homemade Chili Garlic Sauce Features
Ingredients for Homemade Chili Garlic Sauce
How to Make Homemade Chili Garlic Sauce
Step 1: Chop and Blend Fiery Ingredients
Slice off the stems from vibrant Thai chilies and peel garlic cloves. Gather your ingredients:Toss everything into a food processor and pulse until the mixture becomes a finely chopped, well-integrated blend with a vibrant color and intense aroma.
Step 2: Sizzle and Transform
Warm a heavy-bottomed pan with neutral oil over medium heat. Pour in the chili-garlic mixture and crank up the heat to medium-high.
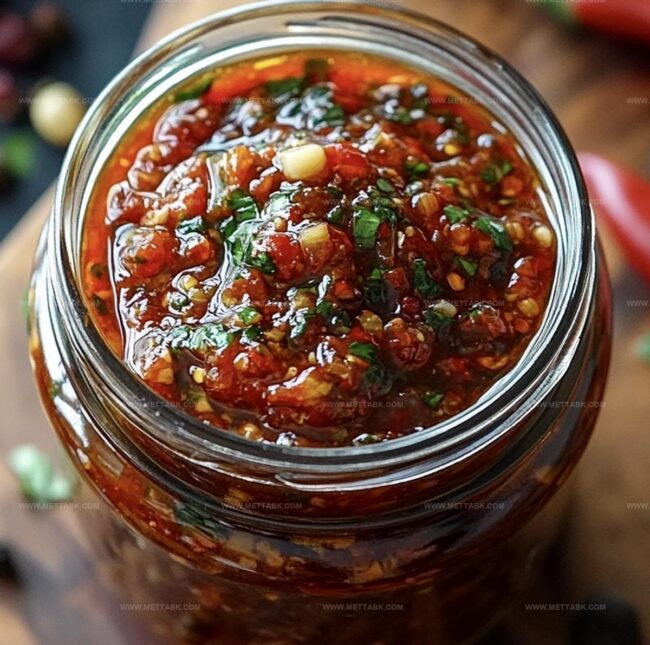
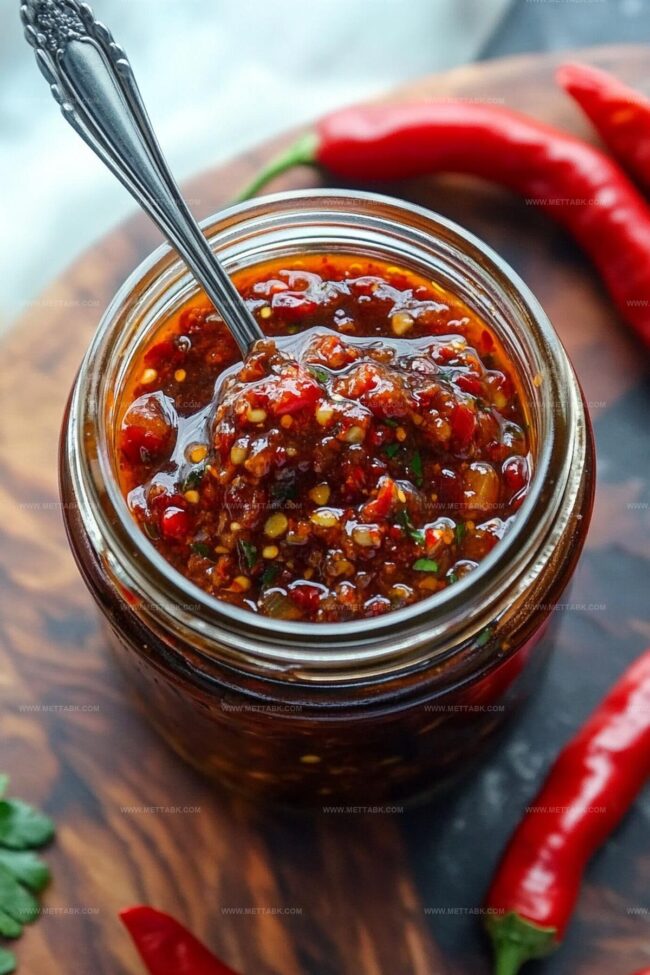
Stir constantly to prevent burning. Watch the magic happen as the sauce transforms from a runny pink mixture to a thick, rich red paste.
This process takes about 8-9 minutes, during which the water content dramatically reduces.
Step 3: Create Silky Smoothness
After the mixture thickens, introduce the remaining neutral oil to the pan.
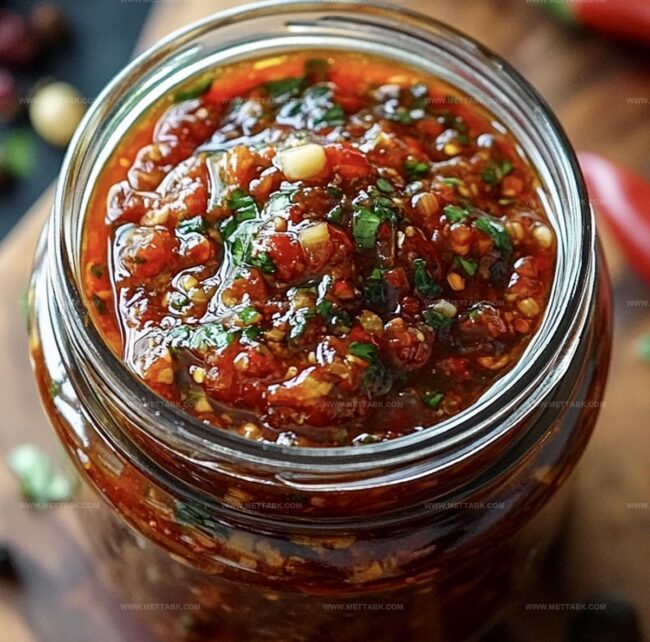
Stir thoroughly to create a glossy, smooth texture that coats the back of a spoon. Remove from heat and let the sauce cool completely, allowing flavors to meld and intensify.
Step 4: Preserve Your Spicy Creation
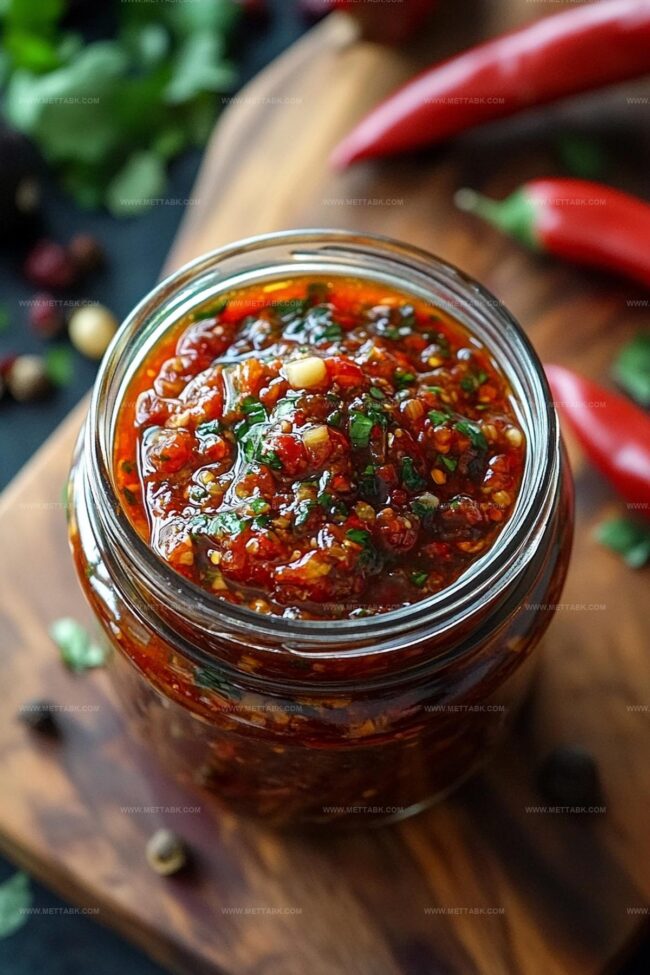
Once cooled, transfer the chili garlic sauce into a clean, airtight jar. For maximum freshness, store in the refrigerator.
Your homemade sauce will maintain its robust flavor for several weeks, ready to add a kick to any dish.
Tips to Perfect Homemade Chili Garlic Sauce
Flavor Variations of Homemade Chili Garlic Sauce
Pairing Ideas for Homemade Chili Garlic Sauce
Storage Tips for Homemade Chili Garlic Sauce
FAQs
Yes, you can substitute Thai chilies with other varieties like serrano, habanero, or jalapeño peppers. Each type will bring a unique heat and flavor profile to the sauce.
The spice level depends on the type of chilies used. Thai chilies are typically very hot, so adjust the quantity or pepper type to control the heat intensity according to your preference.
While a food processor helps create a uniform texture, you can also finely chop the ingredients by hand. Just ensure the chilies and garlic are minced as small and evenly as possible.
Print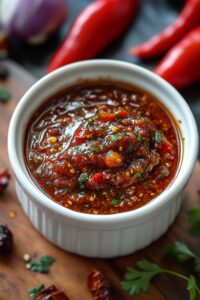
Homemade Chili Garlic Sauce Recipe
- Total Time: 19 minutes
- Yield: 8 1x
Description
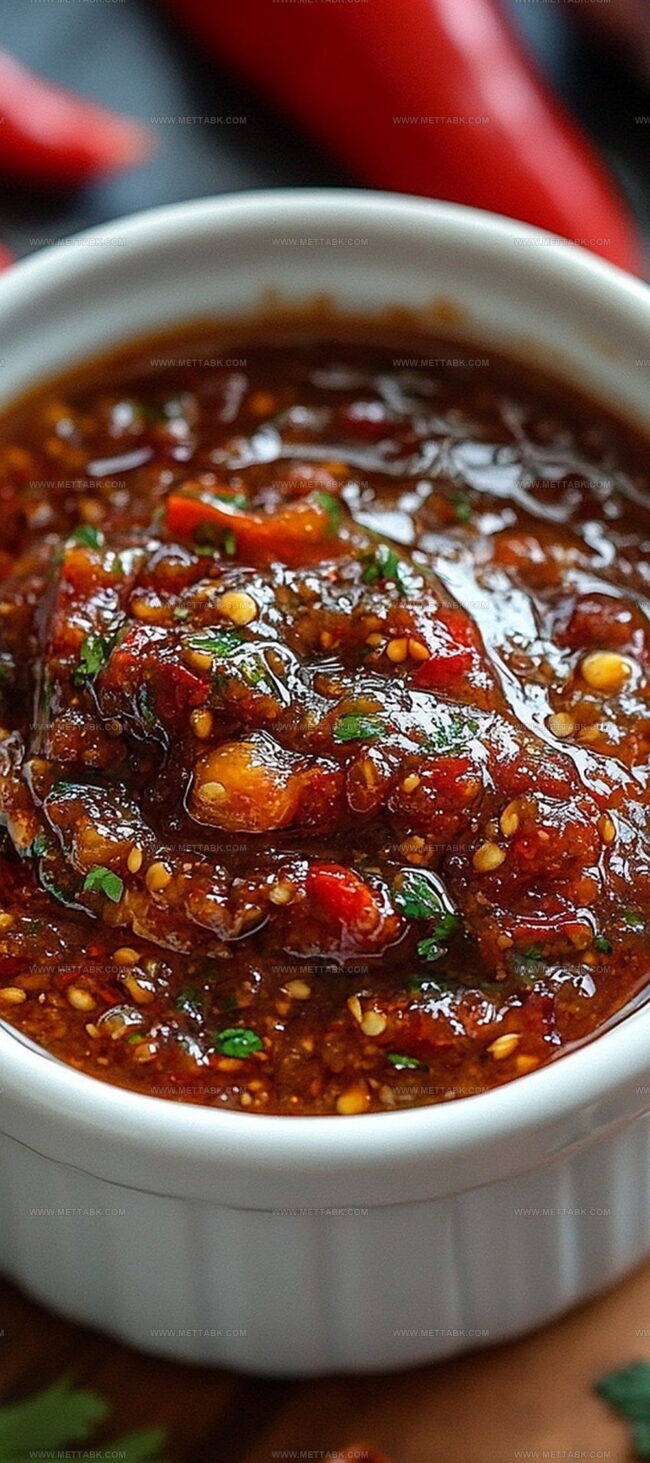
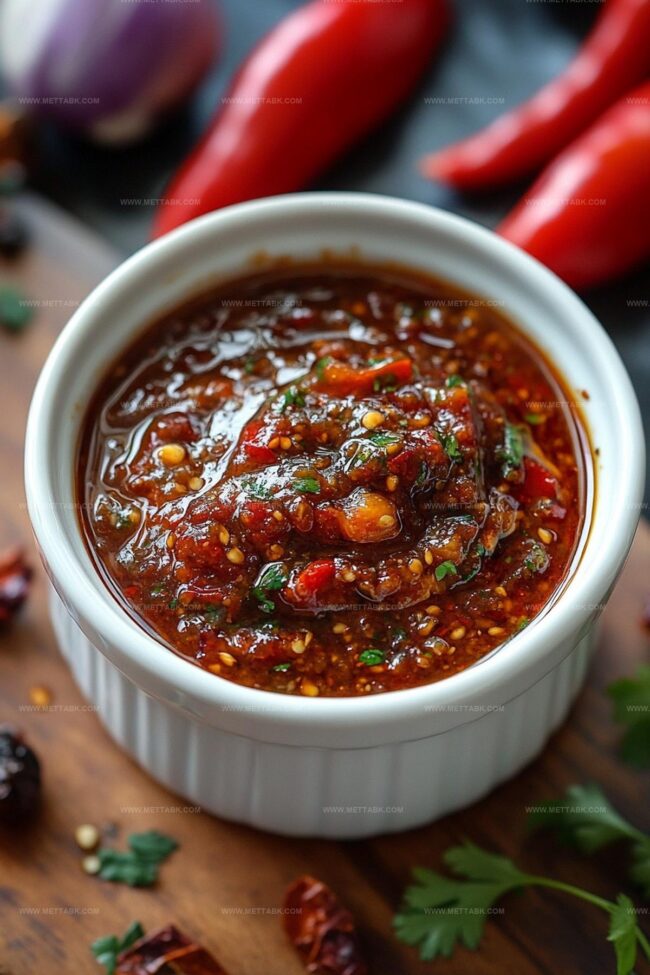
Spicy homemade chili garlic sauce brings intense Asian-inspired flavors to countless dishes. Red chilies and garlic combine in a simple condiment that elevates meals with bold, tangy heat you’ll crave.
Ingredients
- 1½ cups (360 ml) neutral oil (such as extra light olive oil)
- 1 cup (240 ml) fresh Thai chilies (stems removed)
- 6 cloves fresh garlic
- 2 tbsps (30 ml) vinegar (rice or white)
- 1 tbsp (15 ml) light brown sugar
- 1 tbsp (15 ml) salt
Instructions
- Trim the stems from Thai chilies and peel garlic cloves, creating a vibrant base for the sauce.
- Combine chilies, garlic, salt, light brown sugar, and vinegar in a food processor, pulsing until the mixture becomes a uniform, finely chopped blend.
- Select a heavy-bottomed pan and warm ½ cup of neutral oil over medium heat, preparing for the flavor infusion.
- Pour the processed chili-garlic mixture into the heated oil, raising the temperature to medium-high and stirring consistently for 8-9 minutes.
- Watch for the transformation from a runny, pink consistency to a thick, deep red paste, indicating the reduction of moisture and concentration of flavors.
- Introduce the remaining 1 cup of neutral oil into the thickened mixture, stirring thoroughly to create a glossy, well-integrated sauce.
- Remove from heat and allow the sauce to cool completely, enabling the flavors to meld and settle.
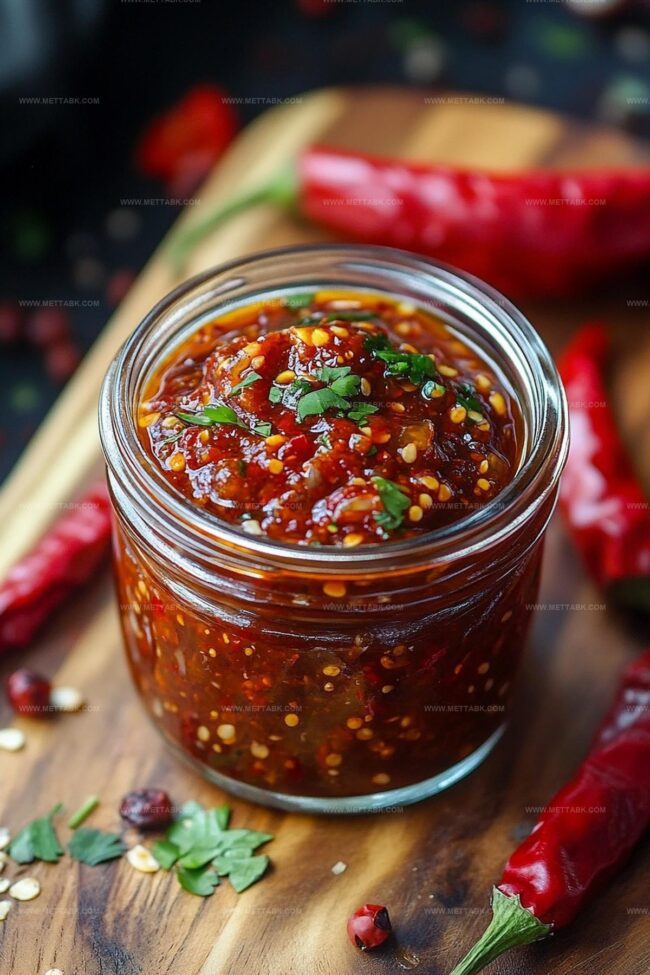
- Carefully transfer the cooled sauce into a sterilized, airtight container, ensuring a tight seal to preserve its robust flavor profile.
- Refrigerate the sauce if not consuming immediately, where it can maintain its quality for several weeks.
Notes
- Customize heat levels by adjusting the number of Thai chilies, selecting milder or spicier varieties to suit personal preference.
- Opt for high-quality neutral oils like vegetable or grapeseed to ensure a clean, smooth flavor profile without overpowering the chili and garlic.
- Practice careful stirring during cooking to prevent burning, which can introduce bitter notes and compromise the sauce’s vibrant taste.
- Sterilize storage jars thoroughly to extend the sauce’s shelf life and maintain its fresh, robust flavor when refrigerated.
- Prep Time: 10 minutes
- Cook Time: 9 minutes
- Category: Appetizer, Snacks
- Method: Sautéing
- Cuisine: Chinese
Nutrition
- Serving Size: 8
- Calories: 230
- Sugar: 1.5 g
- Sodium: 750 mg
- Fat: 25 g
- Saturated Fat: 3.5 g
- Unsaturated Fat: 21.0 g
- Trans Fat: 0 g
- Carbohydrates: 2 g
- Fiber: 0.8 g
- Protein: 0.7 g
- Cholesterol: 0 mg
Clara Bennett
Contributing Recipe Developer & Food Writer
Expertise
Baking and Pastry Development, Gluten-Free and Allergy-Friendly Recipe Creation, Culinary Storytelling and Food Journalism, Recipe Testing and Standardization, Southern Comfort Foods and Modern Twists
Education
Sullivan University – National Center for Hospitality Studies
Associate Degree in Culinary Arts
Focus: Baking and Pastry Arts, Recipe Testing, and Culinary Journalism.
Clara specialized in crafting desserts that blend classic Southern comfort with modern techniques, while developing strong writing skills to tell the story behind every dish.
Lane Community College (Certificate Program)
Certificate in Food Writing and Photography
Focus: Culinary storytelling, recipe formatting, food styling, and visual presentation.
Clara’s love of baking started young, powered by homemade pies, biscuits, and stories passed around the family table.
After earning her degree at Sullivan University and a food writing certificate at Lane Community College, she turned her passion into a craft: sharing recipes that are simple, soulful, and always full of heart.
She’s big on bold flavors, flexible ideas, and creating sweets that fit any table (yes, even if you’re gluten-free). When she’s not baking, you’ll find her wandering farmers’ markets, styling food for the next photo shoot, or working on her ever-growing recipe journal.