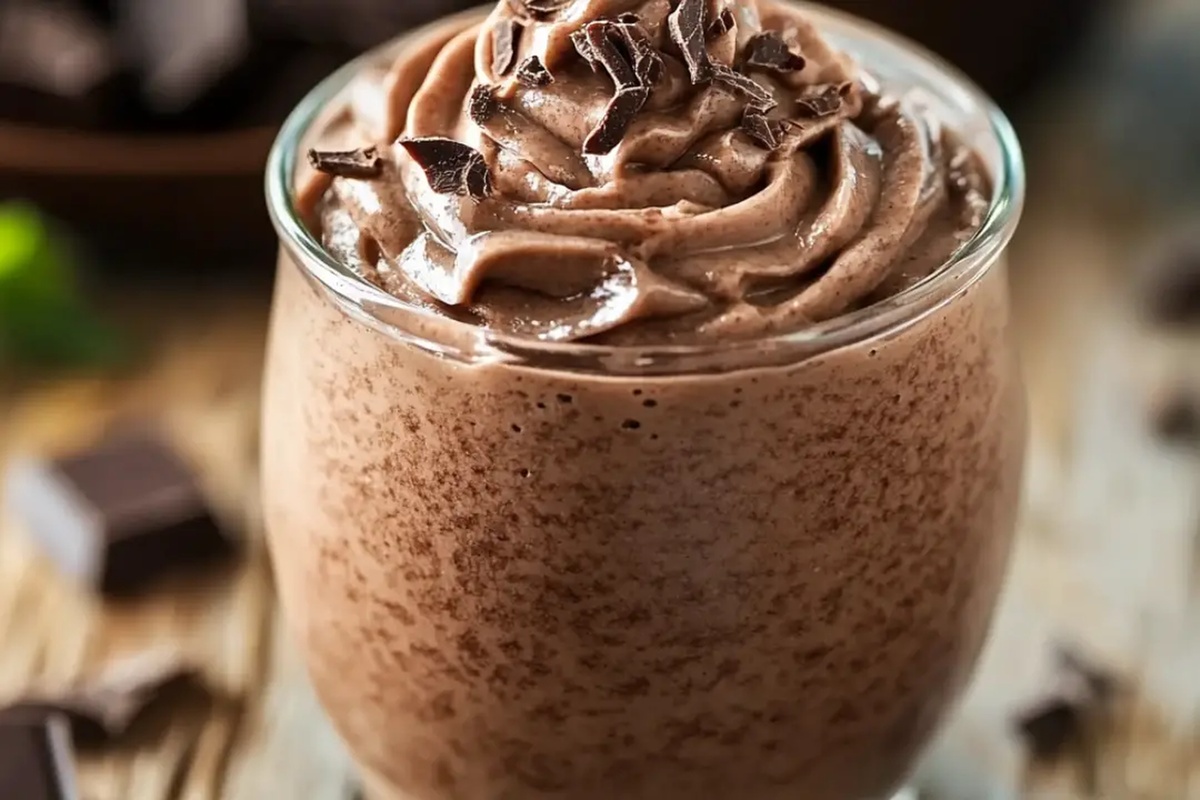
The Perfect Homemade Chocolate Frosty Recipe for Sweet Cravings
Whipping up a delectable chocolate frosty at home becomes a delightful adventure for dessert enthusiasts.
Creamy textures and rich cocoa flavors dance together in this simple recipe.
Cold and smooth, this frozen treat captures the essence of classic diner-style indulgence.
Kids and adults alike will fall in love with its nostalgic charm.
Blending just a few ingredients creates magic in your kitchen.
No fancy equipment or complicated techniques stand between you and this dreamy dessert.
Grab a spoon and prepare to experience pure chocolate bliss that rivals any restaurant version.
Homemade Chocolate Frosty That Satisfies Sweet Cravings
Ingredients to Blend Homemade Chocolate Frosty
For the Dairy Base:For the Flavor Enhancers:How to Make Rich and Creamy Chocolate Frosty
Step 1: Blend Chocolate Base
Grab a spacious mixing bowl and whisk together chocolate milk, cocoa powder, vanilla extract, and salt until the mixture becomes silky smooth and free of lumps. Ensure each ingredient blends perfectly to create a rich chocolate foundation.
Step 2: Incorporate Condensed Milk
Pour sweetened condensed milk into the chocolate mixture, stirring thoroughly until everything integrates seamlessly. The condensed milk will add luxurious sweetness and creamy texture to your dessert.
Step 3: Whip Cream to Perfection
Select a separate bowl and use a hand mixer or stand mixer to beat heavy whipping cream. Continue whipping until soft, billowy peaks form when you lift the beaters.
The cream should look light and fluffy but not overly stiff.
Step 4: Fold Whipped Cream Gently
Carefully fold the whipped cream into the chocolate mixture using gentle, sweeping motions.
Blend until the mixture appears smooth and uniform in color, maintaining the delicate air bubbles in the whipped cream.
Step 5: Freeze and Stir
Transfer the entire mixture into a freezer-safe container.
Place in the freezer and stir every 30-60 minutes to prevent ice crystals from forming. This technique ensures a creamy, authentic Frosty-like consistency.
Step 6: Serve and Indulge
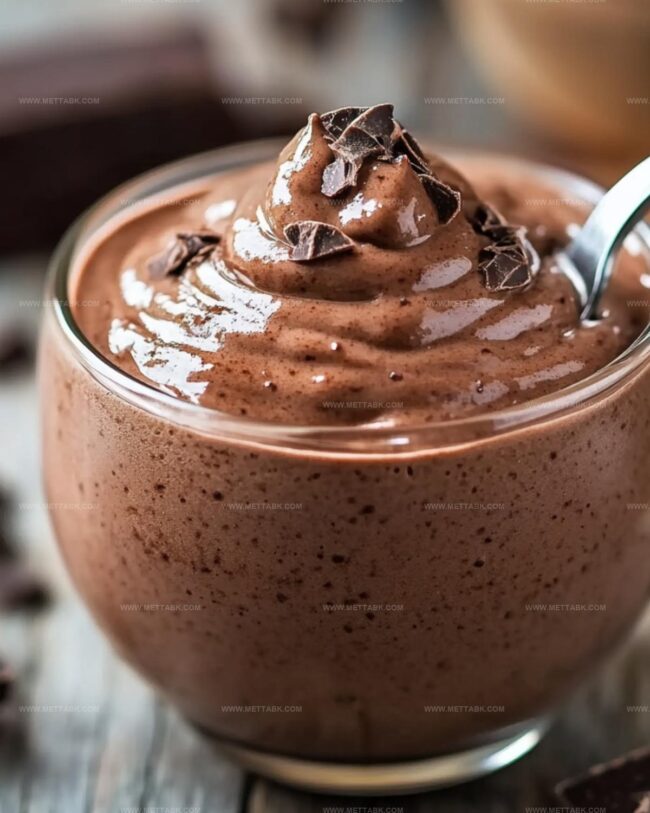
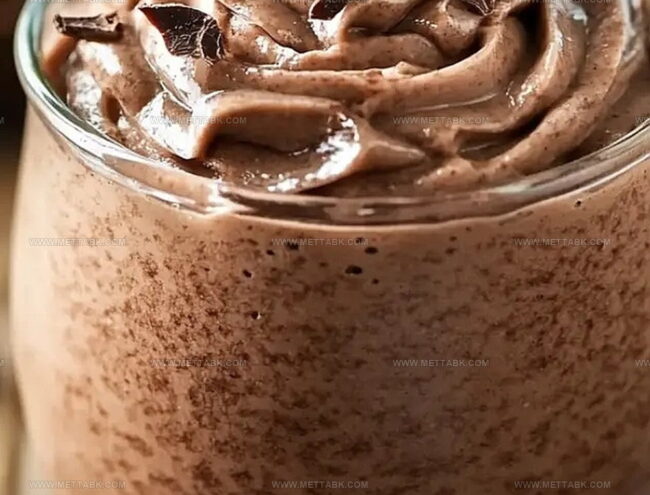
After approximately 4 hours, your homemade Frosty will reach a thick, luscious texture. Scoop into glasses or bowls and savor the delightful chocolate treat you’ve created from scratch.
Tips for the Best Texture and Taste

Flavor Variations to Try at Home
Pairing Suggestions to Enjoy With Your Frosty
Pair Creamy Chocolate Delight with Classic Companions:Proper Storage for Homemade Chocolate Frosty
Transfer leftovers to an airtight container and store in the refrigerator for up to 3 days, covering tightly to prevent freezer burn and preserve texture.
Seal the Frosty in a freezer-safe container with a tight lid, storing for up to 2 weeks, ensuring minimal air exposure to maintain quality.
Remove from freezer and let sit at room temperature for 10-15 minutes, stirring occasionally to restore creamy consistency and even texture.
Gently stir the partially thawed Frosty with a spoon or whisk to break up ice crystals, then serve immediately for the best taste and smoothness.
FAQs
You’ll need chocolate milk, cocoa powder, vanilla extract, salt, sweetened condensed milk, and heavy whipping cream.
No, it’s actually quite simple. You just need to whisk ingredients, beat cream, and fold everything together before freezing.
You’ll want a hand mixer or stand mixer to whip the cream properly, and a freezer-safe container to freeze the mixture.
The active preparation time is about 15-20 minutes, but you’ll need to freeze and stir the mixture for around 4 hours to get the right texture.
Print
Homemade Chocolate Frosty Recipe
- Total Time: 4 hours 20 minutes
- Yield: 4 1x
Description
Creamy Chocolate Frosty delivers classic Wendy’s nostalgia in a simple homemade dessert that whisks you back to childhood memories. Cool chocolate magic comes together with just a few ingredients, letting home cooks craft this beloved frozen treat with effortless charm.
Ingredients
Main Ingredients:
- 1 can (14 ounces/397 grams) sweetened condensed milk
- 2 cups (480 milliliters) heavy whipping cream
- 1/2 cup (120 milliliters) chocolate milk
Flavor and Enhancers:
- 1/4 cup (30 grams) unsweetened cocoa powder
- 1 teaspoon vanilla extract
Seasoning:
- 1 pinch salt
Instructions
- Combine chocolate milk, cocoa powder, vanilla extract, and salt in a spacious mixing vessel, whisking thoroughly until achieving a silky, uniform texture.
- Incorporate sweetened condensed milk, stirring continuously to ensure complete integration of ingredients.
- Utilize a hand mixer or stand mixer to whip heavy cream until soft, billowy peaks emerge, creating a light and airy consistency.
- Delicately incorporate whipped cream into chocolate mixture, folding gently to maintain volume and create a smooth, homogeneous blend.
- Transfer the velvety mixture into a freezer-safe container, ensuring even distribution.
- Freeze for approximately 4 hours at 0°F, interrupting the freezing process every 30-45 minutes to vigorously stir and break up ice crystals, which prevents hard formation and maintains a creamy texture.
- Once the dessert reaches a thick, spoonable consistency with a signature frosty-like smoothness, remove from freezer and serve immediately for optimal enjoyment.
Notes
- Prevent ice crystals by stirring the mixture every 30-60 minutes during freezing, ensuring a smooth, creamy texture similar to the original Frosty.
- For a lighter version, substitute whole milk for chocolate milk and use low-fat sweetened condensed milk to reduce overall calories.
- Create dairy-free alternative by replacing heavy cream with coconut cream and using dairy-free chocolate milk for a vegan-friendly dessert.
- Enhance flavor intensity by adding a pinch of espresso powder or using dark cocoa powder for a richer chocolate experience.
- Prep Time: 20 minutes
- Cook Time: 4 hours
- Category: Desserts, Milkshake
- Method: Freezing
- Cuisine: American
Nutrition
- Serving Size: 4
- Calories: 700
- Sugar: 100g
- Sodium: 150mg
- Fat: 35g
- Saturated Fat: 22g
- Unsaturated Fat: 10g
- Trans Fat: 0.5g
- Carbohydrates: 90g
- Fiber: 4g
- Protein: 8g
- Cholesterol: 120mg
Nate Harper
Founder & Recipe Curator
Expertise
Single-Recipe Development, Farm-to-Table Cooking, Seasonal Menu Planning, Culinary Storytelling, Home Kitchen Innovation
Education
Cascade Culinary Institute – Central Oregon Community College
Certificate in Culinary Arts
Focus: Farm-to-table cuisine, sustainable cooking practices, and seasonal recipe creation.
Nate studied under experienced chefs who emphasized local sourcing, minimal waste, and building recipes from fresh, simple ingredients.
Nate Harper is the founder and creative force behind Make, Take, Bake. Raised in the wild beauty of Oregon’s high desert, Nate grew up surrounded by family gardens, farmers’ markets, and home kitchens that celebrated the seasons.
His early love for simple, honest food evolved into a professional passion when he attended Cascade Culinary Institute, where he sharpened his skills in creating recipes that are sustainable, satisfying, and made for everyday life.
Nate’s goal is to make cooking feel accessible, free of fuss, and full of flavor. He believes a single, thoughtfully built dish can stand alone, and sometimes even steal the show.