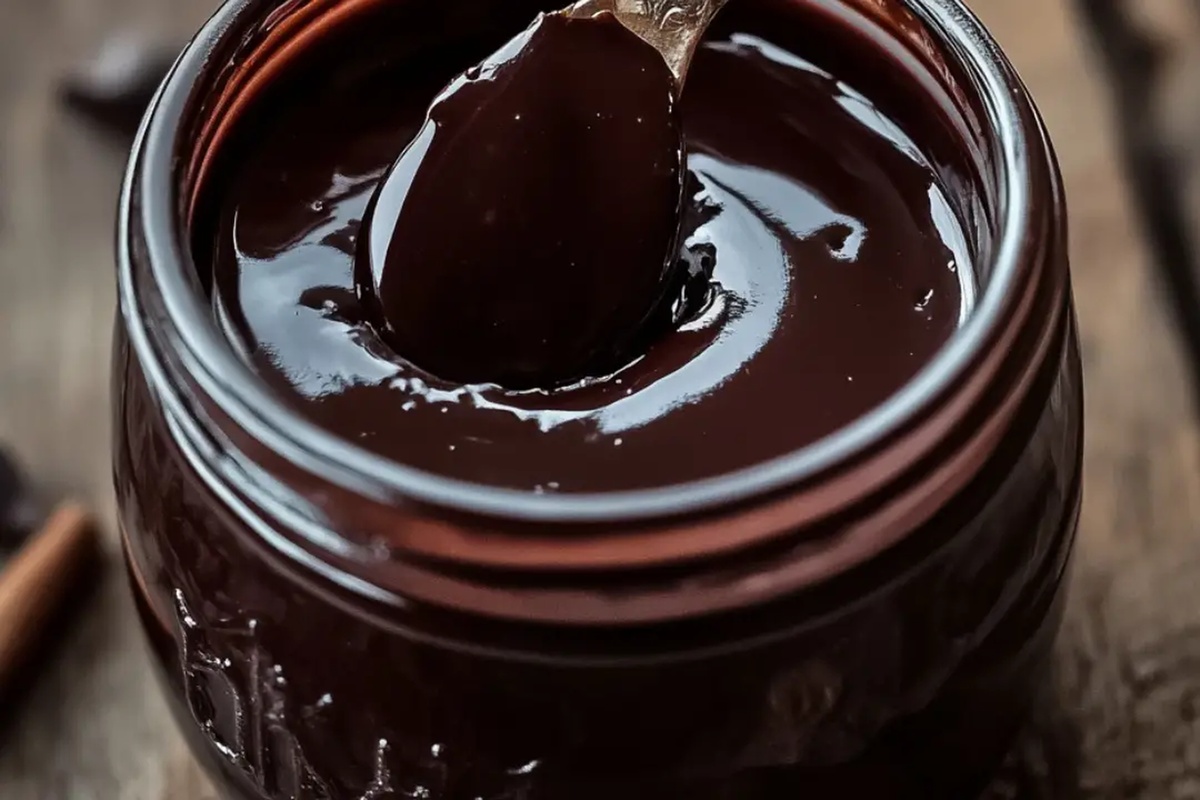
The Best Homemade Chocolate Syrup Recipe for Sweet Drizzles
Crafting a delectable homemade chocolate syrup transforms ordinary desserts into extraordinary culinary delights.
Sweet kitchen adventures begin with simple ingredients waiting in your pantry.
Chocolate lovers understand the magic of creating rich, velvety sauces from scratch.
Rich cocoa and sugar dance together, creating a luscious liquid that makes taste buds sing.
Mixing these pantry staples takes mere minutes and saves money compared to store-bought versions.
Professional chefs and home cooks alike appreciate the deep, intense flavor of fresh chocolate syrup.
You can drizzle this luxurious sauce over ice cream, pancakes, or blend into morning coffee for a decadent treat.
Dive into this easy recipe and watch your desserts become irresistible masterpieces.
Why Chocolate Syrup From Scratch Tastes Better
What You Need for Homemade Chocolate Syrup
For the Base:For the Liquid:For the Flavor Enhancer:How to Make Chocolate Syrup Step-by-Step

Step 1: Blend Cocoa Mixture
In a medium saucepan, use a whisk to thoroughly combine:Ensure all dry ingredients are well mixed and no clumps remain.
Step 2: Introduce Liquid
Slowly pour water into the cocoa mixture while continuously whisking.
The constant movement helps prevent lumps from forming and creates a smooth base for your syrup.
Step 3: Simmer and Thicken
Place the saucepan on medium heat.
Stir the mixture frequently as it begins to bubble gently. Watch the liquid transform and slightly thicken, stirring consistently to prevent burning.
The process takes about 23 minutes.
Step 4: Enhance With Vanilla
Remove the saucepan from heat.
Pour in vanilla extract and stir thoroughly, allowing the rich aroma to blend into the syrup.
Step 5: Prepare for Storage
Let the syrup cool completely to room temperature.
Transfer the smooth, glossy chocolate goodness into a clean glass jar or bottle with a tight-fitting lid. Refrigerate and enjoy for up to 2 weeks.
Tips for Thick and Smooth Chocolate Syrup
Creative Twists for Homemade Chocolate Syrup
What to Pair With Chocolate Syrup Desserts
Elevate Chocolate Syrup Pairings:Best Way to Store Chocolate Syrup After Use
Transfer cooled chocolate syrup to an airtight glass jar or sealed container, keeping it fresh in the refrigerator for up to 2 weeks.
Pour syrup into freezer-safe container, leaving small space for expansion, and freeze for up to 3 months; thaw overnight in refrigerator before use.
Gently warm syrup in microwave using 10-second intervals, stirring between each interval to maintain smooth consistency.
If syrup appears separated after storage, whisk briefly or shake container to restore original texture before serving.
FAQs
Homemade chocolate syrup contains fewer preservatives and allows you to control sugar content, making it a potentially healthier alternative to commercial brands.
Yes, you can substitute granulated sugar with brown sugar or coconut sugar for a slightly different flavor profile, though it may slightly change the texture.
The syrup should coat the back of a spoon and have a smooth, pourable consistency similar to maple syrup. It will continue to thicken as it cools.
Common issues include burning the mixture by not stirring frequently or having lumps if ingredients aren’t whisked properly before heating. Always stir constantly and whisk thoroughly before cooking.
Print
Homemade Chocolate Syrup Recipe
- Total Time: 15 minutes
- Yield: 8 1x
Description
Silky chocolate syrup delivers pure indulgence straight from your kitchen, promising rich flavor without store-bought preservatives. Drizzle this smooth sauce over ice cream, pancakes, or blend into cold drinks for instant chocolate magic.
Ingredients
Main Ingredients:
- 1/2 cup (120 ml) unsweetened cocoa powder
- 1 cup (200 g) granulated sugar
- 3/4 cup (180 ml) water
Flavor Enhancers:
- 1 teaspoon (5 ml) vanilla extract
- 1/8 teaspoon (0.6 g) salt
Instructions
- Blend cocoa powder, sugar, and salt in a medium saucepan, ensuring a uniform mixture without any dry ingredient clumps.
- Introduce water gradually while continuously whisking to create a smooth, lump-free consistency.
- Position saucepan over medium heat, stirring consistently as the liquid approaches a gentle boil. Maintain a consistent simmer for approximately 3-4 minutes until the mixture thickens slightly and develops a glossy texture.
- Remove the saucepan from heat, incorporating vanilla extract with a gentle, thorough stirring motion to distribute the flavor evenly.
- Allow the syrup to cool completely at room temperature, reaching an ambient state that prevents condensation.
- Transfer the cooled syrup into a sterilized glass container with an airtight seal, ensuring no residual moisture remains inside.
- Refrigerate the homemade chocolate syrup, which will maintain optimal quality and flavor for up to 14 days. Gently shake before each use to reincorporate any potential separation.
Notes
- Opt for high-quality cocoa powder to enhance the rich, deep chocolate flavor and ensure a smooth, luxurious syrup.
- Experiment with alternative sweeteners like coconut sugar or monk fruit for a lower-glycemic option that still delivers incredible taste.
- Whisk continuously while cooking to prevent burning and create a silky-smooth texture that coats your favorite desserts perfectly.
- Store in an airtight glass container to maintain freshness and prevent any unwanted flavors from seeping into the syrup.
- Prep Time: 10 minutes
- Cook Time: 5 minutes
- Category: Desserts, Milkshake
- Method: Simmering
- Cuisine: American
Nutrition
- Serving Size: 8
- Calories: 110 kcal
- Sugar: 27 g
- Sodium: 40 mg
- Fat: 1 g
- Saturated Fat: 0.5 g
- Unsaturated Fat: 0.3 g
- Trans Fat: 0 g
- Carbohydrates: 28 g
- Fiber: 2 g
- Protein: 1 g
- Cholesterol: 0 mg
Nate Harper
Founder & Recipe Curator
Expertise
Single-Recipe Development, Farm-to-Table Cooking, Seasonal Menu Planning, Culinary Storytelling, Home Kitchen Innovation
Education
Cascade Culinary Institute – Central Oregon Community College
Certificate in Culinary Arts
Focus: Farm-to-table cuisine, sustainable cooking practices, and seasonal recipe creation.
Nate studied under experienced chefs who emphasized local sourcing, minimal waste, and building recipes from fresh, simple ingredients.
Nate Harper is the founder and creative force behind Make, Take, Bake. Raised in the wild beauty of Oregon’s high desert, Nate grew up surrounded by family gardens, farmers’ markets, and home kitchens that celebrated the seasons.
His early love for simple, honest food evolved into a professional passion when he attended Cascade Culinary Institute, where he sharpened his skills in creating recipes that are sustainable, satisfying, and made for everyday life.
Nate’s goal is to make cooking feel accessible, free of fuss, and full of flavor. He believes a single, thoughtfully built dish can stand alone, and sometimes even steal the show.