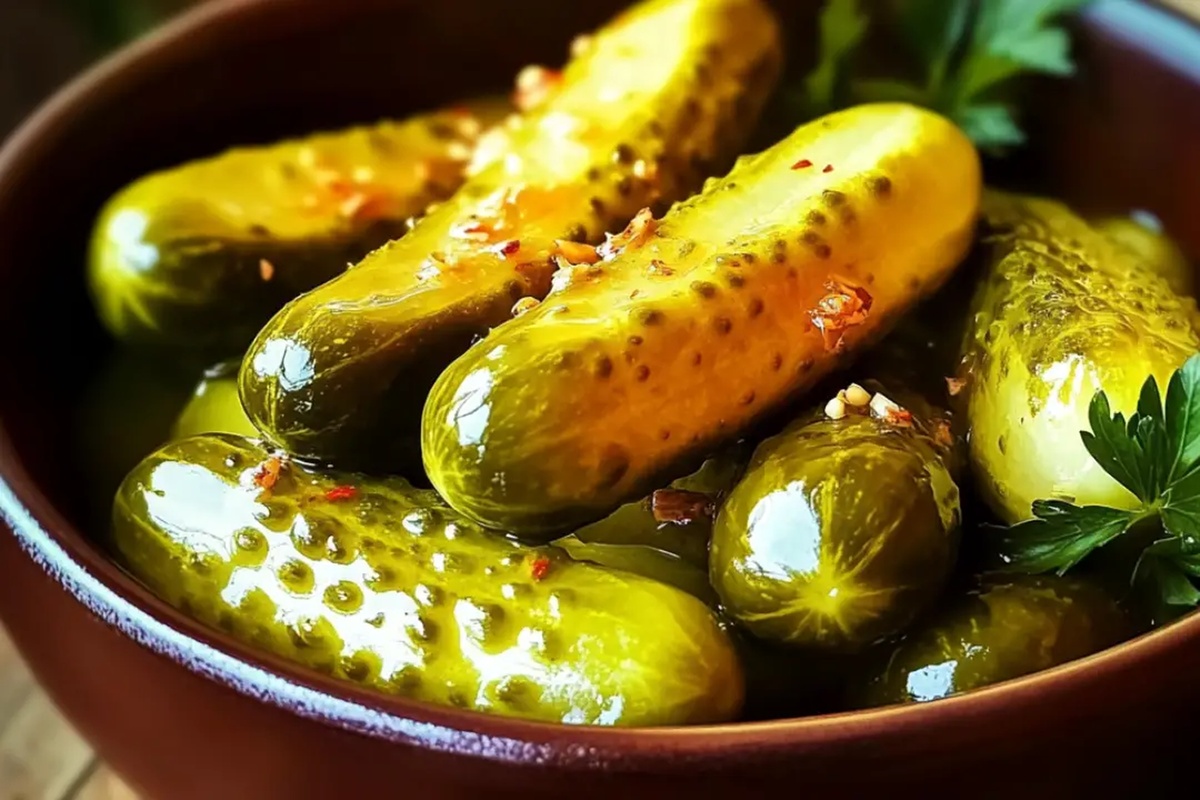
Crisp & Tangy Homemade Claussen Pickles Recipe
Crafting homemade claussen pickles can turn an ordinary afternoon into a crisp, tangy adventure.
Pickle enthusiasts know the magic lies in fresh ingredients and precise techniques.
Salt, vinegar, and cool water form the backbone of this beloved recipe.
Crunchy cucumber slices absorb incredible flavors during a careful brining process.
Many home cooks struggle to replicate that perfect commercial pickle crunch.
Patience becomes your secret weapon when creating these delectable refrigerator pickles.
You’ll savor each zesty bite of this classic condiment that beats store-bought versions hands down.
Homemade Claussen Pickles That Bring the Crunch
Craft Crisp, Tangy Pickles at Home: Reasons to Love This Recipe
Ingredients for Homemade Claussen Pickles
For the Base:For the Brine Components:For the Flavor Enhancers:For the Optional Additions:How to Make Homemade Claussen Pickles

Step 1: Create Flavor-Packed Brine
Grab a medium saucepan and toss in water, vinegar, salt, sugar, smashed garlic, dill seed, mustard seed, black peppercorns, and red pepper flakes. Bring the mixture to a rolling boil, stirring until salt and sugar completely melt away.
Remove from heat and let the brine cool down to room temperature.
Step 2: Prep Crisp Cucumbers
Thoroughly wash the cucumbers.
Slice off about 1/8 inch from the blossom end to keep them super crunchy. You can leave them whole, slice into rounds, cut in half, or create spears – totally up to your pickle preference.
Step 3: Sterilize and Pack Jars
Sanitize your jars and lids by boiling them or running through a dishwasher’s hottest cycle. Pack those cucumbers tightly into the jars.
Feeling fancy? Toss in some extras like:Step 4: Pour Liquid Gold
Once the brine has completely cooled, carefully pour it over the cucumbers.
Leave about 1/2 inch of space at the top. Make sure every cucumber is swimming in the liquid.
Pro tip: Use a small jar or water-filled ziplock bag to keep the cucumbers fully submerged.
Step 5: Seal and Chill
Secure the lids tightly on your jars.
Slide them into the refrigerator and let the magic happen. Wait at least 24 hours, but 48-72 hours is pickle perfection.
The longer they sit, the more intense the flavor becomes.
Step 6: Crunch and Munch
Your homemade pickles are ready to devour!
Store the jars in the refrigerator. They’ll stay crisp and delicious for several weeks to months if kept properly sealed and chilled.
Tips to Nail Homemade Claussen Pickles
Variations to Try on Homemade Claussen Pickles
Pairings That Go with Homemade Claussen Pickles
How to Store Homemade Claussen Pickles
FAQs
Trimming prevents enzyme release that can cause pickle softening, ensuring crisp and crunchy pickles that maintain their texture during the fermentation process.
Kirby or pickling cucumbers work best because they have thicker skins and fewer seeds, which helps maintain crunchiness and provides better pickle quality compared to regular salad cucumbers.
Use fresh, firm cucumbers, add grape leaves or oak leaves to the jar, which contain tannins that help maintain crunchiness, and ensure you refrigerate them quickly after preparing the brine.
Print
Homemade Claussen Pickles Recipe
- Total Time: 30 minutes
- Yield: 4 1x
Description
Crisp, zesty Claussen pickles bring German-style fermentation magic to your kitchen, creating a tangy sensation that elevates sandwich and snack experiences. Homemade pickles deliver fresh crunch and robust flavor you will savor with each delightful bite.
Ingredients
Main Ingredients:
- 2 lbs pickling cucumbers (Kirby cucumbers)
Brine Components:
- 2 cups water
- 1 cup white vinegar (5% acidity)
- 1/4 cup kosher salt (coarse, non-iodized)
- 2 tablespoons sugar
Herbs and Spices:
- 4 cloves garlic, smashed
- 2 tablespoons dill seed
- 1 tablespoon mustard seed
- 1 teaspoon black peppercorns
- 1/2 teaspoon red pepper flakes
Optional Jar Additions:
- 12 sprigs fresh dill
- 1 clove garlic, halved
- 1/4 teaspoon mustard seed
- Few slices of onion
Instructions
- Craft a zesty brine by combining water, vinegar, salt, sugar, crushed garlic, dill seed, mustard seed, black peppercorns, and optional red pepper flakes in a medium saucepan. Bring to a rolling boil over medium heat, stirring until salt and sugar completely dissolve. Remove from heat and allow brine to cool thoroughly to room temperature.
- Thoroughly cleanse cucumbers under cool running water. Delicately trim approximately 1/8 inch from the blossom end to prevent softening. Cut cucumbers into preferred shapes – whole, halved, spears, or slices.
- Sanitize glass jars and lids through boiling or dishwasher’s high-temperature cycle. Layer cucumbers tightly within sterilized containers, interspersing with fresh dill, garlic cloves, mustard seed, and onion slices for enhanced flavor complexity.
- Carefully pour cooled brine over packed cucumbers, maintaining 1/2 inch headspace. Ensure complete cucumber submersion by using a clean weight like a smaller jar or water-filled ziplock bag to keep ingredients fully immersed.
- Securely seal jars with tight-fitting lids. Refrigerate for 24-72 hours, allowing flavors to meld and intensify. Extended refrigeration develops deeper, more robust pickle characteristics.
- After desired flavor development, pickles are ready for consumption. Store in refrigerator, where they will maintain crisp texture and tangy profile for several weeks to months when properly preserved.
Notes
- Slice cucumbers uniformly to ensure even flavor absorption and consistent texture throughout the pickle batch.
- Use fresh, crisp cucumbers with minimal blemishes for the best crunch and homemade pickle quality.
- Consider reducing salt content for low-sodium diets by replacing half the salt with potassium chloride salt substitute.
- Experiment with spice variations like adding turmeric, coriander seeds, or replacing red pepper flakes with jalapeño slices for unique flavor profiles.
- Prep Time: 30 minutes
- Cook Time: 0 minutes
- Category: Snacks, Appetizer
- Method: Pickling
- Cuisine: American
Nutrition
- Serving Size: 4
- Calories: 12 kcal
- Sugar: 1 g
- Sodium: 1463 mg
- Fat: 0 g
- Saturated Fat: 0 g
- Unsaturated Fat: 0 g
- Trans Fat: 0 g
- Carbohydrates: 3 g
- Fiber: 1 g
- Protein: 1 g
- Cholesterol: 0 mg
Nate Harper
Founder & Recipe Curator
Expertise
Single-Recipe Development, Farm-to-Table Cooking, Seasonal Menu Planning, Culinary Storytelling, Home Kitchen Innovation
Education
Cascade Culinary Institute – Central Oregon Community College
Certificate in Culinary Arts
Focus: Farm-to-table cuisine, sustainable cooking practices, and seasonal recipe creation.
Nate studied under experienced chefs who emphasized local sourcing, minimal waste, and building recipes from fresh, simple ingredients.
Nate Harper is the founder and creative force behind Make, Take, Bake. Raised in the wild beauty of Oregon’s high desert, Nate grew up surrounded by family gardens, farmers’ markets, and home kitchens that celebrated the seasons.
His early love for simple, honest food evolved into a professional passion when he attended Cascade Culinary Institute, where he sharpened his skills in creating recipes that are sustainable, satisfying, and made for everyday life.
Nate’s goal is to make cooking feel accessible, free of fuss, and full of flavor. He believes a single, thoughtfully built dish can stand alone, and sometimes even steal the show.