
Dreamy Homemade Cotton Candy Fudge Recipe for Sweet Smiles
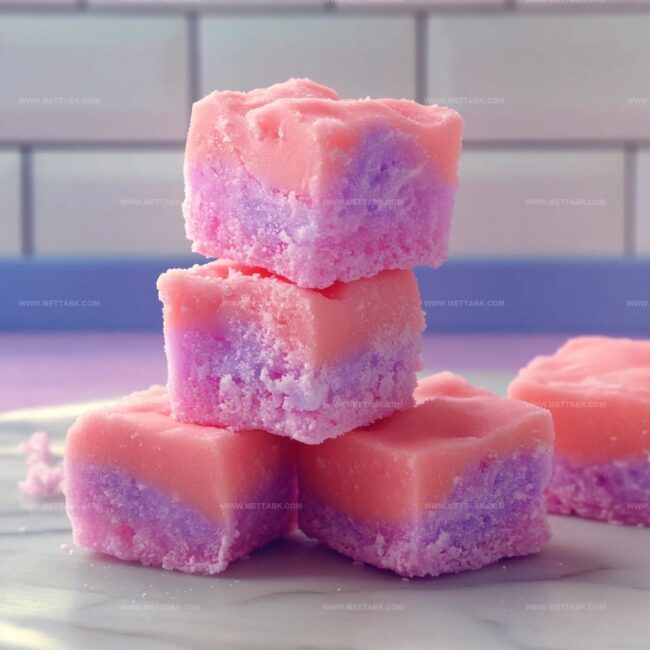
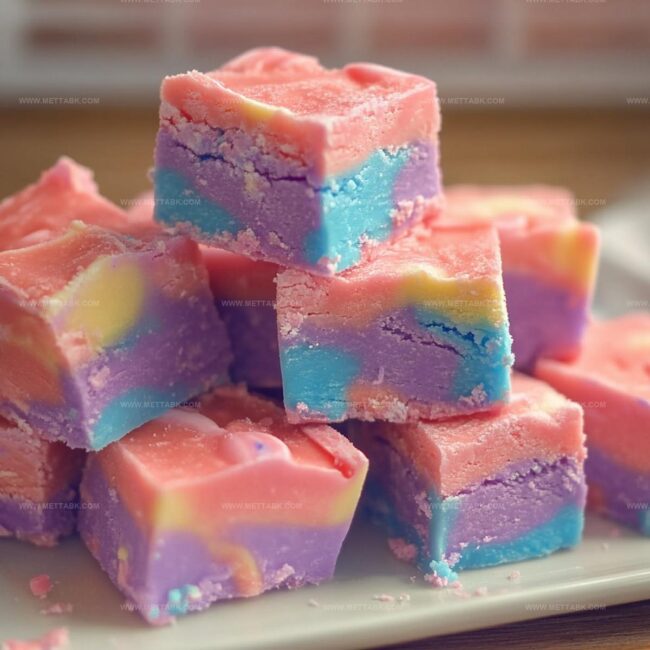
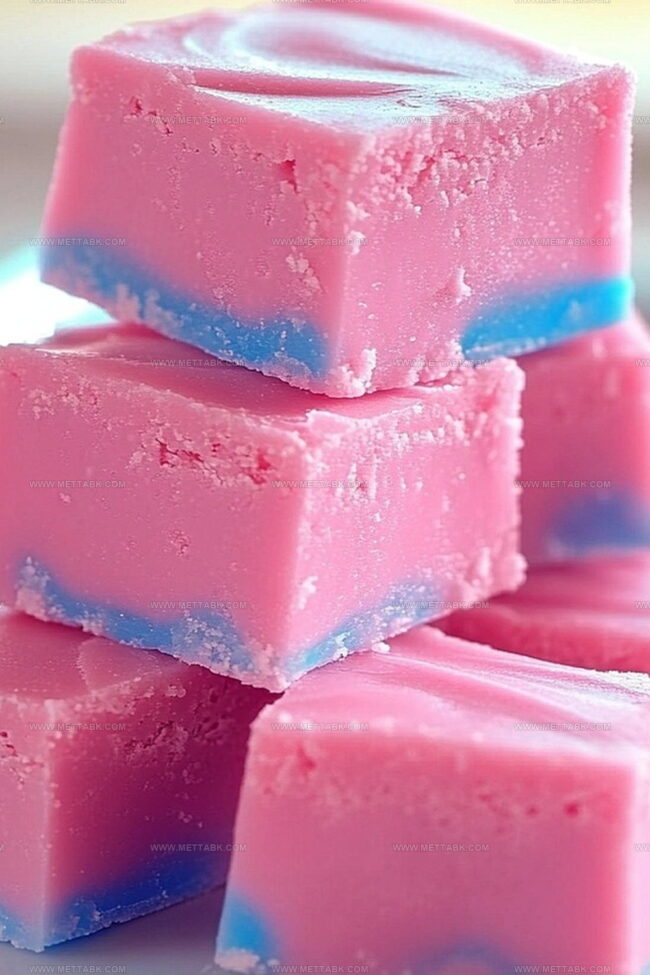
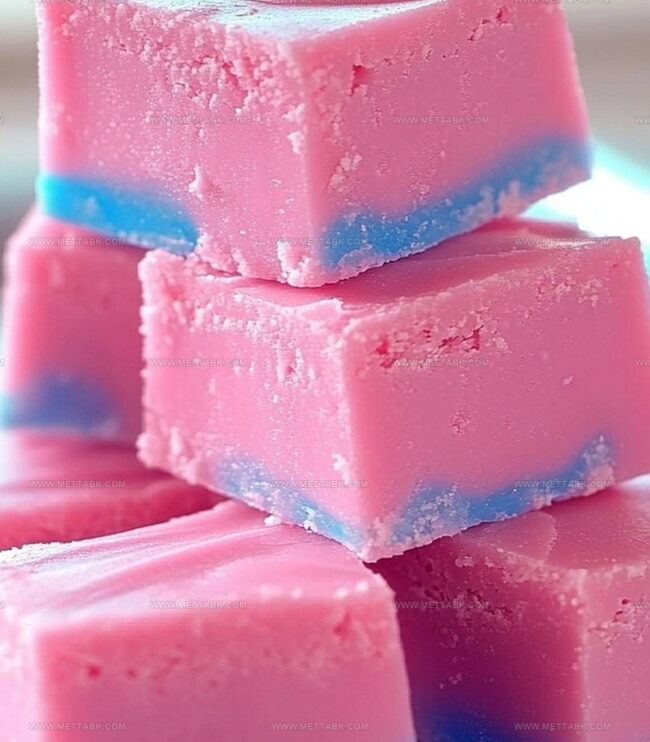
Sweet memories swirl around this magical homemade cotton candy fudge that brings childhood wonder to your kitchen.
Soft pastel colors peek through creamy layers, promising a delightful treat.
Sugar crystals dance with delicate flavors, creating an unexpected dessert experience.
Childhood nostalgia meets gourmet creativity in each delectable bite.
Playful and whimsical, this recipe transforms simple ingredients into a spectacular confection.
Curious bakers will find joy in crafting this dreamy, melt-in-your-mouth sensation that sparks pure happiness.
Grab your apron and let the sugar-spun magic begin!
Homemade Cotton Candy Fudge That’s Sweet and Whimsical
Ingredients for Soft and Sugary Homemade Cotton Candy Fudge
Chocolate Base:Sweeteners:Flavor and Color Enhancers:How to Make Homemade Cotton Candy Fudge Easily
Step 1: Prepare Workspace
Set up a clean, dry countertop with all your baking tools. Line an 8×8-inch baking pan with parchment paper, allowing extra paper to hang over the sides for easy removal later.
Step 2: Melt Chocolate Base
Place white chocolate chips in a microwave-safe bowl. Microwave in short 30-second bursts, stirring between each interval to prevent burning.
Continue until the chocolate transforms into a smooth, glossy liquid.
Step 3: Create Creamy Mixture
Pour sweetened condensed milk into the melted chocolate.
Whisk thoroughly until the mixture becomes silky and completely integrated, creating a luxurious base for your fudge.
Step 4: Infuse Magical Flavor
Add cotton candy flavoring and pastel pink gel food coloring to the mixture.
Stir gently but consistently until the color spreads evenly, creating a dreamy, cotton candy-inspired hue.
Step 5: Set and Chill
Carefully transfer the vibrant mixture into the prepared pan.
Use a spatula to spread the surface evenly, ensuring a smooth top. Place the pan in the refrigerator and let it chill for at least 2 hours until the fudge becomes completely firm.
Step 6: Slice and Serve
Remove the fudge from the refrigerator. Using the parchment paper edges, lift the entire block out of the pan.
Slice into bite-sized squares using a sharp knife. Serve and enjoy your whimsical homemade treat!
Tips for Perfect Homemade Cotton Candy Fudge Every Time
Flavorful Variations on Cotton Candy Fudge to Try
Pairings That Complement Homemade Cotton Candy Fudge Well
Best Storage Ideas for Homemade Cotton Candy Fudge
FAQs
The cotton candy flavoring is the key ingredient that transforms regular white chocolate fudge into a nostalgic carnival-inspired treat, capturing the sweet essence of classic cotton candy.
While the flavoring is crucial for the authentic cotton candy taste, you could substitute with vanilla extract or a similar sweet flavor, though it won’t have the same classic cotton candy profile.
Yes, this recipe is kid-friendly. It’s easy to make, uses simple ingredients, and creates a fun, colorful dessert that children will love both making and eating.
The fudge is ready when it’s firm to the touch and can be cleanly cut into squares after refrigerating for at least 2 hours.
Print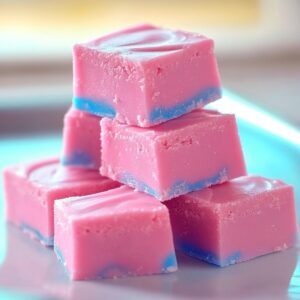
Homemade Cotton Candy Fudge Recipe
- Total Time: 2 hours 15 minutes
- Yield: 16 1x
Description
Homemade cotton candy fudge blends nostalgic carnival sweetness with creamy texture. Rich marshmallow base and pastel colors create a whimsical dessert perfect for celebrations and childhood memories.
Ingredients
- 2 cups white chocolate chips
- 1 can (14 oz / 397 g) sweetened condensed milk
- 1 tsp (5 ml) cotton candy flavoring
- gel-based food coloring (pink and blue)
- pink sea salt (optional)
Instructions
- Arrange all necessary ingredients within arm’s reach to streamline the preparation process.
- Utilize a microwave-safe container to gently melt white chocolate chips, pausing every half-minute to stir and prevent scorching until achieving a velvety consistency.
- Incorporate sweetened condensed milk, stirring thoroughly to create a luxurious, homogeneous mixture.
- Infuse the blend with cotton candy flavoring and introduce vibrant gel food coloring, mixing diligently to ensure uniform distribution.
- Transfer the glossy concoction into a parchment-lined 8×8-inch baking vessel, meticulously leveling the surface with a flexible spatula for an impeccable finish.
- Chill the fudge in the refrigerator for approximately 2 hours, allowing it to solidify completely.
- Once set, slice the confection into precise, bite-sized cubes, revealing the whimsical cotton candy-inspired treat ready to delight taste buds.
Notes
- Swap white chocolate chips for dairy-free alternatives to make this recipe vegan-friendly and inclusive for those with dietary restrictions.
- Experiment with different pastel food gel colors to create a whimsical, Instagram-worthy dessert that pops with visual appeal.
- Use a candy thermometer to ensure precise melting temperatures, preventing chocolate from burning and maintaining a silky smooth texture.
- Store fudge in an airtight container in the refrigerator for up to one week, allowing flavors to develop and maintain optimal consistency.
- Prep Time: 15 minutes
- Cook Time: 2 hours
- Category: Desserts, Snacks
- Method: Blending
- Cuisine: American
Nutrition
- Serving Size: 16
- Calories: 210 kcal
- Sugar: 27 g
- Sodium: 30 mg
- Fat: 10 g
- Saturated Fat: 6 g
- Unsaturated Fat: 4 g
- Trans Fat: 0 g
- Carbohydrates: 28 g
- Fiber: 0.2 g
- Protein: 2 g
- Cholesterol: 10 mg
Clara Bennett
Contributing Recipe Developer & Food Writer
Expertise
Baking and Pastry Development, Gluten-Free and Allergy-Friendly Recipe Creation, Culinary Storytelling and Food Journalism, Recipe Testing and Standardization, Southern Comfort Foods and Modern Twists
Education
Sullivan University – National Center for Hospitality Studies
Associate Degree in Culinary Arts
Focus: Baking and Pastry Arts, Recipe Testing, and Culinary Journalism.
Clara specialized in crafting desserts that blend classic Southern comfort with modern techniques, while developing strong writing skills to tell the story behind every dish.
Lane Community College (Certificate Program)
Certificate in Food Writing and Photography
Focus: Culinary storytelling, recipe formatting, food styling, and visual presentation.
Clara’s love of baking started young, powered by homemade pies, biscuits, and stories passed around the family table.
After earning her degree at Sullivan University and a food writing certificate at Lane Community College, she turned her passion into a craft: sharing recipes that are simple, soulful, and always full of heart.
She’s big on bold flavors, flexible ideas, and creating sweets that fit any table (yes, even if you’re gluten-free). When she’s not baking, you’ll find her wandering farmers’ markets, styling food for the next photo shoot, or working on her ever-growing recipe journal.