
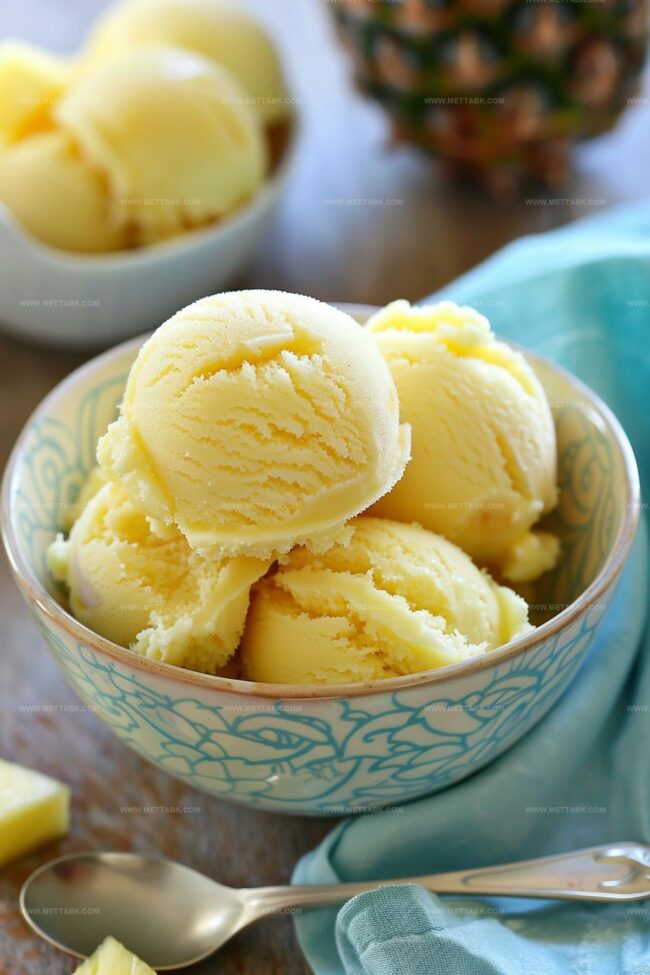
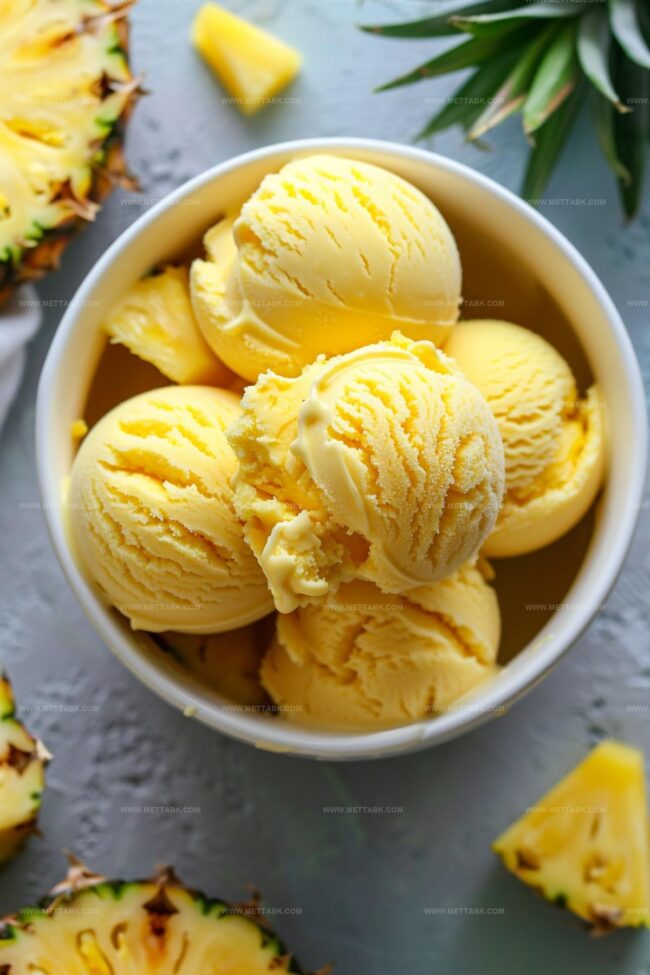
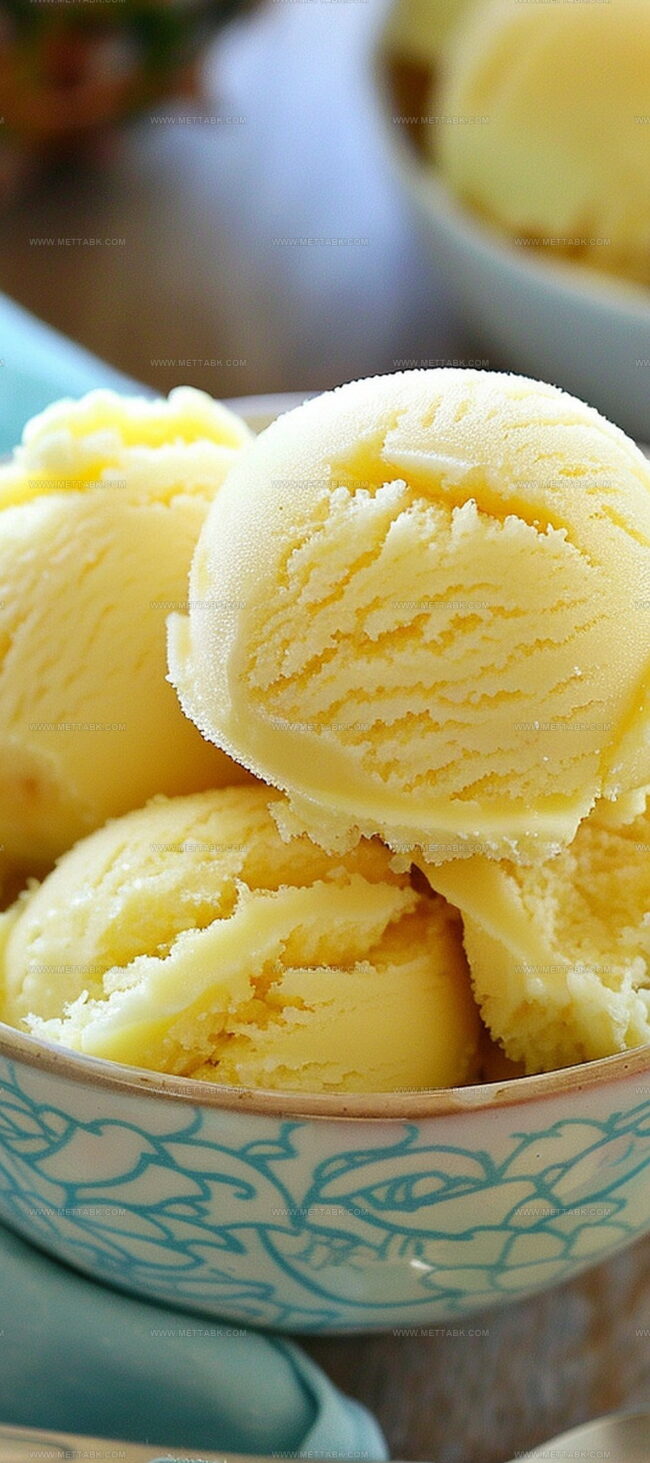
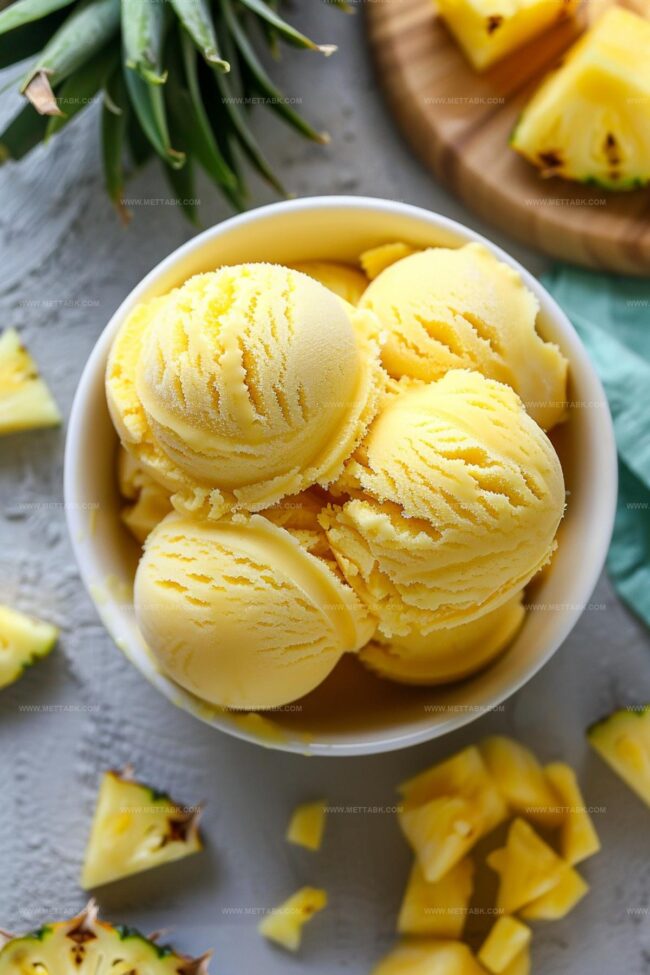
The Tropical Bliss: Homemade Fresh Pineapple Ice Cream Recipe
Crafting a smooth, creamy fresh pineapple ice cream can transport you straight to tropical paradise.
Sweet golden chunks blend seamlessly into a delightful frozen treat.
Summer afternoons feel magical with such a refreshing dessert waiting in your kitchen.
Ripe pineapples deliver natural sweetness that commercial brands cannot match.
Homemade recipes let you control ingredients and experiment with flavors.
Each spoonful promises pure, vibrant enjoyment without artificial additives.
You deserve this delectable tropical indulgence that celebrates the pure essence of fresh fruit.
Homemade Fresh Pineapple Ice Cream You’ll Love
Ingredients for Homemade Fresh Pineapple Ice Cream
Fresh Produce:Dairy Base:Sweeteners and Seasoning:How to Make Homemade Fresh Pineapple Ice Cream
Step 1: Caramelize Pineapple
Grab your favorite saucepan and toss in freshly diced pineapple. Cook over medium heat, stirring constantly until the fruit softens and develops a golden glow.
This magical process will mellow out any sharp edges and create a rich, smooth flavor base.
Step 2: Create Creamy Base
Blend these delightful ingredients into the warm pineapple:Warm the mixture gently, stirring with love until it’s steamy but not boiling.
You’re creating liquid gold here!
Step 3: Tame the Egg Yolks
Whisk egg yolks in a separate bowl.
Slowly drizzle the warm cream mixture into the yolks, whisking like crazy. This technique prevents scrambled eggs and ensures silky smoothness.
Step 4: Transform the Mixture
Pour the egg mixture back into the saucepan. Cook on low heat, stirring continuously until the mixture thickens enough to coat a spoon.
Patience is your secret weapon here.
Step 5: Chill and Smooth
Strain the mixture through a fine sieve to catch any sneaky lumps.
Cover the surface with plastic wrap and refrigerate until completely cold. This might take a few hours, so plan ahead.
Step 6: Churn to Perfection
Pour the chilled mixture into an ice cream maker. Let the machine work its magic until the texture resembles soft serve.
Watch it transform before your eyes!
Step 7: Freeze and Set
Transfer the churned ice cream to a freezer-safe container.
Let it rest in the freezer for at least 4 hours. This is where patience truly becomes a virtue.
Step 8: Scoop and Enjoy
Pull out your tropical treasure and scoop into bowls. Each spoonful is a vacation in paradise.
Store any leftovers in an airtight container for future bliss.
Tips to Perfect Homemade Fresh Pineapple Ice Cream

Variations on Homemade Fresh Pineapple Ice Cream
Pairing Ideas for Homemade Fresh Pineapple Ice Cream

Storing Homemade Fresh Pineapple Ice Cream
FAQs
Cooking pineapple softens its texture and reduces natural bitterness, which helps create a smoother and more balanced ice cream flavor that won’t clash with dairy ingredients.
While fresh pineapple is recommended, you can use frozen pineapple. Just ensure it’s thawed and drained completely before cooking to prevent excess moisture in the ice cream.
Tempering gradually raises the egg yolks’ temperature, preventing them from scrambling when added to the hot mixture. This technique ensures a smooth, creamy custard base for the ice cream.
Print
Homemade Fresh Pineapple Ice Cream Recipe
- Total Time: 25 minutes
- Yield: 4 1x
Description
Creamy homemade fresh pineapple ice cream delivers tropical paradise on a spoon. Silky smooth texture and sweet-tangy flavor make this dessert a perfect summer treat you’ll crave again and again.
Ingredients
- 1 1/2 cups (360 ml) fresh pineapple (finely diced)
- 3 large egg yolks
- 1 1/2 cups (360 ml) heavy cream
- 1 cup (240 ml) whole milk
- 1/2 cup (100 g) granulated sugar
- 1/4 tsp salt
Instructions
- Caramelize the pineapple in a nonstick saucepan over medium heat for 5-7 minutes, stirring frequently until softened and slightly translucent. This process reduces the fruit’s natural bitterness when combined with dairy.
- Add heavy cream, whole milk, sugar, and salt to the saucepan. Heat the mixture until it nearly reaches a simmer, stirring constantly to prevent scorching.
- Whisk egg yolks in a separate heat-proof bowl. Gradually pour half of the warm cream mixture into the yolks, whisking continuously to prevent curdling.
- Reincorporate the tempered egg mixture into the saucepan. Cook on low heat, whisking until the mixture thickens and coats the back of a spoon, approximately 4-6 minutes. The ideal temperature is 170°F (77°C).
- Strain the mixture through a fine mesh sieve into a large bowl to ensure smoothness. Cover the surface directly with plastic wrap to prevent skin formation.
- Refrigerate the mixture for at least 4 hours until completely chilled.
- Churn the mixture in an ice cream maker following the manufacturer’s instructions until it reaches a soft-serve consistency.
- Transfer the churned ice cream to an airtight container and freeze for a minimum of 4 hours to achieve the perfect texture.
- Serve the pineapple ice cream chilled, storing any remaining portions in the freezer to maintain freshness.
Notes
- Reduce Pineapple Bitterness by caramelizing the fruit slightly before adding to the base, which mellows out sharp edges and creates deeper flavor complexity.
- Prevent Egg Scrambling by tempering slowly and whisking continuously, ensuring a silky smooth custard without unwanted protein chunks.
- Enhance Texture by adding a tablespoon of corn syrup or vodka during churning, which helps create a softer, more scoopable ice cream that resists immediate freezing.
- Dairy-Free Alternative can be achieved by substituting coconut milk for heavy cream and using cornstarch instead of egg yolks to maintain creamy consistency.
- Prep Time: 15 minutes
- Cook Time: 10 minutes
- Category: Desserts
- Method: Simmering
- Cuisine: American
Nutrition
- Serving Size: 4
- Calories: 280 kcal
- Sugar: 24 g
- Sodium: 110 mg
- Fat: 20 g
- Saturated Fat: 12 g
- Unsaturated Fat: 6 g
- Trans Fat: 0.5 g
- Carbohydrates: 22 g
- Fiber: 1 g
- Protein: 4 g
- Cholesterol: 150 mg
Clara Bennett
Contributing Recipe Developer & Food Writer
Expertise
Baking and Pastry Development, Gluten-Free and Allergy-Friendly Recipe Creation, Culinary Storytelling and Food Journalism, Recipe Testing and Standardization, Southern Comfort Foods and Modern Twists
Education
Sullivan University – National Center for Hospitality Studies
Associate Degree in Culinary Arts
Focus: Baking and Pastry Arts, Recipe Testing, and Culinary Journalism.
Clara specialized in crafting desserts that blend classic Southern comfort with modern techniques, while developing strong writing skills to tell the story behind every dish.
Lane Community College (Certificate Program)
Certificate in Food Writing and Photography
Focus: Culinary storytelling, recipe formatting, food styling, and visual presentation.
Clara’s love of baking started young, powered by homemade pies, biscuits, and stories passed around the family table.
After earning her degree at Sullivan University and a food writing certificate at Lane Community College, she turned her passion into a craft: sharing recipes that are simple, soulful, and always full of heart.
She’s big on bold flavors, flexible ideas, and creating sweets that fit any table (yes, even if you’re gluten-free). When she’s not baking, you’ll find her wandering farmers’ markets, styling food for the next photo shoot, or working on her ever-growing recipe journal.