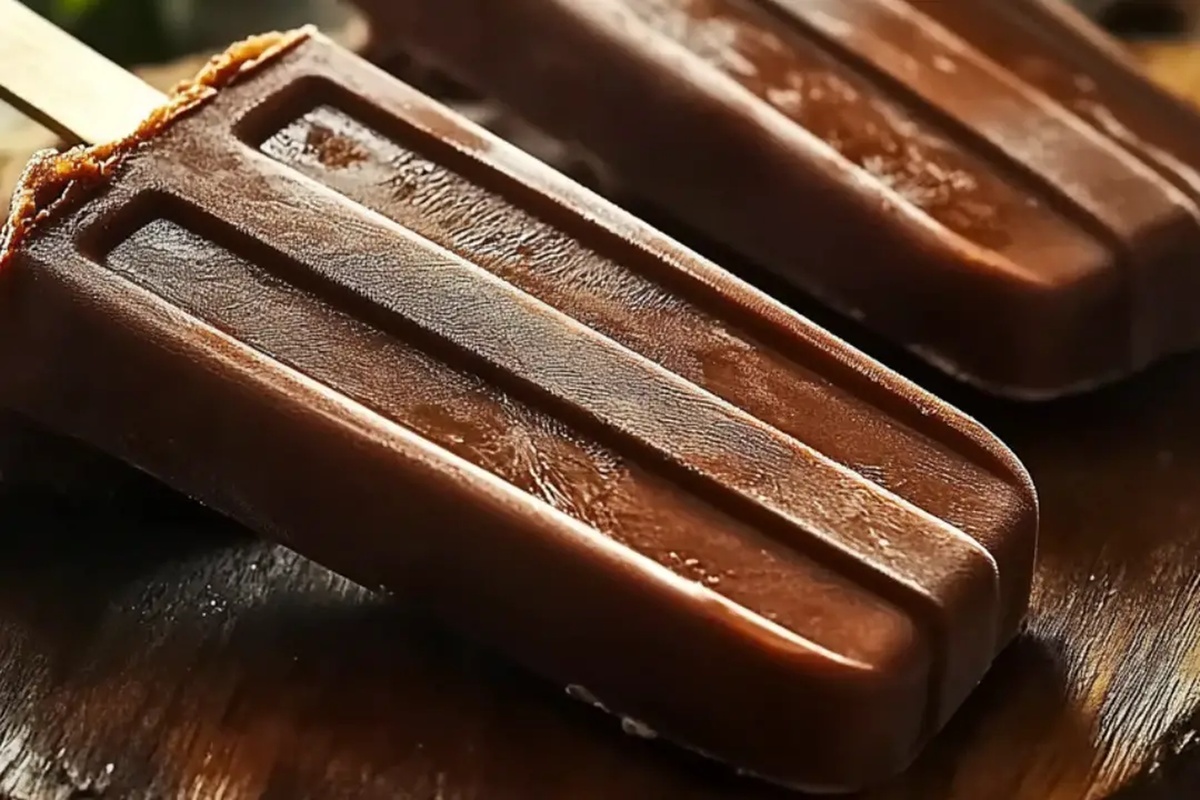
The Best Homemade Fudgesicles Recipe for Summer Bliss
Cool summer afternoons call for delightful homemade fudgesicles that bring instant joy to sticky, heat-drenched moments.
Memories of childhood treats dance through my kitchen while crafting these creamy chocolate popsicles.
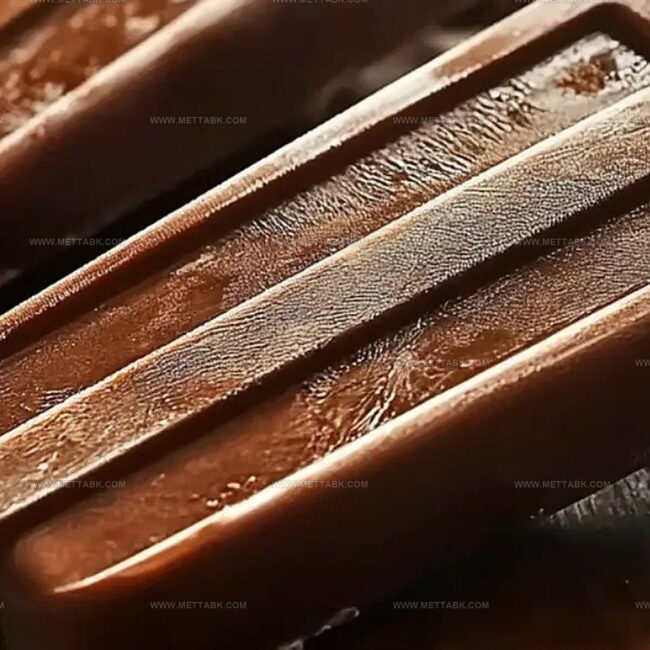
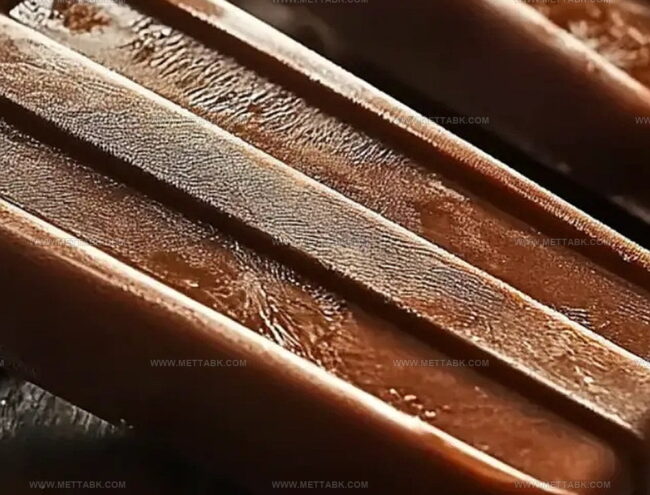
Silky smooth and intensely rich, these frozen delights require minimal ingredients and zero special equipment.
Simple pantry staples merge into a decadent dessert anyone can master in minutes.
Blending cocoa, milk, and sweetener creates a magical transformation that beats store-bought versions hands down.
Creamy chocolate waves will soon fill your freezer molds, promising refreshment with each delectable bite.
Let’s whip up these nostalgic treats that guarantee smiles and sweet satisfaction.
Why Homemade Fudgesicles Are a Must-Try Dessert
Ingredients Needed for Homemade Fudgesicles
For the Base:For the Liquid:For the Flavor and Finishing:How to Make Homemade Fudgesicles Step-by-Step
Step 1: Create Chocolatey Base
In a medium saucepan, combine your chocolate ingredients:Whisk these dry ingredients together until they’re completely blended and free of lumps.
Step 2: Add Creamy Liquid
Slowly pour in milk and cream while continuously whisking.
Keep mixing until the mixture becomes perfectly smooth with no visible bumps or separation.
Step 3: Cook and Thicken
Place the saucepan on medium heat.
Stir constantly with a whisk to prevent any burning or sticking. Watch the mixture transform and thicken.
Keep whisking until the mixture starts bubbling and reaches a pudding-like consistency, which takes about 5-7 minutes.
Step 4: Boost Flavor
Remove the pan from heat.
Pour in vanilla extract and stir thoroughly to distribute the rich, sweet flavor throughout the chocolate mixture.
Step 5: Prepare for Freezing
Allow the chocolate mixture to cool slightly so it’s not scalding hot.
Carefully pour the liquid into popsicle molds, leaving a small space at the top for expansion.
Step 6: Insert Popsicle Sticks
Gently place popsicle sticks into the center of each mold.
Make sure they’re standing straight and centered.
Step 7: Freeze to Perfection
Place the molds in the freezer.
Let them set for at least 4-6 hours or overnight until completely solid and frosty.
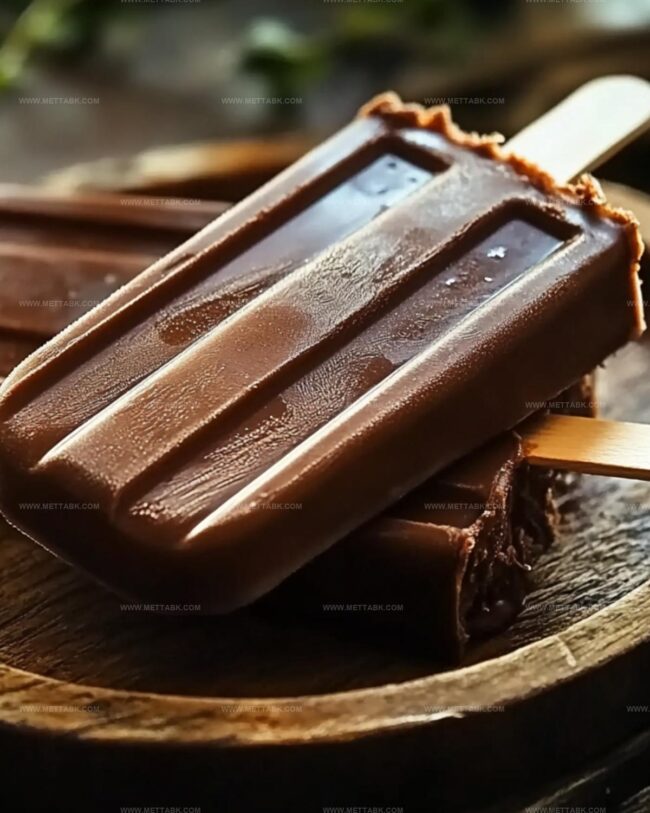
Step 8: Unmold and Enjoy
Run warm water over the outside of the mold for a few seconds to help release the fudgesicles.
Gently wiggle and pull each popsicle out. Serve immediately and enjoy your homemade chocolatey treat!
Helpful Tips for Creamy Homemade Fudgesicles
Flavor Variations for Homemade Fudgesicles
Best Pairings With Homemade Fudgesicles Dessert
How to Store Homemade Fudgesicles Properly
Transfer leftover fudgesicles to an airtight container, layer with parchment paper between each popsicle to prevent sticking, and store in the freezer for up to 2 weeks.
Individually wrap each fudgesicle in plastic wrap, then place in a freezer-safe zip-top bag to maintain freshness and prevent freezer burn for 34 days.
Keep fudgesicles in their original popsicle molds, covering tightly with the mold’s lid or plastic wrap, which helps preserve texture and prevents absorption of other freezer odors.
Remove fudgesicle from freezer and let sit at room temperature for 23 minutes, or run briefly under warm water to soften slightly before enjoying.
FAQs
Yes! Homemade fudgesicles let you control ingredients, reduce sugar, and avoid preservatives compared to commercial brands.
Absolutely! Substitute dairy milk with almond, oat, or coconut milk for a dairy-free version that works just as well.
Dutch-processed cocoa powder provides the richest chocolate flavor and creates a smoother, more intense fudgesicle texture.
Whisking the mixture thoroughly and ensuring all ingredients are well combined helps create a smooth, creamy texture that minimizes ice crystal formation.
Print
Homemade Fudgesicles Recipe
- Total Time: 22 minutes
- Yield: 6 1x
Description
Creamy chocolate Homemade Fudgesicles bring summer nostalgia with rich, silky indulgence. Cool dessert lovers will savor these simple, refreshing treats that deliver pure bliss in every frosty bite.
Ingredients
Main Ingredients:
- 1/4 cup unsweetened cocoa powder
- 2 cups whole milk
- 1/2 cup heavy cream
Sweeteners:
- 1/2 cup granulated sugar
- 1/2 teaspoon vanilla extract
Thickeners and Seasonings:
- 1 tablespoon cornstarch
- Pinch of salt
Instructions
- Combine cocoa powder, sugar, cornstarch, and salt in a medium saucepan, creating a dry ingredient base for rich chocolate popsicles.
- Gradually incorporate milk and cream into the dry mixture, whisking meticulously to eliminate any potential lumps and achieve a silky smooth texture.
- Position the saucepan over medium heat, continuously stirring the liquid mixture to prevent scorching and ensure even heat distribution.
- Monitor the mixture closely, whisking constantly until it transforms into a thick, bubbling chocolate custard, approximately 5-7 minutes.
- Remove the saucepan from heat and introduce vanilla extract, stirring to infuse a deep, aromatic flavor throughout the mixture.
- Allow the chocolate base to cool slightly, preventing potential ice crystal formation when freezing.
- Carefully transfer the liquid into popsicle molds, leaving a small space at the top to accommodate expansion during freezing.
- Gently insert popsicle sticks, ensuring they are centered and stable within each mold.
- Transfer molds to the freezer and allow to solidify completely for 4-6 hours or overnight for optimal texture.
- To release frozen treats, briefly submerge mold edges under warm running water, then delicately extract each fudgesicle.
Notes
- Customize the cocoa intensity by adjusting the cocoa powder quantity for a richer or milder chocolate flavor.
- Use alternative milk options like almond, oat, or coconut milk for dairy-free or vegan versions of the fudgesicles.
- Enhance the texture by whisking vigorously to ensure a completely smooth mixture without lumps.
- Experiment with adding a pinch of espresso powder or cinnamon to deepen the chocolate flavor profile.
- Prep Time: 15 minutes
- Cook Time: 7 minutes
- Category: Desserts, Snacks
- Method: Simmering
- Cuisine: American
Nutrition
- Serving Size: 6
- Calories: 118 kcal
- Sugar: 13 g
- Sodium: 40 mg
- Fat: 6 g
- Saturated Fat: 3.7 g
- Unsaturated Fat: 2 g
- Trans Fat: 0.1 g
- Carbohydrates: 14 g
- Fiber: 1.4 g
- Protein: 2.5 g
- Cholesterol: 20 mg
Clara Bennett
Contributing Recipe Developer & Food Writer
Expertise
Baking and Pastry Development, Gluten-Free and Allergy-Friendly Recipe Creation, Culinary Storytelling and Food Journalism, Recipe Testing and Standardization, Southern Comfort Foods and Modern Twists
Education
Sullivan University – National Center for Hospitality Studies
Associate Degree in Culinary Arts
Focus: Baking and Pastry Arts, Recipe Testing, and Culinary Journalism.
Clara specialized in crafting desserts that blend classic Southern comfort with modern techniques, while developing strong writing skills to tell the story behind every dish.
Lane Community College (Certificate Program)
Certificate in Food Writing and Photography
Focus: Culinary storytelling, recipe formatting, food styling, and visual presentation.
Clara’s love of baking started young, powered by homemade pies, biscuits, and stories passed around the family table.
After earning her degree at Sullivan University and a food writing certificate at Lane Community College, she turned her passion into a craft: sharing recipes that are simple, soulful, and always full of heart.
She’s big on bold flavors, flexible ideas, and creating sweets that fit any table (yes, even if you’re gluten-free). When she’s not baking, you’ll find her wandering farmers’ markets, styling food for the next photo shoot, or working on her ever-growing recipe journal.