
Dreamy Homemade Mousse Recipe: Silky Pleasure in Every Spoonful
Whipping up a delectable homemade mousse brings pure culinary magic to your dessert repertoire.
Silky textures and rich flavors dance across your palate with each delightful spoonful.
Chocolate depths or fruity lightness create endless possibilities for this classic treat.
Professional pastry techniques become surprisingly simple when you break down the process step by step.
Ingredients come together effortlessly, promising an elegant finale to any meal.
Light and airy clouds of creamy perfection await your kitchen adventure.
Let’s unlock the secrets of creating a mousse that will make everyone swoon with delight.
Simplest Ever Homemade Mousse to Try
Ingredients Behind Homemade Mousse
Mousse Base:Optional Flavor Enhancers:Serving and Storage:How to Make Homemade Mousse
Step 1: Whip Up Pudding Magic
Grab your hand mixer and a pack of instant pudding. Instead of milk, pour in heavy whipping cream.
Mix everything together until smooth and creamy. This special swap turns ordinary pudding into a dreamy dessert.
Step 2: Chill and Thicken
Pop your pudding mixture into the refrigerator for about 15 minutes. This cooling time helps the flavors blend and texture set.
After chilling, take it out and whip again until it becomes thick and fluffy like a classic mousse.
Step 3: Store Your Sweet Creation
Transfer the mousse into an airtight container.
Your delightful dessert will stay fresh in the refrigerator for up to two weeks. For a fun twist, you can also freeze it for a cool treat.
Just make sure to cover the container tightly to lock in all that delicious flavor.
Tips to Perfect Homemade Mousse
Variations on Homemade Mousse
Pairings That Go Well with Homemade Mousse
Storage Tips for Homemade Mousse
FAQs
This mousse uses instant pudding mix and heavy whipping cream instead of complex techniques, creating a simple yet delicious dessert that anyone can make quickly without professional baking skills.
Absolutely! You can experiment with various instant pudding flavors like chocolate, vanilla, butterscotch, or pistachio to create different mousse variations and customize your dessert experience.
No special equipment is required – just a hand mixer and basic mixing bowls. This recipe is beginner-friendly and doesn’t demand professional kitchen tools or advanced cooking techniques.
Print
Homemade Mousse Recipe
- Total Time: 1 hour 30 minutes
- Yield: 4 1x
Description
Rich chocolate mousse celebrates classic French dessert techniques with silky smooth texture. Chocolate lovers savor each spoonful of this elegant, creamy treat that promises pure indulgence.
Ingredients
- 2–3 cups heavy whipping cream
- 1 package instant pudding (any flavor)
Instructions
- Whip instant pudding mix with heavy whipping cream using a hand mixer, replacing milk as specified on the package to create a rich, creamy base.
- Refrigerate the mixture for 15-20 minutes to allow initial setting and flavor melding.
- Remove from refrigerator and vigorously remix until the texture becomes thick and mousse-like, ensuring a smooth, luxurious consistency.
- Transfer the prepared mousse into an airtight container, smoothing the surface to prevent air pockets.
- Refrigerate for at least 1 hour before serving to enhance flavor and firmness.
- For extended storage, keep the mousse sealed in the refrigerator up to 2 weeks or freeze for longer preservation.
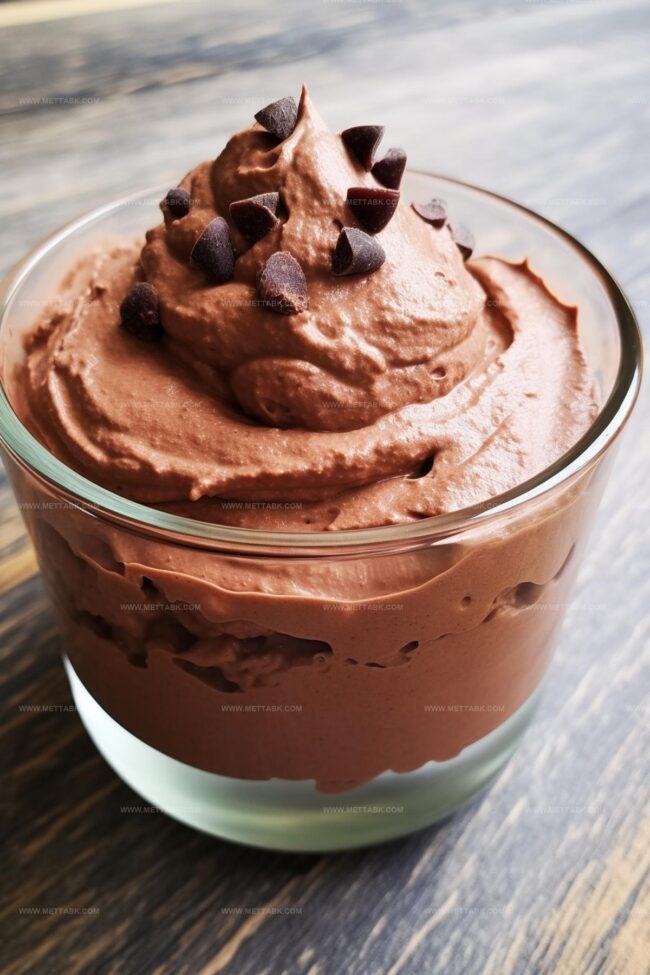
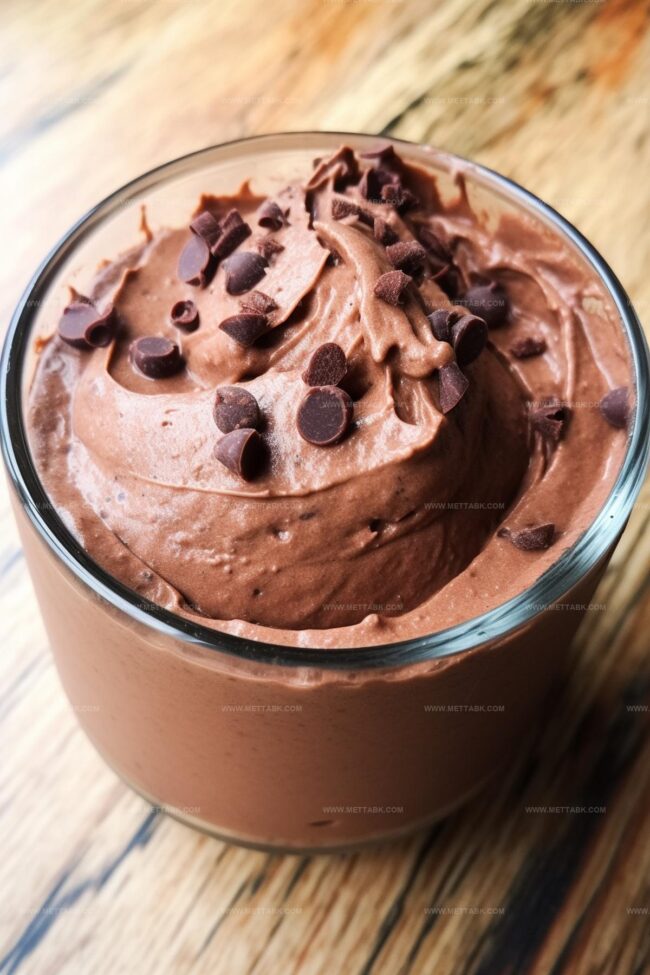
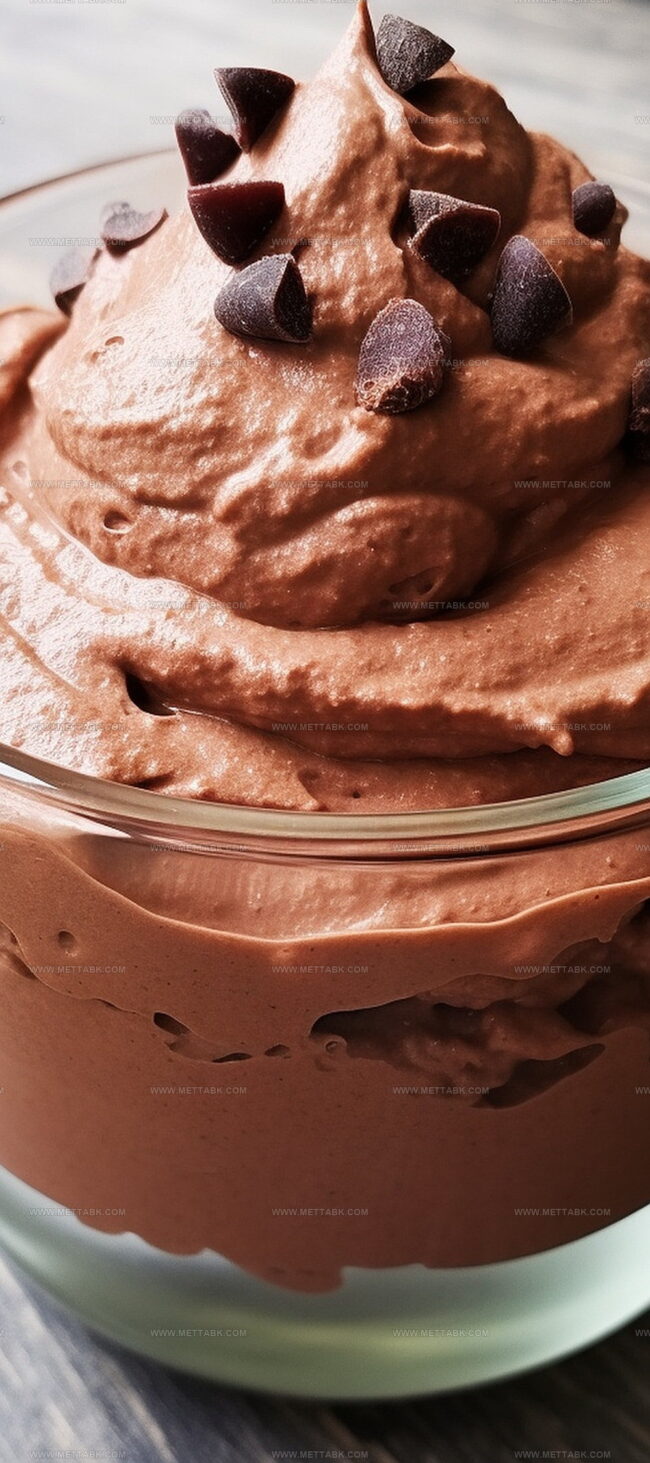
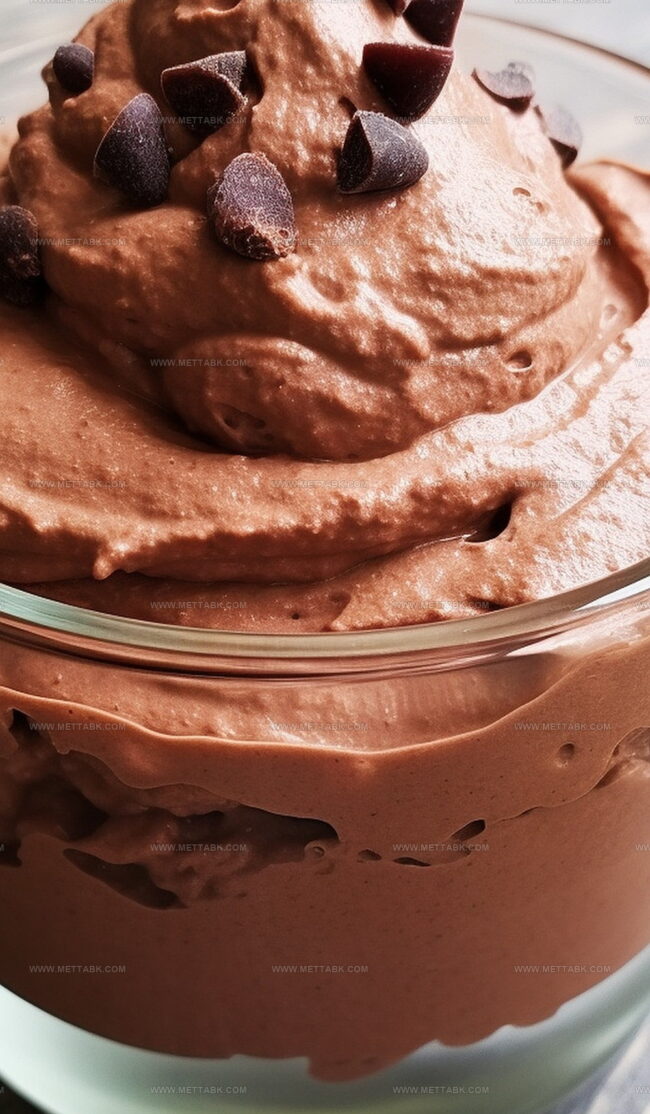
- When ready to serve, garnish with optional toppings like whipped cream, chocolate shavings, or fresh berries to elevate the dessert’s presentation.
Notes
- Choose a high-quality instant pudding mix for the best flavor and smoothest texture in your mousse.
- Ensure heavy whipping cream is cold before mixing to help achieve maximum volume and fluffiness.
- Whip the mixture thoroughly to incorporate air, creating a light and creamy mousse consistency that melts in your mouth.
- Consider experimenting with different pudding flavors like chocolate, vanilla, or butterscotch to create unique variations of this simple dessert.
- Prep Time: 10 minutes
- Cook Time: 1 hour 20 minutes
- Category: Desserts
- Method: Blending
- Cuisine: French
Nutrition
- Serving Size: 4
- Calories: 400 kcal
- Sugar: 30 g
- Sodium: 150 mg
- Fat: 35 g
- Saturated Fat: 22 g
- Unsaturated Fat: 10 g
- Trans Fat: 1 g
- Carbohydrates: 20 g
- Fiber: 0 g
- Protein: 3 g
- Cholesterol: 110 mg
Clara Bennett
Contributing Recipe Developer & Food Writer
Expertise
Baking and Pastry Development, Gluten-Free and Allergy-Friendly Recipe Creation, Culinary Storytelling and Food Journalism, Recipe Testing and Standardization, Southern Comfort Foods and Modern Twists
Education
Sullivan University – National Center for Hospitality Studies
Associate Degree in Culinary Arts
Focus: Baking and Pastry Arts, Recipe Testing, and Culinary Journalism.
Clara specialized in crafting desserts that blend classic Southern comfort with modern techniques, while developing strong writing skills to tell the story behind every dish.
Lane Community College (Certificate Program)
Certificate in Food Writing and Photography
Focus: Culinary storytelling, recipe formatting, food styling, and visual presentation.
Clara’s love of baking started young, powered by homemade pies, biscuits, and stories passed around the family table.
After earning her degree at Sullivan University and a food writing certificate at Lane Community College, she turned her passion into a craft: sharing recipes that are simple, soulful, and always full of heart.
She’s big on bold flavors, flexible ideas, and creating sweets that fit any table (yes, even if you’re gluten-free). When she’s not baking, you’ll find her wandering farmers’ markets, styling food for the next photo shoot, or working on her ever-growing recipe journal.