The Best Homemade Vanilla Ice Cream Recipe for Sweet Success
Whipping up a creamy homemade vanilla ice cream can transport you to sweet childhood memories in seconds.
Smooth, rich textures emerge from simple ingredients waiting in your kitchen.
Our classic recipe combines pure vanilla essence with minimal fuss and maximum flavor.
Chefs and home cooks alike adore this straightforward approach to creating delectable desserts.
Fresh cream and quality ingredients make all the difference in crafting a memorable treat.
Smooth scoops promise pure indulgence that beats any store-bought alternative.
Let’s create something magical that will have everyone asking for seconds.
Why Homemade Vanilla Ice Cream Feels Special
What You Need for Vanilla Ice Cream Base
For the Dairy Base:For the Sweeteners and Seasoning:For the Flavor and Enrichment:Steps to Make Homemade Vanilla Ice Cream
Step 1: Create Creamy Base
Grab a medium saucepan and combine:Split a vanilla bean lengthwise and scrape out the seeds. Toss both seeds and pod into the pan.
Warm the mixture over medium heat until steam rises (avoid boiling).
Step 2: Whip Egg Yolks
In a separate bowl, blend egg yolks with:Whisk vigorously until the mixture transforms into a pale, silky cream.
Step 3: Blend Ingredients Carefully
Gently pour a small stream of warm cream into egg yolks while whisking continuously. This prevents the eggs from scrambling.
Slowly incorporate the tempered yolks back into the saucepan.
Step 4: Cook Custard Perfectly
Simmer the mixture on low heat, stirring constantly.
Watch for the right consistency – it should coat the back of a spoon smoothly. Use a thermometer to check temperature reaches 170-175°F.
Strain through a fine-mesh sieve to remove vanilla pod and any lumpy bits.
Step 5: Chill and Rest
Allow custard to cool to room temperature.
Cover and refrigerate for 4-8 hours. Longer chilling develops deeper flavors.
Step 6: Churn Into Creamy Delight
Pour the chilled mixture into an ice cream maker. Churn according to machine instructions until the texture becomes thick and luxurious.
Step 7: Freeze and Serve
Transfer churned ice cream to an airtight container. Freeze for at least 4 hours to achieve perfect scoopable consistency.
Serve in bowls or cones and savor your homemade treat!
Tips for Creamy Homemade Vanilla Ice Cream

Ways to Customize Vanilla Ice Cream Flavor
Sweet Treats That Pair with Vanilla Ice Cream
Keeping Homemade Vanilla Ice Cream Creamy Longer
FAQs
Tempering prevents the eggs from scrambling when added to hot cream. By slowly introducing hot liquid to egg yolks while whisking, you gradually raise their temperature without causing them to curdle, ensuring a smooth, creamy custard base.
Yes, you can substitute a vanilla bean with 1-2 teaspoons of pure vanilla extract. Add the extract after cooking the custard and cooling it down to preserve its full flavor. The vanilla bean provides a more complex, intense flavor, but extract works well too.
The custard is done when it thickens and coats the back of a spoon, reaching about 170-175°F.
Print
Homemade Vanilla Ice Cream Recipe
- Total Time: 5 hours 20 minutes
- Yield: 6 1x
Description
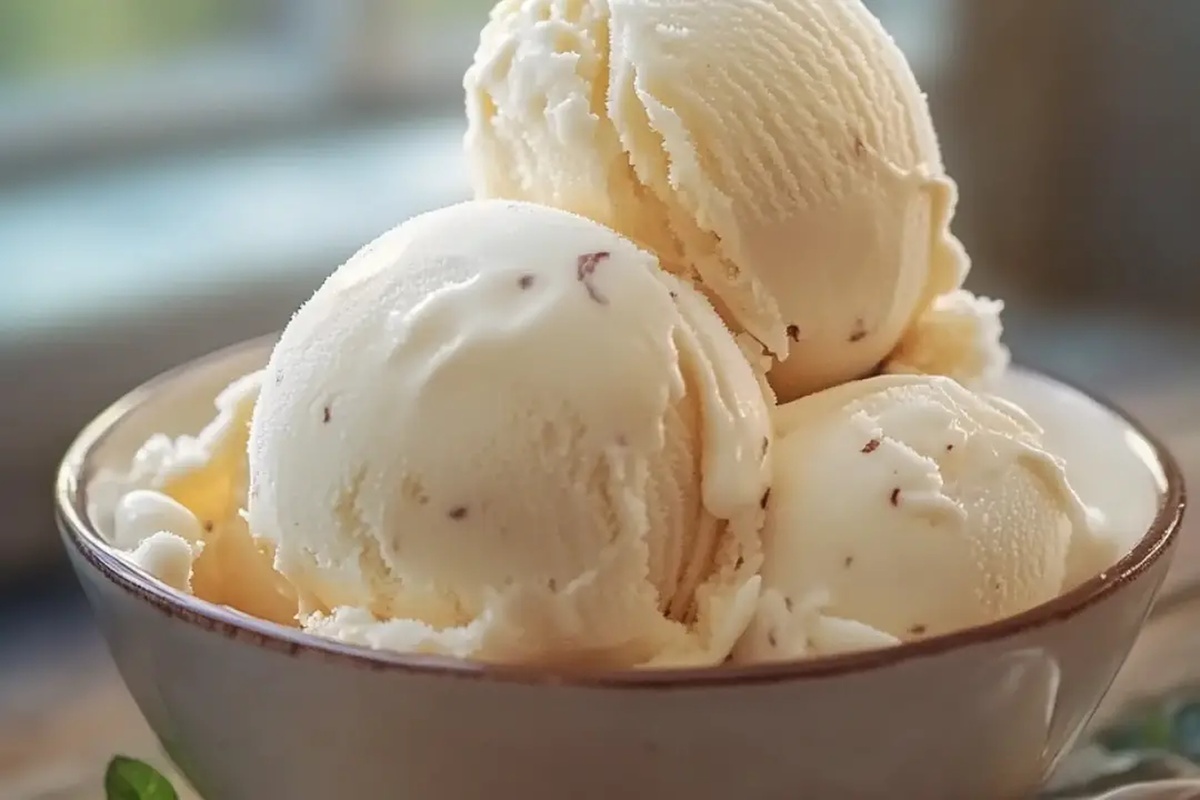
Silky smooth homemade vanilla ice cream delights taste buds with classic simplicity. Cool, creamy scoops offer pure comfort that draws friends and family closer around sweet summer memories.
Ingredients
Main Ingredients:
- 4 large egg yolks
- 2 cups (480 ml) heavy cream
- 1 cup (240 ml) whole milk
Sweeteners and Flavoring:
- 3/4 cup (150 g) granulated sugar
- 1 vanilla bean (or 2 teaspoons pure vanilla extract)
Seasoning:
- 1 pinch of salt
Instructions
- Craft a luxurious base by gently heating cream, milk, and half the sugar in a saucepan. Split and scrape a vanilla bean, incorporating both seeds and pod into the liquid. Warm the mixture until steam emerges, avoiding boiling.
- In a separate bowl, vigorously whisk egg yolks with remaining sugar and salt until the mixture transforms into a pale, silky consistency.
- Create a delicate balance by gradually introducing warm cream into egg yolks, whisking continuously to prevent curdling. Seamlessly reintegrate the tempered mixture back into the original cream base.
- Carefully simmer the custard over low heat, stirring constantly until it reaches a velvety thickness that elegantly coats a spoon (170-175°F). Strain through a fine-mesh sieve to eliminate any vanilla pod fragments or potential lumps.
- Allow the custard to cool naturally to room temperature. Seal and refrigerate for a minimum of 4 hours, or preferably overnight, to develop a more profound flavor profile.
- Transfer the chilled mixture into an ice cream maker. Churn according to manufacturer’s guidelines until the texture becomes rich and creamy, typically 20-25 minutes.
- Gently transfer the churned ice cream into an airtight container. Freeze for at least 4 hours to achieve optimal firmness. Serve in chilled bowls or crisp cones for a decadent dessert experience.
Notes
- Ensure precise temperature control when heating the cream mixture to prevent scorching or boiling, which can ruin the delicate flavor and texture.
- Whisk egg yolks thoroughly to create a smooth, pale base that guarantees a silky-smooth ice cream consistency.
- Use fresh, high-quality vanilla beans for an intense, authentic flavor that elevates the entire dessert experience.
- Consider dairy-free alternatives like coconut cream or almond milk for those with lactose intolerance, maintaining the creamy texture and rich taste.
- Prep Time: 20 minutes
- Cook Time: 5 hours
- Category: Desserts
- Method: Simmering
- Cuisine: American
Nutrition
- Serving Size: 6
- Calories: 312
- Sugar: 20 g
- Sodium: 35 mg
- Fat: 27 g
- Saturated Fat: 17 g
- Unsaturated Fat: 9 g
- Trans Fat: 0.5 g
- Carbohydrates: 22 g
- Fiber: 0 g
- Protein: 4 g
- Cholesterol: 170 mg
Nate Harper
Founder & Recipe Curator
Expertise
Single-Recipe Development, Farm-to-Table Cooking, Seasonal Menu Planning, Culinary Storytelling, Home Kitchen Innovation
Education
Cascade Culinary Institute – Central Oregon Community College
Certificate in Culinary Arts
Focus: Farm-to-table cuisine, sustainable cooking practices, and seasonal recipe creation.
Nate studied under experienced chefs who emphasized local sourcing, minimal waste, and building recipes from fresh, simple ingredients.
Nate Harper is the founder and creative force behind Make, Take, Bake. Raised in the wild beauty of Oregon’s high desert, Nate grew up surrounded by family gardens, farmers’ markets, and home kitchens that celebrated the seasons.
His early love for simple, honest food evolved into a professional passion when he attended Cascade Culinary Institute, where he sharpened his skills in creating recipes that are sustainable, satisfying, and made for everyday life.
Nate’s goal is to make cooking feel accessible, free of fuss, and full of flavor. He believes a single, thoughtfully built dish can stand alone, and sometimes even steal the show.