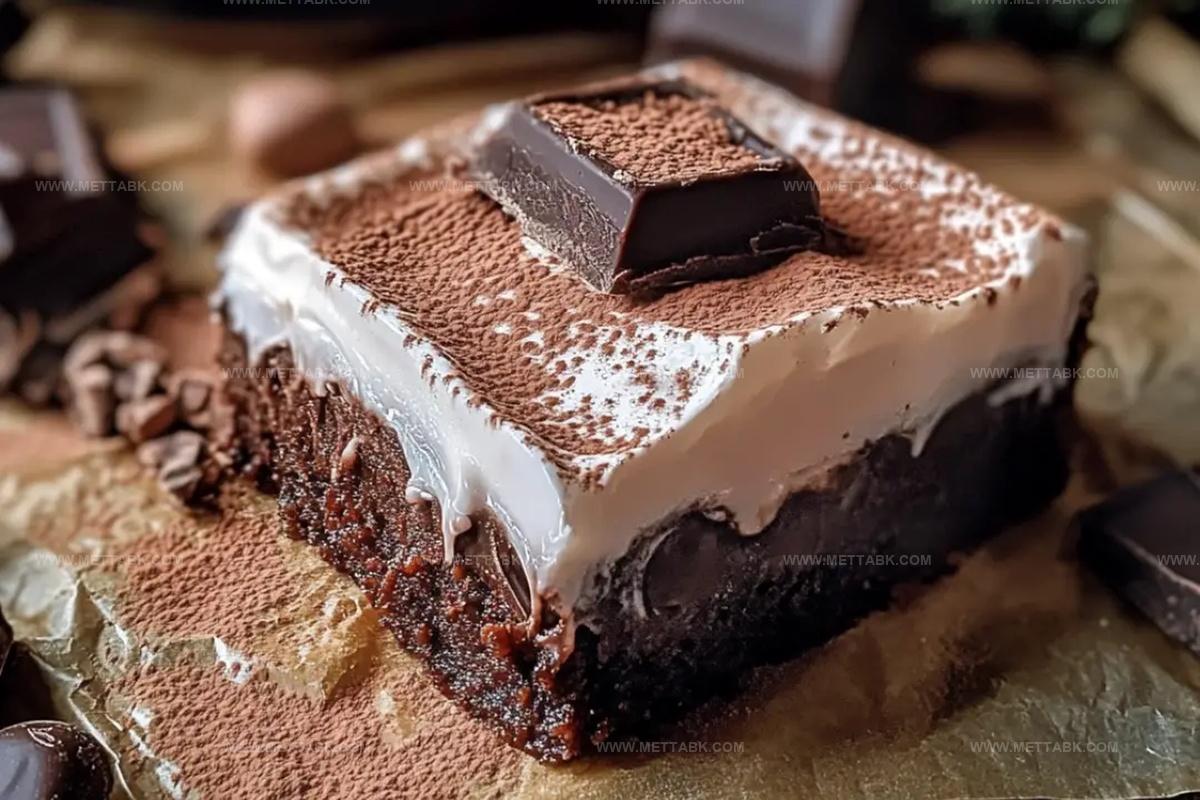
Dreamy Hot Chocolate Slice Recipe for Cozy Indulgence
Crafting a decadent hot chocolate slice brings pure winter comfort right to your kitchen table.
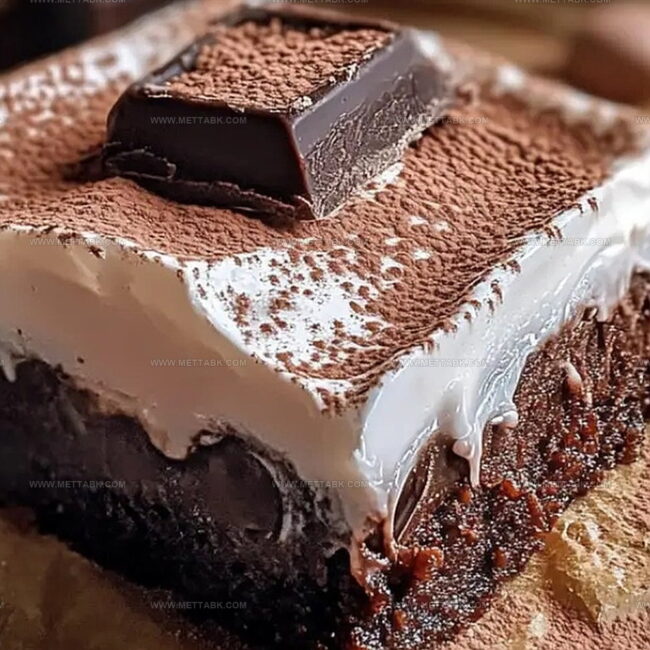
Sweet chocolate lovers will find this dessert irresistibly rich and indulgent.
Cocoa-infused layers promise a delightful experience that melts in your mouth.
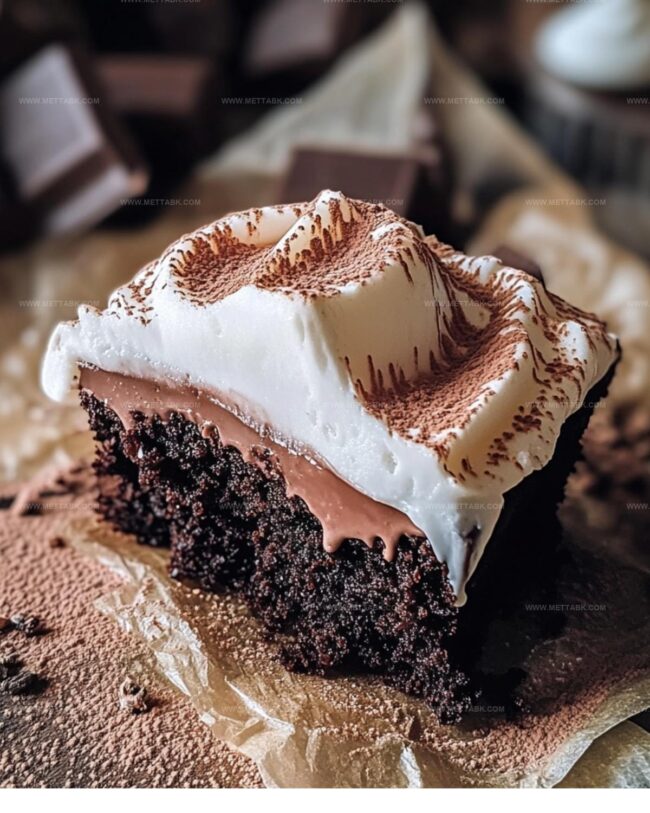
Warmth radiates through each delectable bite, creating an instant mood lifter.
Creamy textures and deep chocolate notes combine for a truly memorable treat.
Home bakers can easily master this simple yet impressive dessert.
Hot Chocolate Slice Everyone Will Love
Ingredients for Rich Hot Chocolate Slice
For the Base:For the Chocolate Mousse:For the Marshmallow Topping:How to Make Hot Chocolate Slice Easily
Step 1: Prepare the Oven and Pan
Preheat the oven to 180°C (350°F). Grease a 16 x 25 cm slice pan and line the base with parchment paper.
Step 2: Create the Base Mixture
In a mixing bowl, combine:Add melted butter and stir until everything is well mixed.
Step 3: Form the Base Layer
Press the mixture evenly into the prepared pan.
Bake for 12 minutes until the base turns golden. Allow it to cool completely.
Step 4: Craft the Chocolate Mousse
In a small saucepan, melt together:Stir until the mixture becomes smooth and fully combined.
Step 5: Incorporate Egg Yolks
Remove the chocolate mixture from heat and quickly mix in egg yolks.
The mixture might look lumpy initially but will smooth out when cream is added.
Step 6: Whip the Egg Whites
In a separate bowl, whisk egg whites.
Gradually add sugar while whisking until stiff peaks form.
Step 7: Combine Chocolate and Egg Whites
Gently fold a spoonful of the chocolate mixture into the egg whites.
Slowly incorporate the remaining chocolate mixture.
Step 8: Add Whipped Cream
Fold in whipped cream until the mousse is fully combined and smooth.
Step 9: Layer the Mousse
Pour the mousse over the cooled biscuit base, smoothing the top with a spatula. Refrigerate for 4 hours until set.
Step 10: Prepare Marshmallow Topping
In a small saucepan, combine:Heat over low heat, stirring until dissolved.
Step 11: Simmer the Mixture
Increase heat to medium and simmer for 6 minutes, stirring occasionally.
Let the mixture cool for 5-10 minutes.
Step 12: Whip the Marshmallow
Pour the mixture into a stand mixer.
Beat on high for 9 minutes until thick, white, and fluffy.
Step 13: Flavor the Marshmallow
Mix in vanilla extract.
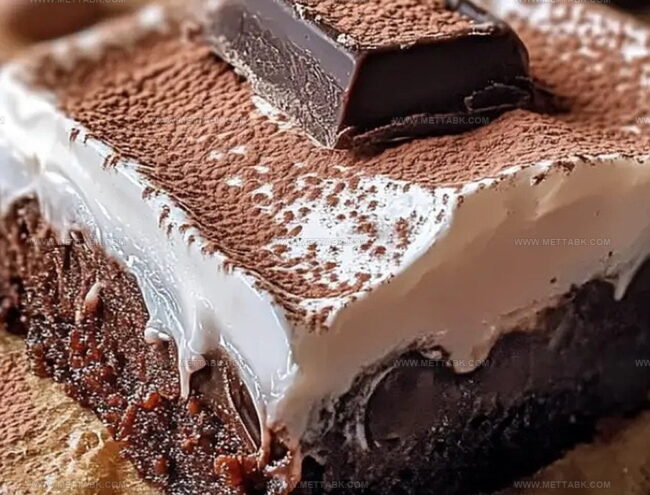
Step 14: Spread Marshmallow Layer
Spread the marshmallow over the set mousse layer, smoothing the top. Refrigerate for an additional 4 hours until firm.
Step 15: Slice and Serve
Heat a knife in hot water, wipe dry, and slice the dessert. Store in an airtight container in the refrigerator for up to 3 days.
Tips for Perfect Hot Chocolate Slice Every Time
Tasty Twists on Hot Chocolate Slice
Pairings That Enhance Hot Chocolate Slice
Storage Tips for Hot Chocolate Slice
Wrap the Hot Chocolate Slice tightly in plastic wrap or store in an airtight container to maintain freshness. Place in the coldest part of the refrigerator, keeping it away from strong-smelling foods.
Carefully wrap individual slices in plastic wrap, then place in a freezer-safe container. Freeze for up to 2 months, separating layers with parchment paper to prevent sticking.
Transfer frozen slice from freezer to refrigerator 4-6 hours before serving. Let it slowly defrost to preserve texture and prevent moisture buildup.
Gently warm individual slices in the microwave for 10-15 seconds on low power. Alternatively, let the slice sit at room temperature for 10-15 minutes to soften slightly before enjoying.
FAQs
This recipe requires multiple steps and some baking skills, but it’s not overly complicated. Home bakers with moderate experience can successfully create this hot chocolate slice with careful attention to instructions.
Dark or semi-sweet chocolate is recommended. Choose a good quality chocolate with at least 50-70% cocoa content for rich flavor and smooth texture.
Yes, you can substitute regular flour with gluten-free flour blend. Ensure all other ingredients are gluten-free and use a certified gluten-free baking powder if needed.
Print
Hot Chocolate Slice Recipe
- Total Time: 57 minutes
- Yield: 12 1x
Description
Rich chocolate dreams come alive in this Hot Chocolate Slice, blending winter comfort with sweet indulgence. Creamy layers of cocoa-infused goodness promise a delightful escape that will warm your heart and satisfy chocolate cravings instantly.
Ingredients
Main Ingredients:
- 300g dark chocolate
- 3 eggs
- 150g butter
- 1 1/2 cups cream
Base Ingredients:
- 1 cup self-raising flour
- 3/4 cup desiccated coconut
- 1/2 cup brown sugar
- 2 teaspoons ground cinnamon
Topping and Flavoring Ingredients:
- 1 cup caster sugar
- 1 cup water
- 1/4 cup cocoa powder
- 1 tablespoon gelatine powder
- 2 teaspoons vanilla extract
- 1/4 cup caster sugar (for egg whites)
- 80g butter (for mousse)
Instructions
- Preheat the oven to 180°C (350°F) and prepare a 16 x 25cm slice pan by greasing and lining with parchment paper.
- Combine flour, coconut, brown sugar, and cinnamon in a mixing bowl.
- Incorporate melted butter into the dry ingredients, stirring until a cohesive mixture forms.
- Press the mixture evenly into the prepared pan, creating a uniform base.
- Bake for 12 minutes until the base turns golden brown, then allow to cool completely.
- For the chocolate layer, gently melt butter, cocoa, and chocolate in a saucepan over low heat, stirring until smooth.
- Remove from heat and quickly whisk in egg yolks, ensuring the mixture remains uniform.
- In a separate bowl, whip egg whites while gradually adding sugar until stiff peaks develop.
- Carefully fold a spoonful of chocolate mixture into the egg whites, then incorporate the remaining chocolate.
- Gently fold in whipped cream until fully integrated.
- Pour the chocolate mousse over the cooled base, smoothing the surface evenly.
- Refrigerate for 4 hours to set the mousse layer.
- For the marshmallow topping, combine sugar, water, and gelatine in a saucepan over low heat.
- Stir until gelatine dissolves, then increase heat to medium and simmer for 6 minutes.
- Allow the mixture to cool for 5-10 minutes.
- Transfer to a stand mixer and beat on high speed for 9 minutes until thick and fluffy.
- Incorporate vanilla extract into the marshmallow mixture.
- Spread the marshmallow layer over the set mousse, creating a smooth top.
- Refrigerate for an additional 4 hours until completely firm.
- To serve, heat a knife in hot water, wipe dry, and slice carefully.
- Store in an airtight container in the refrigerator for up to 3 days.
Notes
- Ensure butter is fully melted and ingredients are at room temperature for smoother mixing and better texture.
- Use high-quality cocoa and chocolate for richer, more intense flavor profile.
- Fold egg whites gently to maintain airiness and prevent deflation of the mousse.
- For gluten-free version, substitute regular flour with almond or coconut flour.
- Create variations by adding espresso powder or orange zest to the chocolate layer for depth.
- Whip egg whites to stiff peaks carefully – overbeating can make marshmallow topping grainy.
- Use a hot, clean knife for precise, clean slices when serving.
- Prep Time: 45 minutes
- Cook Time: 12 minutes
- Category: Desserts, Snacks
- Method: Baking
- Cuisine: Australian
Nutrition
- Serving Size: 12
- Calories: 343
- Sugar: 30 g
- Sodium: 75 mg
- Fat: 23 g
- Saturated Fat: 13 g
- Unsaturated Fat: 8 g
- Trans Fat: 0.2 g
- Carbohydrates: 29 g
- Fiber: 3 g
- Protein: 4 g
- Cholesterol: 85 mg
Nate Harper
Founder & Recipe Curator
Expertise
Single-Recipe Development, Farm-to-Table Cooking, Seasonal Menu Planning, Culinary Storytelling, Home Kitchen Innovation
Education
Cascade Culinary Institute – Central Oregon Community College
Certificate in Culinary Arts
Focus: Farm-to-table cuisine, sustainable cooking practices, and seasonal recipe creation.
Nate studied under experienced chefs who emphasized local sourcing, minimal waste, and building recipes from fresh, simple ingredients.
Nate Harper is the founder and creative force behind Make, Take, Bake. Raised in the wild beauty of Oregon’s high desert, Nate grew up surrounded by family gardens, farmers’ markets, and home kitchens that celebrated the seasons.
His early love for simple, honest food evolved into a professional passion when he attended Cascade Culinary Institute, where he sharpened his skills in creating recipes that are sustainable, satisfying, and made for everyday life.
Nate’s goal is to make cooking feel accessible, free of fuss, and full of flavor. He believes a single, thoughtfully built dish can stand alone, and sometimes even steal the show.