Irresistible Chocolate Peanut Butter Rice Krispie Cups Recipe
Sweet memories collide with childhood chocolate peanut butter rice krispie cups nostalgia in this delectable treat.
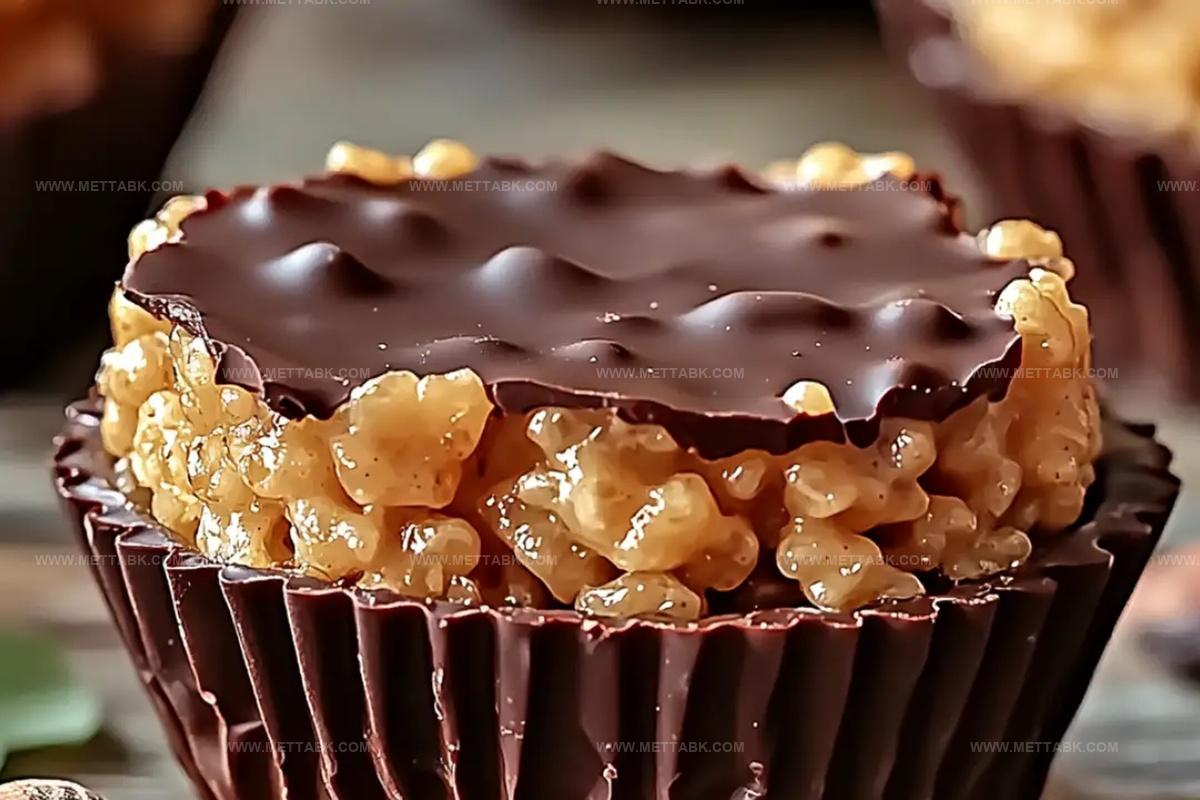
Crunchy rice cereal meets smooth, velvety chocolate for an epic flavor explosion.
Creamy peanut butter swirls through each bite, creating a decadent sensation that melts effortlessly.
Minimal ingredients transform simple pantry staples into an indulgent dessert everyone adores.
Layers of rich chocolate and nutty peanut butter create a mesmerizing visual and taste experience.
Quick preparation means you can whip up these irresistible cups in mere minutes.
Grab a cup, savor the magic, and let your taste buds dance with delight.
Irresistible Chocolate Peanut Butter Rice Krispie Cups

Ingredients to Make Peanut Butter Krispie Cups
For the Base:For the Seasoning:For the Topping:Optional Extras:How to Prepare Rice Krispie Cups

Step 1: Prepare Muffin Tray
Get your muffin tin ready by lining it with colorful paper liners or silicone cups. This will make removing the treats super easy and add a fun touch to your dessert.
Step 2: Create Peanut Butter Base
In a cozy saucepan, gently warm up:Stir the mixture until it becomes silky smooth and perfectly blended, creating a luscious foundation for your treats.
Step 3: Combine Crispy Goodness
Pour the warm peanut butter mixture over Rice Krispies cereal.
Fold and mix thoroughly, ensuring every single crisp gets a delicious coating of the sweet and nutty blend.
Step 4: Shape Delightful Cups
Carefully spoon the Rice Krispies mixture into each muffin cup.
Use the back of a spoon or your fingers to press down firmly, creating compact and beautiful little cups.
Step 5: Melt Chocolate Magic
Gently melt chocolate chips using either the microwave or a double boiler.
Stir occasionally to achieve a smooth, glossy chocolate that will make your treats irresistible.
Step 6: Top With Chocolate Bliss
Generously drizzle the melted chocolate over each Rice Krispie cup, making sure to cover the entire surface with a luxurious chocolate layer.
Step 7: Chill and Set
Pop the muffin tray into the refrigerator. Let the treats cool and set for about an hour, allowing the chocolate to become perfectly firm and the flavors to meld together.
Step 8: Unwrap and Indulge
Carefully remove the paper liners and reveal your stunning chocolate peanut butter Rice Krispie cups. Serve immediately and watch everyone’s eyes light up with joy!
Tips for Perfect Texture and Flavor
Variations to Personalize Your Krispie Cups
Pairings That Go Well with Krispie Cups
Storage Advice for Krispie Cups
Store in an airtight container for up to 5 days, separating layers with parchment paper to prevent sticking.
Wrap each Rice Krispie cup individually in plastic wrap, then place in a freezer-safe container for up to 3 months.
Transfer frozen treats to the refrigerator overnight, allowing them to slowly return to their original texture.
Let chilled cups sit at room temperature for 10-15 minutes before serving to soften slightly and enhance flavor.
FAQs
Yes, you can substitute Rice Krispies with other crispy cereals like corn flakes or special K for a similar texture.
It depends on the ingredients. Use gluten-free Rice Krispies and ensure your chocolate chips are certified gluten-free to make the recipe safe for those with gluten sensitivities.
Reduce the honey amount or use a natural peanut butter with no added sugar to control the sweetness level.
Yes, you can press the mixture into a lined 8×8 inch baking pan and cut into squares after chilling.
Print
Irresistible Chocolate Peanut Butter Rice Krispie Cups Recipe
- Total Time: 1 hour 15 minutes
- Yield: 12 1x
Description
Chocolate peanut butter rice krispie cups deliver a nostalgic dessert experience with rich, creamy layers of indulgence. Sweet memories and crunchy textures combine in these irresistible treats you’ll want to savor again and again.
Ingredients
Main Ingredients:
- 1 cup chunky peanut butter
- 1.5 cups chocolate chips
- 3 cups Rice Krispies
Binding Ingredients:
- 6 tablespoons honey
Seasoning:
- 1/8 teaspoon salt
Instructions
- Prepare the muffin tin by lining it with paper or silicone cups to prevent sticking and ensure easy removal of the treats.
- Combine peanut butter, honey, and salt in a saucepan, gently heating over low temperature until the mixture becomes smooth and fully integrated.
- Fold Rice Krispies into the warm peanut butter blend, ensuring each cereal piece is thoroughly coated with the sticky mixture.
- Carefully distribute the coated Rice Krispies into each muffin cup, using firm pressure to compact the mixture and create a solid base.
- Melt chocolate chips using a microwave in 30-second intervals or a double boiler, stirring until achieving a completely smooth and glossy consistency.
- Generously drizzle the melted chocolate over the peanut butter Rice Krispie bases, covering the entire surface evenly.
- Transfer the muffin tin to the refrigerator and chill for approximately 60 minutes, allowing the chocolate to solidify completely.
- Once set, gently remove the liners and serve the decadent chocolate peanut butter cups at room temperature for optimal flavor and texture.
Notes
- Customize sweetness by adjusting honey amount for less sugar or more intense flavor.
- Swap traditional peanut butter with almond or sunflower seed butter for nut-free versions.
- Use dark chocolate chips for a richer, less sweet chocolate coating that pairs beautifully with the nutty base.
- Press mixture gently but firmly into muffin cups to ensure compact, neat shapes that hold together perfectly.
- Prep Time: 15 minutes
- Cook Time: 1 hour
- Category: Snacks, Desserts
- Method: Melting
- Cuisine: American
Nutrition
- Serving Size: 12
- Calories: 210
- Sugar: 14 g
- Sodium: 75 mg
- Fat: 11 g
- Saturated Fat: 3 g
- Unsaturated Fat: 7 g
- Trans Fat: 0 g
- Carbohydrates: 26 g
- Fiber: 1 g
- Protein: 5 g
- Cholesterol: 0 mg
Nate Harper
Founder & Recipe Curator
Expertise
Single-Recipe Development, Farm-to-Table Cooking, Seasonal Menu Planning, Culinary Storytelling, Home Kitchen Innovation
Education
Cascade Culinary Institute – Central Oregon Community College
Certificate in Culinary Arts
Focus: Farm-to-table cuisine, sustainable cooking practices, and seasonal recipe creation.
Nate studied under experienced chefs who emphasized local sourcing, minimal waste, and building recipes from fresh, simple ingredients.
Nate Harper is the founder and creative force behind Make, Take, Bake. Raised in the wild beauty of Oregon’s high desert, Nate grew up surrounded by family gardens, farmers’ markets, and home kitchens that celebrated the seasons.
His early love for simple, honest food evolved into a professional passion when he attended Cascade Culinary Institute, where he sharpened his skills in creating recipes that are sustainable, satisfying, and made for everyday life.
Nate’s goal is to make cooking feel accessible, free of fuss, and full of flavor. He believes a single, thoughtfully built dish can stand alone, and sometimes even steal the show.