
Joyful Italian Christmas Cookies Recipe: Sweet Holiday Magic
Soft and crumbly italian christmas cookies have been a beloved tradition in my kitchen for generations.
Memories of my nonna carefully mixing ingredients still warm my heart.
Sweet powdered sugar coatings remind me of festive winter gatherings.
Delicate almond flavors dance across each perfectly baked morsel.
These simple yet elegant treats connect generations through shared culinary love.
Crisp edges and tender centers make these cookies irresistible.
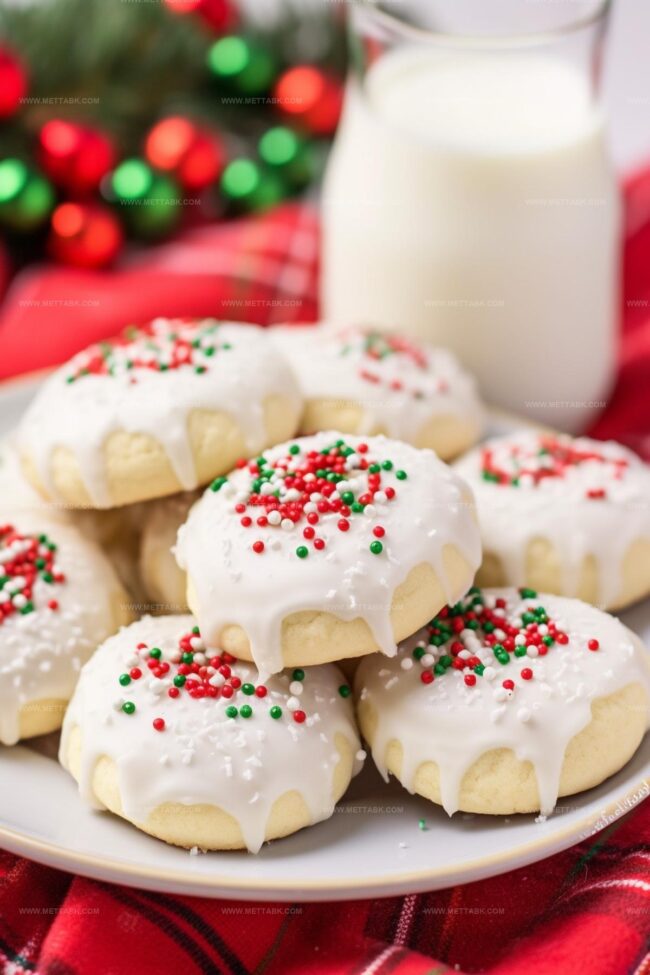
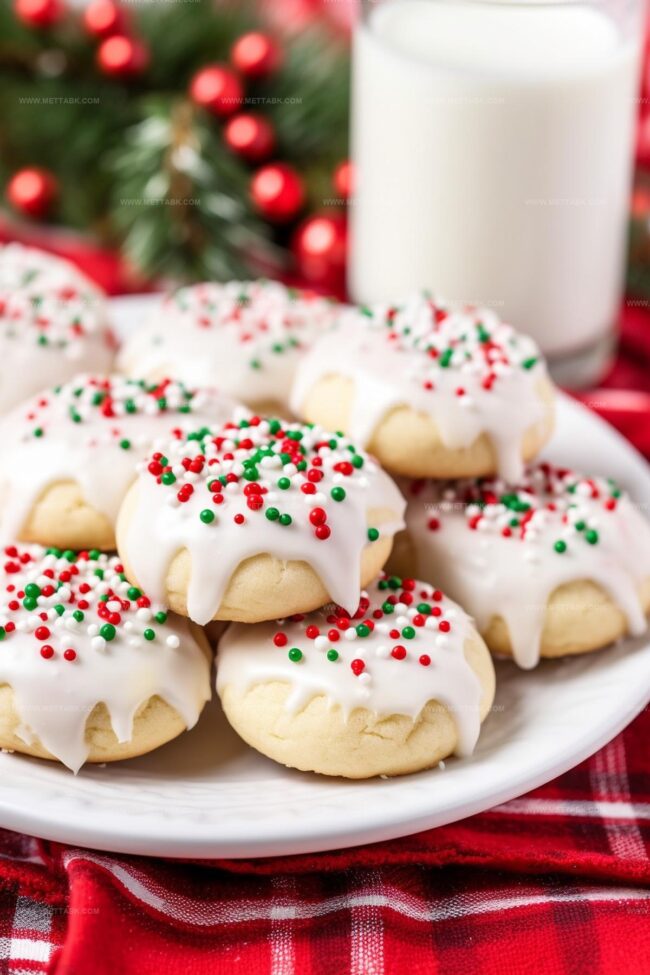
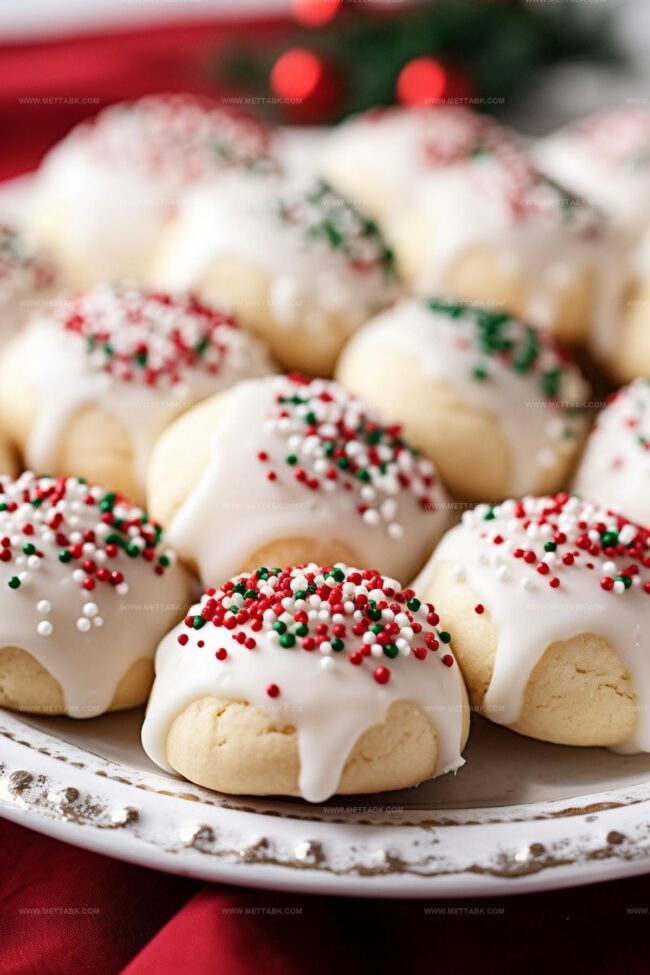
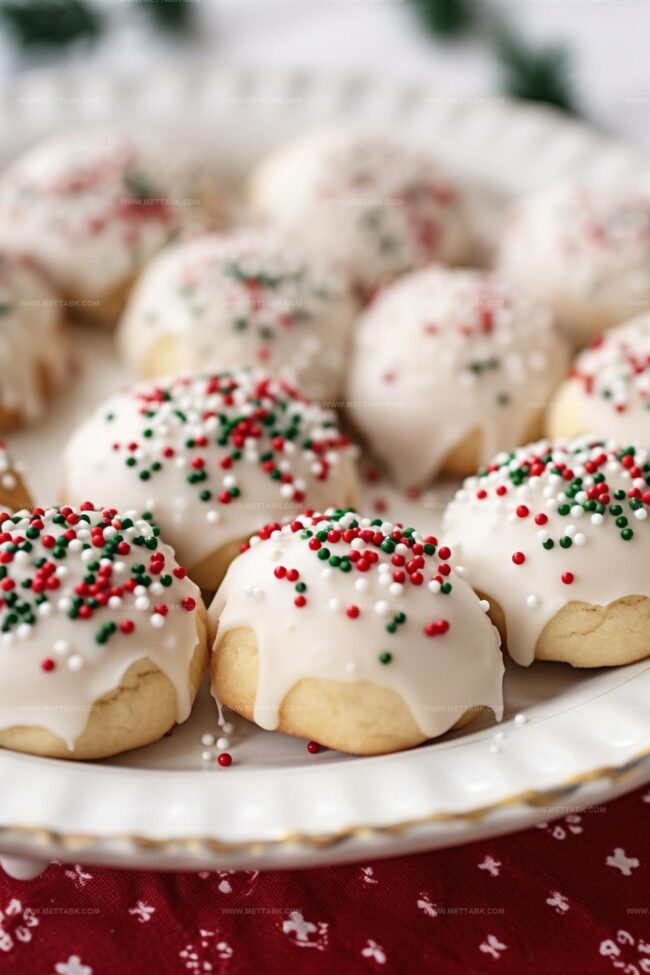
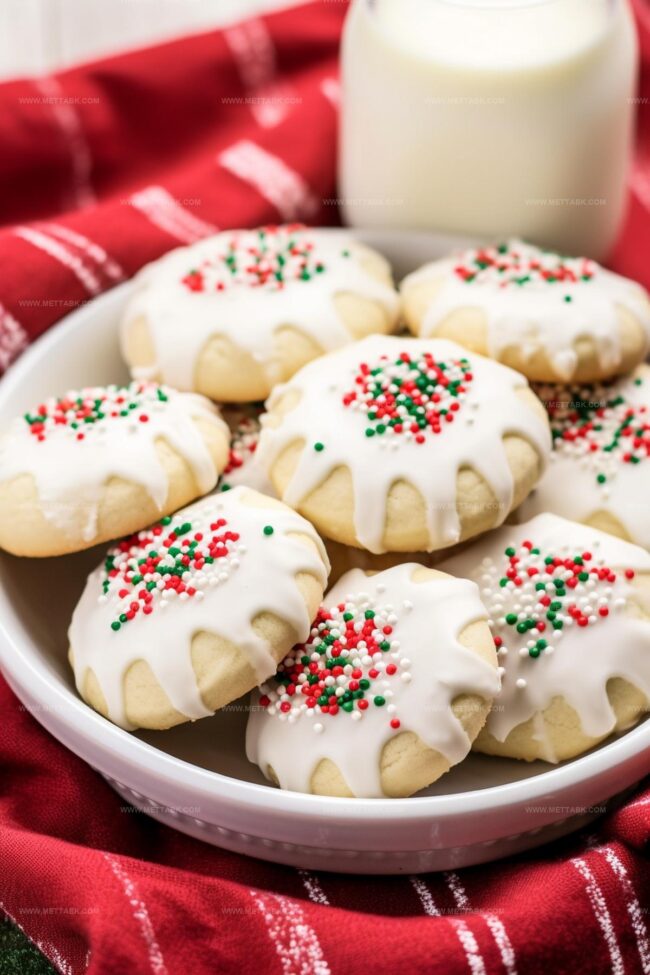
Classic Italian Christmas Cookies
Ingredients Needed for Italian Christmas Cookies

How to Make Italian Christmas Cookies
Step 1: Whip Up the Cookie Base
Mix eggs, vegetable oil, sugar, and vanilla extract in a large mixing bowl. Blend until smooth and well combined.
In a separate section of the bowl, sprinkle in:Gently fold everything together until a soft, pliable dough forms.
Step 2: Shape and Chill Cookie Balls
Scoop small portions of dough and roll them into round balls using your palms.
Place the dough balls on a clean tray. Pop the tray into the refrigerator for one hour to firm up the cookies.
For a speedier option, place the tray in the freezer for 15-20 minutes.
Step 3: Bake to Golden Perfection
Heat the oven to 350°F.
Line cookie sheets with parchment paper. Arrange chilled dough balls with enough space between them.
Slide the tray into the oven and bake for 9 minutes. Look for cookies that are set on top with lightly golden bottoms.
Remove and transfer to cooling racks.
Step 4: Create Creamy White Glaze
In a small bowl, whisk together:Stir until the mixture reaches a smooth, silky consistency.
Step 5: Decorate with Holiday Cheer
Once cookies are completely cool, dunk the tops into the glaze. Immediately sprinkle with festive holiday decorations.
Let the glaze set before serving these delightful treats.
Pro Tips for Italian Christmas Cookies

Variations to Try on Italian Christmas Cookies
Pairing Ideas with Italian Christmas Cookies
Proper Storage for Italian Christmas Cookies
FAQs

Yes, you can prepare the dough up to 2-3 days in advance and store it covered in the refrigerator. The dough can also be frozen for up to a month before baking.
Almond, vanilla, and anise extract are traditional choices that add wonderful flavor. Lemon or orange extract can also create a delightful twist to the classic recipe.
Chilling the dough is key. Always refrigerate the dough balls for at least an hour before baking, which helps the cookies maintain their shape and prevents excessive spreading.
Print
Italian Christmas Cookies Recipe
- Total Time: 1 hour 29 minutes
- Yield: 24 1x
Description
Festive Italian Christmas Cookies bring joy to holiday celebrations with their delicate, powdery sweetness. Memories of family gatherings and traditional baking techniques shine through each carefully crafted bite you’ll treasure.
Ingredients
- 2 eggs
- 2 cups all-purpose flour
- 2 tsp baking powder
- 6 tbsps vegetable oil
- 1/2 cup granulated sugar
- 1 tsp extract (almond, anise, or vanilla)
- 1 pinch salt
For the Glaze:
- 2 cups powdered sugar
- 1 tsp extract (almond or vanilla)
- 1 pinch salt
- 3–4 tbsps cream or milk (warmed)
- christmas sprinkles (for decoration)
Instructions
- Craft a creamy base by vigorously whisking eggs, vegetable oil, granulated sugar, and chosen extract in a large mixing bowl until thoroughly blended and smooth.
- Gradually fold in flour, baking powder, and salt, stirring consistently until a uniform, soft dough emerges that pulls away from bowl edges.
- Gently form compact dough spheres using a tablespoon, arranging them on a chilled tray. Refrigerate for 60 minutes or quick-freeze for 15-20 minutes to enhance structural integrity.
- Heat oven to 350°F. Position chilled dough balls on parchment-lined cookie sheets, spacing them evenly to prevent merging during baking.
- Bake precisely 9 minutes until cookie edges turn delicately golden while maintaining a pristine white top surface. Edges should appear slightly firm.
- Transfer freshly baked cookies onto wire cooling racks, allowing complete temperature reduction before embellishing.
- Prepare glossy glaze by whisking powdered sugar, extract, salt, and warm cream until achieving a silky, pourable consistency.
- Immerse cookie tops into glaze, allowing excess to drip. Immediately sprinkle festive decorations before glaze solidifies.
- Rest cookies until glaze sets completely, creating a beautiful, glossy Christmas treat.
Notes
- Chill the dough thoroughly to prevent spreading and maintain the cookies’ shape during baking.
- Experiment with different extracts like almond, vanilla, or lemon to create unique flavor variations that suit different palates.
- Use room temperature ingredients to ensure smoother mixing and more consistent dough texture, which helps achieve a more even bake.
- Make these cookies gluten-free by substituting all-purpose flour with a high-quality gluten-free flour blend, keeping the delicate texture intact.
- Prep Time: 1 hour 20 minutes
- Cook Time: 9 minutes
- Category: Desserts, Snacks
- Method: Baking
- Cuisine: Italian
Nutrition
- Serving Size: 24
- Calories: 157
- Sugar: 9 g
- Sodium: 56 mg
- Fat: 6 g
- Saturated Fat: 1 g
- Unsaturated Fat: 5 g
- Trans Fat: 0 g
- Carbohydrates: 24 g
- Fiber: 0.5 g
- Protein: 2 g
- Cholesterol: 17 mg
Clara Bennett
Contributing Recipe Developer & Food Writer
Expertise
Baking and Pastry Development, Gluten-Free and Allergy-Friendly Recipe Creation, Culinary Storytelling and Food Journalism, Recipe Testing and Standardization, Southern Comfort Foods and Modern Twists
Education
Sullivan University – National Center for Hospitality Studies
Associate Degree in Culinary Arts
Focus: Baking and Pastry Arts, Recipe Testing, and Culinary Journalism.
Clara specialized in crafting desserts that blend classic Southern comfort with modern techniques, while developing strong writing skills to tell the story behind every dish.
Lane Community College (Certificate Program)
Certificate in Food Writing and Photography
Focus: Culinary storytelling, recipe formatting, food styling, and visual presentation.
Clara’s love of baking started young, powered by homemade pies, biscuits, and stories passed around the family table.
After earning her degree at Sullivan University and a food writing certificate at Lane Community College, she turned her passion into a craft: sharing recipes that are simple, soulful, and always full of heart.
She’s big on bold flavors, flexible ideas, and creating sweets that fit any table (yes, even if you’re gluten-free). When she’s not baking, you’ll find her wandering farmers’ markets, styling food for the next photo shoot, or working on her ever-growing recipe journal.