
The Perfect Jam Shortbread Bars Recipe for Sweet Tooths
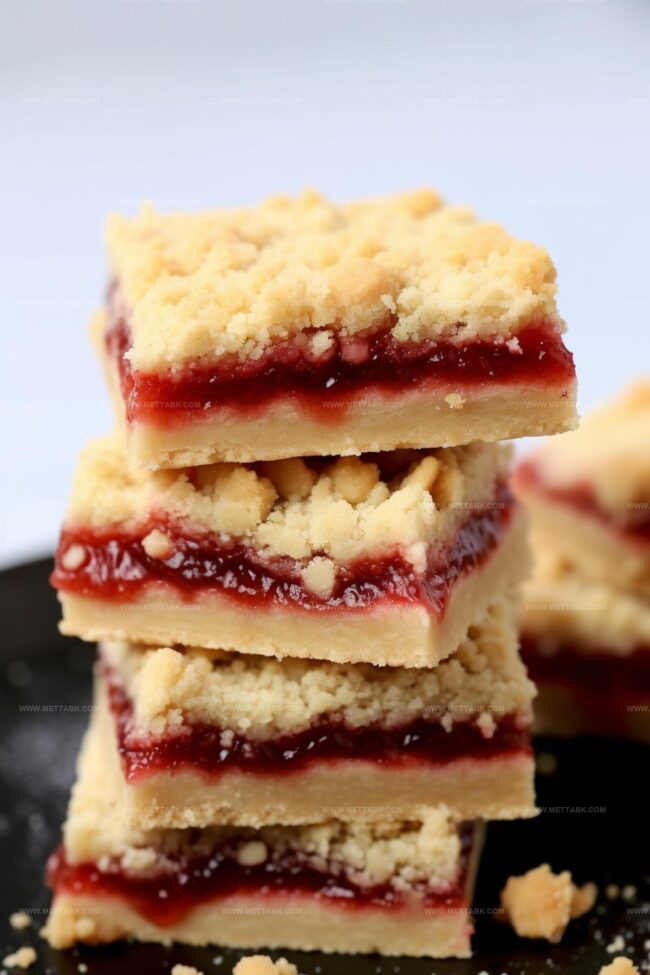
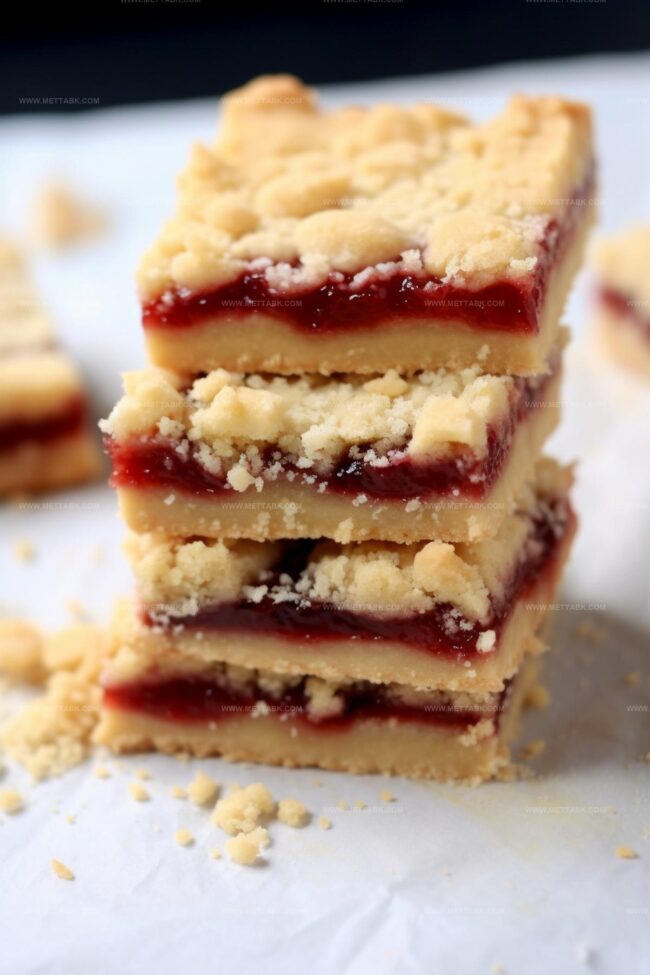
Sweet and buttery jam shortbread bars spark joy in every delightful bite.
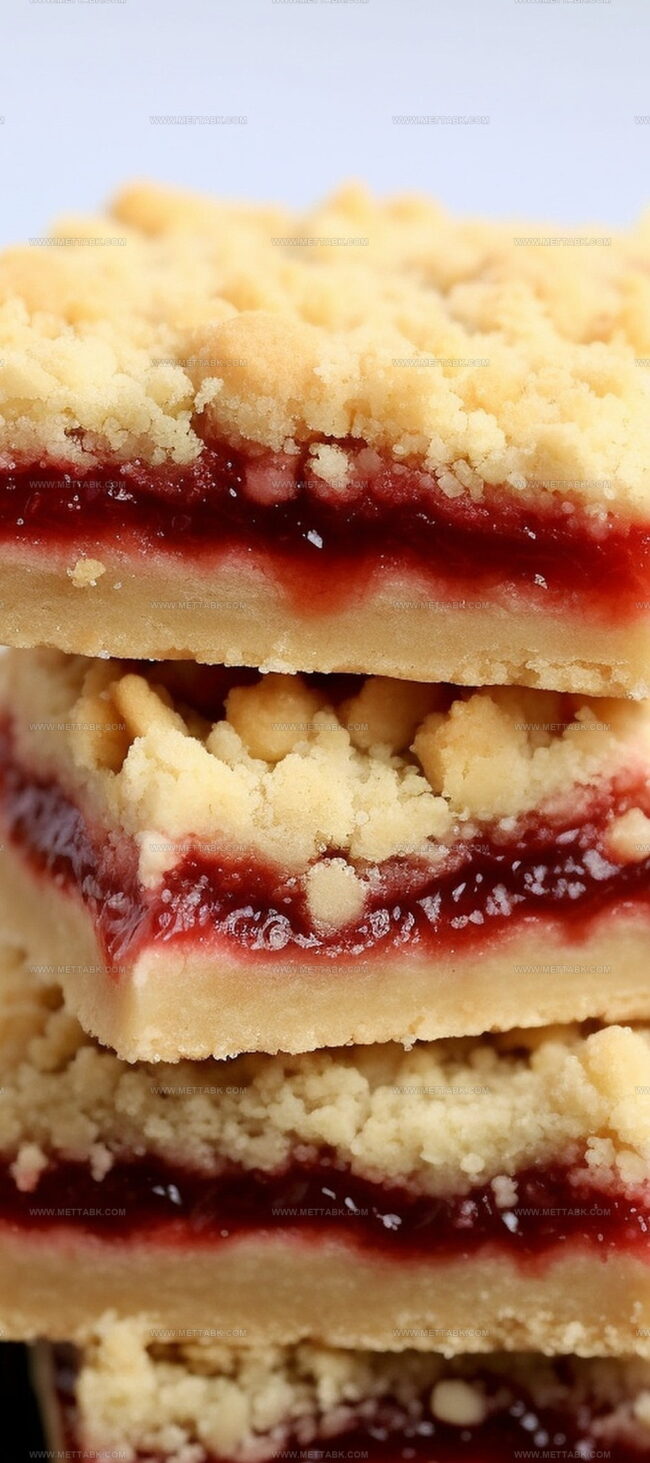
Crumbly pastry meets fruity preserves for a mouthwatering combination that melts on your tongue.
Baking these treats feels like wrapping yourself in a cozy childhood memory.
Simple ingredients dance together to create something magical in your kitchen.
Delicate textures and vibrant flavors blend seamlessly in this classic dessert.
Homemade goodness awaits with just a few easy steps and minimal effort.
You’ll fall in love with these irresistible bars that promise pure happiness on a plate.
Jam Shortbread Bars to Savor
Ingredients for Jam Shortbread Bars
Instructions for Jam Shortbread Bars
Step 1: Warm Up the Oven
Crank the oven to 350 degrees Fahrenheit. Line an 8×8 inch baking pan with parchment paper, making sure it covers the bottom and sides completely.
Step 2: Create a Creamy Base
In a large mixing bowl, blend together:Whip these ingredients until they transform into a smooth, fluffy mixture that looks like soft clouds.
Step 3: Mix the Dry Ingredients
Gently fold in:Stir slowly until the mixture looks like delicate, crumbly sand.
Don’t overmix – you want a light touch here.
Step 4: Build the First Layer
Scoop about three-quarters of the shortbread dough into the prepared pan.
Use your fingers or the back of a spoon to press down firmly, creating a perfectly smooth foundation.
Step 5: Spread the Sweet Surprise
Drizzle your favorite jam across the shortbread base.
Use the back of a spoon to spread it evenly, making sure every corner gets some fruity love.
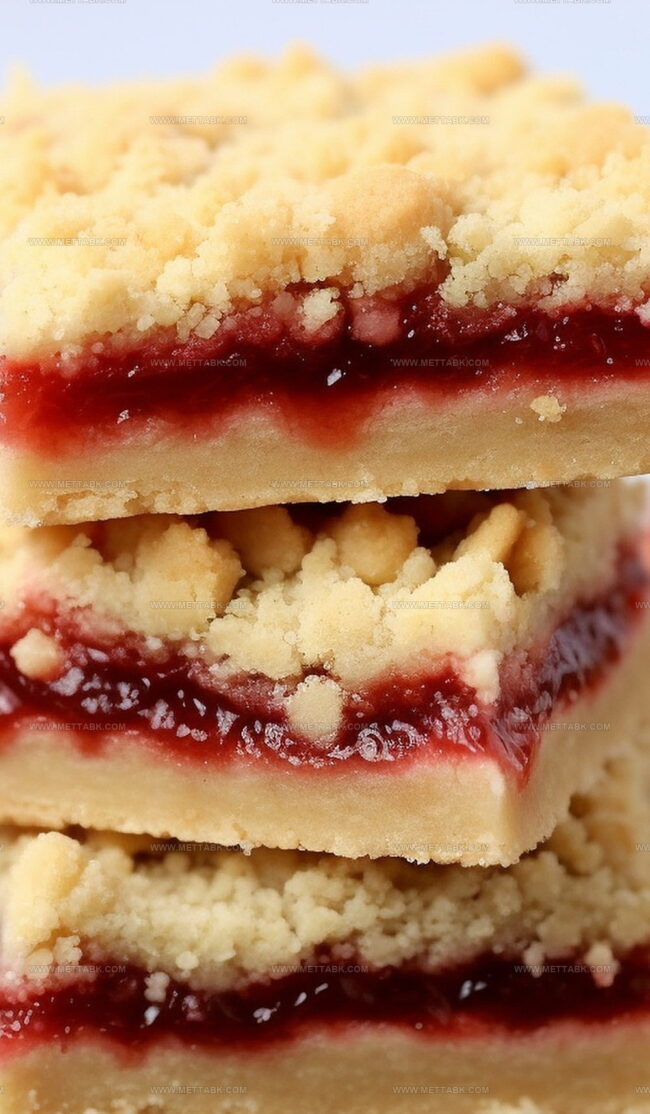
Step 6: Add the Crumbly Topping
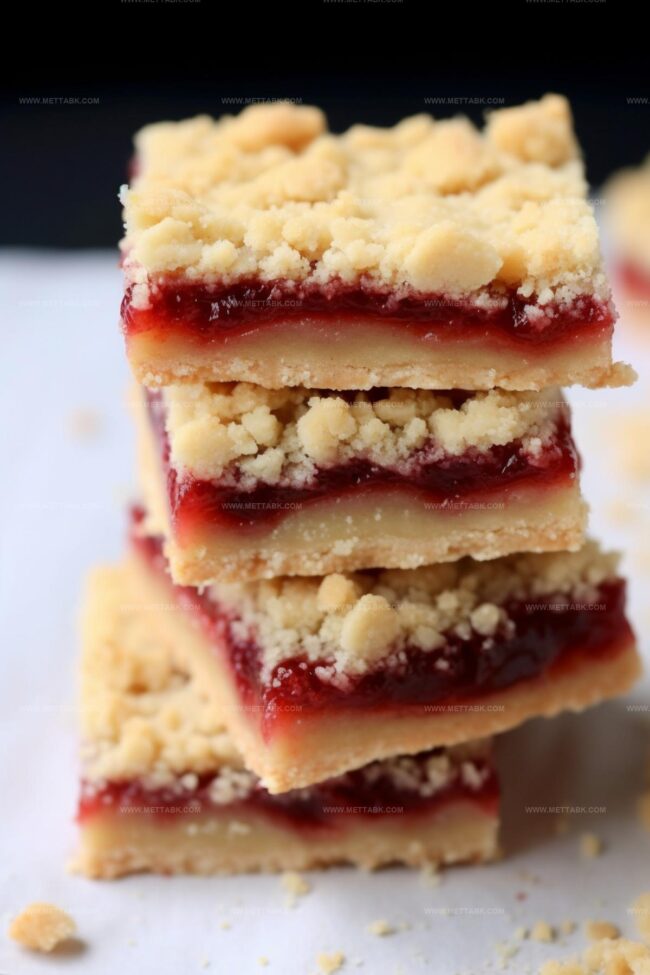
Sprinkle the remaining shortbread crumbs over the jam layer.
Let it look rustic and slightly uneven – that’s part of the charm.
Step 7: Bake to Golden Perfection
Slide the pan into the oven and bake for 25 to 30 minutes.
Watch for the edges and top to turn a beautiful golden brown – that’s when you know it’s ready.
Step 8: Cool Down
Remove the pan from the oven and let it rest completely.
Patience is key here – give it at least an hour to cool down and set.
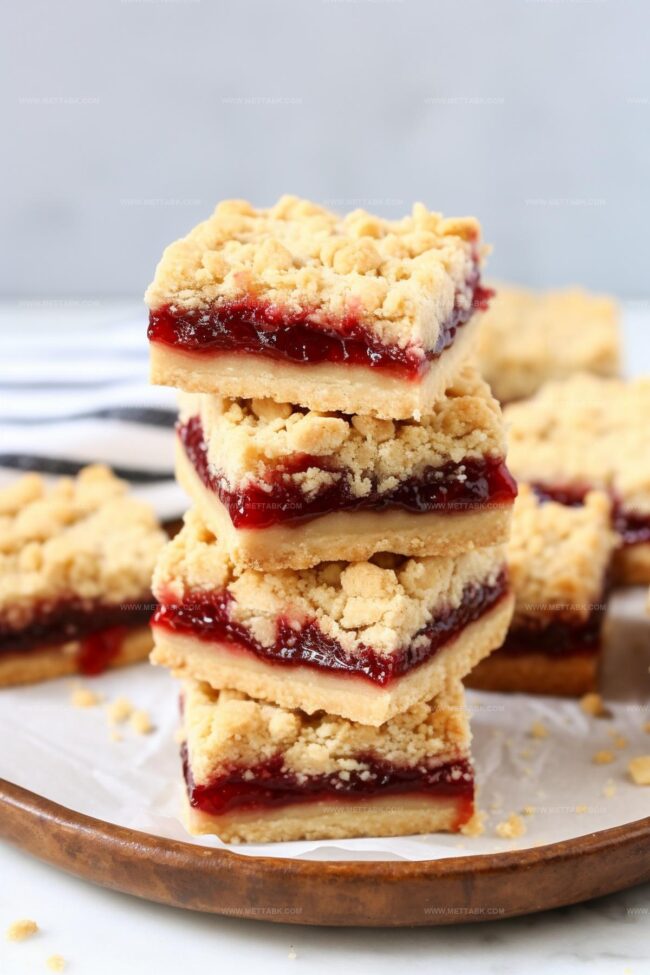
Step 9: Slice and Serve
Lift the bars out of the pan using the parchment paper.
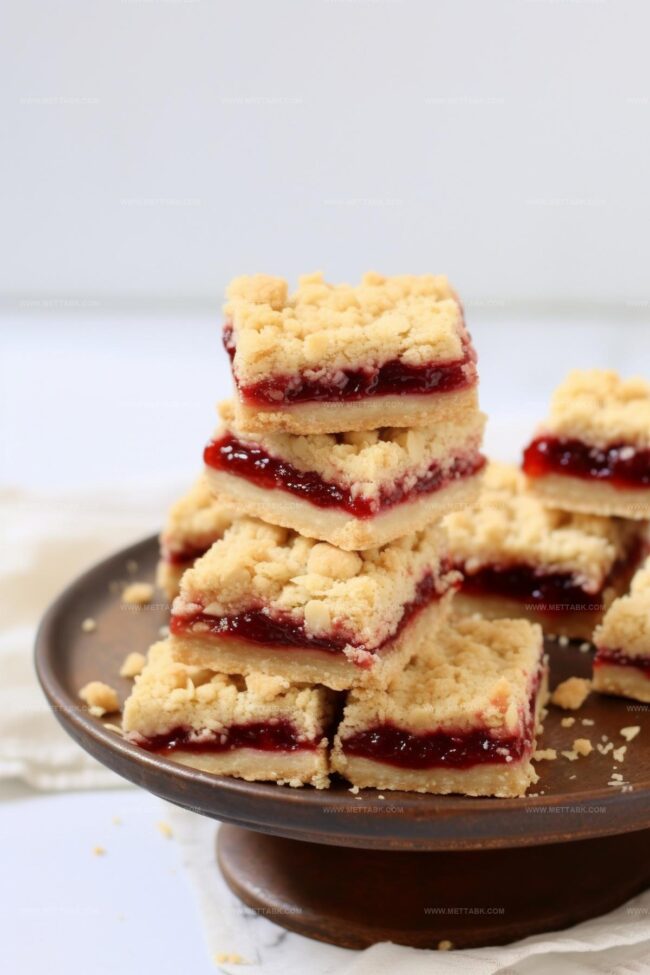
Slice into squares or rectangles. These treats are perfect for sharing (or keeping all to yourself)!
Tips for Jam Shortbread Bars
Variations on Jam Shortbread Bars
Suggested Pairings for Jam Shortbread Bars
Storage Tips for Jam Shortbread Bars
FAQs
Any high-quality fruit jam works wonderfully, but raspberry, strawberry, and apricot jams are particularly delicious. Choose a jam with a thick consistency to prevent excess liquid during baking.
While you can use salted butter, it’s recommended to use unsalted butter to control the salt content precisely. If using salted butter, reduce or eliminate the additional salt in the recipe.
Use the back of a measuring cup or a flat spatula to gently press the crumbly dough into an even layer. Apply consistent pressure across the entire pan to create a uniform base.
Print
Jam Shortbread Bars Recipe
- Total Time: 45 minutes
- Yield: 16 1x
Description
Delectable jam shortbread bars combine buttery shortbread with sweet fruit preserves for a classic dessert. Crumbly layers and fruity filling create an irresistible treat that brings comfort and joy to your table.
Ingredients
- 2 cups (473 ml) all-purpose flour
- 1 cup (226 g) unsalted butter (at room temperature)
- 1/2 cup (100 g) light brown sugar
- 1/2 to 3/4 cup (170–255 g) jam (any flavor)
- 1 tsp (5 ml) vanilla extract
- 1/4 tsp (1.2 ml) salt
Instructions
- Preheat the oven to 350°F and line an 8×8 inch baking pan with parchment paper, ensuring complete coverage of the bottom and sides.
- Using a stand mixer with a paddle attachment, cream butter, brown sugar, and vanilla extract until smooth and well-incorporated, approximately 2-3 minutes.
- Reduce mixer speed to low and gradually add flour and salt, mixing until the dough becomes crumbly and just combines.
- Transfer roughly 75% of the shortbread mixture into the prepared pan, pressing firmly and evenly to create a compact base layer.
- Spread selected jam uniformly across the shortbread base, ensuring complete and consistent coverage.
- Sprinkle the remaining shortbread crumble over the jam layer, creating a rustic, textured topping.
- Bake in the preheated oven for 25-30 minutes, watching for a light golden-brown coloration across the surface.
- Remove from oven and allow bars to cool completely at room temperature, which helps set the jam and shortbread structure.
- Once cooled, lift the bars out using parchment paper edges and slice into square or rectangular portions for serving.
Notes
- Ensure butter is softened but not melted for the perfect crumbly shortbread texture that won’t become greasy.
- Choose high-quality, thick fruit preserves like raspberry, strawberry, or apricot to prevent excessive soaking into the base.
- Gently press the shortbread crumble topping without compacting it to maintain a light, crispy finish.
- These bars remain fresh for 3-4 days when stored in an airtight container at room temperature, making them ideal for advance preparation.
- Prep Time: 15 minutes
- Cook Time: 30 minutes
- Category: Desserts, Snacks
- Method: Baking
- Cuisine: British
Nutrition
- Serving Size: 16
- Calories: 177
- Sugar: 7 g
- Sodium: 44 mg
- Fat: 10 g
- Saturated Fat: 6 g
- Unsaturated Fat: 4 g
- Trans Fat: 0.3 g
- Carbohydrates: 20 g
- Fiber: 0.3 g
- Protein: 1.5 g
- Cholesterol: 30 mg
Clara Bennett
Contributing Recipe Developer & Food Writer
Expertise
Baking and Pastry Development, Gluten-Free and Allergy-Friendly Recipe Creation, Culinary Storytelling and Food Journalism, Recipe Testing and Standardization, Southern Comfort Foods and Modern Twists
Education
Sullivan University – National Center for Hospitality Studies
Associate Degree in Culinary Arts
Focus: Baking and Pastry Arts, Recipe Testing, and Culinary Journalism.
Clara specialized in crafting desserts that blend classic Southern comfort with modern techniques, while developing strong writing skills to tell the story behind every dish.
Lane Community College (Certificate Program)
Certificate in Food Writing and Photography
Focus: Culinary storytelling, recipe formatting, food styling, and visual presentation.
Clara’s love of baking started young, powered by homemade pies, biscuits, and stories passed around the family table.
After earning her degree at Sullivan University and a food writing certificate at Lane Community College, she turned her passion into a craft: sharing recipes that are simple, soulful, and always full of heart.
She’s big on bold flavors, flexible ideas, and creating sweets that fit any table (yes, even if you’re gluten-free). When she’s not baking, you’ll find her wandering farmers’ markets, styling food for the next photo shoot, or working on her ever-growing recipe journal.