
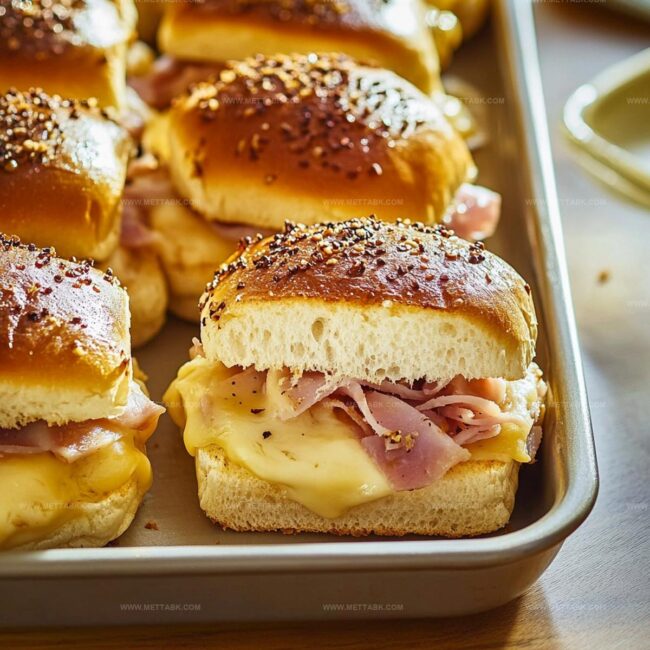
Cheesy Leftover Ham and Cheese Sliders Recipe: Comfort on a Bun
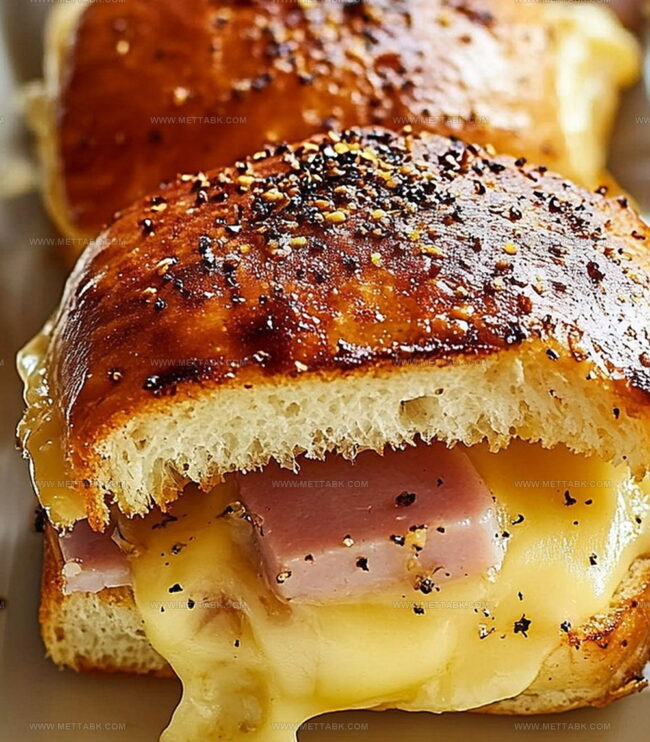
Ham nestles perfectly between soft rolls in these irresistible sliders that promise a quick lunch solution.
Melted cheese adds a creamy dimension to every delectable bite.
Weeknight dinners just became easier with this simple recipe.
Leftover ingredients find new life in these compact sandwiches.
Pantry staples combine to create something magical on your plate.
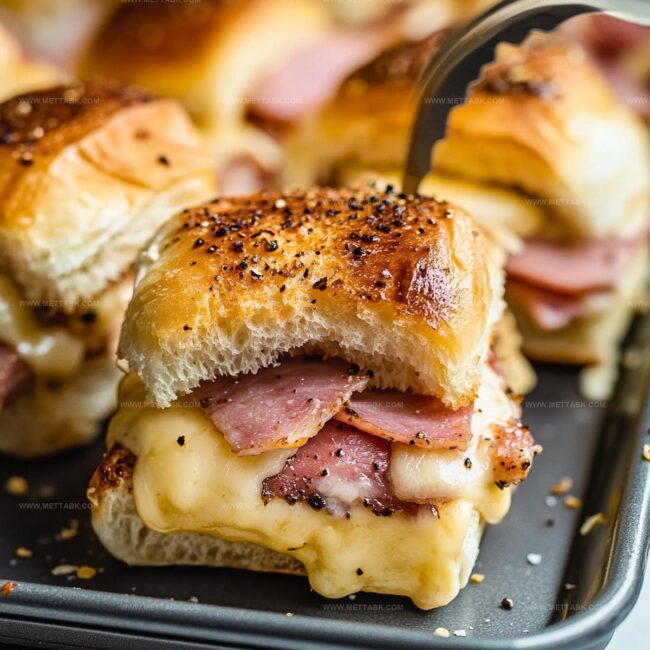
Minimal effort delivers maximum flavor in these crowd-pleasing mini sandwiches.
Ham and Cheese Sliders That Satisfy Every Craving
Ingredients for Easy Ham and Cheese Sliders
Bread Base:Protein and Cheese:Finishing Touches:How to Assemble Ham and Cheese Sliders Quickly
Step 1: Warm Up the Oven
Fire up your oven to a cozy 350°F, creating the perfect toasty environment for these delectable sliders.
Step 2: Prepare the Baking Dish
Grab your baking dish and give it a quick spray of nonstick cooking spray to prevent any sticky situations.
Step 3: Split and Layer the Rolls
Gently slice the Hawaiian rolls right down the middle, creating a soft, pillowy base. Pile on generous layers of savory ham and melty cheese on the bottom half of the rolls.
Step 4: Create the Slider Sandwich
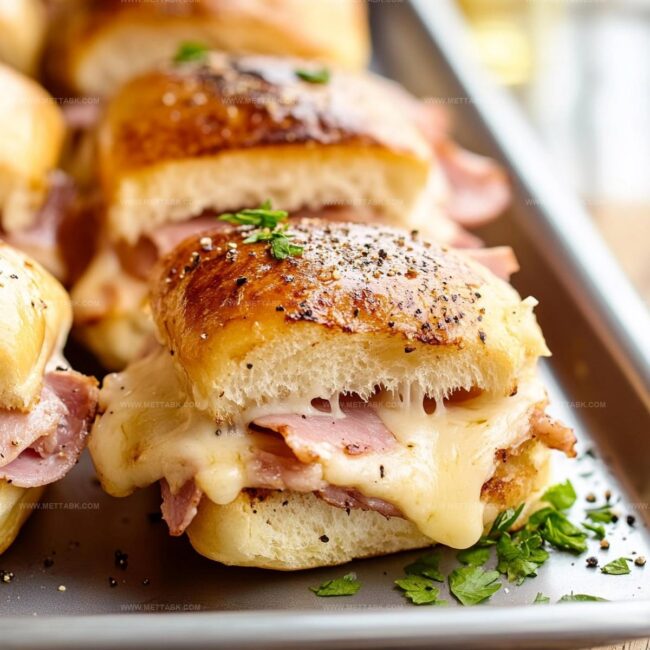
Carefully place the top half of the rolls back on, creating a perfect little sandwich package. Brush the tops with a luxurious coat of melted butter, adding a sprinkle of poppy seeds for an extra touch of flavor and crunch.
Step 5: Bake to Golden Perfection
Slide the sliders into the preheated oven and bake for 15-20 minutes. Watch as they transform into golden-brown, crispy-edged delights that are heated through and irresistibly delicious.
Step 6: Rest and Serve
Allow the sliders to cool for a few moments, then slice them up. Serve these warm, gooey treasures and watch them disappear in minutes!
Helpful Tips for Perfect Ham and Cheese Sliders
Flavorful Variations on Classic Ham and Cheese Sliders
Pairings That Complement Ham and Cheese Sliders Well
Best Ways to Store Ham and Cheese Sliders Fresh
FAQs
Hawaiian rolls are ideal due to their soft, sweet texture and perfect size for mini sandwiches, making them the top choice for this recipe.
Yes, you can assemble the sliders up to a day in advance and refrigerate, covered. Just add an extra 5 minutes to baking time when ready to serve.
Swiss, provolone, or cheddar cheese work great as substitutes for the traditional cheese, offering different flavor profiles while maintaining the slider’s delicious essence.
Slightly pat dry the ham and avoid adding extra moisture before assembly. Brushing with butter and baking helps create a crispy, golden exterior that locks in flavor.
Print
Leftover Ham And Cheese Sliders Recipe
- Total Time: 30 minutes
- Yield: 12 1x
Description
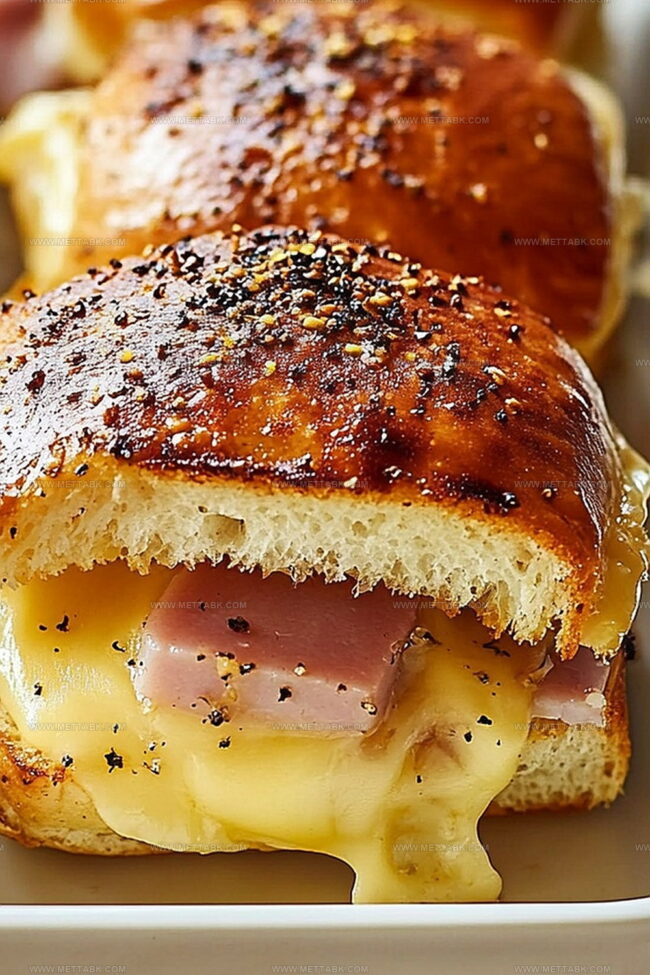
Savory ham and cheese sliders offer a delightful way to repurpose leftover ingredients into a crowd-pleasing appetizer. Melted cheese, tender ham, and buttery rolls combine for a quick, irresistible bite that brings comfort and satisfaction to any gathering.
Ingredients
- 12 Hawaiian rolls
- 2 cups (480 ml) leftover ham, sliced
- 8 slices Swiss or cheddar cheese
- 4 tbsps (60 ml) butter, melted
- poppy seeds for topping (optional)
Instructions
- Prepare a baking dish by lightly coating with nonstick spray, ensuring even coverage.
- Carefully slice Hawaiian rolls horizontally, creating a top and bottom layer for the sliders.
- Distribute ham slices evenly across the bottom roll layer, creating a consistent meat coverage.
- Layer cheese on top of the ham, allowing slight overlap to ensure each slider gets adequate filling.
- Gently replace the top half of the rolls, aligning them precisely with the bottom layer.
- Melt butter and generously brush across the entire surface of the rolls, ensuring complete coverage.
- Optionally sprinkle poppy seeds over the buttered rolls for added texture and visual appeal.
- Place the prepared sliders in a preheated oven at 350°F (175°C) for 15-20 minutes.
- Monitor until the rolls turn golden brown and the cheese begins to melt slightly.
- Remove from oven and allow sliders to rest for 2-3 minutes to cool and set.
- Slice into individual sliders and serve warm, perfect for quick gatherings or casual meals.
Notes
- Check ham thickness for even coverage across slider rolls, ensuring every bite has delicious protein.
- Experiment with different cheese varieties like Swiss, provolone, or pepper jack to customize flavor profiles.
- Swap Hawaiian rolls for gluten-free alternatives to accommodate dietary restrictions without compromising taste.
- Allow butter to cool slightly before brushing to prevent burning and achieve perfect golden-brown exterior.
- Prep Time: 10 minutes
- Cook Time: 20 minutes
- Category: Lunch, Dinner, Snacks
- Method: Baking
- Cuisine: American
Nutrition
- Serving Size: 12
- Calories: 220 kcal
- Sugar: 3 g
- Sodium: 450 mg
- Fat: 12 g
- Saturated Fat: 6 g
- Unsaturated Fat: 5 g
- Trans Fat: 0.2 g
- Carbohydrates: 20 g
- Fiber: 1 g
- Protein: 11 g
- Cholesterol: 30 mg
Clara Bennett
Contributing Recipe Developer & Food Writer
Expertise
Baking and Pastry Development, Gluten-Free and Allergy-Friendly Recipe Creation, Culinary Storytelling and Food Journalism, Recipe Testing and Standardization, Southern Comfort Foods and Modern Twists
Education
Sullivan University – National Center for Hospitality Studies
Associate Degree in Culinary Arts
Focus: Baking and Pastry Arts, Recipe Testing, and Culinary Journalism.
Clara specialized in crafting desserts that blend classic Southern comfort with modern techniques, while developing strong writing skills to tell the story behind every dish.
Lane Community College (Certificate Program)
Certificate in Food Writing and Photography
Focus: Culinary storytelling, recipe formatting, food styling, and visual presentation.
Clara’s love of baking started young, powered by homemade pies, biscuits, and stories passed around the family table.
After earning her degree at Sullivan University and a food writing certificate at Lane Community College, she turned her passion into a craft: sharing recipes that are simple, soulful, and always full of heart.
She’s big on bold flavors, flexible ideas, and creating sweets that fit any table (yes, even if you’re gluten-free). When she’s not baking, you’ll find her wandering farmers’ markets, styling food for the next photo shoot, or working on her ever-growing recipe journal.