Luscious Maple Cookies with Maple Icing Recipe for Sweet Smiles
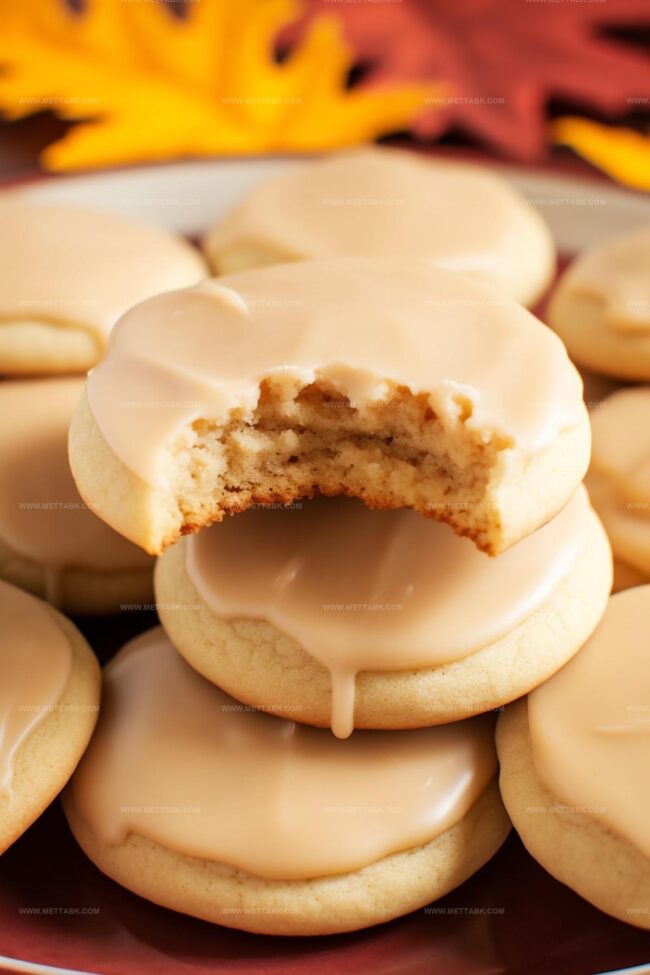
Sweet maple cookies have become my latest kitchen obsession, blending classic comfort with rich, woodsy flavors.
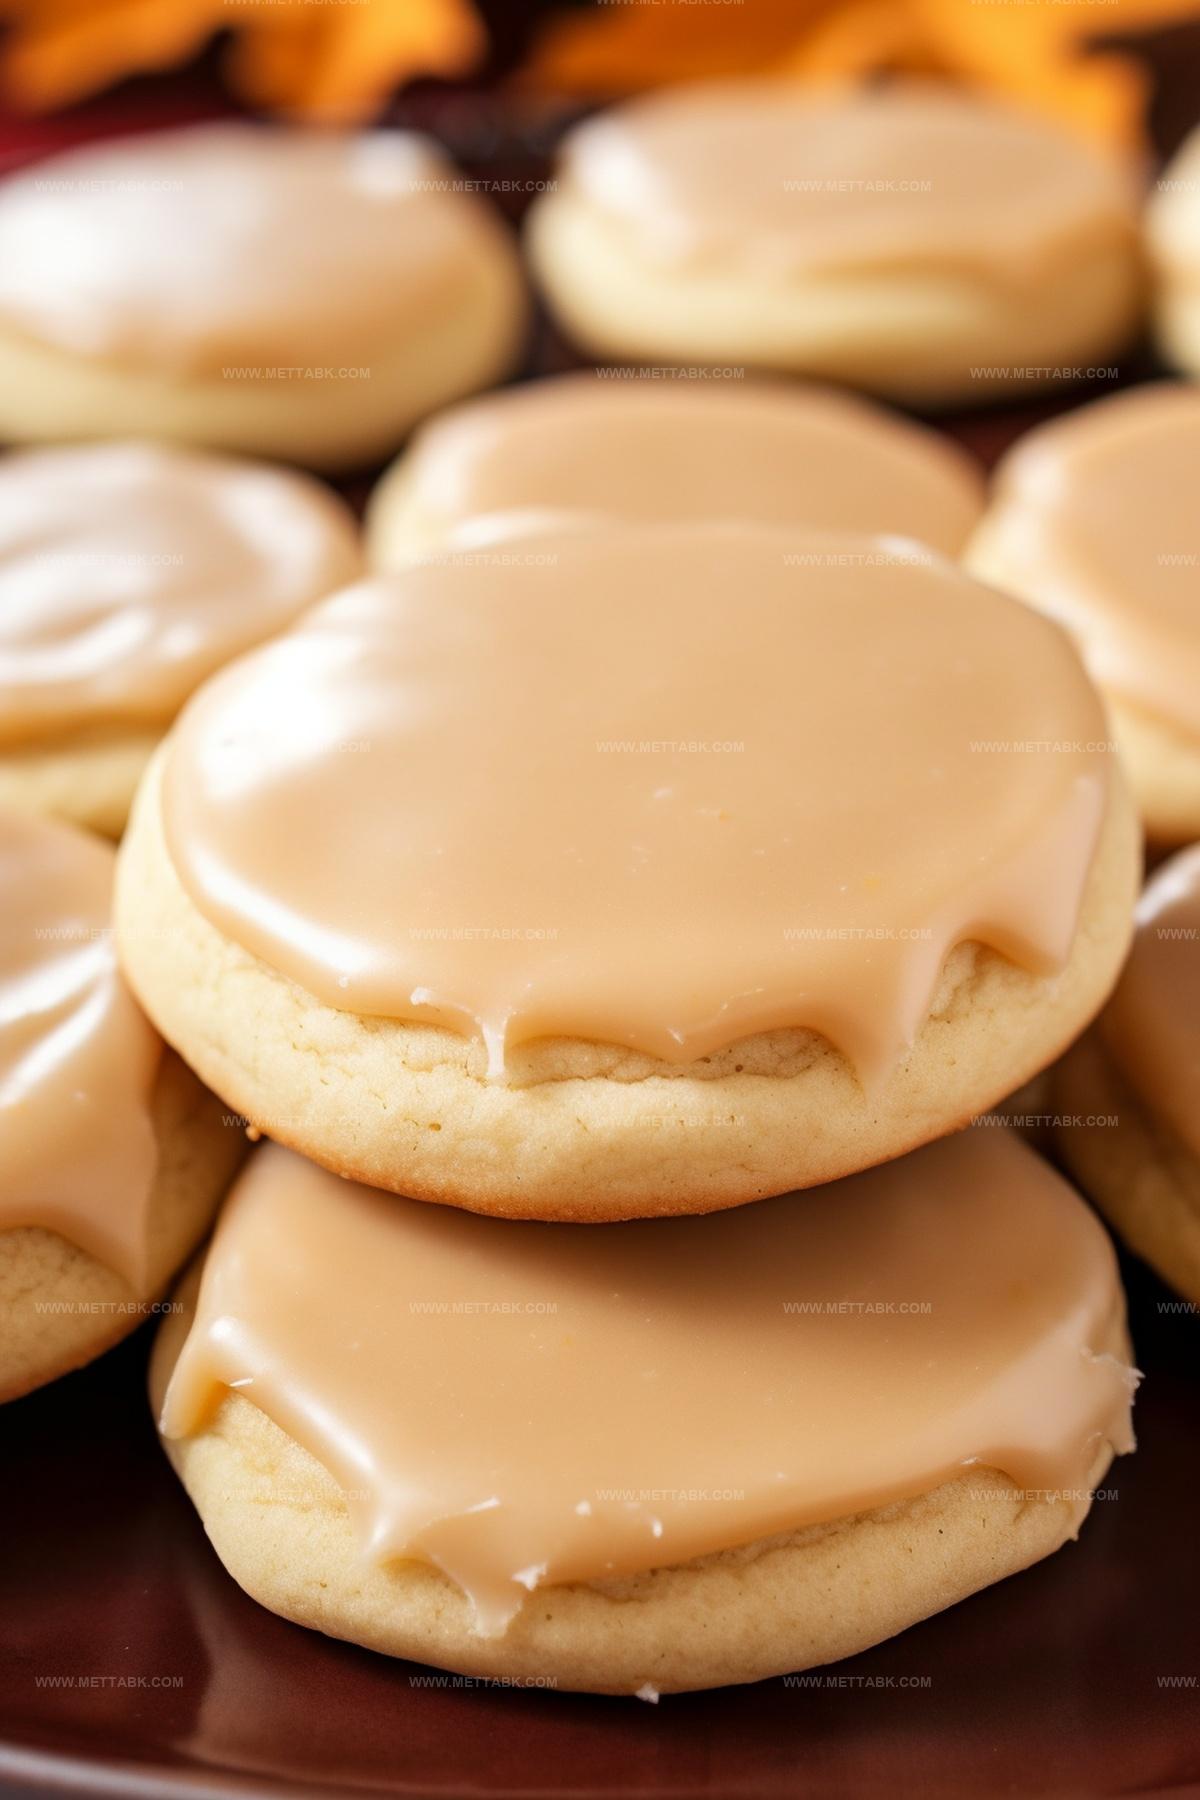
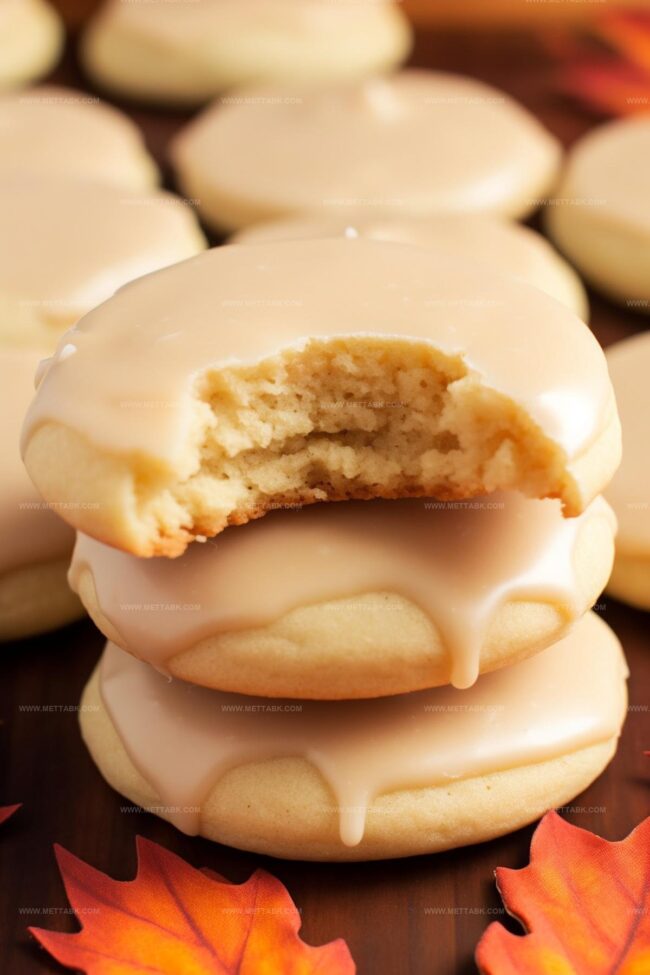
Crisp edges and soft centers make these treats irresistible for any afternoon gathering.
North American bakers understand the magic of pure maple syrup in desserts.
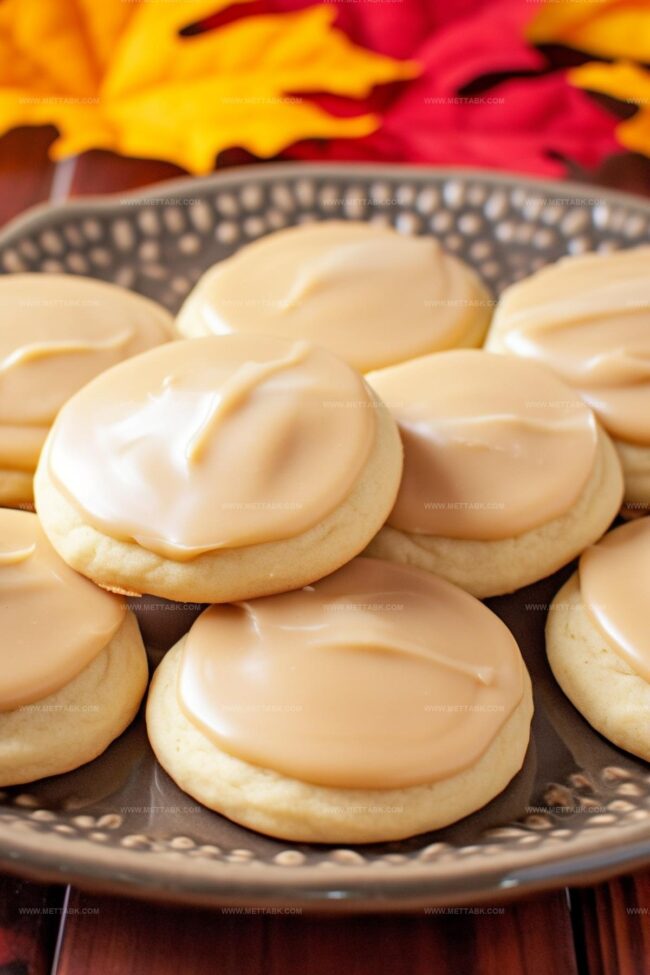
Delicate sugar crystals and creamy icing create a nostalgic experience that connects us to childhood memories.
Warm spices complement the maple’s deep, caramel-like undertones, making each bite feel like a cozy embrace.
Baking these cookies fills your kitchen with an inviting aroma that beckons everyone to the counter.
Discover how simple ingredients can create something truly memorable.
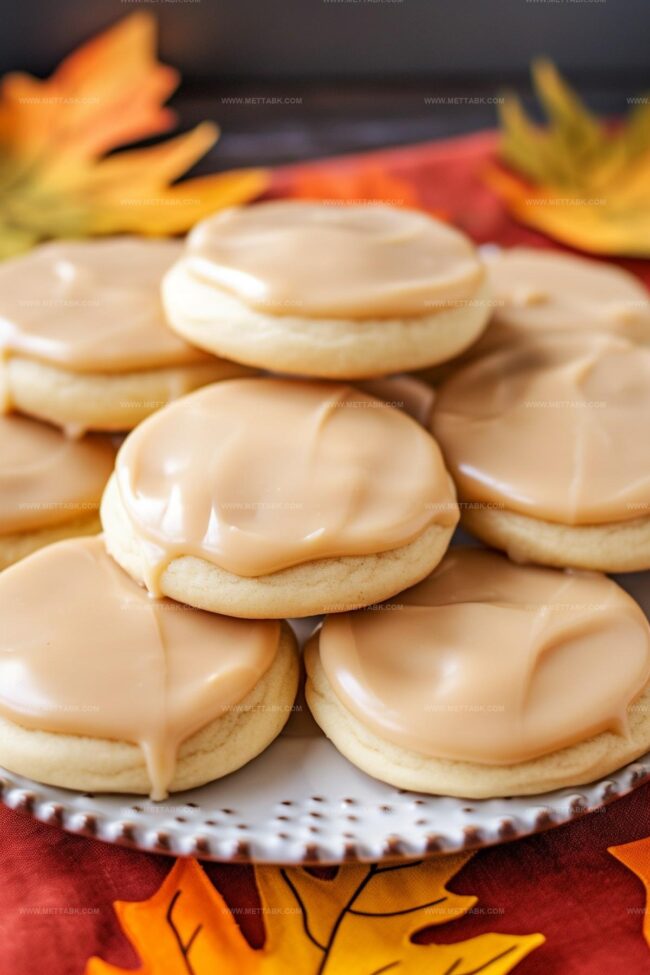
Maple Cookies with Icing That Delights

Ingredients for Maple Cookies with Maple Icing
Instructions for Maple Cookies with Icing
Step 1: Prepare Baking Station
Warm up the oven to 350°F. Line a baking sheet with parchment paper to prevent sticking.
Gather all your baking tools and ingredients for a smooth cooking experience.
Step 2: Create Fluffy Cookie Base
In a large mixing bowl, blend butter and granulated sugar until the mixture becomes light and airy.
The key is to create a smooth, creamy texture that will make your cookies melt in your mouth.
Step 3: Incorporate Wet Ingredients
Add eggs to the mixture one at a time:Ensure each egg is fully mixed before adding the next.
Pour in buttermilk while mixing at a low speed to maintain the batter’s smooth consistency.
Step 4: Build Flavor Profile
Mix in these magical flavor enhancers:Stir these ingredients thoroughly to distribute flavors evenly throughout the dough.
Step 5: Form Cookie Dough
Gradually add flour to the mixture:Mix until a consistent, soft dough forms. The texture should be smooth and easy to work with.
Step 6: Shape and Bake Cookies
Use a spoon to drop dollops of dough onto the prepared baking sheet. Space the cookie mounds about two inches apart to allow room for spreading.
Slide the sheet into the preheated oven and bake for 6 to 8 minutes. Watch carefully to keep the cookies pale and tender.
Step 7: Cool Cookie Batch
Let cookies rest on the baking sheet for a few minutes. Transfer to a wire rack to cool completely.
Patience is crucial for perfect cookies.
Step 8: Craft Maple Icing
In a saucepan, combine:Bring to a boil while whisking continuously for two minutes.
Add:Boil for another minute, stirring constantly.
Step 9: Perfect the Icing Consistency
Remove from heat and let the mixture cool for 15 minutes.
Gradually whisk in powdered sugar until the icing reaches a glue-like consistency. If too thick, add milk one tablespoon at a time.
Step 10: Decorate and Finish
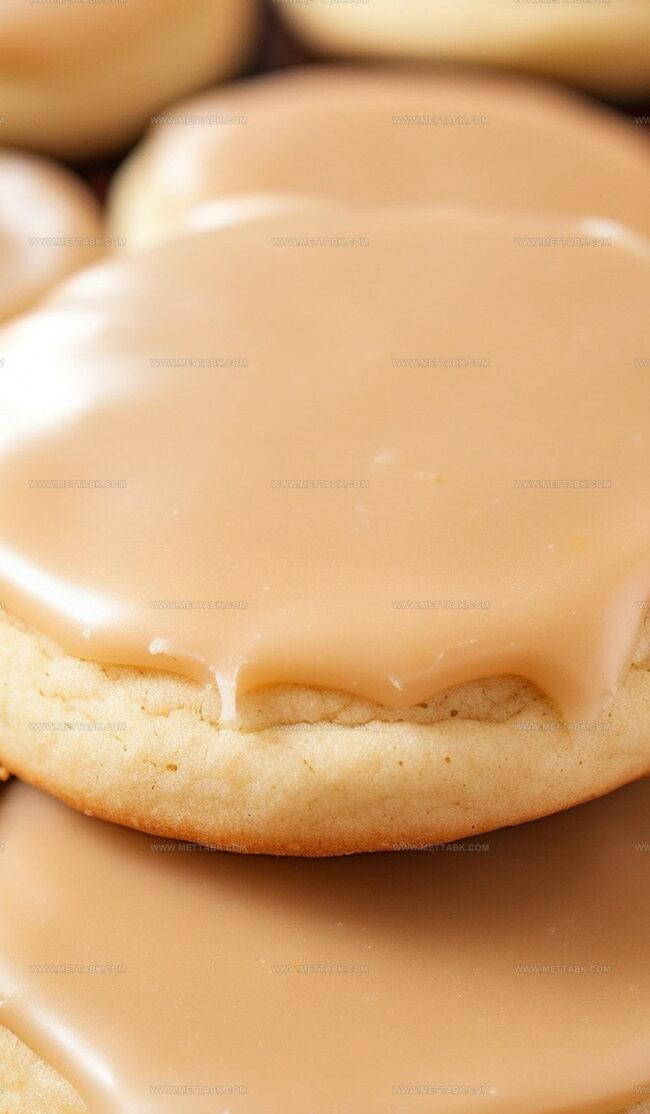
Quickly spread the icing over cooled cookies before it thickens. If the icing becomes too stiff, add a touch more milk to restore spreadability.
Allow icing to set completely.
Step 11: Store and Enjoy
Once icing has hardened, store cookies in a covered container.
These maple delights are ready to delight taste buds and spread sweet joy!
Pro Tips for Maple Cookie Success
Variations to Try on Maple Cookies
Pairing Suggestions for Maple Cookies
Storage Advice for Maple Cookies
FAQs
The maple extract and maple syrup provide a rich, authentic maple taste that sets these cookies apart from traditional sugar cookies.
While maple extract is key to the flavor, you can substitute with additional maple syrup, though the intensity of maple flavor will be slightly reduced.
Keeping the cookies pale ensures they remain soft and tender, preventing them from becoming dry or crisp, which would compromise their delicate texture.
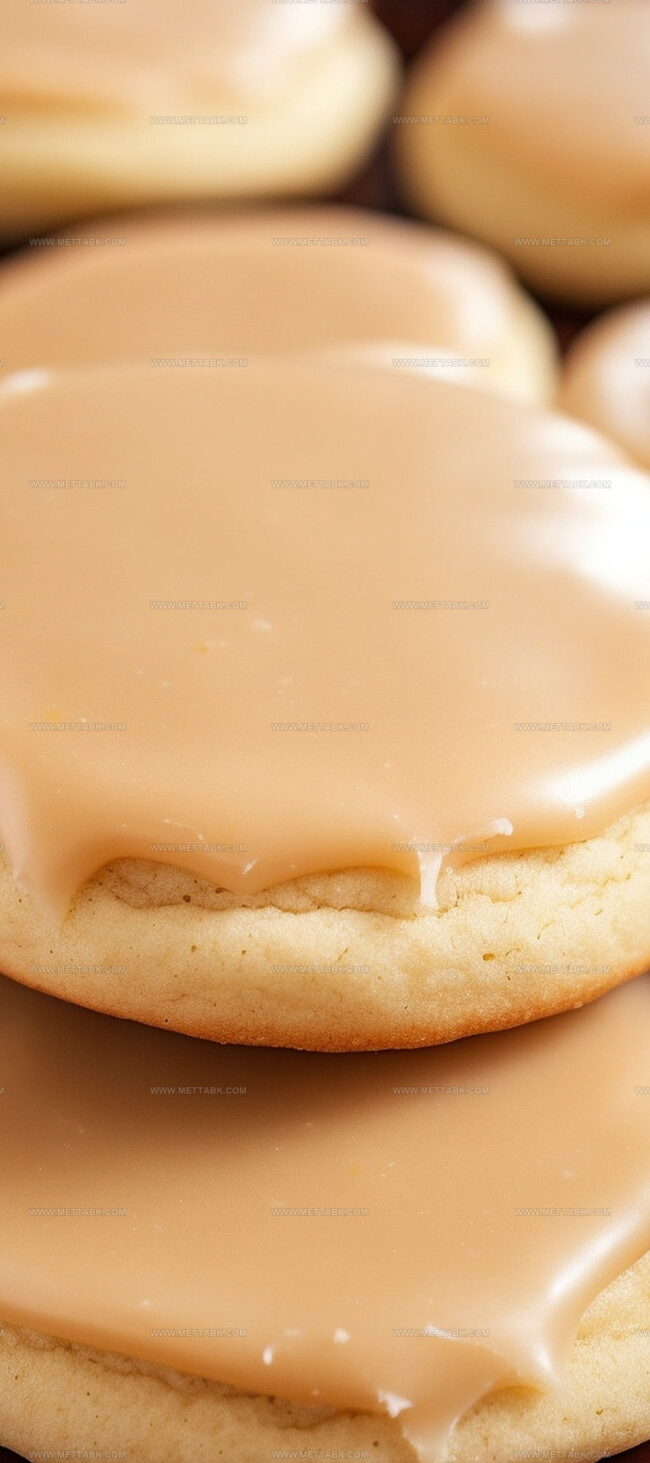
The icing should be smooth and glue-like, able to spread easily but not run off the cookie. If it’s too thick, add milk one tablespoon at a time to thin it out.
Print
Maple Cookies With Maple Icing Recipe
- Total Time: 33 minutes
- Yield: 24 1x
Description
Maple cookies with maple icing combine Canadian maple syrup’s rich sweetness in a delightful homemade treat. Crisp edges and creamy glaze make these cookies a perfect companion for afternoon tea or coffee.
Ingredients
- 4 1/2 cups (540 g) all-purpose flour
- 1 cup (227 g) unsalted butter, softened
- 2 cups (400 g) granulated sugar
- 1 cup (240 ml) buttermilk
- 3 large eggs
- 1 tsp baking powder
- 1 tsp baking soda
- 2 tsps maple extract
- 1 tsp vanilla extract
- 1/2 tsp salt
- 1/2 cup (113 g) unsalted butter
- 1 cup (220 g) brown sugar
- 2 cups (240 g) powdered sugar
- 1/4 cup (60 ml) milk
- 2 tbsps maple syrup
- 1 pinch salt
Instructions
- Prepare the oven at 350°F and line a baking sheet with parchment paper for optimal cookie baking.
- In a large bowl, whip butter and granulated sugar until the mixture becomes airy and pale.
- Introduce eggs one at a time, thoroughly blending after each addition to create a smooth base.
- Gently pour buttermilk into the mixture while stirring at low speed to maintain consistency.
- Combine salt, vanilla extract, maple extract, baking soda, and baking powder, mixing thoroughly into the batter.
- Fold in flour gradually, half at a time, stirring until a uniform dough forms without overmixing.
- Scoop two-tablespoon portions of dough onto the prepared baking sheet, spacing them approximately two inches apart.
- Bake for 6-8 minutes, watching carefully to maintain a pale color and prevent overbaking.
- Let cookies rest on the baking sheet briefly before transferring to a wire rack for complete cooling.
- Create icing by melting butter and brown sugar in a saucepan, bringing to a boil while whisking for two minutes.
- Add milk, maple syrup, and a pinch of salt, boiling for an additional minute while continuously stirring.
- Remove from heat and allow the mixture to cool for 15 minutes, enabling proper icing development.
- Incorporate powdered sugar gradually, whisking until the icing reaches a glue-like texture. Adjust consistency with milk if needed.
- Quickly spread icing over completely cooled cookies, as it will thicken rapidly. Use additional milk to maintain spreadability.
- Allow icing to set completely before storing cookies in an airtight container to preserve freshness.
Notes
- Use room temperature butter and eggs for smoother, more evenly mixed cookie dough that ensures consistent texture.
- Space cookie dough balls carefully to prevent spreading and maintain uniform shape during baking.
- Monitor baking time closely since maple cookies brown quickly and can dry out if overcooked.
- Whisk maple icing continuously to prevent burning and achieve smooth, glossy consistency.
- Store cookies in single layers with parchment paper between to preserve icing and prevent sticking.
- Adjust maple extract amount for more intense flavor without compromising cookie structure.
- Consider gluten-free flour substitution for those with wheat sensitivities, using a 1:1 baking blend.
- Refrigerate dough for 30 minutes before baking to minimize cookie spreading and enhance flavor development.
- Prep Time: 25 minutes
- Cook Time: 8 minutes
- Category: Snacks, Desserts
- Method: Baking
- Cuisine: American
Nutrition
- Serving Size: 24
- Calories: 234
- Sugar: 20 g
- Sodium: 115 mg
- Fat: 11 g
- Saturated Fat: 7 g
- Unsaturated Fat: 4 g
- Trans Fat: 0.3 g
- Carbohydrates: 32 g
- Fiber: 1 g
- Protein: 2 g
- Cholesterol: 31 mg
Clara Bennett
Contributing Recipe Developer & Food Writer
Expertise
Baking and Pastry Development, Gluten-Free and Allergy-Friendly Recipe Creation, Culinary Storytelling and Food Journalism, Recipe Testing and Standardization, Southern Comfort Foods and Modern Twists
Education
Sullivan University – National Center for Hospitality Studies
Associate Degree in Culinary Arts
Focus: Baking and Pastry Arts, Recipe Testing, and Culinary Journalism.
Clara specialized in crafting desserts that blend classic Southern comfort with modern techniques, while developing strong writing skills to tell the story behind every dish.
Lane Community College (Certificate Program)
Certificate in Food Writing and Photography
Focus: Culinary storytelling, recipe formatting, food styling, and visual presentation.
Clara’s love of baking started young, powered by homemade pies, biscuits, and stories passed around the family table.
After earning her degree at Sullivan University and a food writing certificate at Lane Community College, she turned her passion into a craft: sharing recipes that are simple, soulful, and always full of heart.
She’s big on bold flavors, flexible ideas, and creating sweets that fit any table (yes, even if you’re gluten-free). When she’s not baking, you’ll find her wandering farmers’ markets, styling food for the next photo shoot, or working on her ever-growing recipe journal.