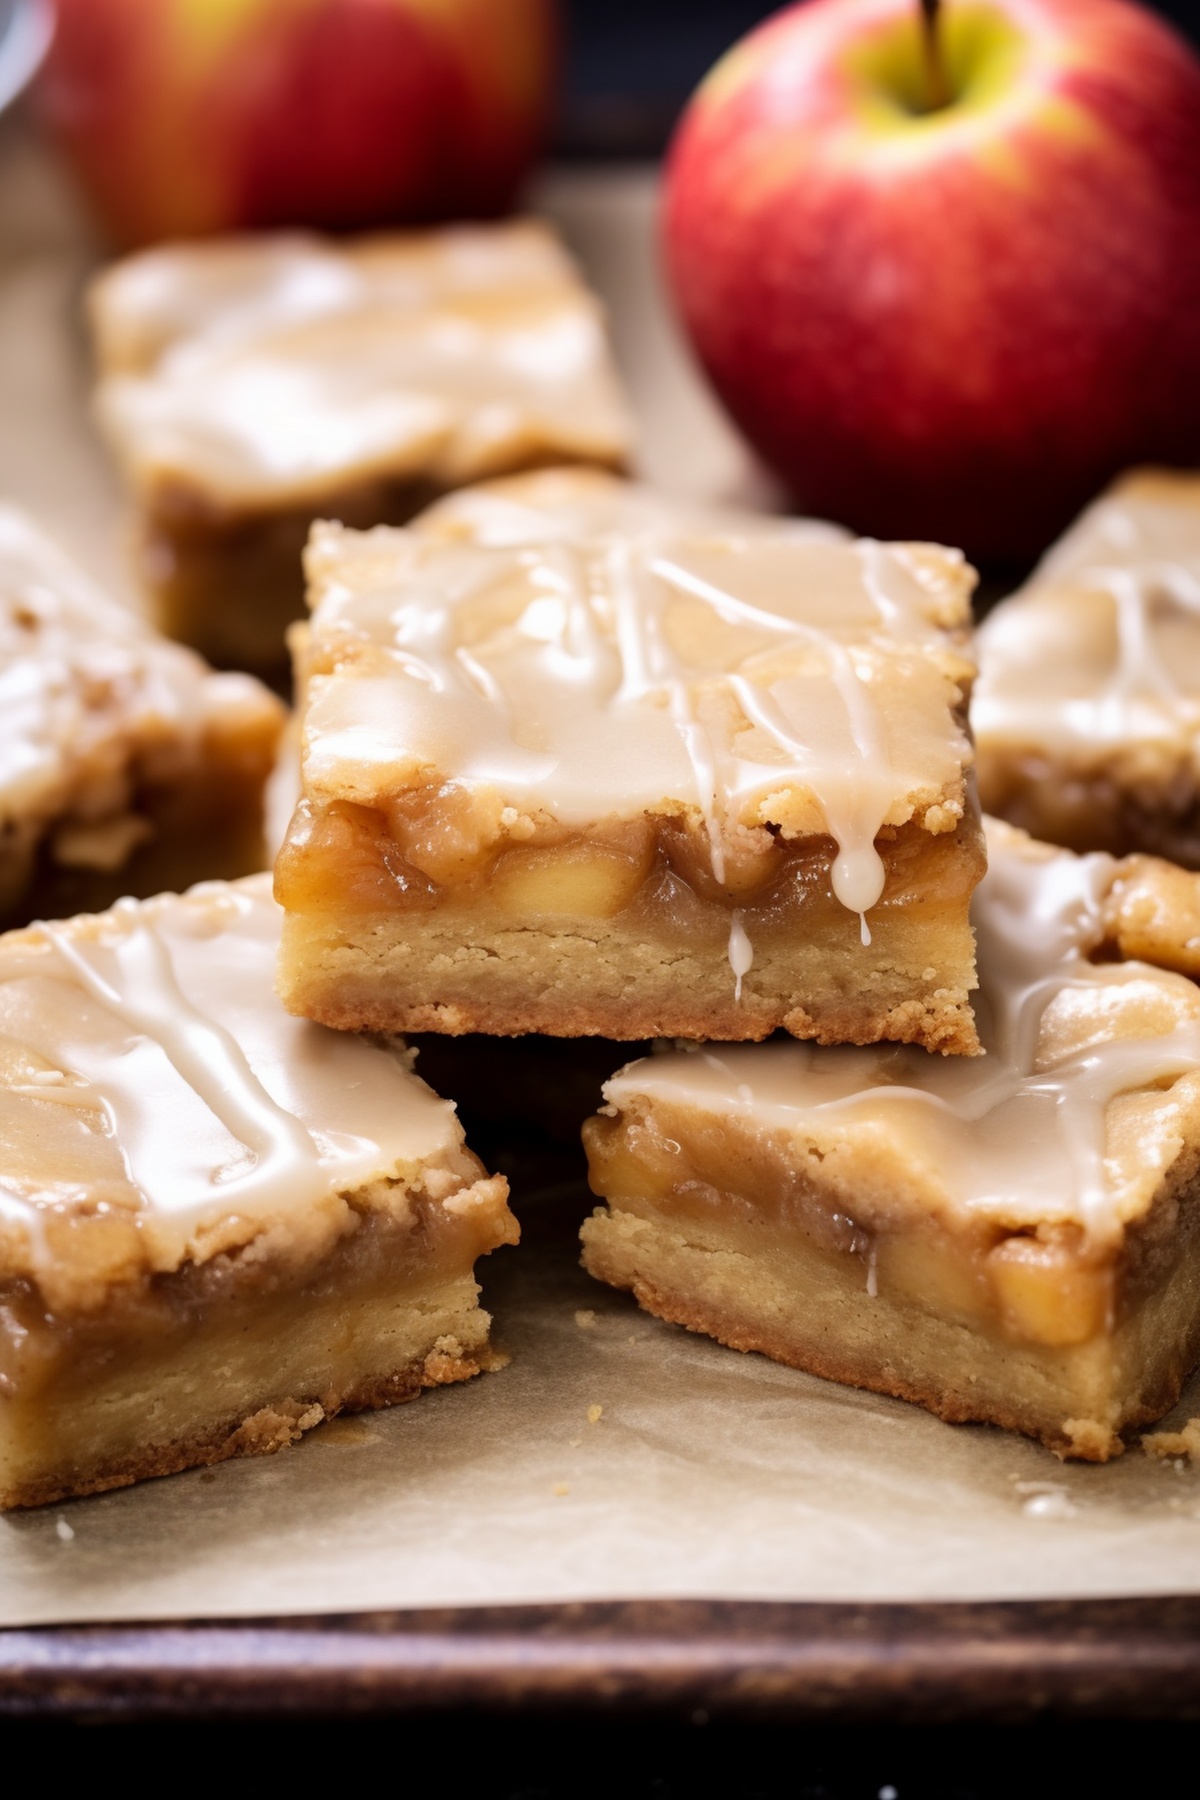
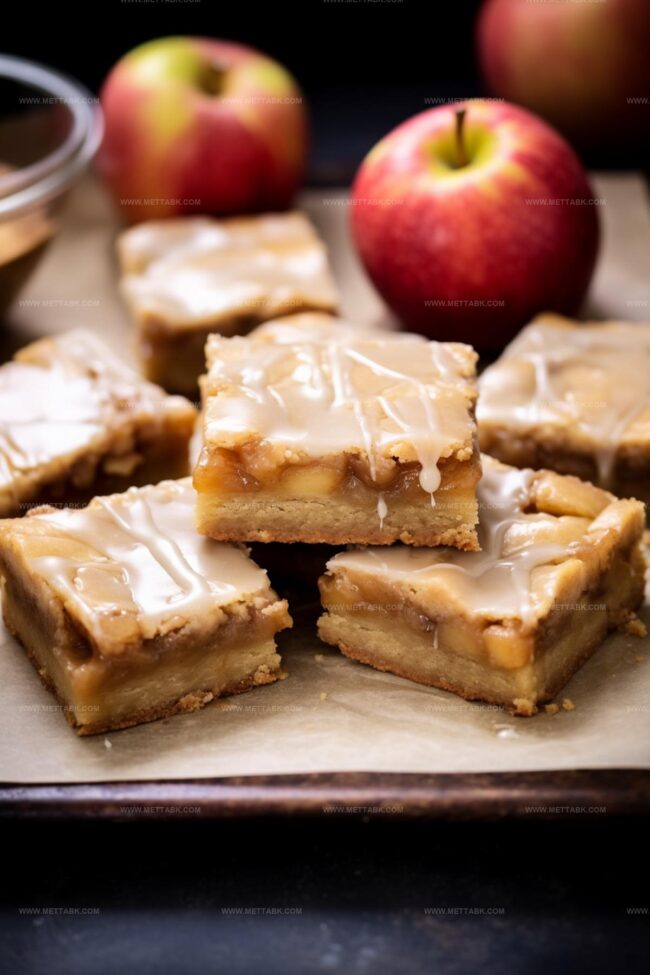
The Perfect Maple Glazed Apple Blondies Recipe for Fall Baking
Sweet maple syrup transforms ordinary apple blondies into an irresistible autumn treat that promises pure comfort.
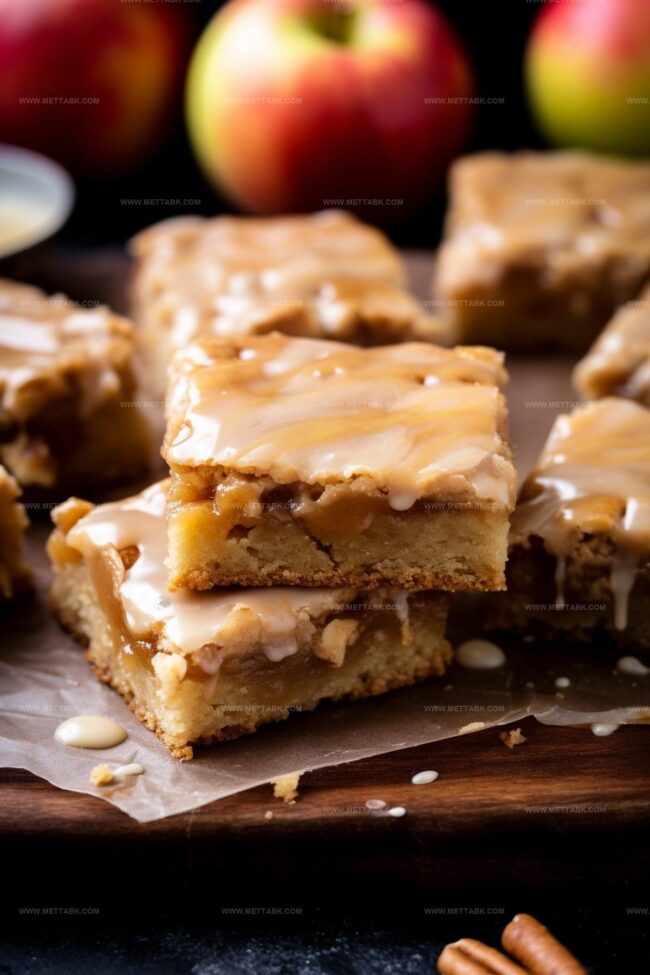
Crisp orchard apples mingle with rich caramel undertones, creating a dessert that feels like a warm embrace.
Seasonal baking becomes magical when simple ingredients dance together in unexpected harmony.
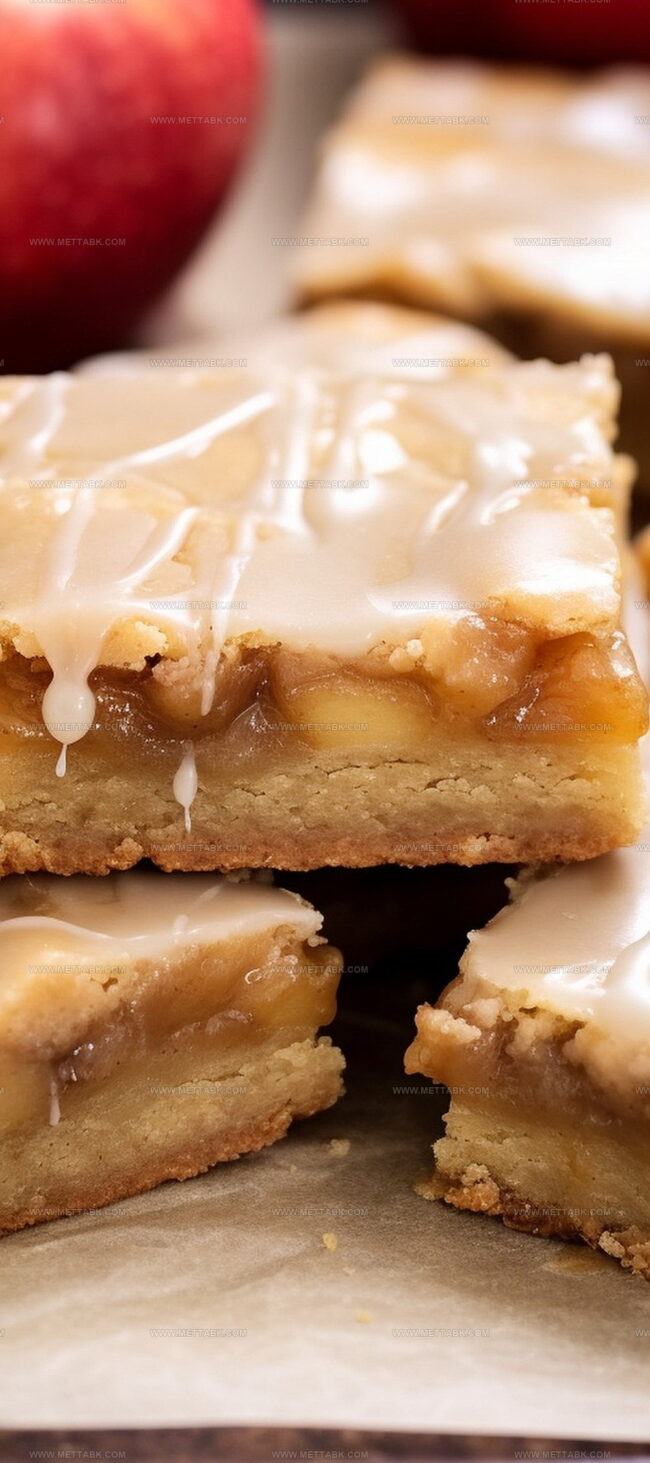
Soft, chewy textures complement the deep maple notes, making each bite a delightful surprise.
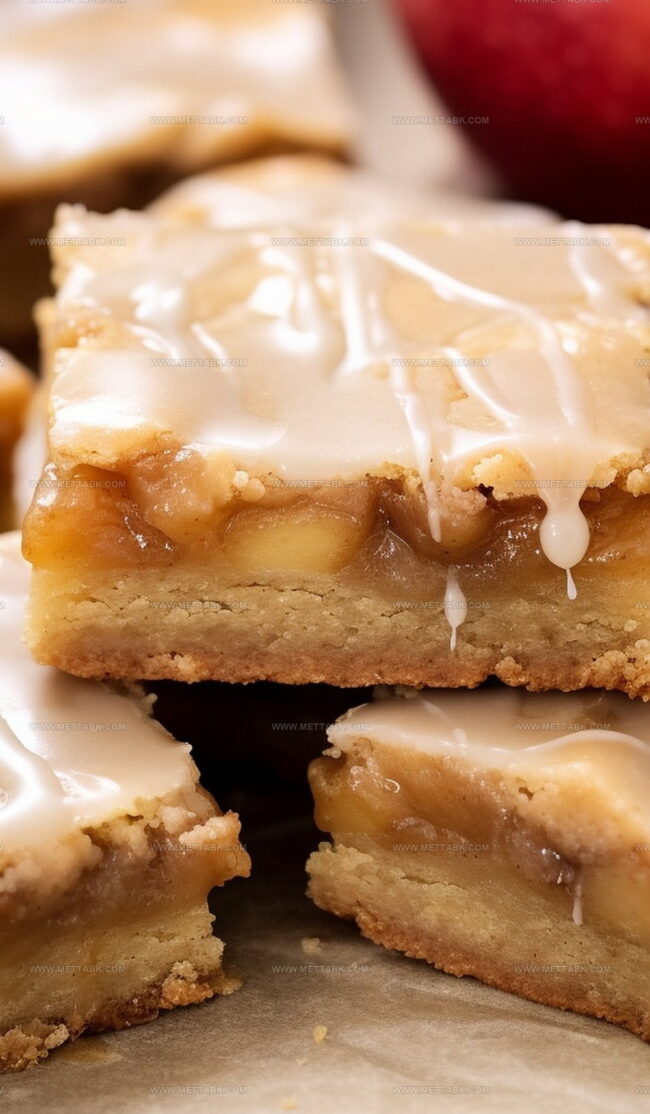
Subtle spices weave through the batter, adding depth and complexity to this rustic dessert.
Home kitchens will buzz with excitement as the aroma of cinnamon and maple fills the air.
You can’t resist these blondies – they’re the perfect companion for afternoon tea or a cozy evening indulgence.
Why Maple Glazed Apple Blondies Are Sweet Perfection
Ingredients for Maple Glazed Apple Blondies
Main Ingredients:Eggs: Essential for binding the ingredients and adding moisture to the blondies.
Glaze Ingredients:How to Bake Maple Glazed Apple Blondies
Step 1: Warm Up the Oven
Crank the oven to a toasty 350°F. Grab your 11×7-inch pan and give it a quick spray with cooking oil or line it with tin foil for easy cleanup.
Step 2: Cook Apple Magic
Toss your diced apples into a pan with:Sizzle these goodies over medium-low heat for 3-4 minutes until they’re soft and fragrant. Let the apples cool down while you prep the rest.
Step 3: Whip Up Blondie Batter
Beat the butter until it’s light and fluffy. Mix in both sugars until they’re best friends.
Add eggs one at a time, giving each a good mix. Sprinkle in salt and vanilla.
In another bowl, blend:Slowly fold the dry ingredients into the wet mixture until you’ve got a smooth, dreamy batter.
Step 4: Layer Like a Pro
Pour half the blondie batter into the pan, spreading it evenly.
Scatter the cooled apple mixture on top. Cover with the remaining batter, making sure it’s nice and smooth.
Step 5: Bake to Perfection
Slide the pan into the oven for 25-30 minutes. You’ll know it’s done when the top turns golden brown and a toothpick comes out clean.
Step 6: Create Maple Glaze Heaven
In a saucepan, combine:Melt everything on low heat. Take it off the stove and whisk in powdered sugar until smooth.
Let it sit and thicken for 8-10 minutes.
Step 7: Finish with Flair
Once the blondies are out of the oven, let them chill for 10 minutes.
Drizzle the maple glaze all over the top. Wait for the glaze to set, then slice into squares and serve up some deliciousness!
Pro Tips for Moist and Flavorful Apple Blondies
Variations to Try with Maple Glazed Apple Blondies
Pairing Suggestions for Maple Glazed Apple Blondies
Storage Advice for Maple Glazed Apple Blondies
FAQs
Yes, you can use various apple varieties like Granny Smith, Honeycrisp, or Fuji. Choose firm apples that hold their shape during cooking and provide a good balance of sweetness and tartness.
Sautéing helps concentrate the apple flavor, soften the fruit, and remove excess moisture. This step ensures the apples don’t make the blondies soggy and enhances their overall taste and texture.
Absolutely! Simply substitute the all-purpose flour with a gluten-free flour blend. Make sure to use a blend that includes xanthan gum for better texture and binding.
Print
Maple Glazed Apple Blondies Recipe
- Total Time: 50 minutes
- Yield: 16 1x
Description
Maple glazed apple blondies bring autumn’s warmth to a delightful dessert. Crisp apples and rich maple syrup create a comforting sweet treat you’ll savor with each delectable bite.
Ingredients
- 1 cup softened butter
- 1 cup dark brown sugar
- 1/4 cup granulated sugar
- 2 large eggs
- 2 large apples (finely diced)
- 2 cups all-purpose flour
- 2 tbsps brown sugar
- 2 tbsps butter
- 1/2 cup powdered sugar
- 1/4 cup pure maple syrup
- 1 1/2 tsps vanilla extract
- 1 tsp baking powder
- 1 tbsp butter
- 1/2 tsp salt
- 1/2 tsp vanilla extract
- 1/2 tsp cinnamon
- 1/2 tsp cinnamon
- 1/4 tsp vanilla extract
- 1/4 tsp ground cinnamon
- 1/8 tsp ground cinnamon
Instructions
- Preheat oven to 350°F and prepare an 11×7-inch pan with cooking spray or lined with foil.
- Sauté diced apples with brown sugar, butter, vanilla, and cinnamon over medium-low heat for 3-4 minutes. Cool the mixture completely.
- Cream butter until fluffy, then blend granulated and brown sugars thoroughly. Add eggs one at a time, mixing well after each addition. Incorporate salt and vanilla extract.
- In a separate bowl, whisk flour, baking powder, and cinnamon. Gradually fold dry ingredients into wet mixture until just combined.
- Spread half the blondie batter evenly in prepared pan. Layer the cooled apple mixture across the surface.
- Top with remaining blondie batter, ensuring complete coverage of apple filling.
- Bake for 25-30 minutes until golden brown and a toothpick comes out clean.
- For maple glaze, melt butter, maple syrup, vanilla, and cinnamon in a saucepan over low heat.
- Remove from heat and gradually whisk in powdered sugar until smooth. Let glaze cool and thicken for 8-10 minutes.
- Allow blondies to rest for 10 minutes after baking, then drizzle glaze evenly across the surface.
- Let glaze set completely before cutting into squares and serving.
Notes
- Enhance apple flavor by choosing tart varieties like Granny Smith or Honeycrisp for balanced sweetness and texture.
- Prevent soggy blondies by patting sautéed apples dry before adding to the batter to remove excess moisture.
- Customize the spice profile by experimenting with nutmeg or cardamom alongside cinnamon for deeper, more complex warmth.
- Make the recipe gluten-free by substituting all-purpose flour with a 1:1 gluten-free baking blend, ensuring similar texture and structure.
- Prep Time: 20 minutes
- Cook Time: 30 minutes
- Category: Desserts, Snacks
- Method: Baking
- Cuisine: American
Nutrition
- Serving Size: 16
- Calories: 220 kcal
- Sugar: 19 g
- Sodium: 90 mg
- Fat: 11 g
- Saturated Fat: 7 g
- Unsaturated Fat: 4 g
- Trans Fat: 0.3 g
- Carbohydrates: 29 g
- Fiber: 1.2 g
- Protein: 2.5 g
- Cholesterol: 35 mg
Clara Bennett
Contributing Recipe Developer & Food Writer
Expertise
Baking and Pastry Development, Gluten-Free and Allergy-Friendly Recipe Creation, Culinary Storytelling and Food Journalism, Recipe Testing and Standardization, Southern Comfort Foods and Modern Twists
Education
Sullivan University – National Center for Hospitality Studies
Associate Degree in Culinary Arts
Focus: Baking and Pastry Arts, Recipe Testing, and Culinary Journalism.
Clara specialized in crafting desserts that blend classic Southern comfort with modern techniques, while developing strong writing skills to tell the story behind every dish.
Lane Community College (Certificate Program)
Certificate in Food Writing and Photography
Focus: Culinary storytelling, recipe formatting, food styling, and visual presentation.
Clara’s love of baking started young, powered by homemade pies, biscuits, and stories passed around the family table.
After earning her degree at Sullivan University and a food writing certificate at Lane Community College, she turned her passion into a craft: sharing recipes that are simple, soulful, and always full of heart.
She’s big on bold flavors, flexible ideas, and creating sweets that fit any table (yes, even if you’re gluten-free). When she’s not baking, you’ll find her wandering farmers’ markets, styling food for the next photo shoot, or working on her ever-growing recipe journal.